
Matt's Weekly Shop Update
Kitchen Island, Barn Power – March 2024 Update
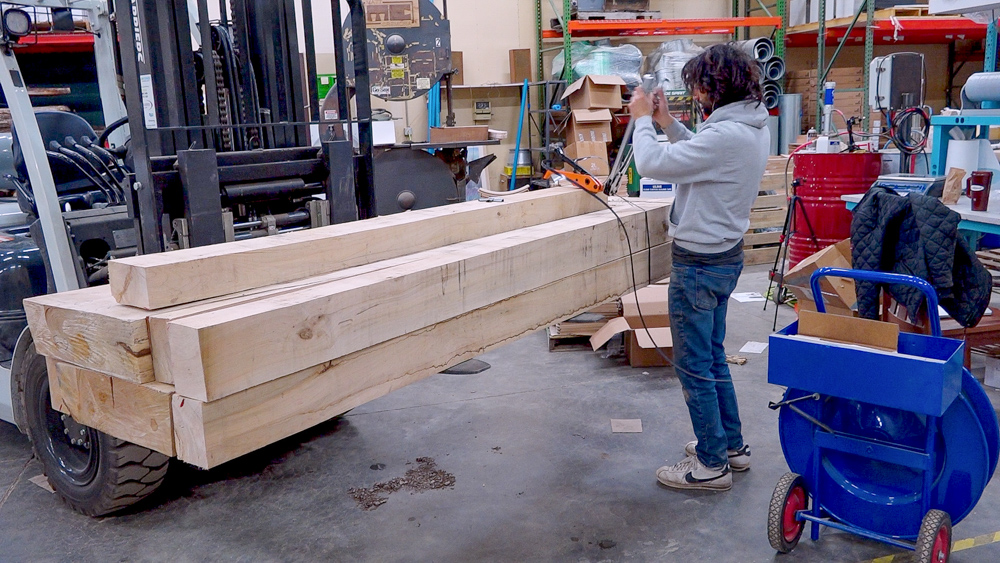
Welcome to my shop! This is a quick update to let you know what I’ve been up to. This big chunky thing is the leg
Welcome back to a little series we’re doing on producing the second batch of a workbench kit. Last time, in part two, we finished up all the sawing, and this time we’re going to get these things dried and out of here.
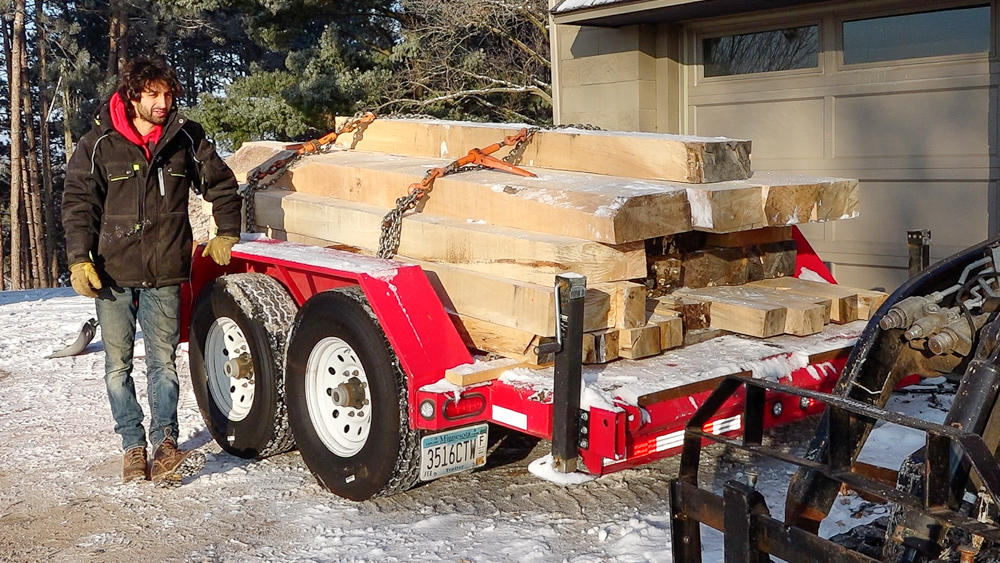
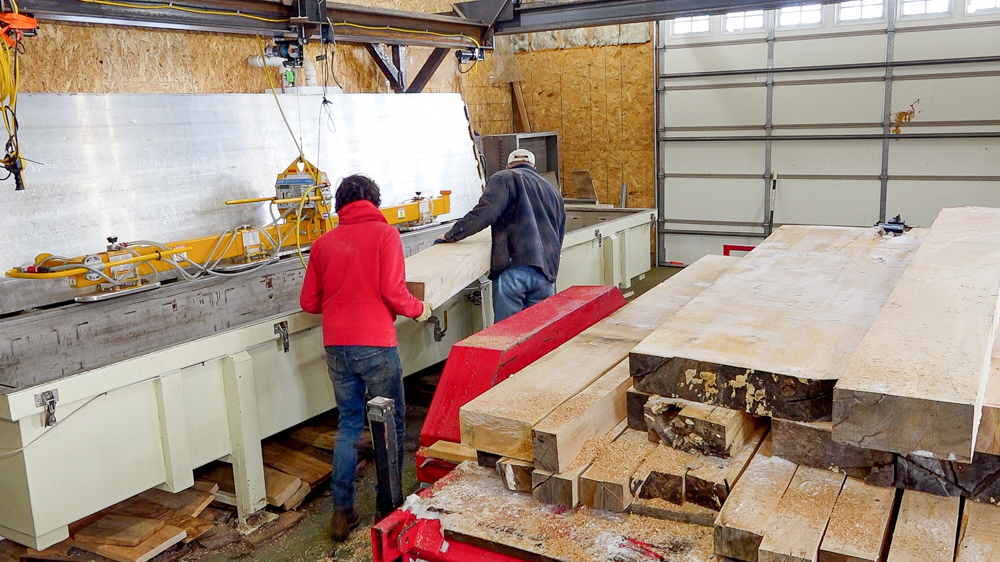
So today, I’m hauling this over to my buddy Eric’s place. He has a vacuum kiln, and he dries these things for me, so we’re going to go through that process.
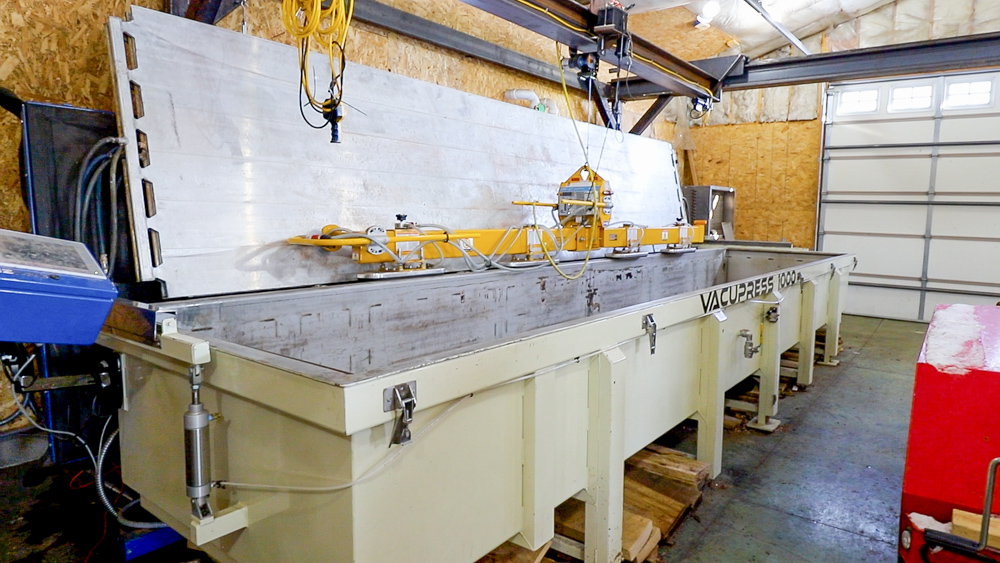
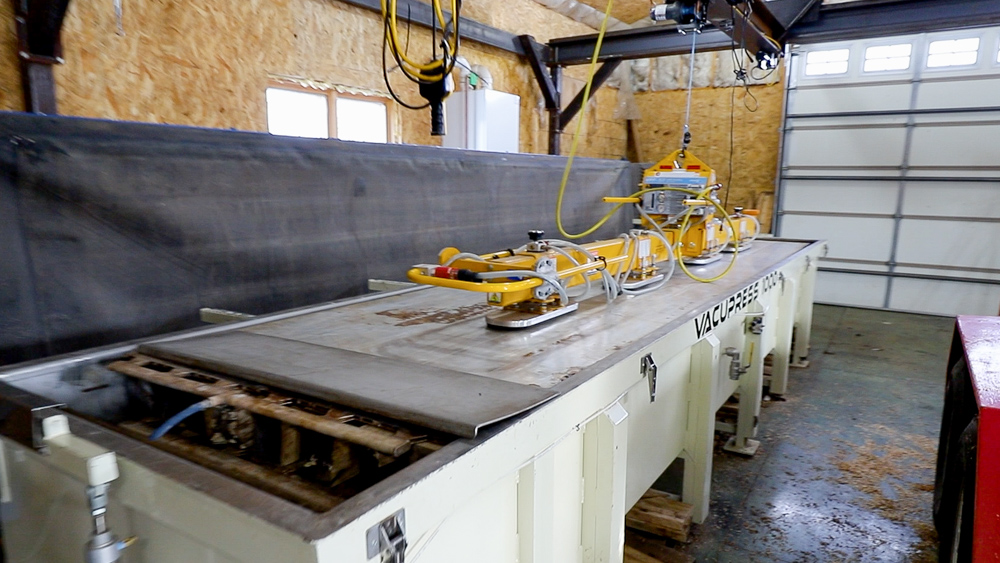
Here we are at the vacuum kiln. I’ve shown this thing several times, but a lot of you have asked to see it in a little more detail. So we’re going to run through this thing real quick to cover some of the basics of this particular machine. This one is a continuous or a deep vacuum kiln, which means that once the vacuum is applied to the load, the load stays under vacuum the entire time. That’s going to be a little bit different than another style kiln, which is not continuous. The downside with a continuous vacuum full time is that you need some other way to introduce heat into the lumber. With a non-continuous vacuum, that’s going to be done by air, meaning that a partial vacuum or a lower vacuum is pulled. After the wood is heated and the wood loses heat and moisture, the vacuum is released. The heaters then kick in and heat the wood back up, and that cycle continues until it’s done. With this kiln, we have these hot-water plates which introduce heat directly into the wood the entire time, which results in a faster rate compared to the other style. Of course, it comes at a higher price as well.
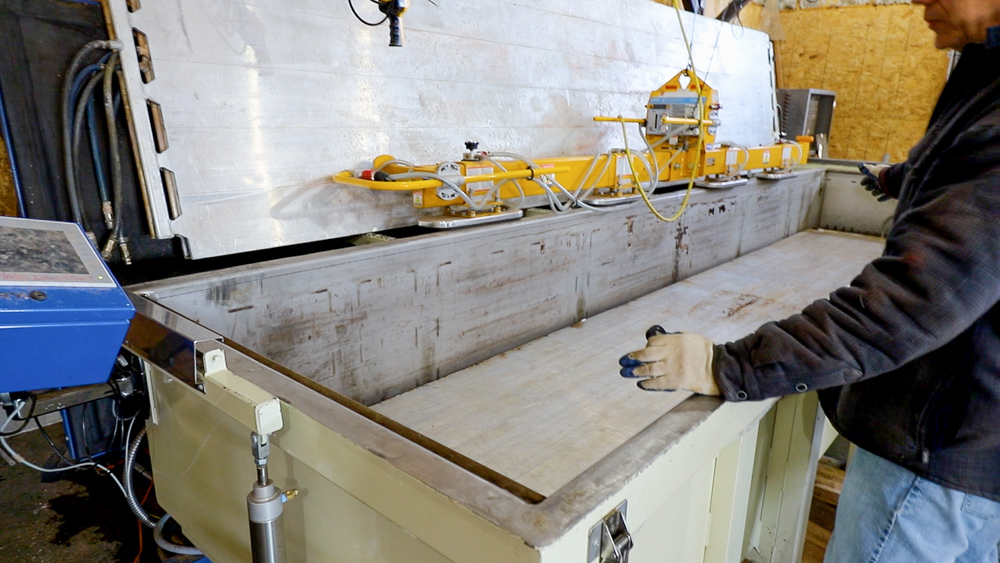
So this one is a Vacupress. The press component is actually one of the pretty awesome features of this. The lid is a rubber membrane. If you’ve done any vacuum bag veneering, you know you can use atmospheric pressure to clamp things. So when this lid goes on and the vacuum is applied, the rubber membrane collapses and compresses the entire stack into this tub, and 8,000 pounds of down pressure, which keeps it flat. Everything coming out of here is going to be dead flat, because it can’t move or warp during the drying process. You’re actually pulling the vacuum down to four on the HG, which is about the equivalent of being at an airliner at about 30,000 feet. So there is very little atmospheric pressure in there, which lowers the boiling point of water so low that it doesn’t take a lot to heat it up and get the wood to dry. For example, with this load, we’re going to dry six-inch-thick material in 7-9 days. That’s about a year and a half of work with the other type of kiln.
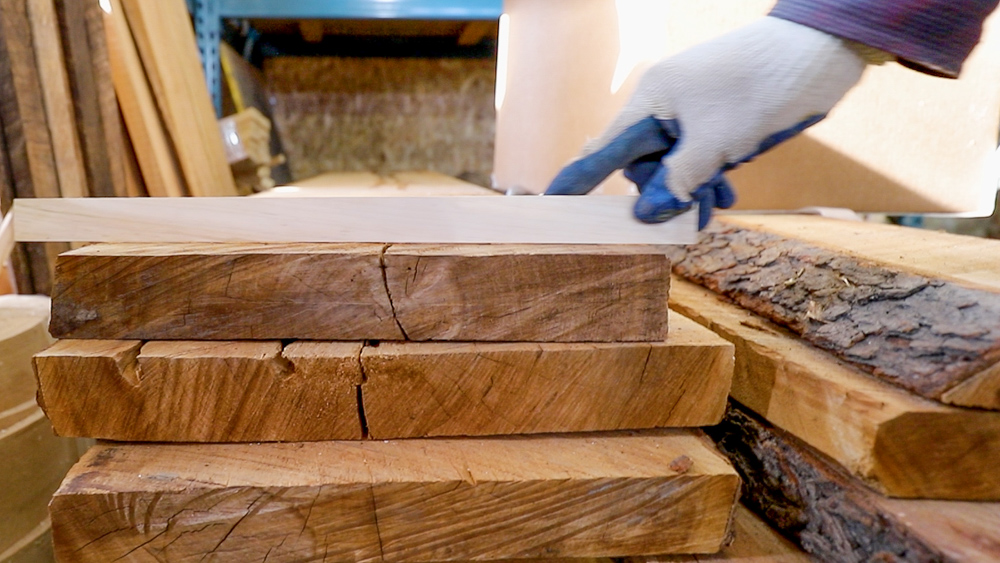
Just look at these cherry boards. These came out and they’re as-sawn, there’s basically no warp in this. Eric typically dries eight quarter to 10 quarter walnut, mostly, which is a 7-10 day process. If I bring my slabs that are 10 quarter, and they’ve been air drying for a while, it’s about three days of drying. We have also tried drying boards that were warped when we put them in the kiln, and they came out flat. If it’s got 20% moisture in it, you can flatten it.
The rationale Eric used for making the decision to get this kiln was that he could store his lumber in log form, then cut what he needs for any given project, dry it in a couple of days, and it’s ready to go. Logs are much easier to inventory and store compared to dried lumber. With dried lumber, you have to have it in a controlled environment. You can’t dry something to 8% moisture, then leave it sit, because it will go back to 11% moisture.
Eric has had this kiln for three and a half years now. It runs pretty much around the clock. It’s hard to accurately estimate, but he has likely put something around 200,000 feet of boards through this kiln. If the kiln is perfectly loaded, it can accommodate 1,000 feet. The kiln itself doesn’t take up too much space either. The machine’s 22 feet long by about 6 feet wide.
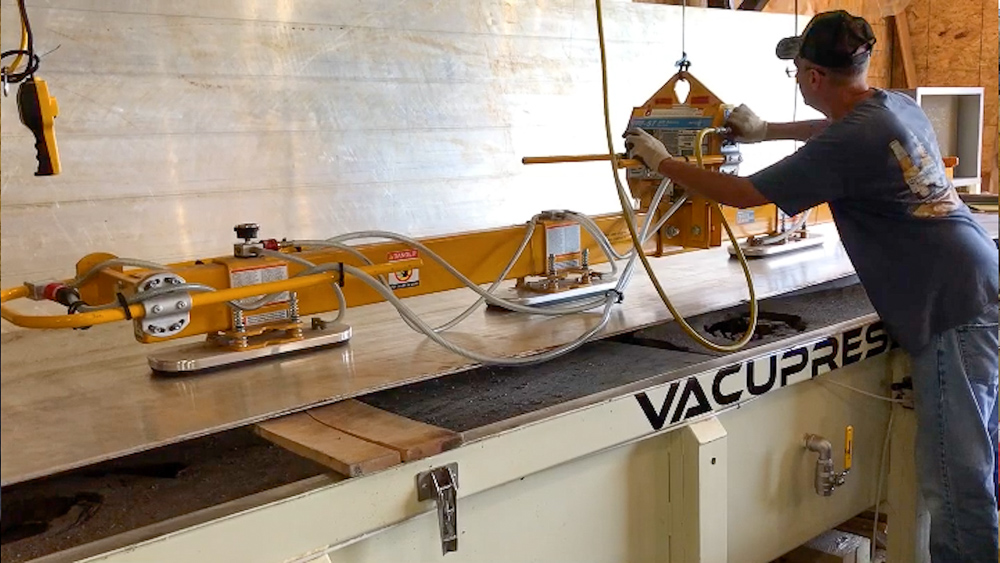
Because of the plates in here, that involves a little more labor for loading. Eric has a little bridge crane set up in here with the vacuum pod so he can move these plates around. They’re not particularly heavy, but they’re awkward.
(9:46)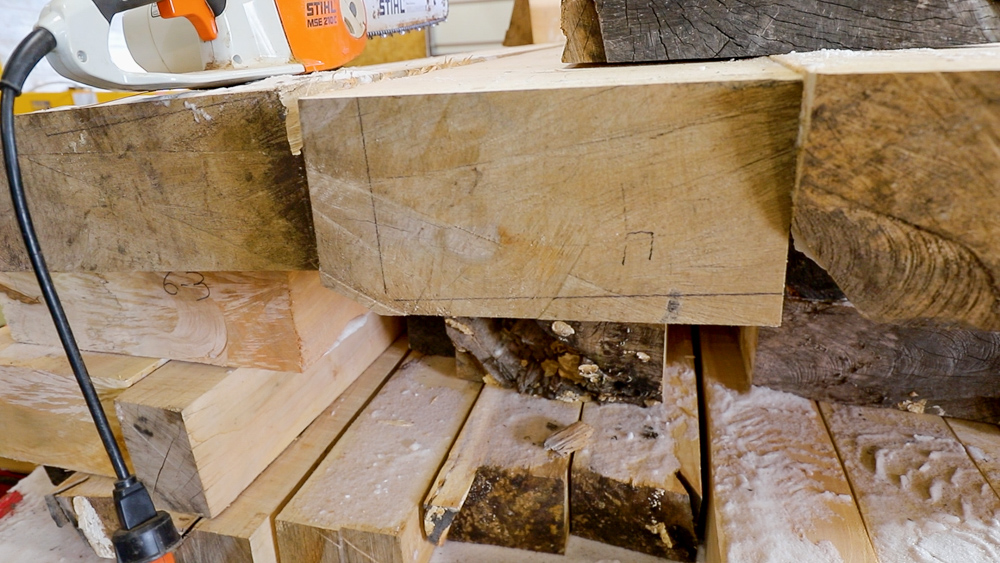
Another advantage with this kiln is that the checking on the ends is just about nonexistent. Normally when you dry wood, you start getting cracks, but that just doesn’t happen with this kiln. We’ll take a look at this one, number 4, when it comes out of the kiln. The color also stays nice and bright with this kiln.
In terms of investment cost for this machine, Eric had to add a drain, and he had to have the heat system, so he put in a natural gas boiler. Plus the machine and the plates were about 130. So when considering buying one of these, you also have to look at the infrastructure.
Because this is a much faster process, Eric is flipping loads frequently. It takes about 90 minutes from popping the lid open to unloading it, to reloading it. On a good day. It takes a bit longer with oddly shaped things or when you are trying to hodge-podge offcuts together. But the beauty of this machine is that you don’t have to have eight-foot lumber. You can use cutoffs, you can do the crotches, it doesn’t make any difference. This machine does not care.
In terms of dimensions, you’re going to get an 18-foot lumber. So this is 18’6’’ in length, and then it’s 4’2’’ in width and 4’0’’ deep with the plate at the bottom. Eric tries to dry two eight foot sections at a time, or cuts the logs at 18’6’’ and then cuts down to size as needed after they are dry. So one of the downsides on this kiln is that the plates have to be supported all the way through, so you can’t have a lot of dead space.
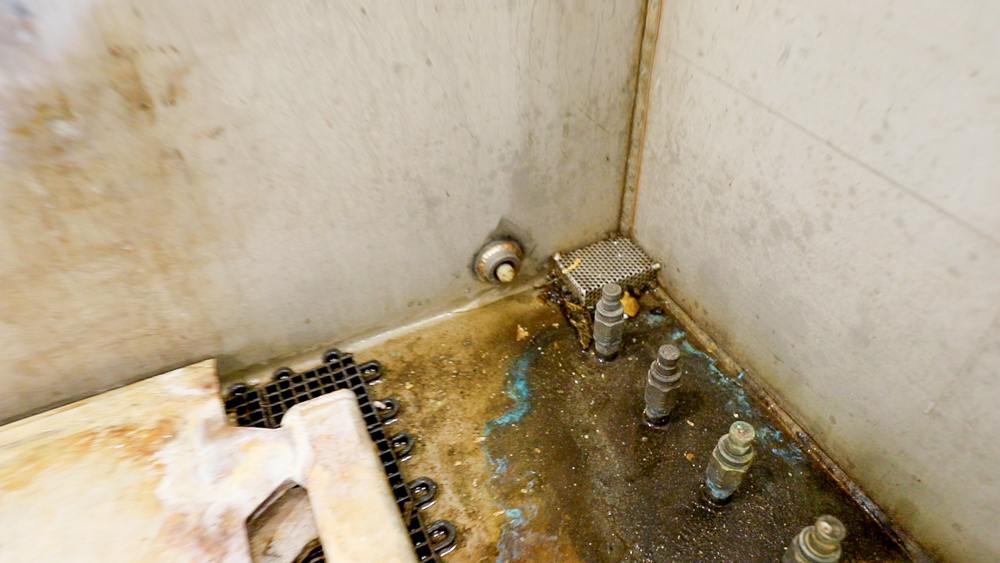
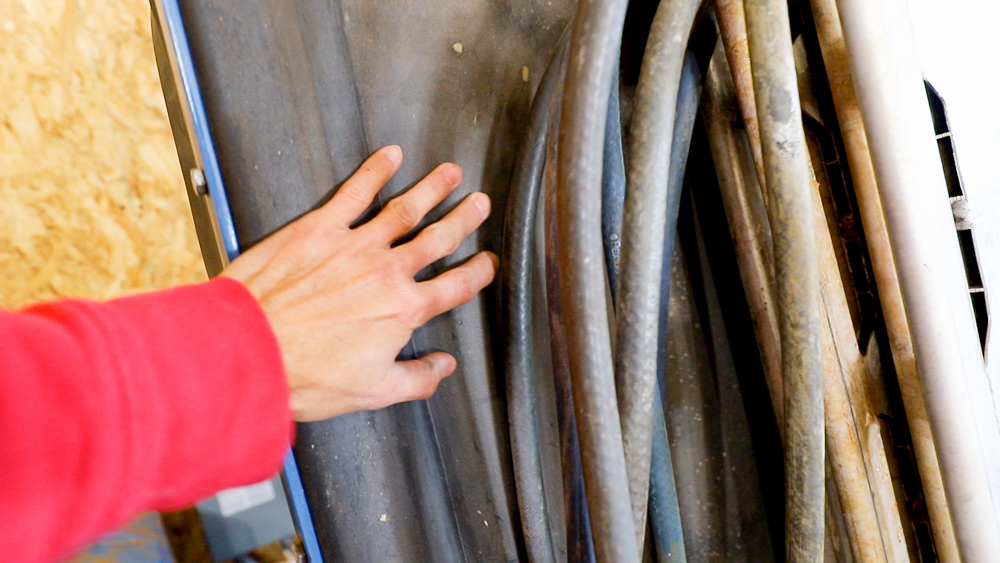
When the moisture comes out, it’s warm because of the heat from the plates, and then it’ll condense against the walls. As it condenses along the walls, it flows down into the basin at the bottom, and drains out that little wire mesh area. As a result, you don’t want anything touching the walls of the kiln, because it will leave a wet spot on your wood.
So now we’re going to start dumping some giant slabs in here and see what happens.
The kiln’s all loaded and the plates are warming up. Eric’s going to put the lid on later, and then we’ll see you in a little while to unload.
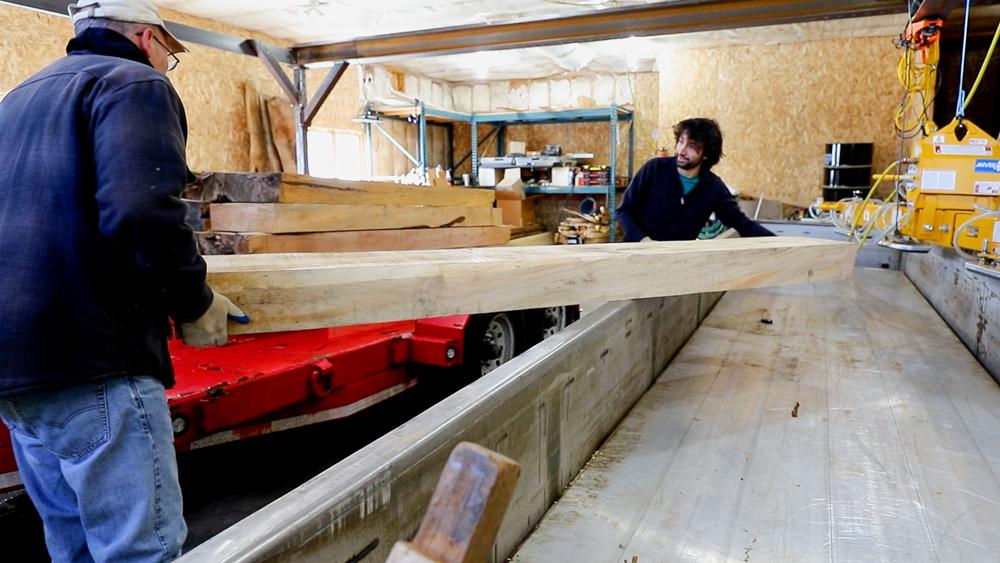
All right, we’re back 16 days later, ready to unload. Pretty uneventful 16 days, according to Eric. So we’re going to get these things unloaded and get them onto the pallet, then take a look at them.

Once I get the material back to the warehouse, I take the whole pile apart and start sorting. I want to get bench tops paired up, because I have pairs of bench tops that are fairly similar in color and grain and similar in size. I know there are some people that wanted some wider bench kits, so I will specifically make a wider pair for those folks, but the standard kits get paired together in the same way.
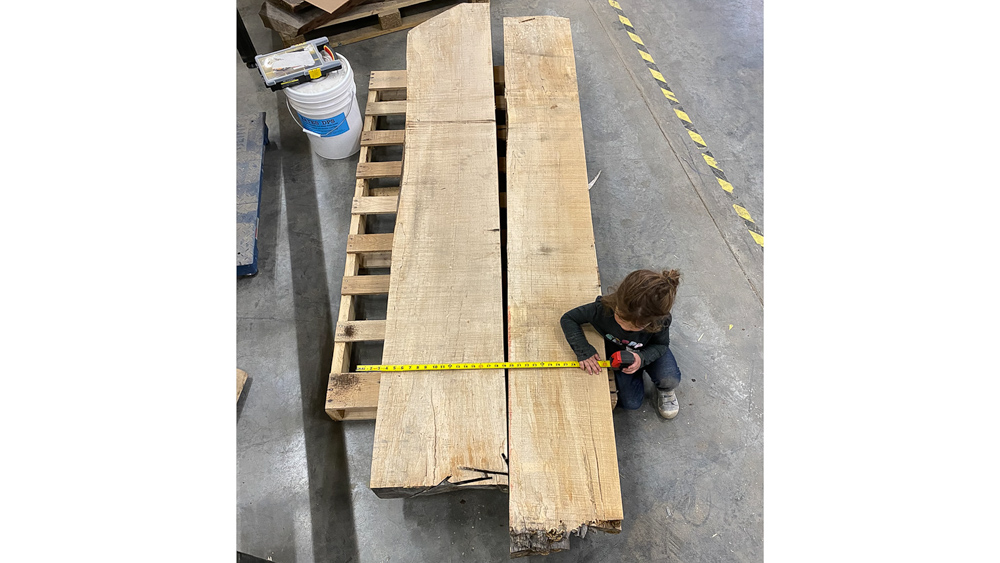
Once I have my pairs made up, I’ll start photographing them and send them out to the folks who pre-ordered them. I go in the order the orders were received, so I’ll send the first person on the list a few different options and they can pick their favorite. Then I just keep going down the list until I get through everybody or until I run out of benches.
Once I have the approval that someone wants that actual kit, I can start palletizing it and getting it out to them. I like to set all the pieces up on the forks and unitize the entire bench kit, that way the entirety of the order is all strapped together separate from the pallet. If the straps that tie the bundle down to the pallet get damaged or snap, the entire bundle doesn’t spill all over the warehouse or the truck or wherever.
So that is the second batch of workbench kits from the log all the way through to someone making their workbench. It’s always nice to get those out to people that are really excited to get their dream bench put together. I’m happy to have another round of folks with the material to make a beautiful workbench.
I have gotten a lot of questions about the next round of workbench kits. I will be doing another round, because I have at least one person from my original presale that still needs a bench. So I have to at least get that one out, but I’m going to hold off until probably in the fall. Then I’ll have an idea of what logs I’m able to get. That’s been my biggest issue actually, obtaining the correct size log to make these things. We’ll keep growing this side of things, as I have time.
That is going to do it for this one. Thank you as always for watching, I greatly appreciate it. If you have any questions or comments on the workbench kits or anything back in the shop, please feel free to leave me a comment. As always, I’d be happy to answer any questions you might have. And, until next time, happy woodworking!
Welcome to my shop! This is a quick update to let you know what I’ve been up to. This big chunky thing is the leg

Welcome back to the home renovation. This time I’m going to be working on the kitchen island. Here is a small model of the island.

Welcome back to our home renovation. Today I am going to be working on this wall. It needs some upper cabinets and the surround for