
Matt's Weekly Shop Update
Kitchen Island, Barn Power – March 2024 Update
Welcome to my shop! This is a quick update to let you know what I’ve been up to. This big chunky thing is the leg
Welcome to my backyard, and welcome to part two of my sawing adventure in producing the first batch of workbench kits. If you missed the first part, we cut up a few logs into kits, and we’re going to continue on with the next two logs, pick up some more logs and hopefully get those sawn as well. It is quite the process.
This is the first one we’re going to be cutting today. It will be a bit interesting because it does have some limbs and crotches, which are not very desirable for the workbenches. Because of that, we probably won’t yield a workbench out of this half of the log. I’ll be happy if I can get three workbenches out of this log. If that doesn’t work out, we’ll probably get one bench top and a bunch of material for workbench bases. Another smaller issue with this log is that it tapers a lot, so that might be interesting to deal with too.
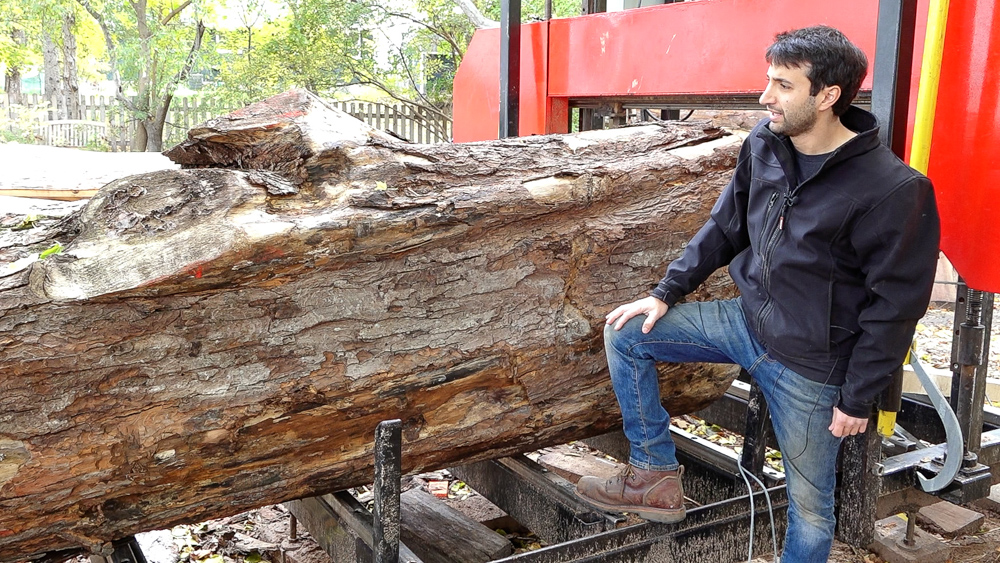
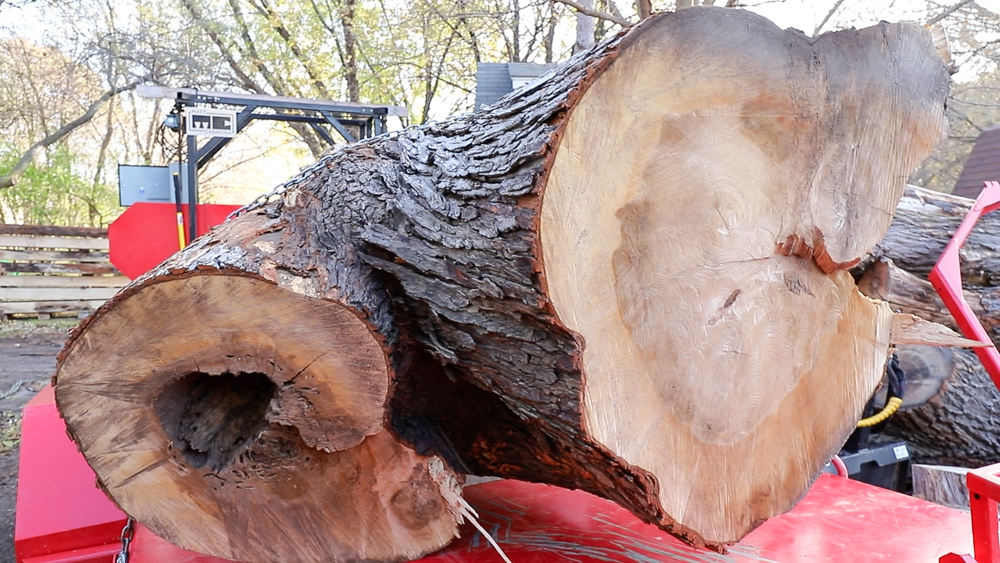
The second log is not super great. I’m hoping I can get two or three bench tops, but I might only get one bench top and some more base material. The whole top section of this log has a rotted hole that runs the entire length of the tree.
Both of these logs are iffy as far as yield goes, but I’m going to get to work. This will be the same process as in part one of this series: I’ll make a couple of cuts, remove the top half, then cut the main meat slab out of there. That will hopefully produce two nested workbench tops.

On this second log, I’m going to chop off the top half of the log which has all this decay and rot missing here. That should leave me with two quarter sawn pieces. We will see; the bottom side might be iffy towards the outside corners. And we’ll go from there.
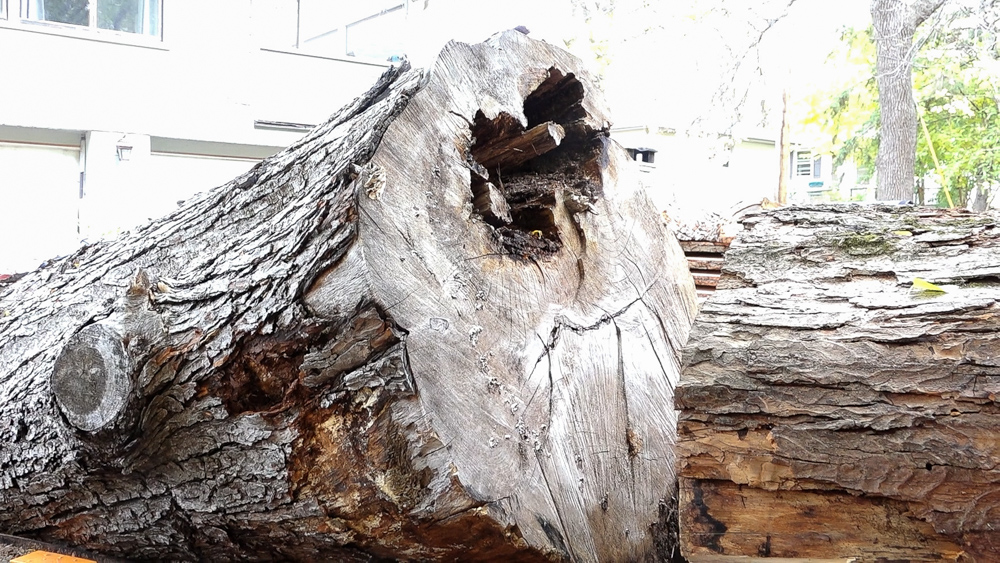
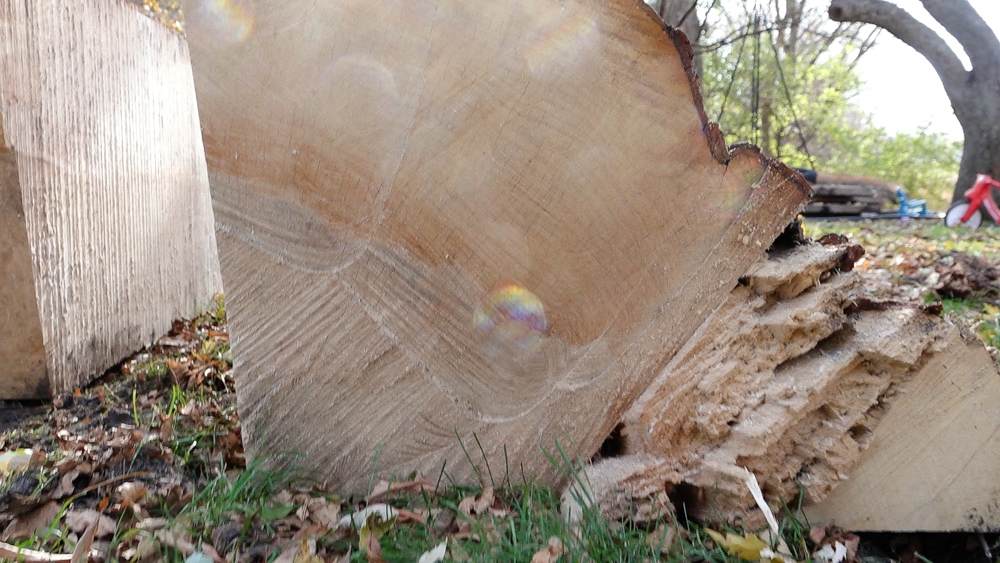
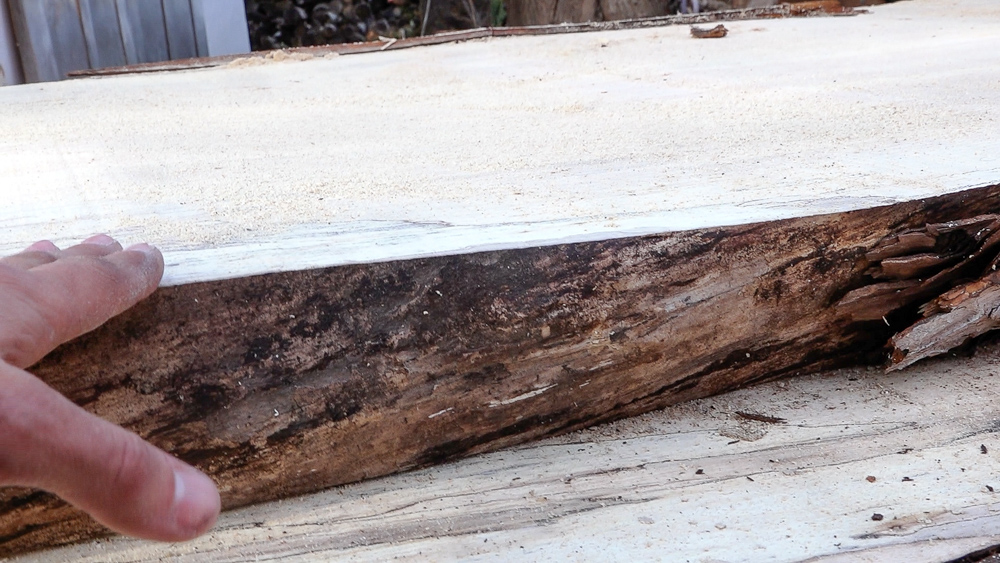
This is the top of the tree, and you can see that there is the beginning of a crotch on it. What probably happened with this tree is that there was one healthy side that was alive, and the other side died off at some point and all of that rot found its way down the entire length of the tree. It could also have been damaged; it could have gotten struck by something which killed everything up above it. So we’ll see what we can get out of this thing.
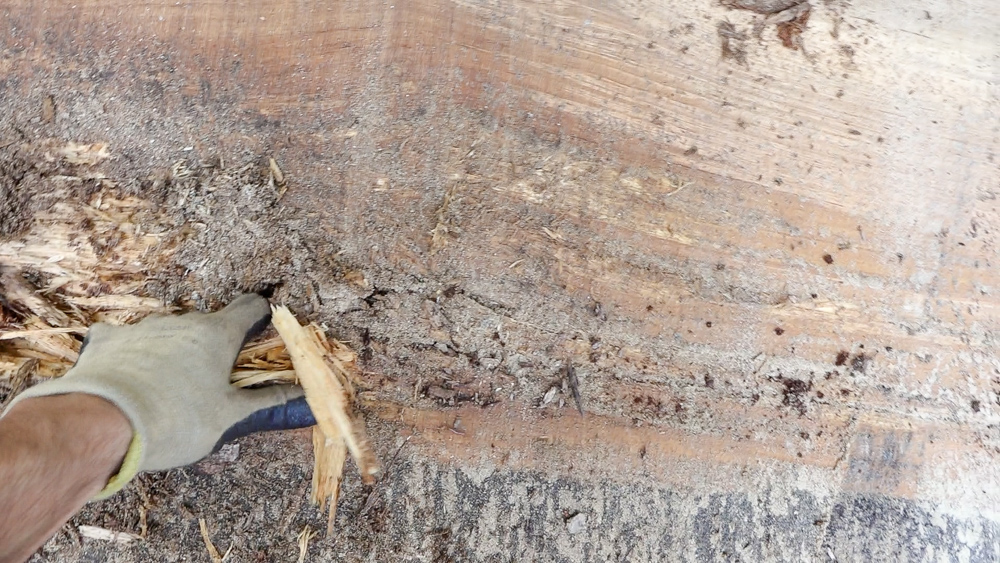
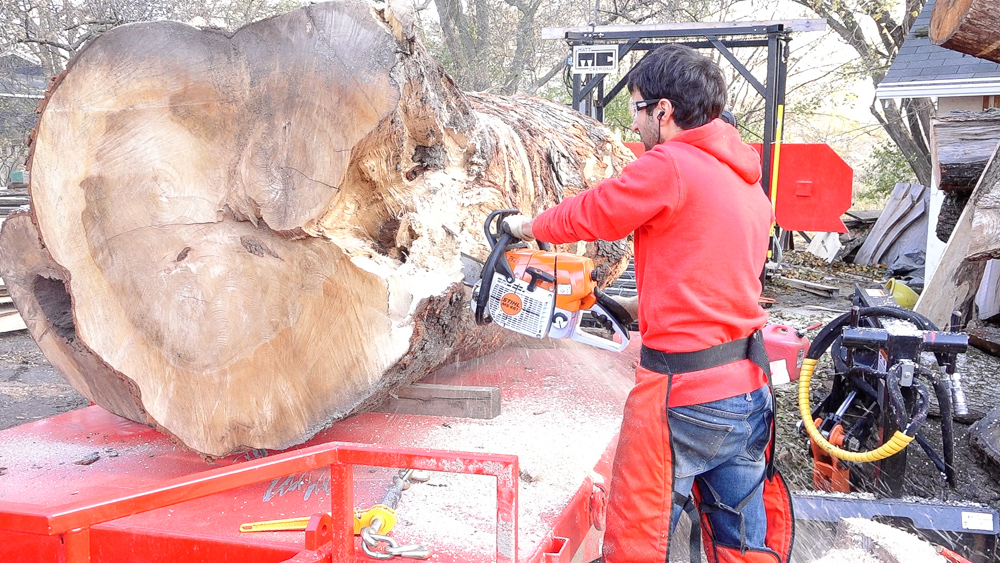
This doesn’t look super promising. There is a lot of rot, and it goes in pretty deep. I’ll keep cutting as I had planned: I’ll flip it over, make the bottom cut, the quarter cut, and that will leave a six inch piece that would normally become the first pair of bench tops. If the reverse side is really bad or looks like this, I’ll set this aside and maybe we’ll get one bench top out of it. That’s the mystery of cutting into a log – You never know what you’re going to find!

After making some cuts: this one isn’t going to happen. That’s just how it goes.
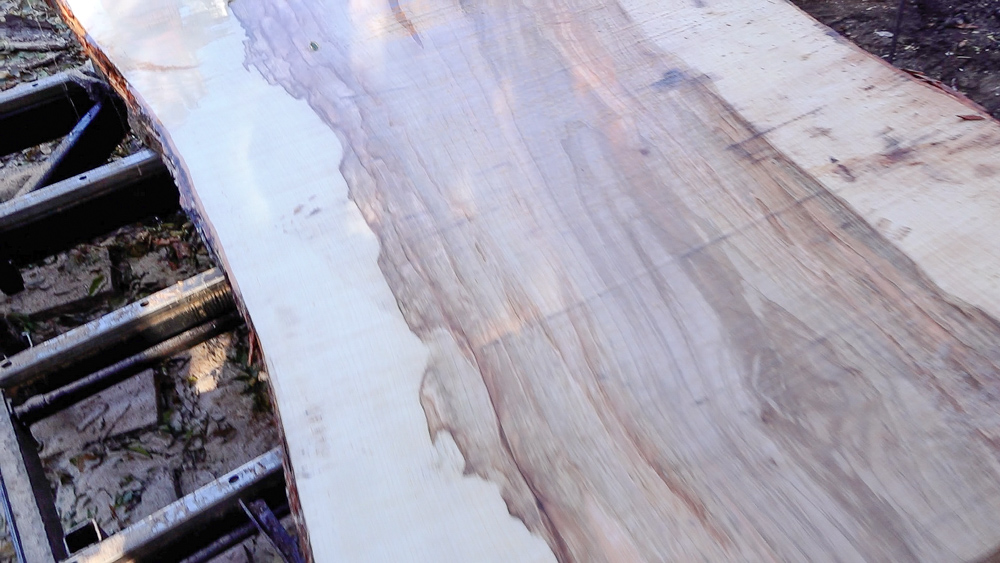
These are from the third log I sawed in the series, but the first one I cut today. The third log produced three tops. Just for fun, let’s throw some water on so people can see what their future benches are going to look like!
The one on the left is probably the nicest looking quarter sawn one. Tons of straight green. It doesn’t get much better than that. The middle one is also not too bad. It’s got one knot, so one little defect visually. The one on the right has a bark inclusion in it which makes this a B grade slab, so this side would be towards the floor. It all depends on how it dries. If it dries this well, it might not be a big deal, but otherwise it’ll be a B grade slab.
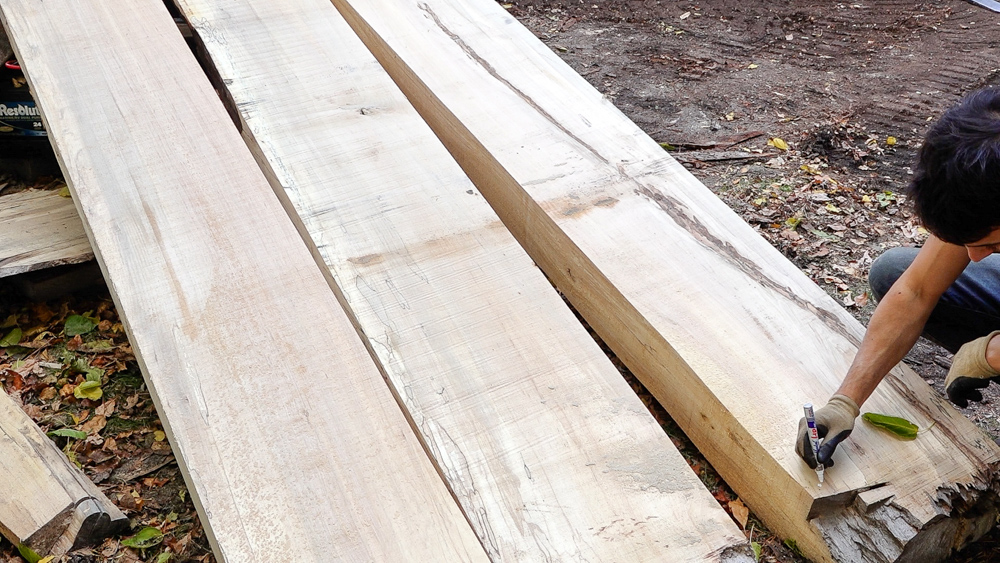
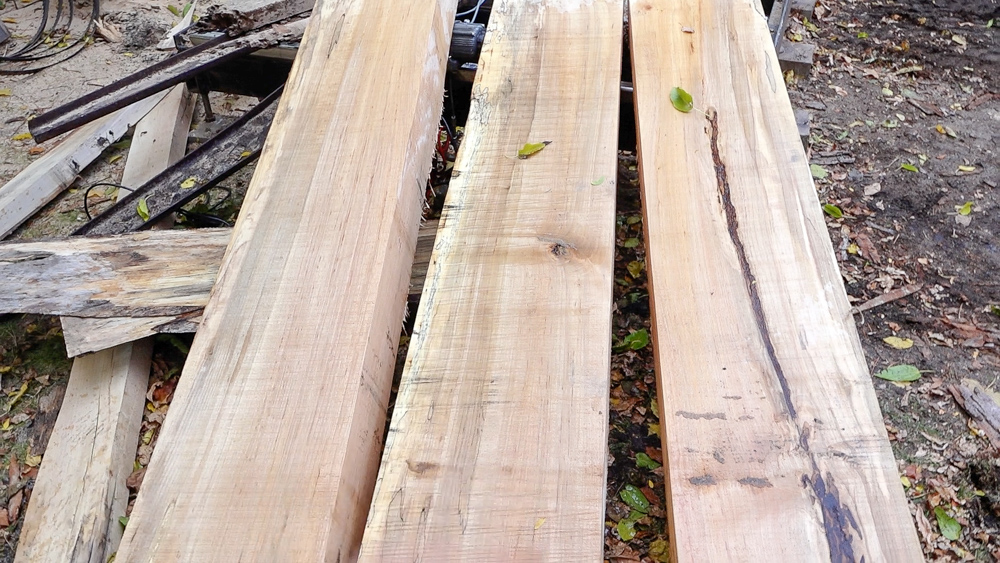
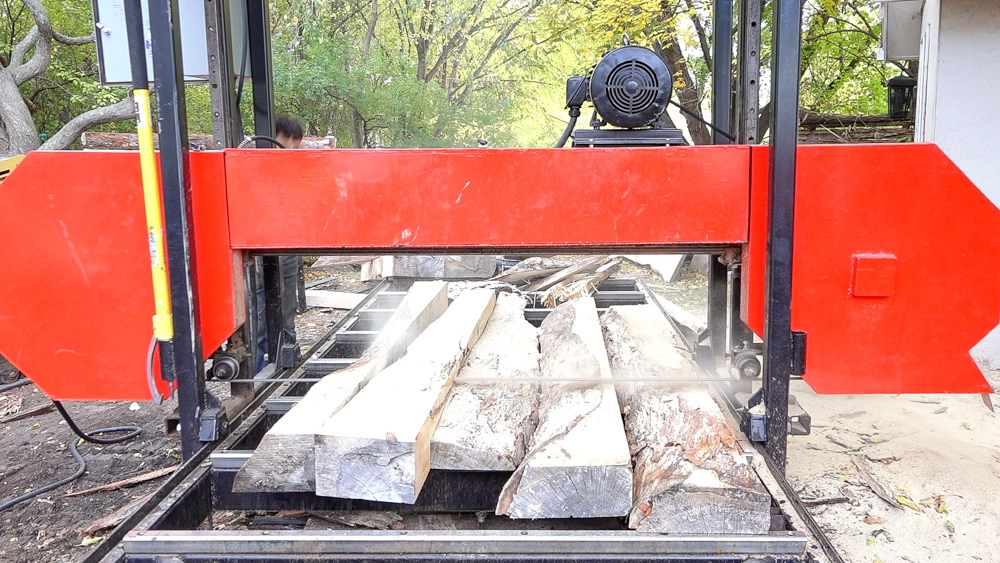
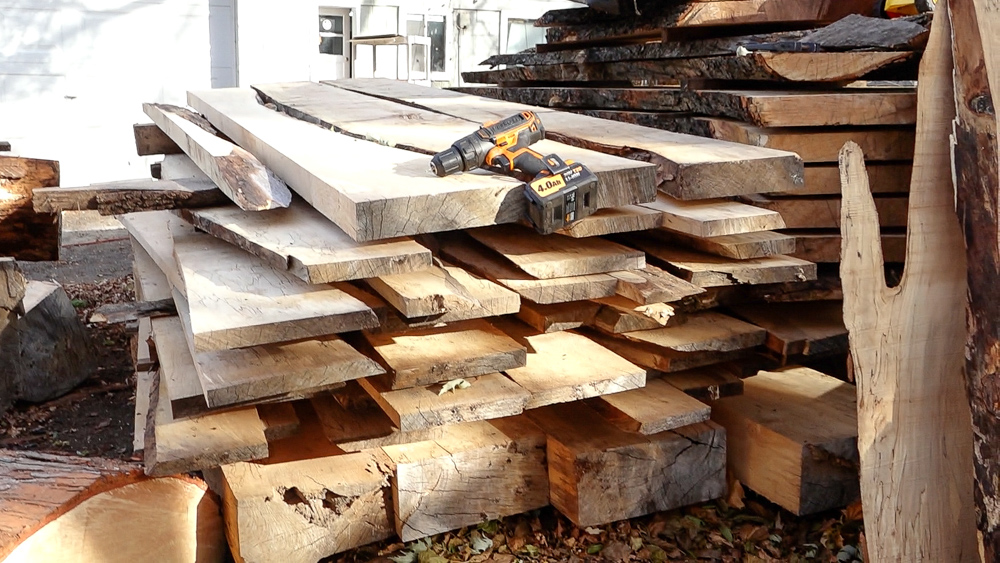
I have a lot of quarters lying around the yard now, and I still have to pick up the remaining logs that I will process. So until I get those logs, I will grab a bunch of these quarters, throw them on the saw, and cut them into boards.
I have got a nice pile of boards here, which I will get stacked, and then we’re going to go visit my buddy Matt to see logs he has got for me to turn into work benches.
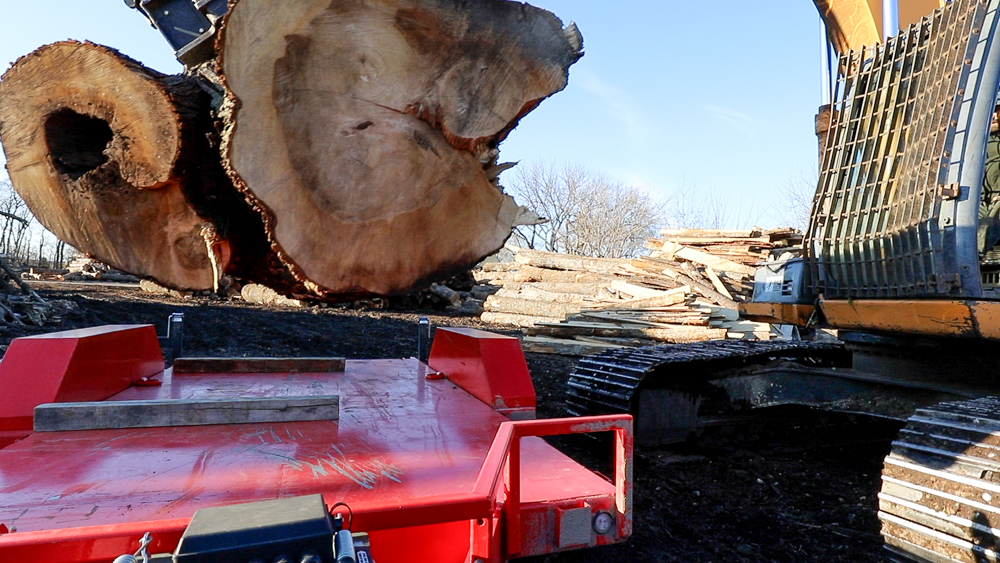
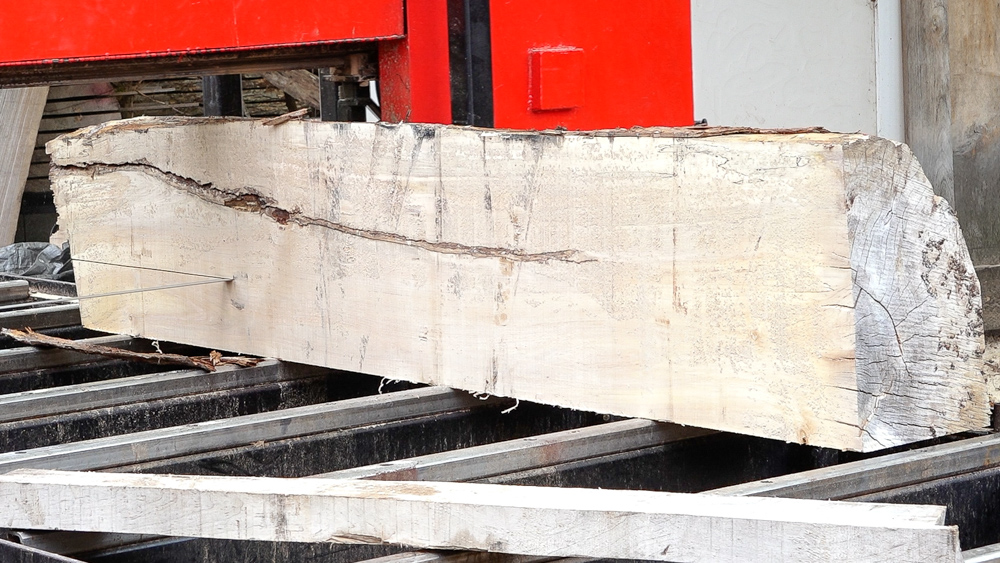
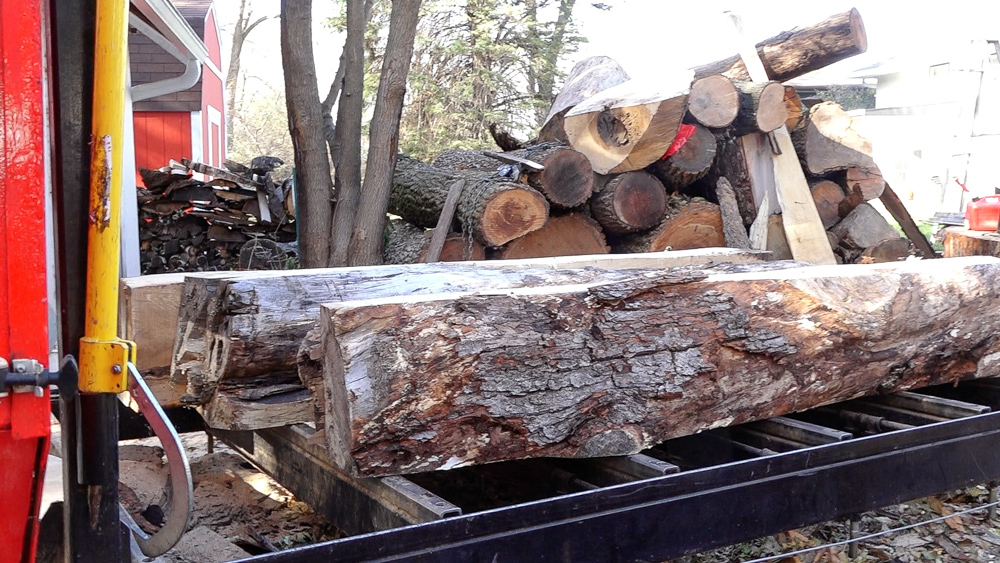
Matt has this log, which I can make work. It’s not ideal because it is a crotch log. Ideally, I would want a straight main trunk without any limbs. This log is a straight up crotch log, so we’ll see how that goes. It is also too big, so it is going to get whittled down quite a bit, into hopefully four bench tops. It should make some pretty awesome workbenches with a little bit of extra width.
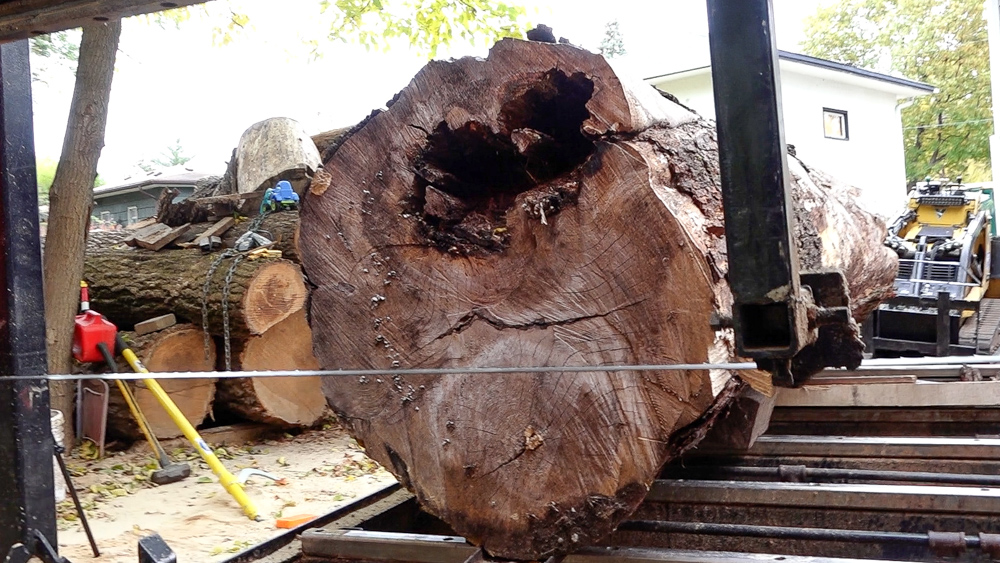
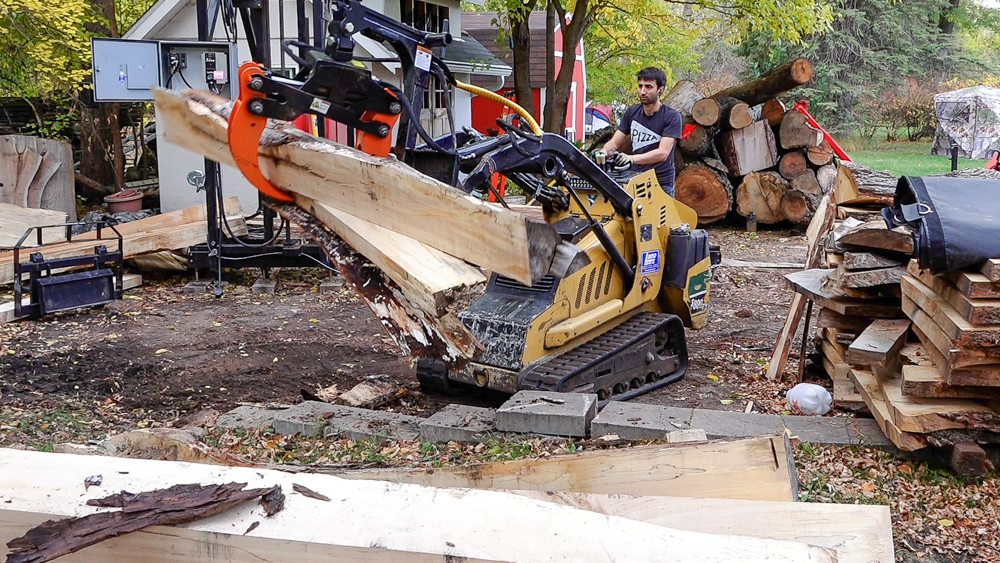
Down here, there’s a little bit of a rot pocket, with a larger section next to that. The other logs that were already cut were also crotch logs, but they were cut just below the crotch sections to make the saw logs. I’m going to do something similar with this log, and I’m going to start trimming it down right now while it’s on the trailer. I’m going to grab the chainsaw and see how far I can get.
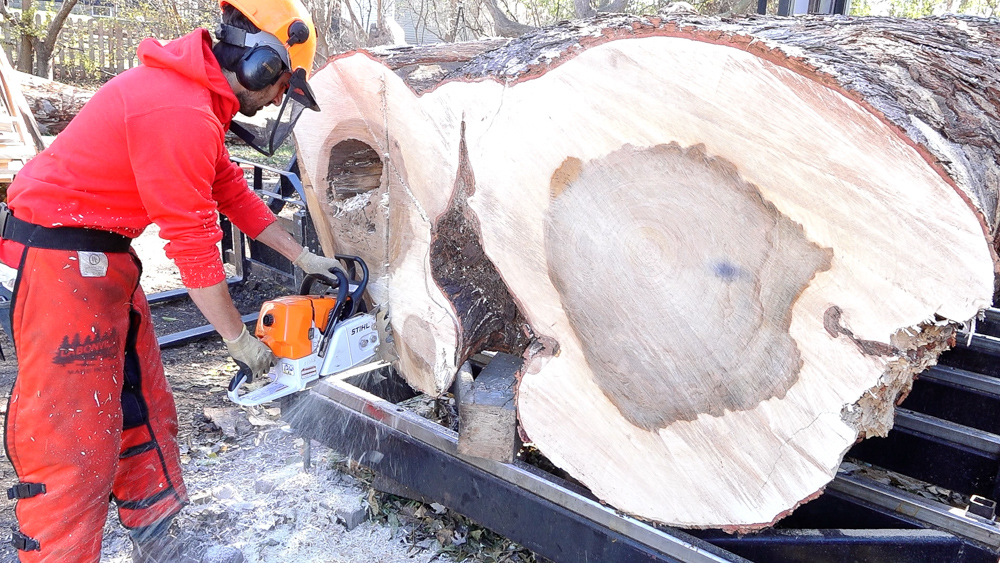
With that section trimmed off, I will be cutting the main section of the tree into the workbenches, and I’m hoping to get four benches out of it. I’m thinking we’ll have three good ones, and one will have some crazy crotch figure in it.
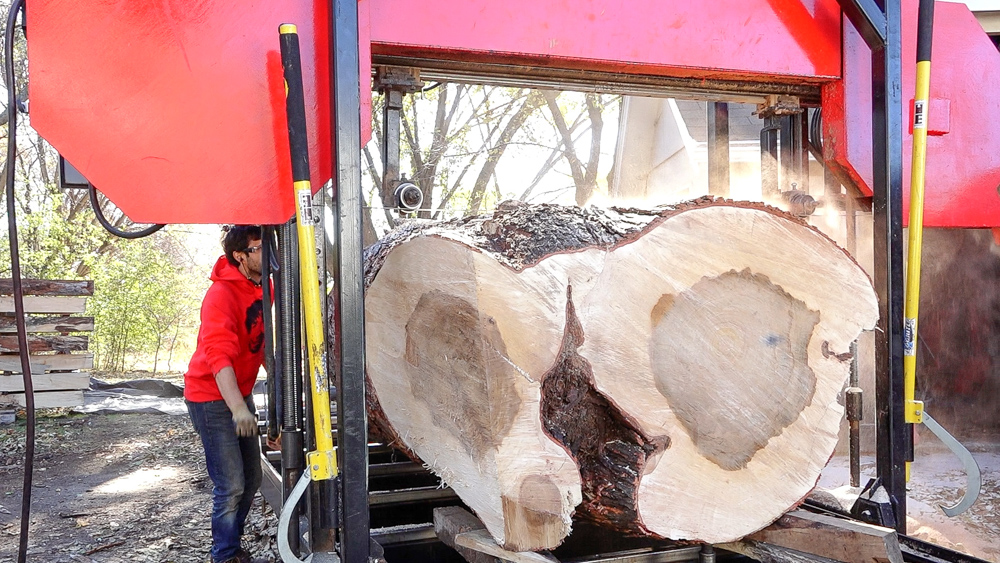
With the log standing vertical on the saw, I’m going to make a wasting cut and remove a bunch of this material, which will make it a lot lighter. The actual bench top is down more towards the middle of the log.
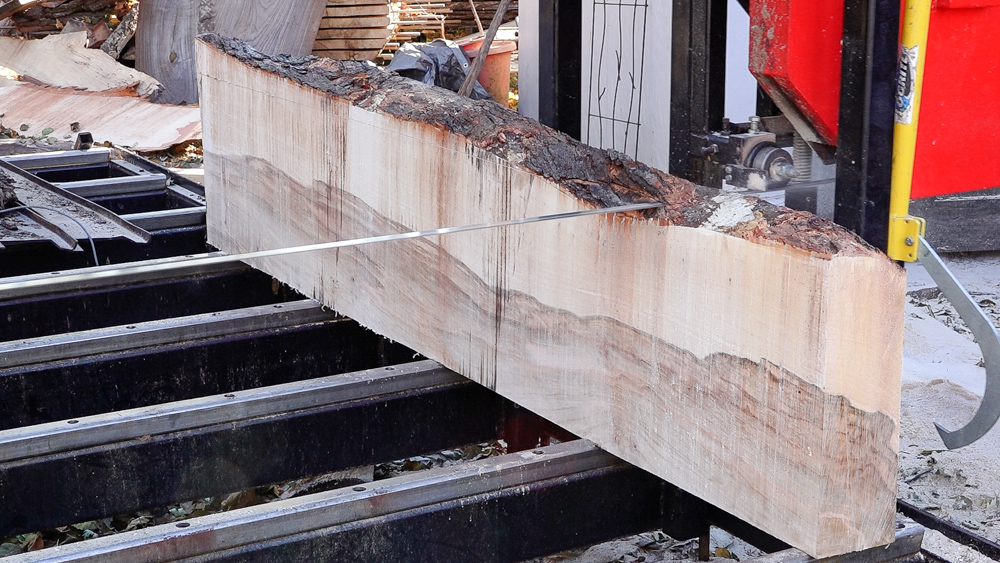

We got this beautiful, giant, wide bench top out of there. I also have a big slab which I still have to cut up into a pair of bench tops.
What’s cool about this big log, even though it’s so much bigger than it needs to be, is that this quarter is still big enough to get another bench top, if I cut it diagonally.
The last thing I’m going to do is a little bit of cleanup work. I have all the quarters and chunks from the other logs that I already cut. I’m going to do a little bit of cleanup cutting.

First off is this big chunk right here. I’m going to cut it into three individual slabs. Something a little odd about this one is that it is not in contact all the way across the bandsaw. I’m not sure if it warped as it’s been sitting out here, or it’s because of how it was cut before, but one end was lifted way up in the air, leaving this top slab with a tapered thickness. It starts out at three inches thick and it comes down to three and three quarter inches on the other side.
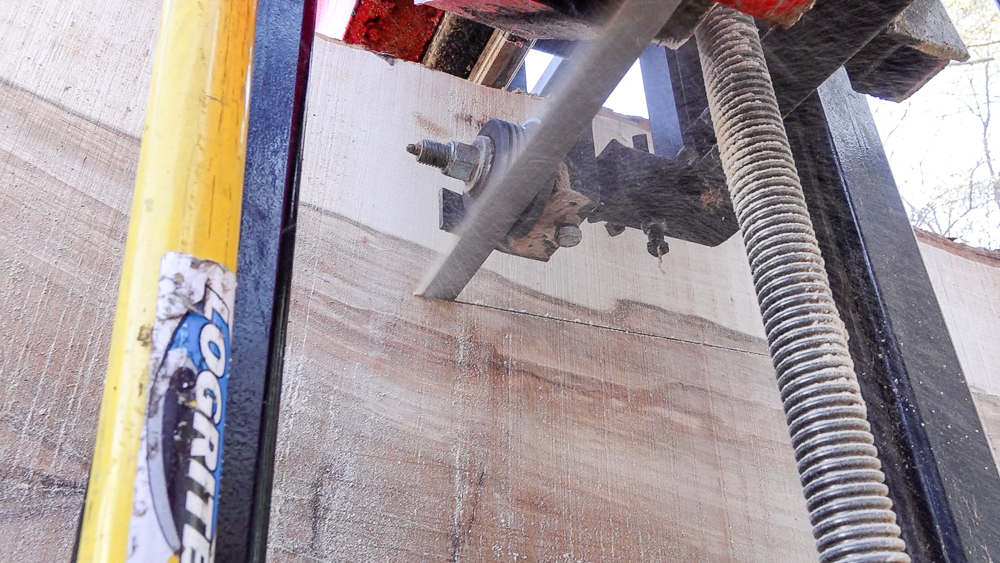
I’m going to do a skim pass, which is usually hard with a bandsaw. The blade wants to be supported on both sides of the cut. I’m running this carbide-tipped blade, which has actual teeth, so I might have a better chance of actually getting into a tapered cut as I come across.
Well, it’s got a bit of a dip here where the blade went back into the wood. Because it was unsupported on both sides of the cut, the blade rose a bit, and then it got back into all the wood, and righted itself out again. It got a little low as it tried to reestablish its course. That’s the one drawback with bandsaws: they have to have something on top and bottom to cut symmetrically.
I’m going to cut these at six quarter. That’ll get me through these a little quicker because there are fewer cuts.
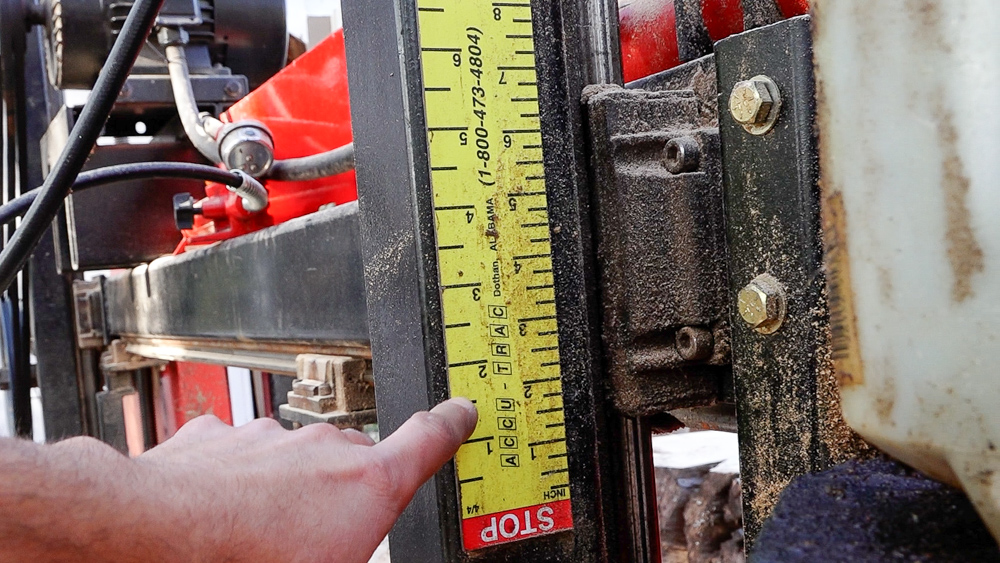
I can use my lumber scale for this. This is actually a four quarter scale, but if I go one and a half increments, that gives me pretty close to six quarter. There’s going to be a few cuts, and I’ll get a lot of boards.
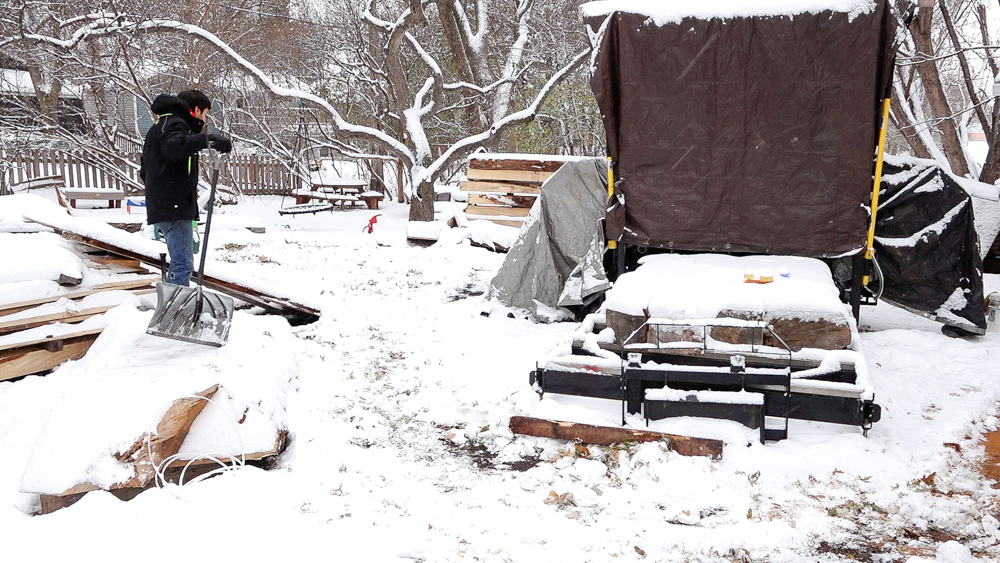
What a difference a few days can make! It’s November in Minnesota, and we got a little bit of snow in the last few days. To wrap things up, we are going to take a quick look at the slabs I cut, then I’m going to fork them onto the trailer and bring them to the new house to be stacked. Normally you don’t want to leave cut stuff together because they’re going to mold, but you can get away with a lot of things when it’s freezing outside.
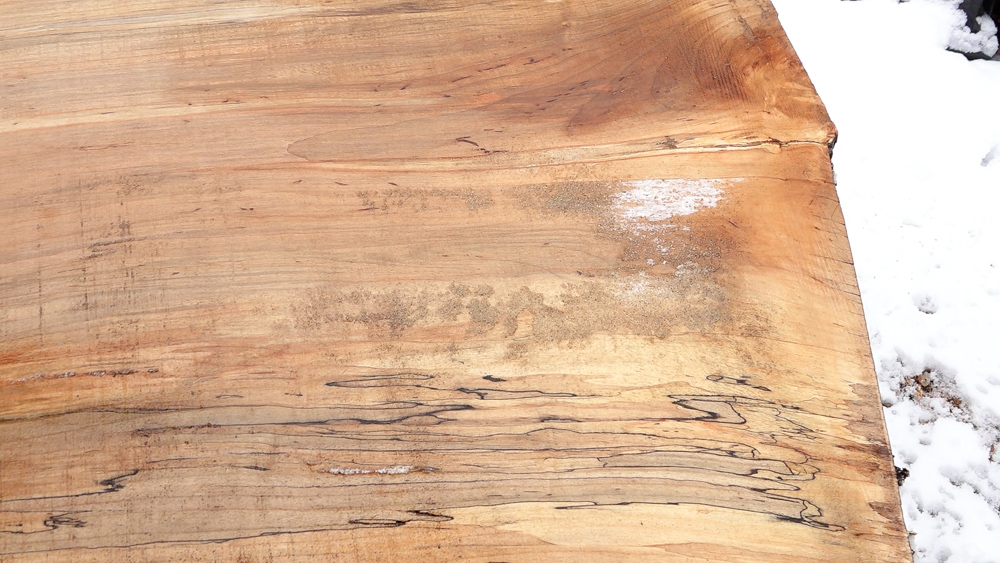
This looks pretty spalted. This isn’t great for a workbench because it’s a little bit punky in a few spots, but it makes for some nice looking slabs. At least the waste from this project is beautiful too.
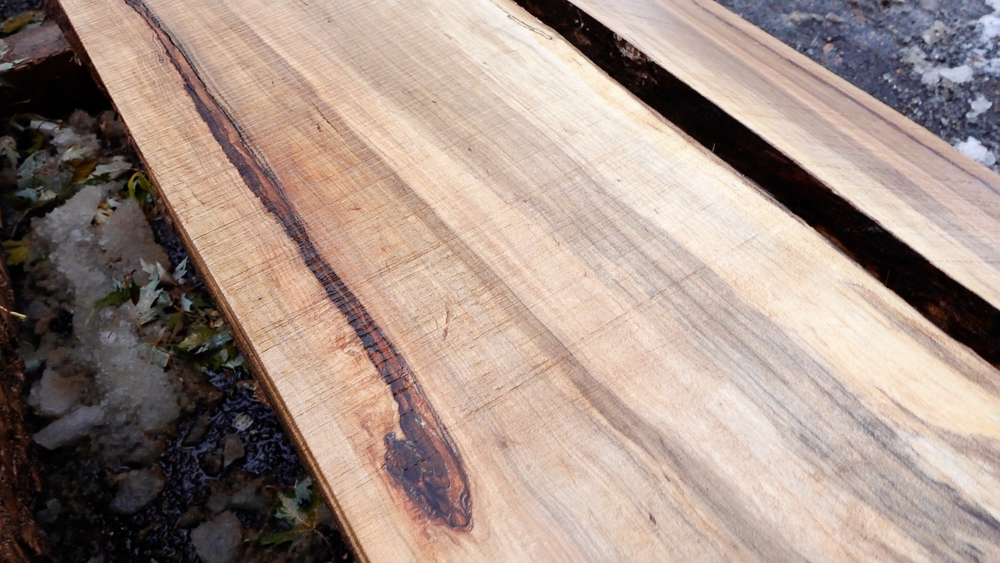
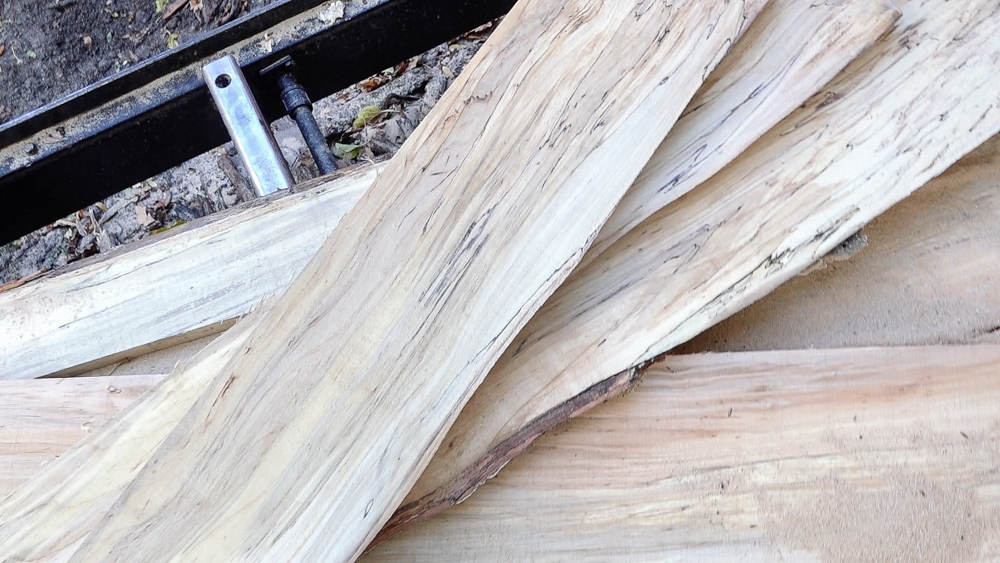
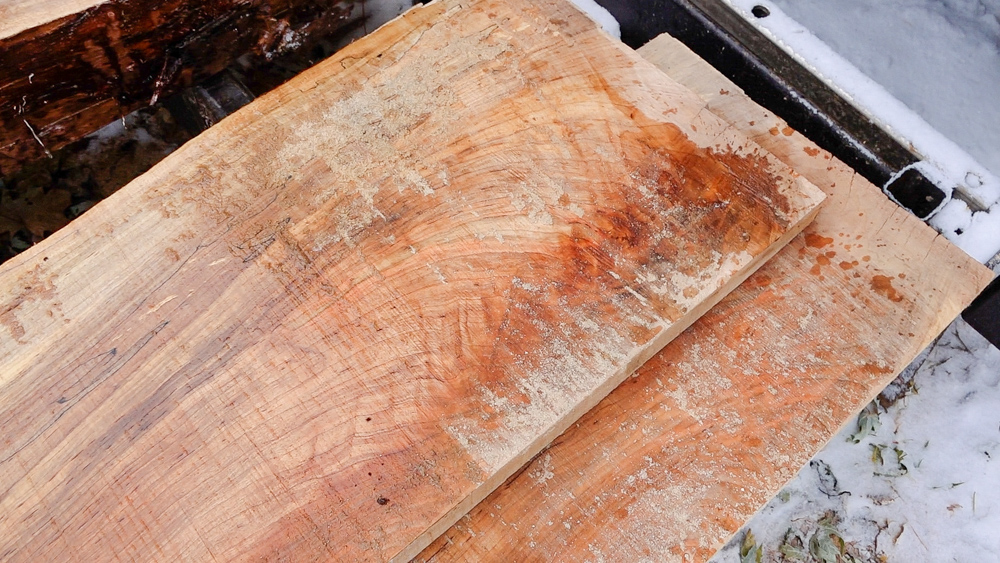
This one has a large bark inclusion which is splitting, but it’s got some fantastic figuring and swirly patterns. These boards have been sitting around for long enough that they’ve got red/orange discoloration, which is I think nicer than boring white color.
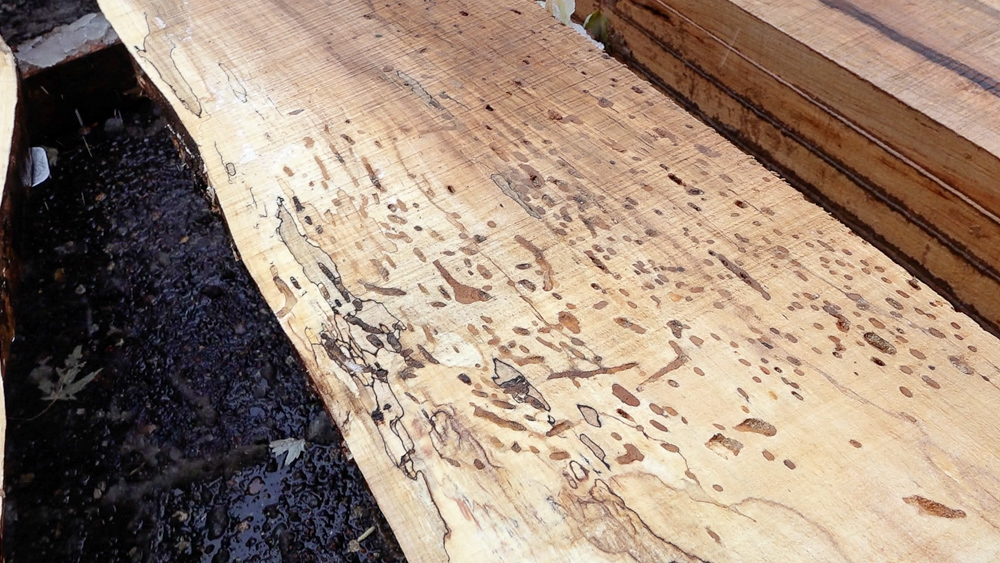
This one has some critter holes. This is all pretty punky and mushy. These boards are six quarters, so they could be edged and glued up into three or four board tabletops pretty easily.
Here are some more of the six quarter boards. Take a look at the color in this stuff! We’re getting a little bit of a figure here from this crotch area. These would make a pretty awesome bookmatched river table. Pretty good for waste!
That is going to do it for this one! We made some pretty good progress on getting this batch of workbenches ready to go. Next time, we will finish up everything for this batch and get them ready to ship. I still have part of the big log to cut up into two bench tops, and then we have the quarters from this bigger log to process. Plus I have to cut up all the leg stock. Still lots to do, probably a good solid day at the sawmill still to go, but we’re getting towards the end of this batch!
For any questions or comments on the workbench kits, anything on the sawmill, or anything back in the shop, please feel free to leave me a comment! I’ll be happy to answer any questions you might have. Until next time, happy woodworking!
Welcome to my shop! This is a quick update to let you know what I’ve been up to. This big chunky thing is the leg

Welcome back to the home renovation. This time I’m going to be working on the kitchen island. Here is a small model of the island.

Welcome back to our home renovation. Today I am going to be working on this wall. It needs some upper cabinets and the surround for