
Kitchen Island, Barn Power – March 2024 Update
Welcome to my shop! This is a quick update to let you know what I’ve been up to. This big chunky thing is the leg
Cutting big and small cookies from logs on my bandsaw mill, testing a few drying scenarios, and taking a look at the results one year later.
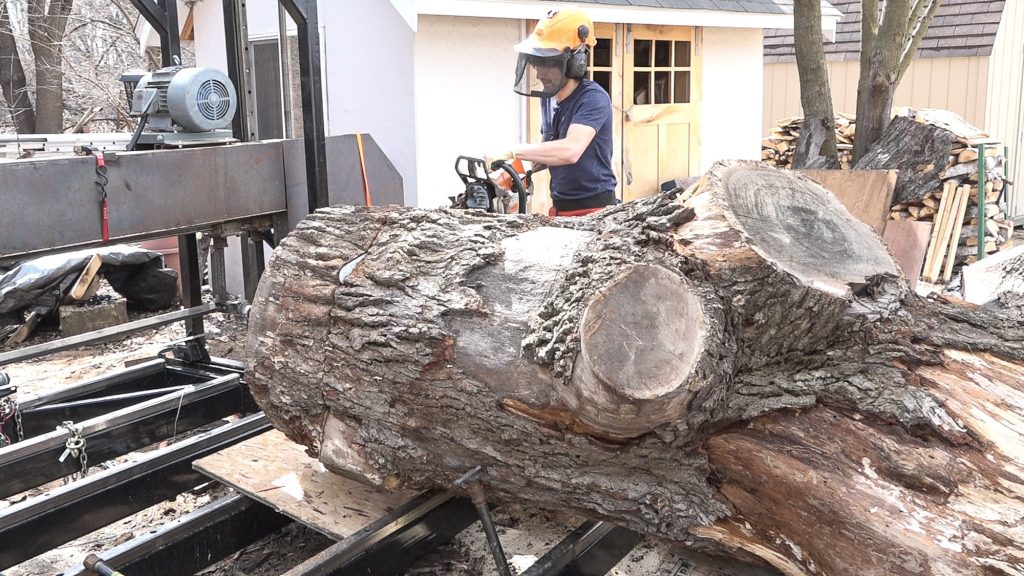
The section of log that I’ll be cutting came from this white oak log that I salvaged and cut in a previous video. Before I got it it, someone had started cutting it into firewood rounds. They cut a few sections off but weren’t able to make it all the way through one of the cuts so this bottom section was still partially attached. I had hoped that there was still enough material attached to just yield some longer slabs but the cut was almost all the way through. I completed the cut before slabbing the log and set the round aside.
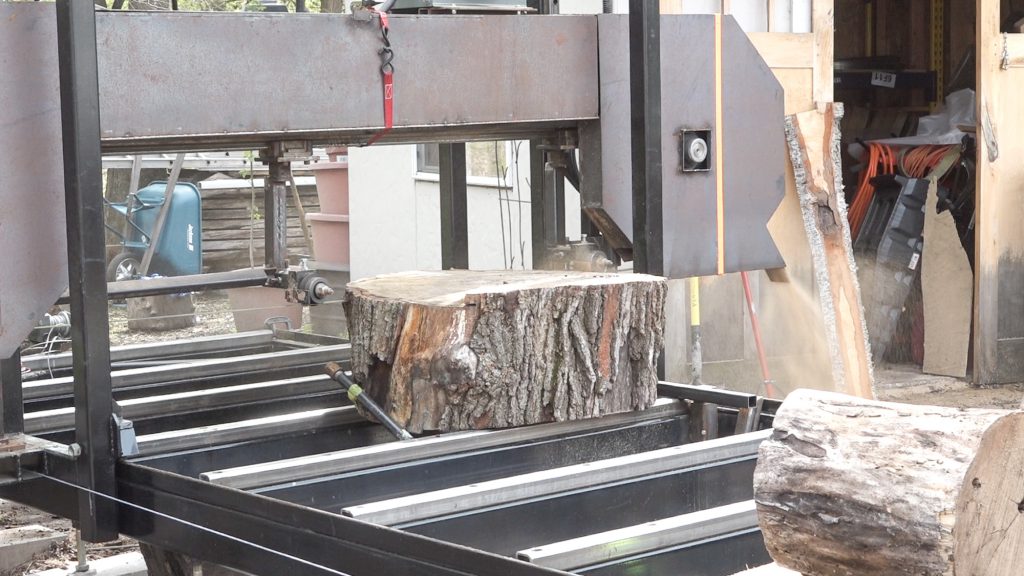
This round is approx 30″ in diameter so it can sit directly on the bunks of the bed. The only modification needed to hold the round in place is to add a fence against the stops on the right side of the bed. I cut this round into 4 3″ thick cookies.
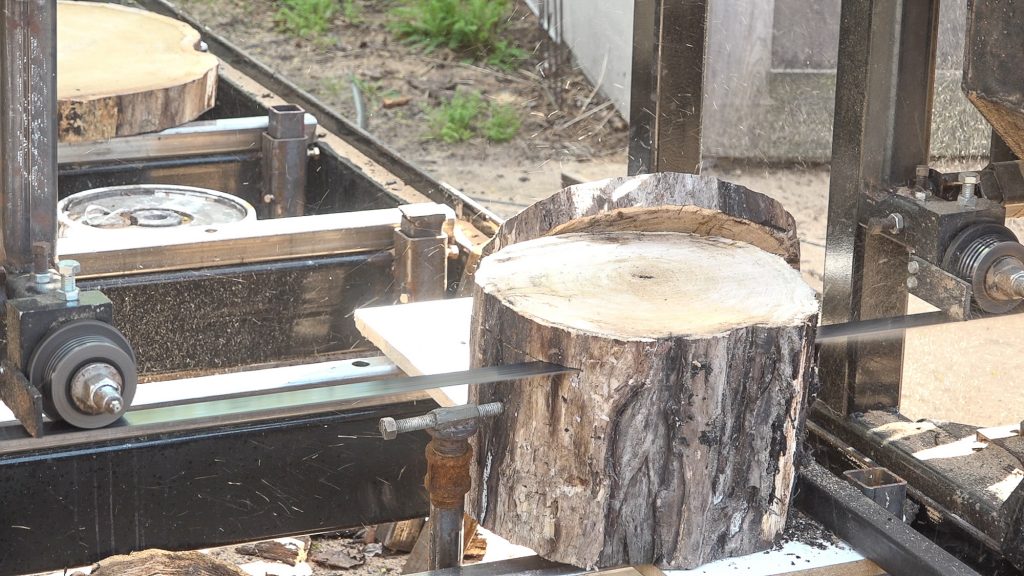
To hold smaller logs, there’s some holding creativity needed but nothing too crazy. The biggest thing is the logs need a platform to sit on since they would otherwise fall between the bunks. Again a fence is added on the right to keep the log on the bed, and the log clamp presses the log into the fence.
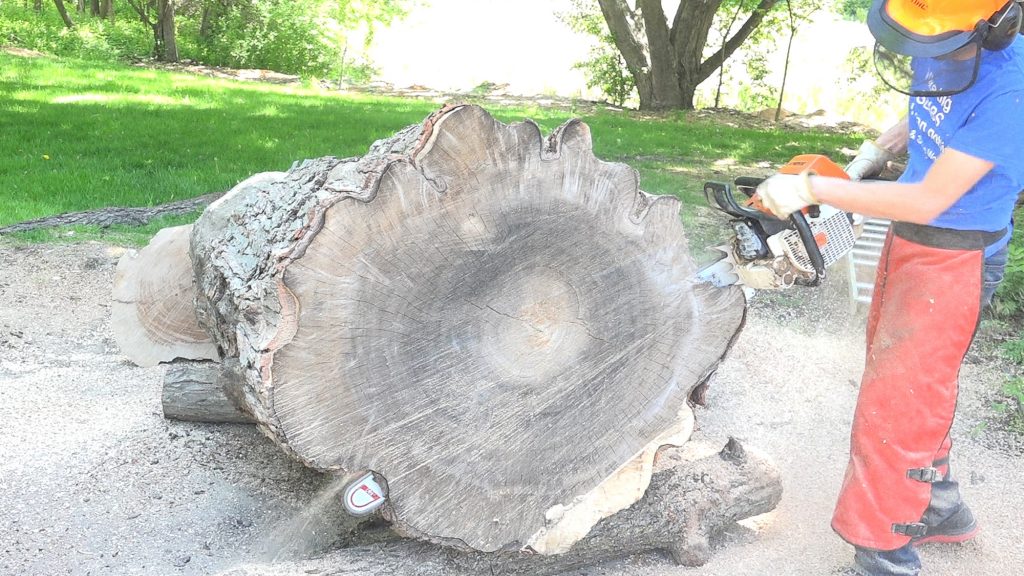
A chainsaw can also be used to cut cookies. The biggest concern here is getting a consistent thickness cut. The more consistent the cookie is cut at this point, the less surfacing you’ll have to do later. If you have a chainsaw mill attachment and the log is big enough, that can be used to slice the cookies off the log. If you need to do it freehand, I find that I can get the most consistent cut but allowing the saw to pivot though the log. I plant the dogs somewhere in the 2 o’clock area and just let the bar fall though the log. [shown here is a 046 with a 42″ bar trimming the end of a silver maple log]
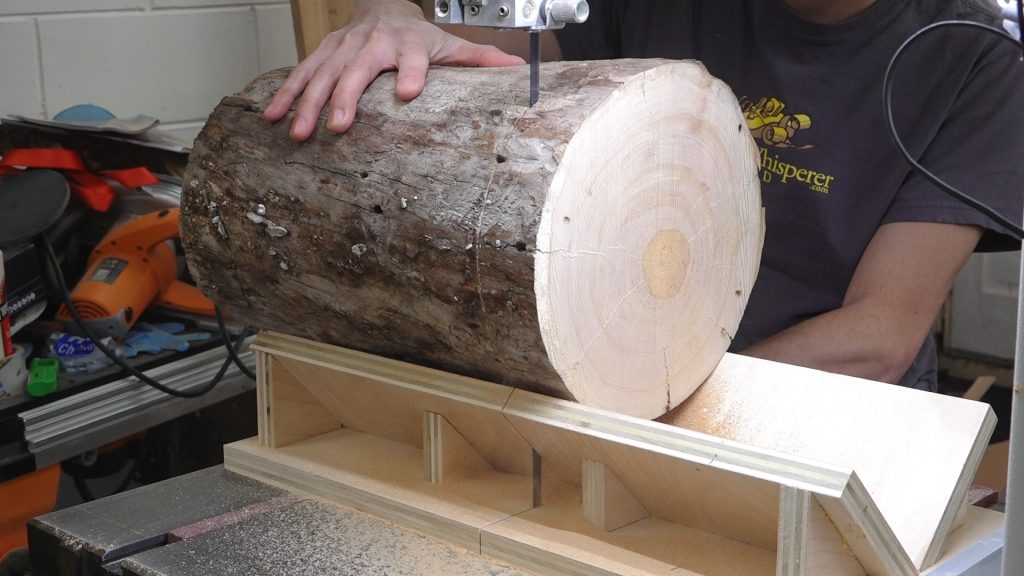
If the log is small enough, it can also be cut into cookies using a bandsaw in the shop. The biggest concern here is keep the log from rolling as it enters and exits the cut. The blade could pull the log out of your hands as the cut is started which is a good way to ruin a pair of pants. Building some sort of v block sled really helps to stabilize things and makes this process much safer.

As the cookies dry, they build stress (see explanation below) and crack. There are many ways to combat this and I’m testing a few methods. First is slowing the drying so the stresses have time to (hopefully) equalize. For this case, I’ll apply an endgrain sealer.
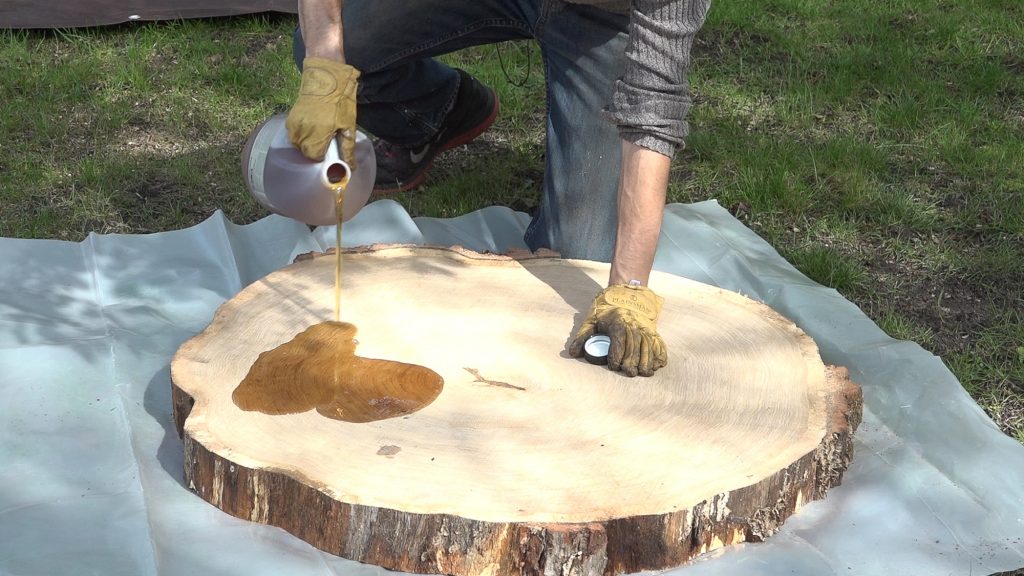
Another method is to replace the water with something else. For this scenario, I’m applying Pentacryl. I applied about a half gallon to these 30″ diameter; 3″ thick cookies. This probably wasn’t enough and a better way would be to submerge them for a week.
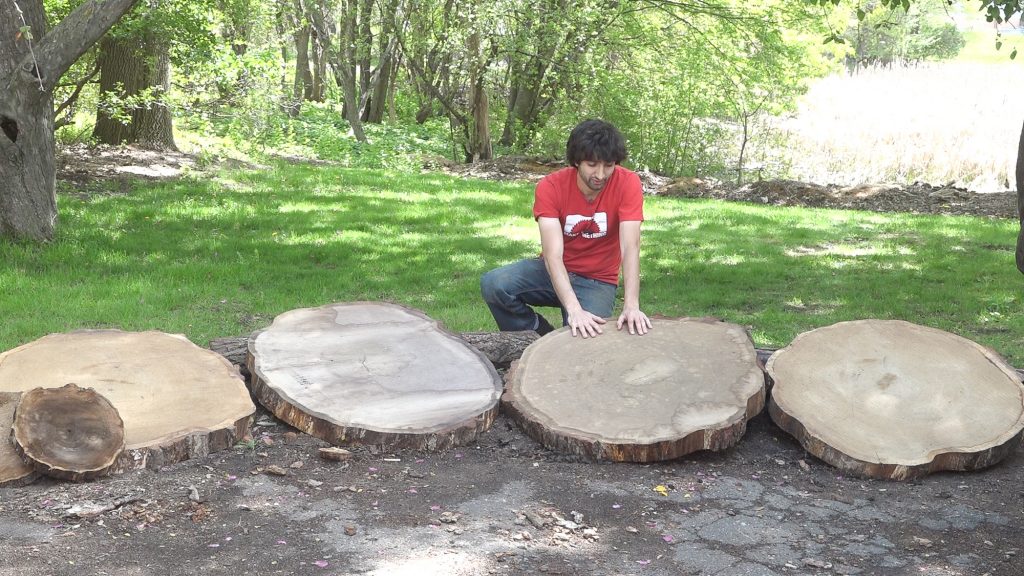
A look at the 4 large cookies. Two coats of Anchorseal on the outsides, Pentacryl treated cookies in the middle.
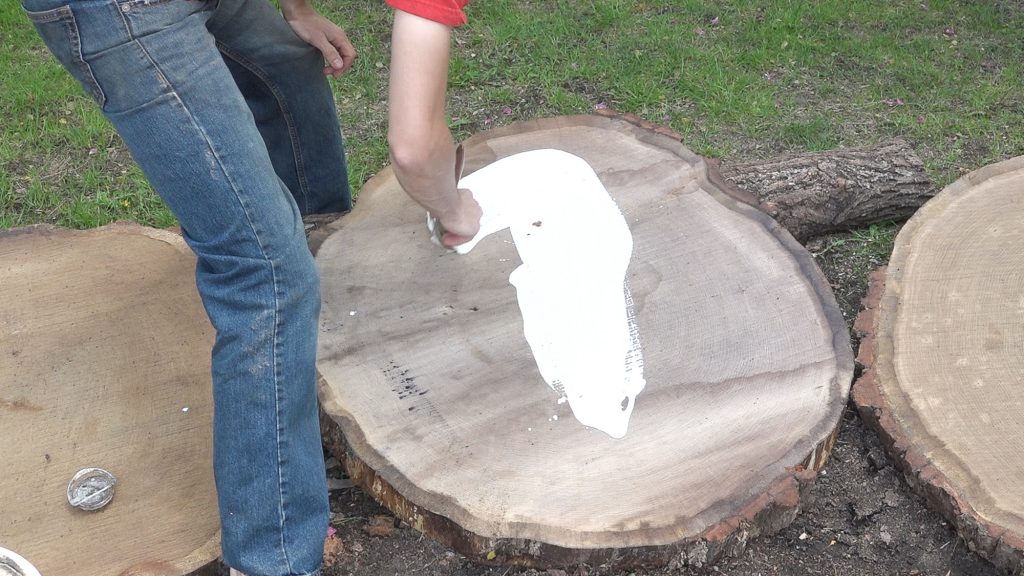
The literature that comes with the Pentacryl suggests applying a coat of green wood sealer (Anchorseal) to help slow and even out the drying process. I applied sealer to one of the cookies as an additional test case.
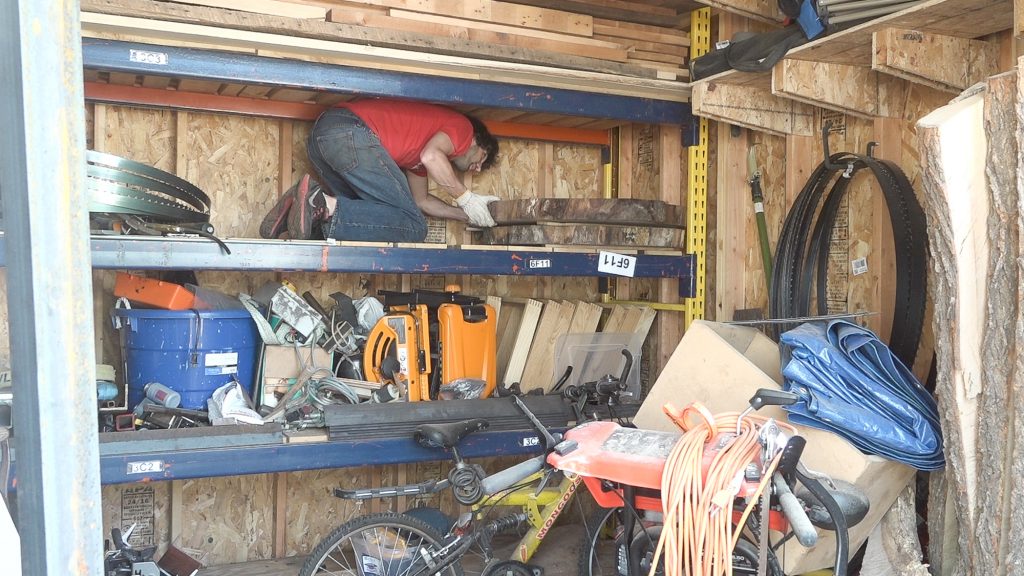
To ensure that the cookies dry slowly, I stack them on the pallet rack in my shed. Since the shed is enclosed, there really isn’t any natural airflow through the building.
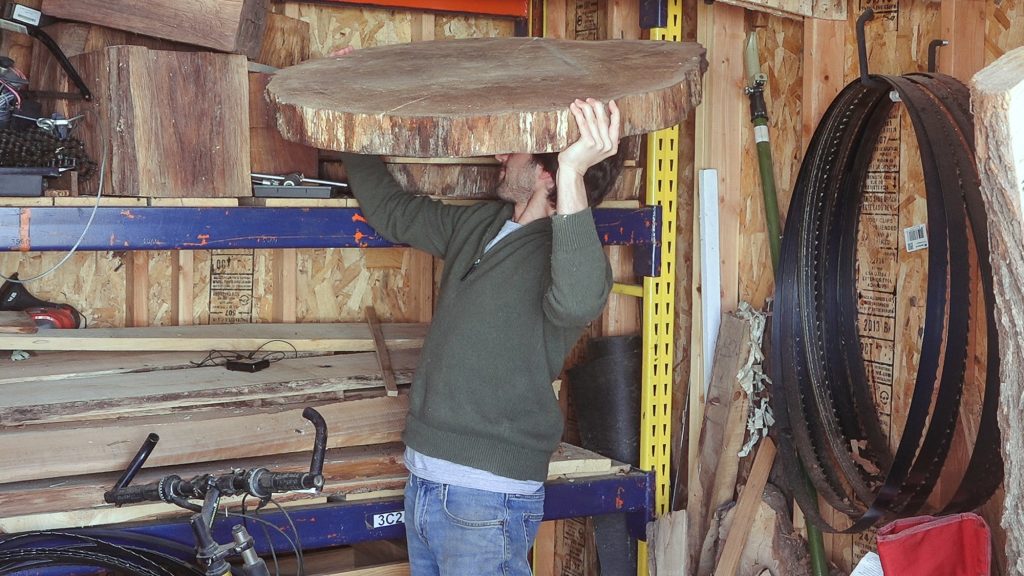
Almost a year later. Let’s take a look!
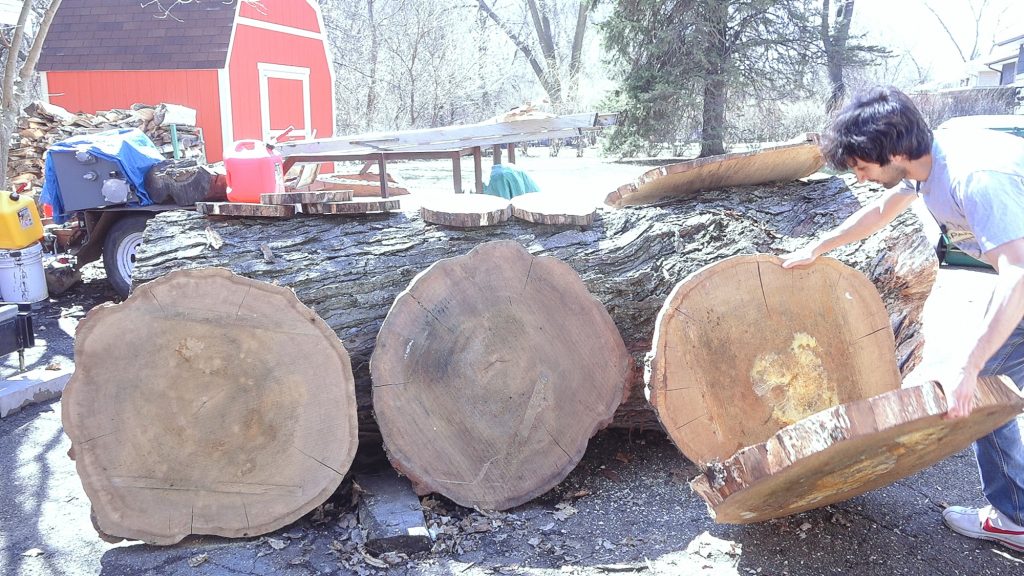
Pentacryl, Pentacryl with Anchorseal, Anchorseal
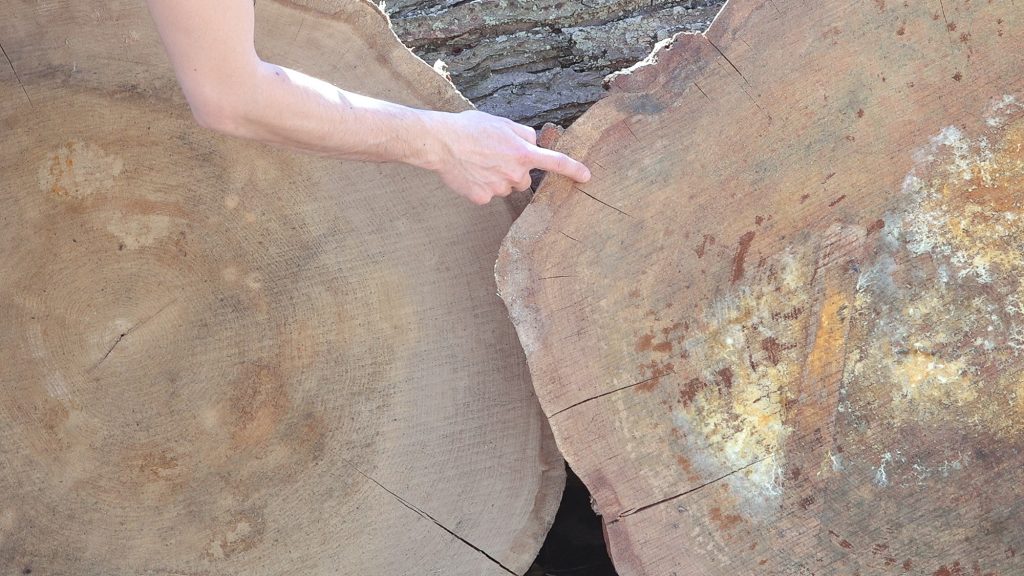
All the large cookies had cracks forming but interestingly, the ones with Pentacryl did not have any small cracks developing. The ones with just Anchorseal had many small radial cracks forming between the larger radial cracks. The ones with Pentacryl had a few large cracks but no small cracks forming. There was approx 8-10″ between cracks whereas the Anchorseal had cracks at 1″ increments around it’s outer circumference.
At this point however, the moisture content is still in the low 30’s so these still have a significant amount of drying to go. I expect the cracks to grown from this point as moisture is further released. Nothing here is conclusive at this point but this should give us an idea of what to expect. Drying these things without cracking is a losing battle. You can put things in your favor but the biggest component of drying without cracking is luck.
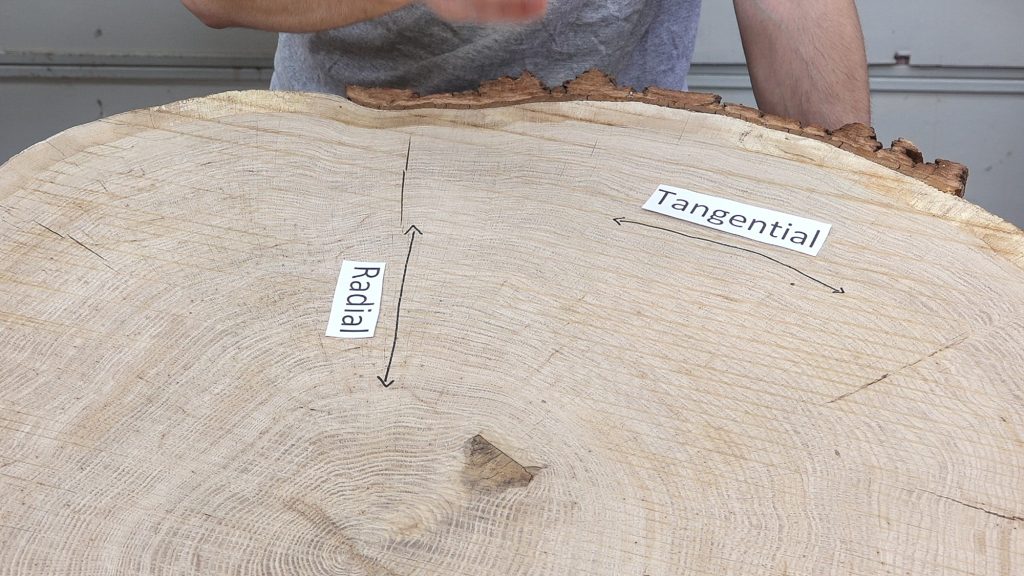
So now you may be wondering why do these things crack in the first place? Why is crack free drying take so much effort and even then they probably will still crack? Well the simple answer is they’re not designed to dry without splitting. It the tree’s structure and material properties that we are fighting. Looking at the face of the cookies, we can see two of the wood’s planes. The tangential plane follows the growth rings around the tree. This plane can be thought of as the length of the growth ring. The other plane is the radial plane which goes across the rings from the center of the tree (the pith) to the outside. This plane can be thought of as the thickness of the growth rings. The cookie self destructs due to the drying relationship between these two planes. As the wood dries it will shrink but the tangential and radial planes shrink by different amounts. The tangential plane will shrink more than the radial plane. The exact ratio varies by species but it’s generally around 2x. Due to this relationship as the wood dries and shrinks the growth rings will be put into tension as they try to shorten trying to compress every ring closer than it to the center. Stress builds until the wood splits. Also keep in mind that the further from the center a ring is, the greater it’s circumference and therefore the more it will shrink.
Pentacryl: http://amzn.to/2pI8O26
Anchorseal: http://amzn.to/2pIaIQr
5 Gal Pail of Anchorseal: http://uccoatings.com/product/anchorseal-2-5gallon/
5 Gal Pail of Pentacryl: http://www.preservation-solutions.com/product/pentacryl/
Moisture Meter: https://amzn.to/2Hqgb8v
More stuff on my Amazon page: https://www.amazon.com/shop/matthewcremona
[Amazon links are affiliate links]


Welcome to my shop! This is a quick update to let you know what I’ve been up to. This big chunky thing is the leg

Welcome back to the home renovation. This time I’m going to be working on the kitchen island. Here is a small model of the island.

Welcome back to our home renovation. Today I am going to be working on this wall. It needs some upper cabinets and the surround for
4 Responses
This was very informative and well explained. Thanks for doing such high quality work with your videos!
Thank you Jesse!
Thanks, Matt, for sharing your experiences with Anchorseal and Pentacryl. I saw a wide variety of wood species and often save interesting pieces to make round or bowl blanks using these two products, as well. For small “cookies” I found Pentacryl more convenient. An overnight soak followed by a day or two drying period and these pieces were ready to use. Obviously, the thicker and/or larger the wood volume requires more soak time and drying time. I use Anchorseal for the ends of lumber I place in the kiln. It does limit end splitting and checking quite well. As you know, there is no “perfect” method, yet, to stop all checking.
Maybe a GMO tree that doesn’t suffer from differential shrinking 🙂