
Matt's Weekly Shop Update
Kitchen Island, Barn Power – March 2024 Update
Welcome to my shop! This is a quick update to let you know what I’ve been up to. This big chunky thing is the leg
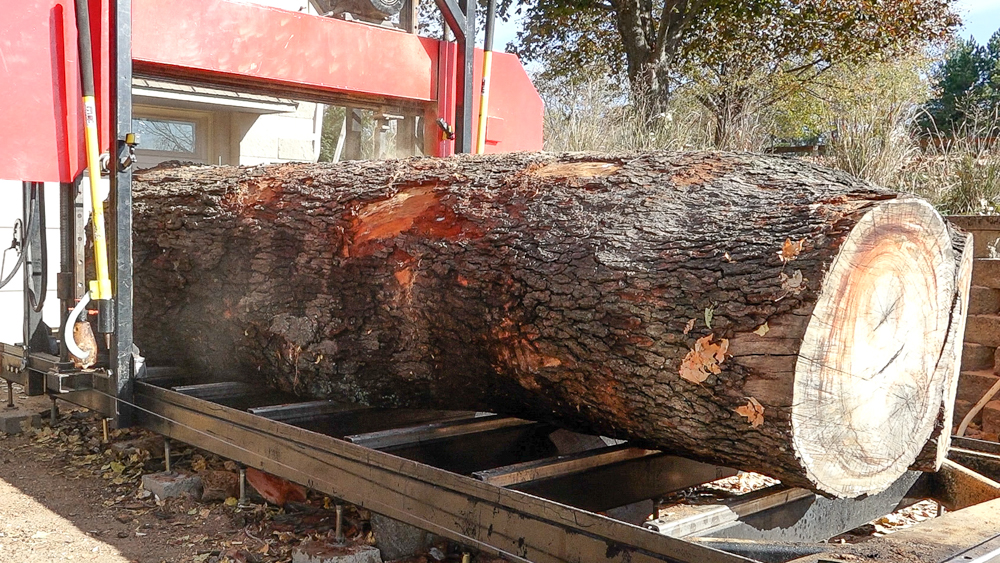
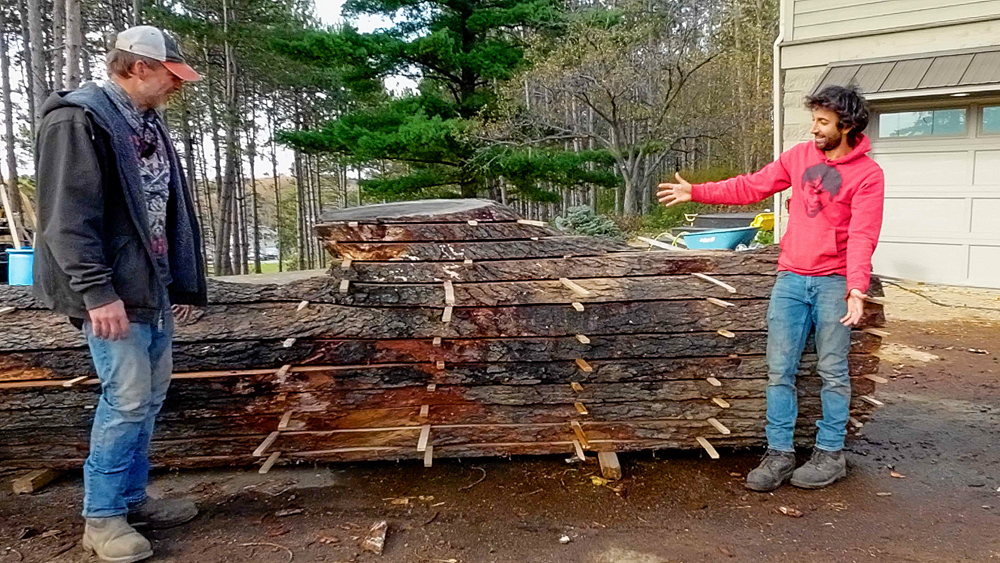
Welcome to my backyard! Today, we are sawing something that I know a lot of you have been waiting for: the big cherry log that Josh and I picked up in Cedar Rapids.
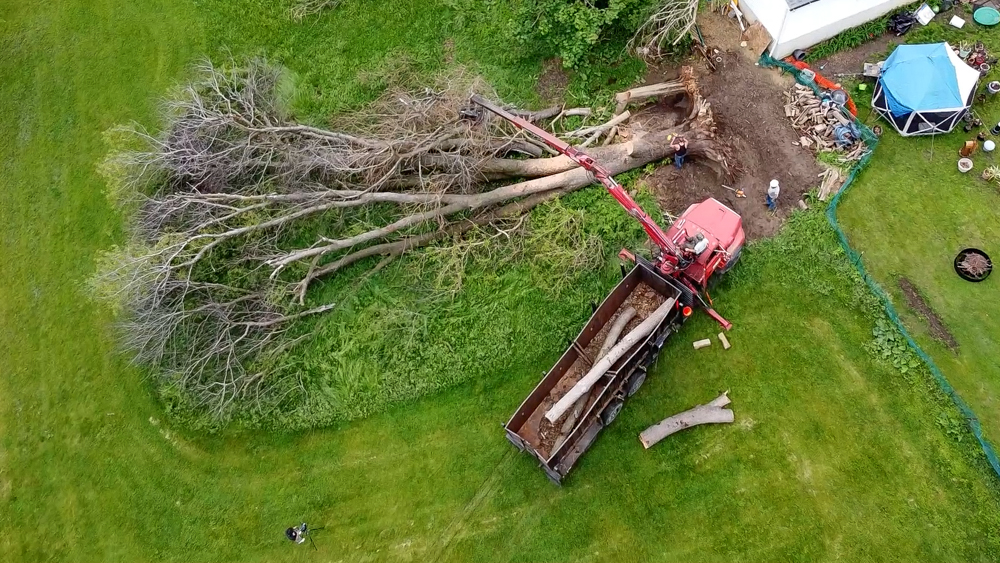
Last year, Josh and I went down to Cedar Rapids, and we recovered what we could from a large cherry tree that blew over in derecho in 2020. Unofficially, this is the biggest cherry tree in the state of Iowa. It was a little hard to determine, because this tree had already blown over before I started looking at DNR records, but based on current records, this tree definitely would have been in there. It would have topped out the max circumference category, but it may have been just a little bit small on the canopy, but that is hard to determine because it had already blown over.
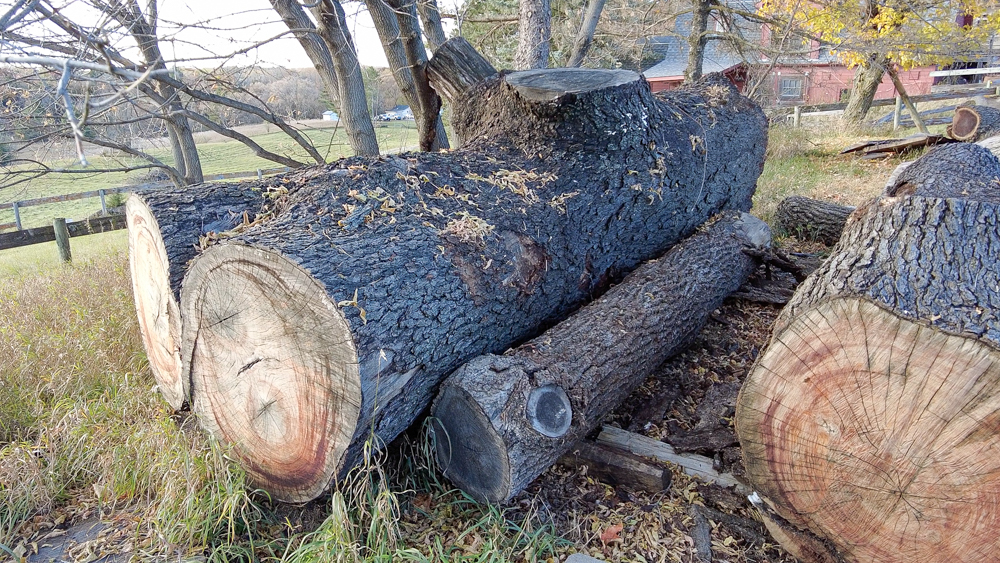
We left it the full 13 feet long, and it is four feet in diameter. It is a freak of nature, because cherry trees shouldn’t get that big.
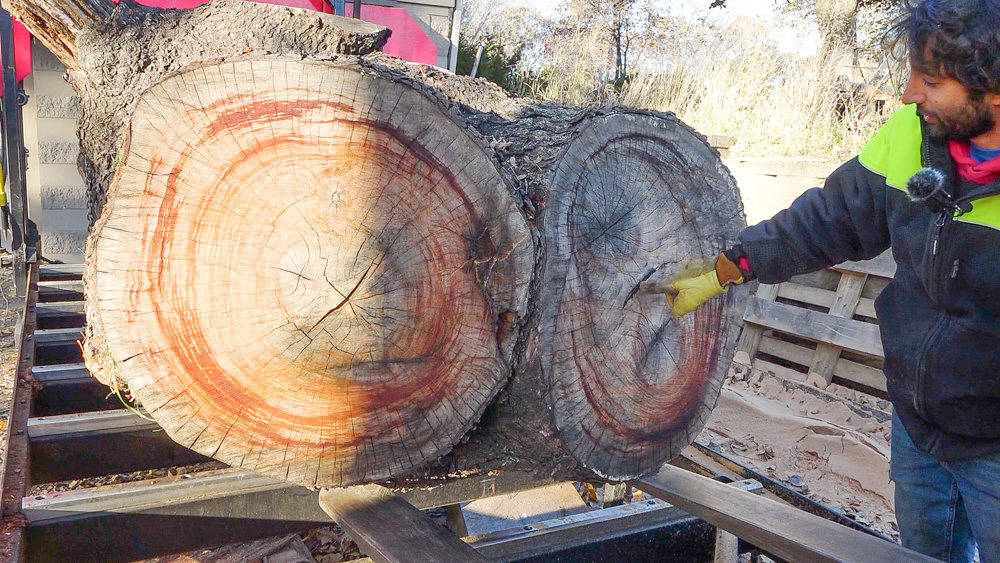
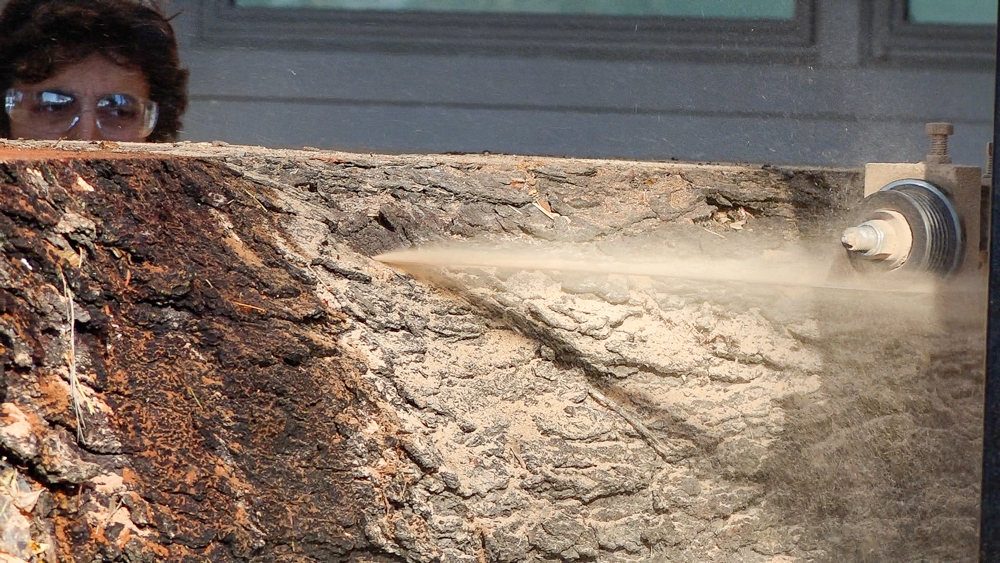
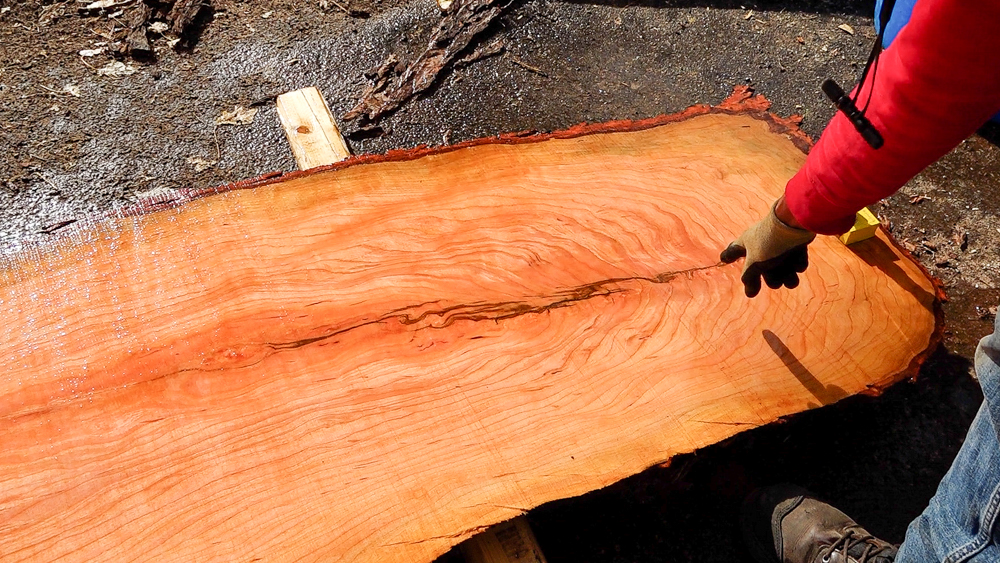
In terms of orienting the log on the sawmill, this crotch area is the spot that I want to capture in the slabs. However, these crotches became more crotches, so we don’t have an actual pith to work with, so I’m going to go off of this bark inclusion. Getting this log level on the sawmill is going to be a bit of a challenge because there were so many crotches coming off of the tree.
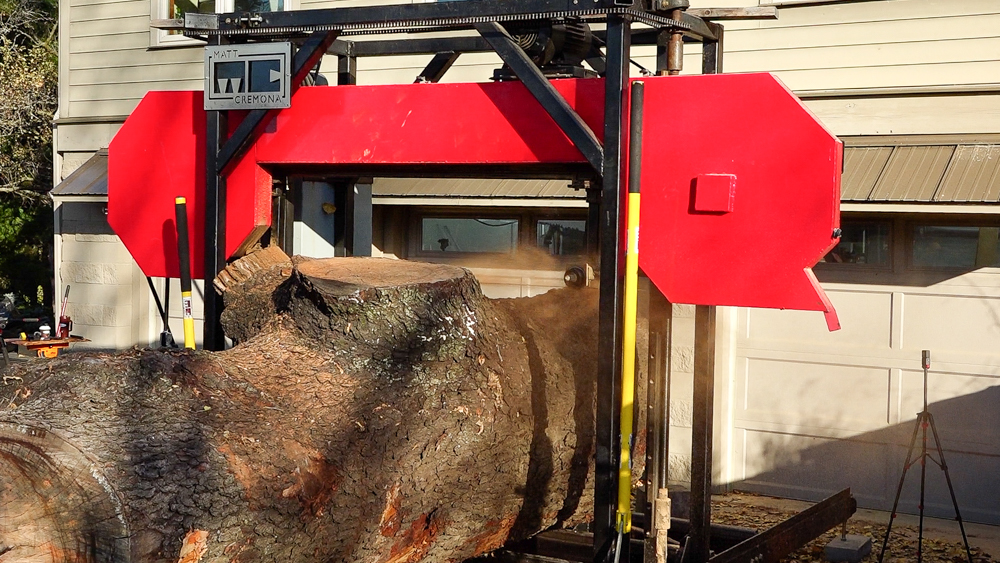
We’re going to get sawing soon, and I’m a little nervous, but also really excited. This is such a once in a lifetime specimen that I don’t want to screw anything up. We’ll get started by cleaning up the top and getting a nice flat face. With this limb up top, we should get some bullseye as we work down through that limb.
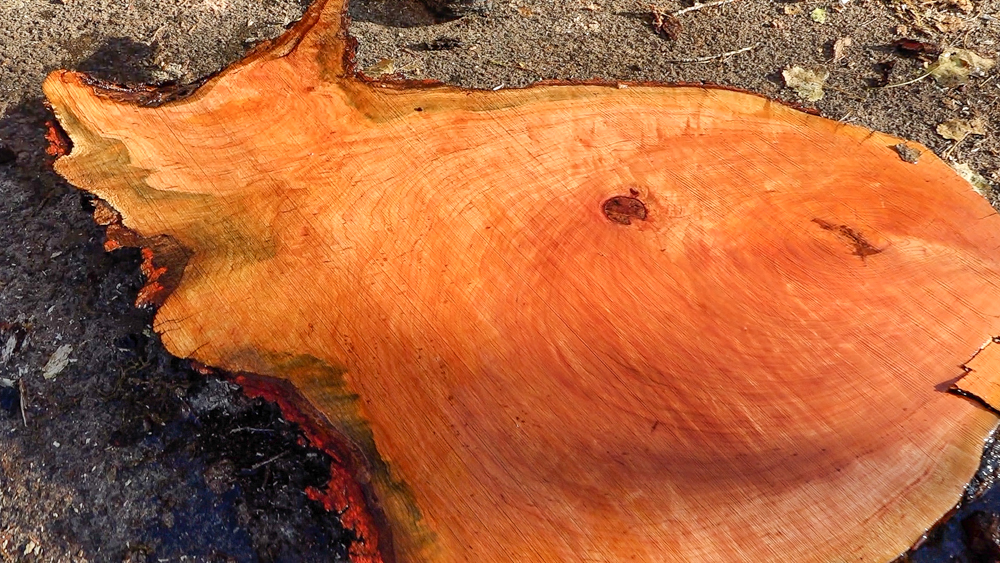
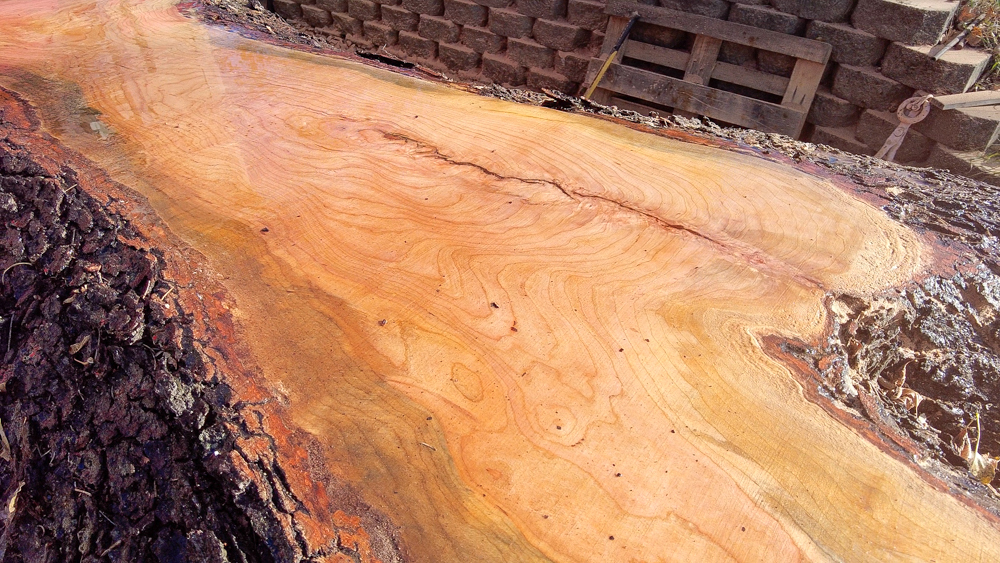
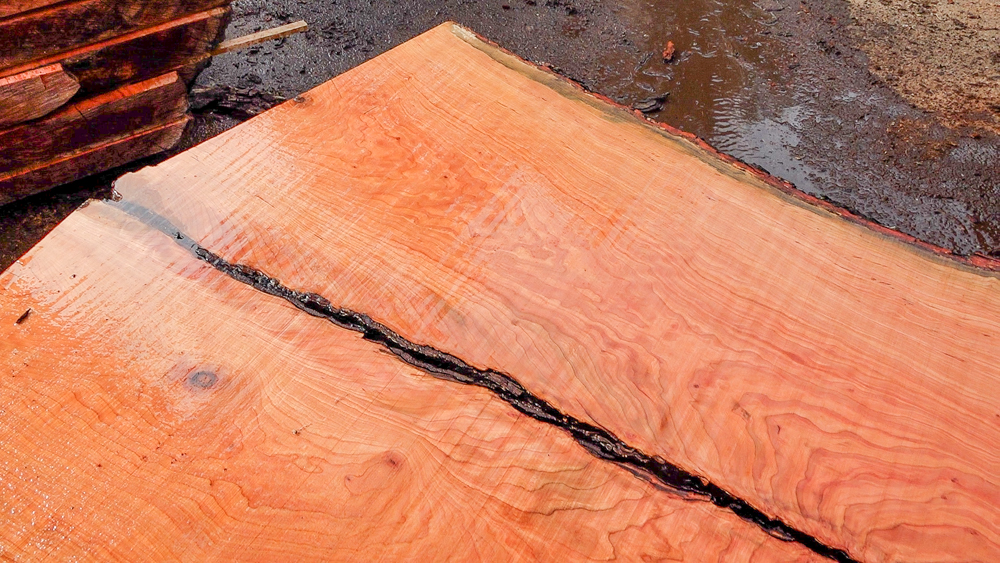
Here’s a look of the first cut. It’s actually got a lot of figure in it, which is a very positive start!
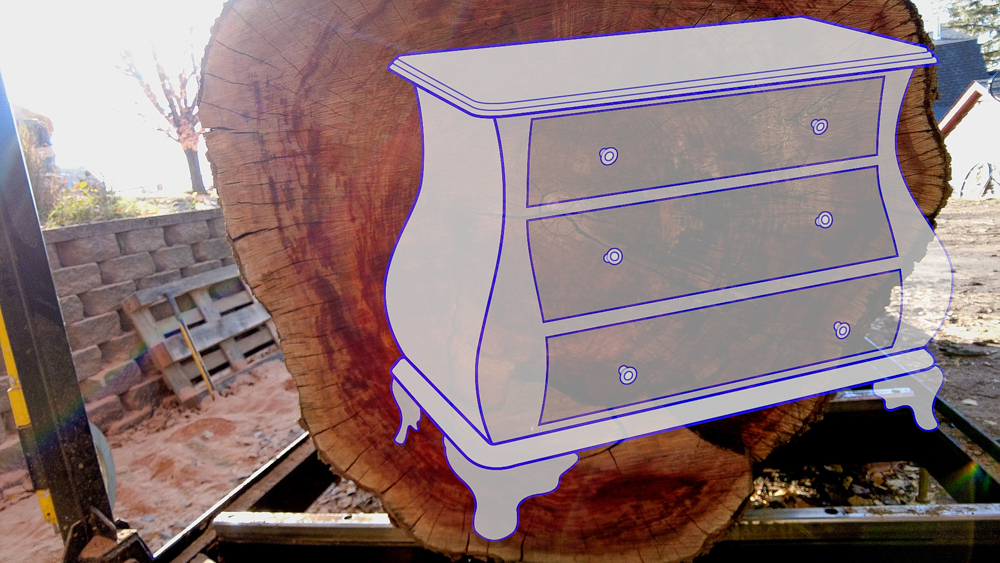
After taking a look at that first cut, let me tell you my plan for this wood. One of my dream projects is a Bombay chest of drawers, which has a compound curve in both the case itself and the drawers. Because of that curve, you need some pretty thick stock, and normally cherry doesn’t yield very thick stock. And I don’t want to make just one of them, I want to make multiples. I want to make one soon, then another in 20 years, and a third in 40 years. Meanwhile, Josh is going to make some tables. At 13 feet long and 4 feet wide, Josh will be taking some slabs for his tables.
But for now, we’re going to make some more cuts to get this log ready to be flipped over and sliced up.
Look at the figure on top of this thing. Beautiful piece of wood!
Here’s a look at the next cut. We’re starting to get into a little bit of crotch figure here.
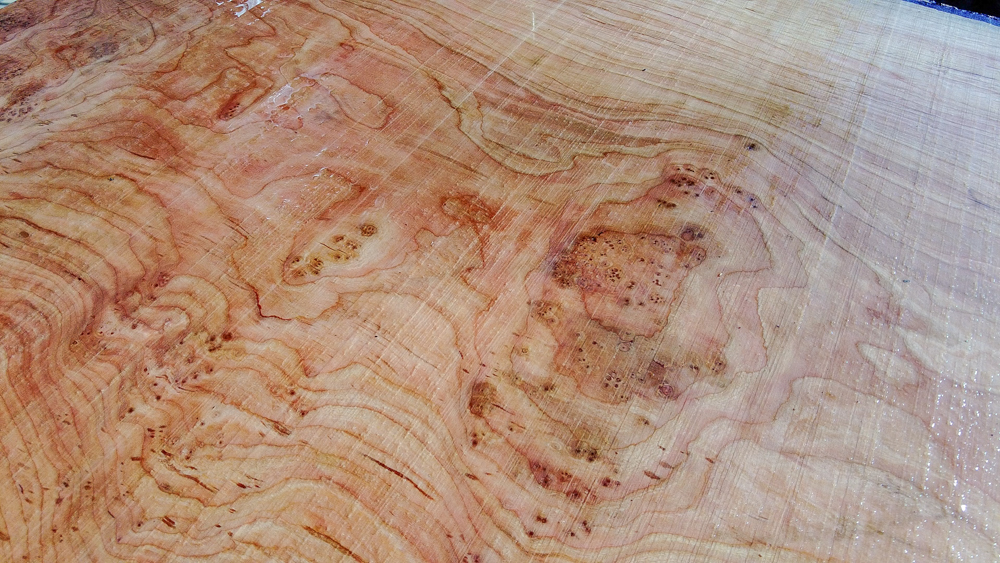
There’s some wild stuff going on down on the other end. There’s a lot of little burls that were in here at some point.
We’ve flipped the log over now, so we can start slicing up some slabs.
Here’s the first slab! Getting into some crotch figure down here, but it almost looks a little burly.
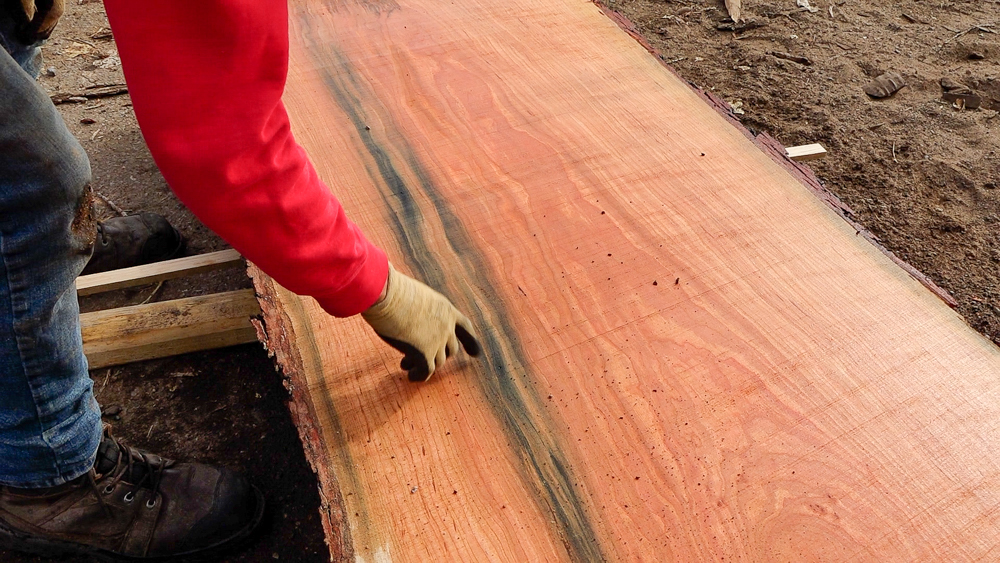
On this next one we have some sort of wire causing some staining.

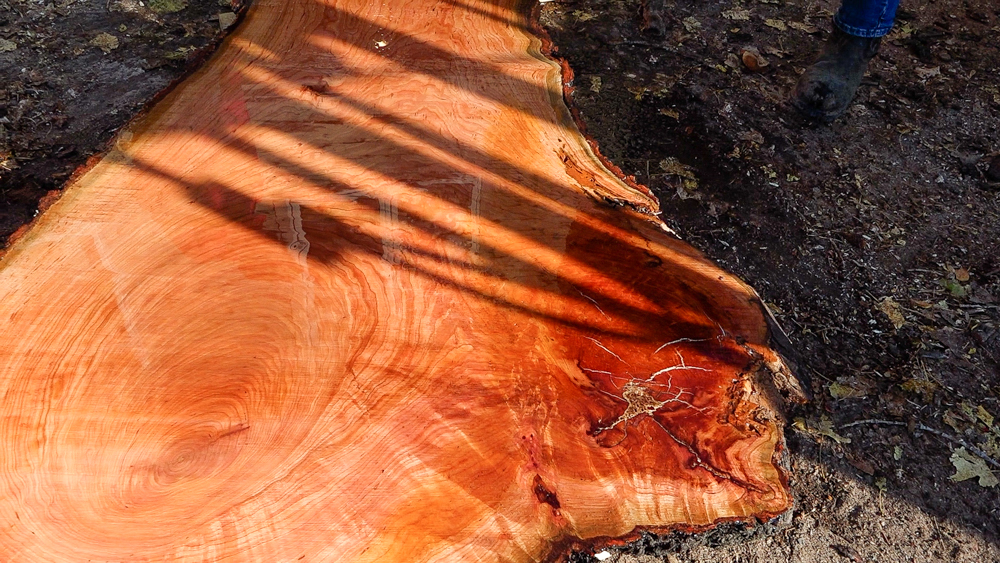
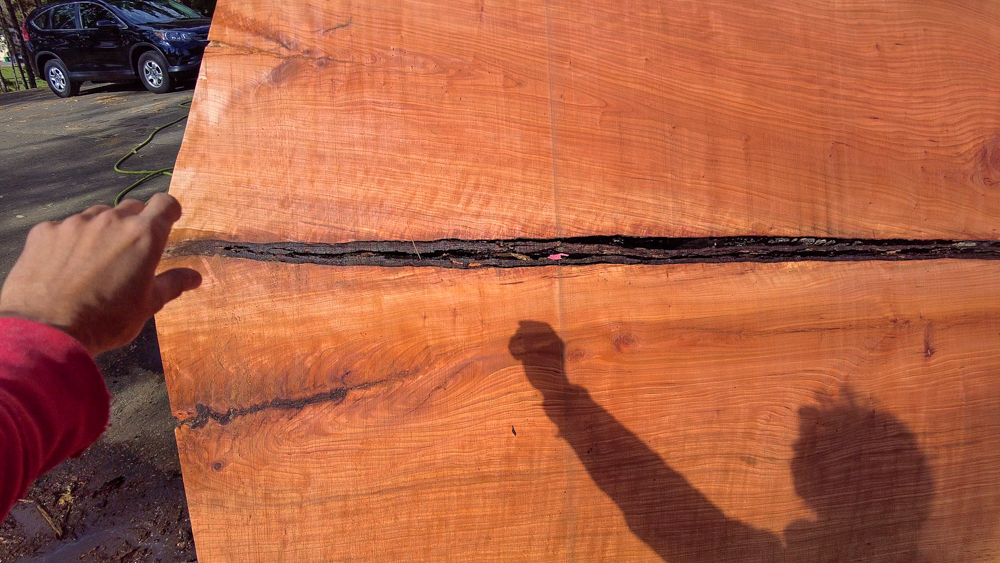
We can see a little bit of the history of the tree on this next one. There’s an early limb here, and a little bit above that you can see where someone pruned a limb and the tree grew back over it. This slab is 34 inches across at the bottom and 47 inches at the top. That’s a significantly large piece of wood, and most of the slabs are going to be that size or bigger.
Look at all the different little crotches here.
![]()
And this one is more plane sawn, so we have more cathedral patterns and waviness.
This thing is just absolutely ridiculous. You can see all the figure up in here, with these striations around this bark inclusion where his crotch is.
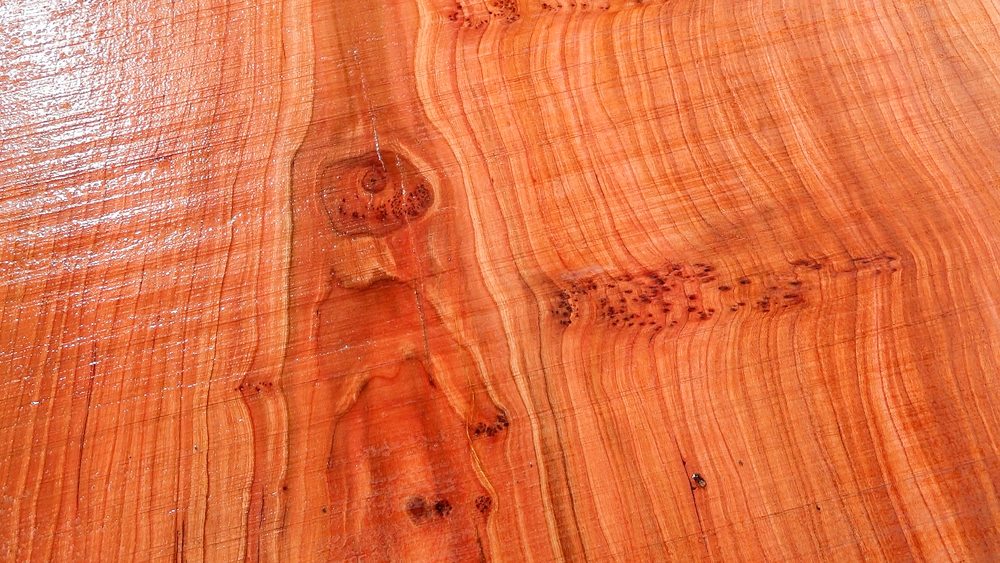
There is some more burl that was hiding in the log.
This one has a massive bit of wave and curl up in here. It’s amazing.
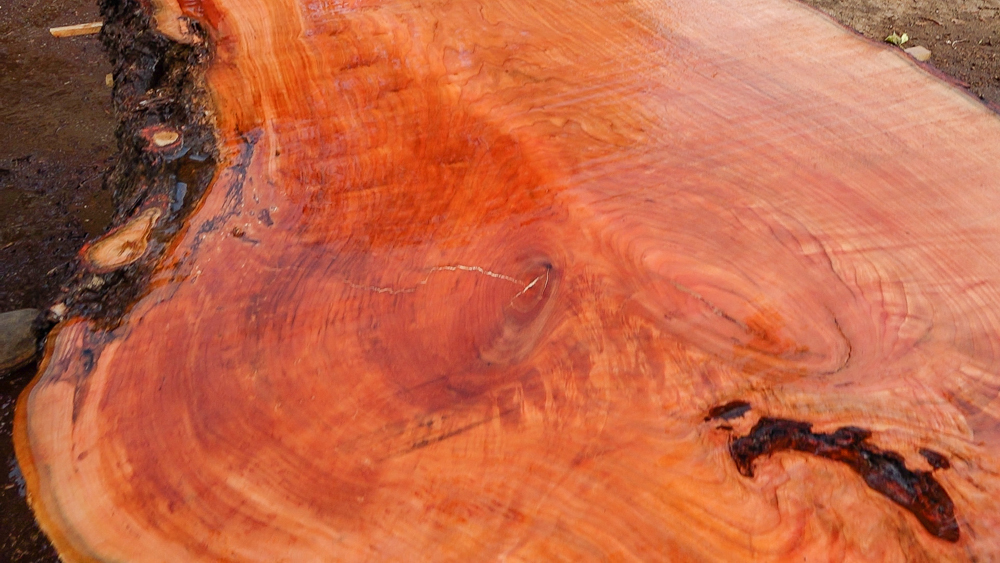
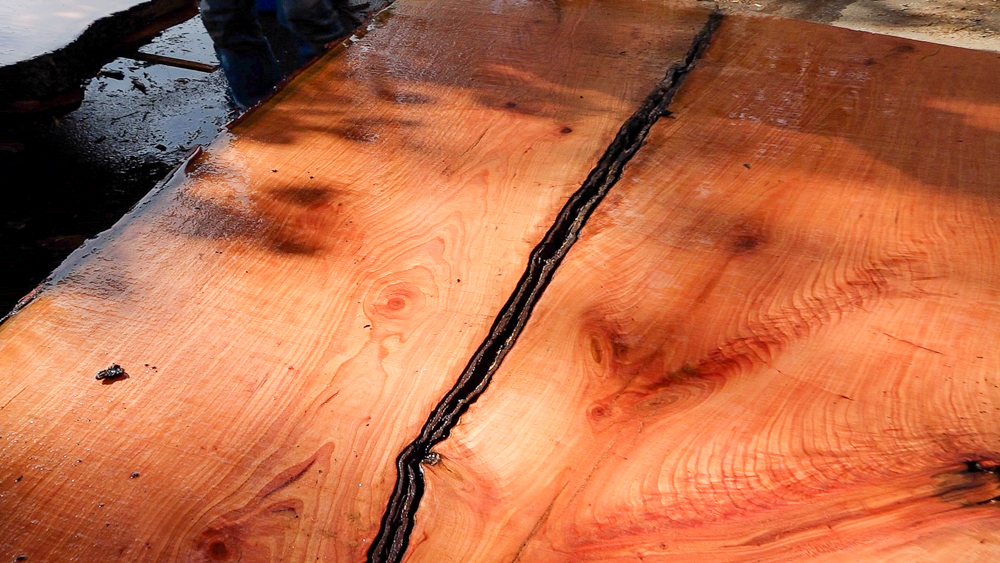
Look at this thing! It’s getting a gorgeous dark color, which is staining from that rot.
Look at that, we finally cut it! Josh is going to take his slabs and turn them into tables. I’m going to keep these for 5 to 50 years for my Bombay chests.
That’s about it for this one. Thank you as always for joining, I greatly appreciate it. If you have any questions or comments, please feel free to leave me a comment. As always, I’ll be happy to answer any questions you might have. And until next time, happy woodworking!
Welcome to my shop! This is a quick update to let you know what I’ve been up to. This big chunky thing is the leg

Welcome back to the home renovation. This time I’m going to be working on the kitchen island. Here is a small model of the island.

Welcome back to our home renovation. Today I am going to be working on this wall. It needs some upper cabinets and the surround for