
Kitchen Island, Barn Power – March 2024 Update
Welcome to my shop! This is a quick update to let you know what I’ve been up to. This big chunky thing is the leg
One question that I frequently receive is something along the lines of “at what point is a log too small of a diameter to saw into lumber”. My response usually is “it depends how much you value your time or the wood” – not a particularity great answer so to further illustrate, I’ve rounded up some small logs to demonstrate on. These are logs I normally wouldn’t bother with unless I was extremely bored.
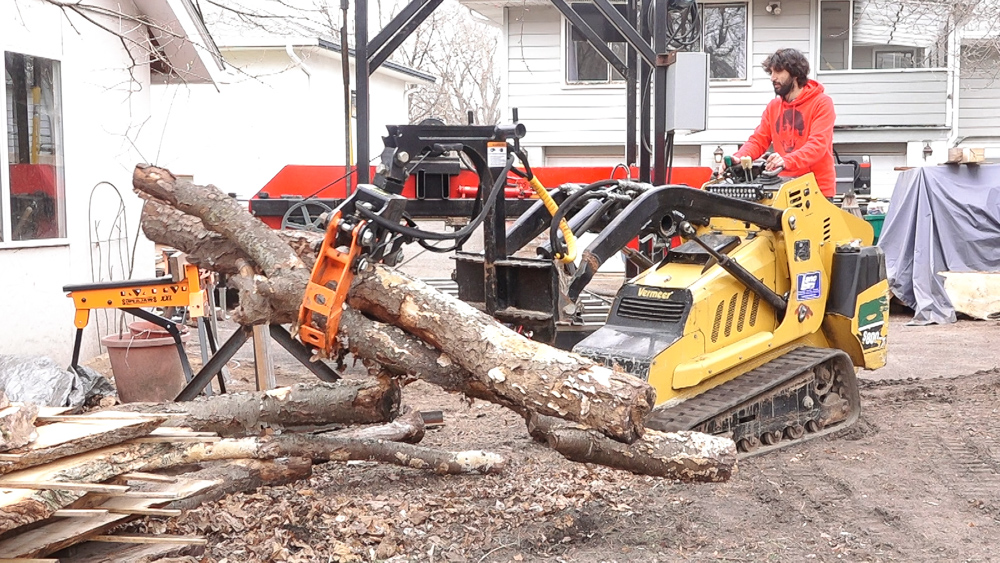
My friend, Donavan, brought me a stack of small cherry logs that a family member had removed from their property. The tree wasn’t very big but they were hoping to make a table out of it.
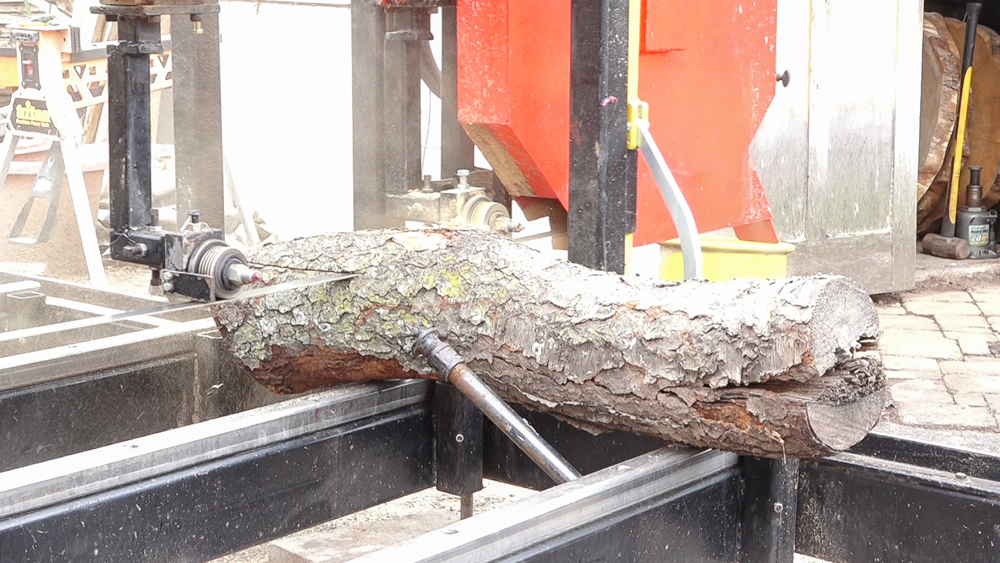
This first log is the trunk of the tree. It’s the largest diameter log in the pile at 8″. It has a felling split and is pretty curvy. The log is positioned so the saw will cut parallel to the cut, hopefully limiting the split to one board. The curve makes it such that this log really can’t be squared up without an enormous amount of waste so although I’ll cut the others into edged lumber, this one will stay as slabs.
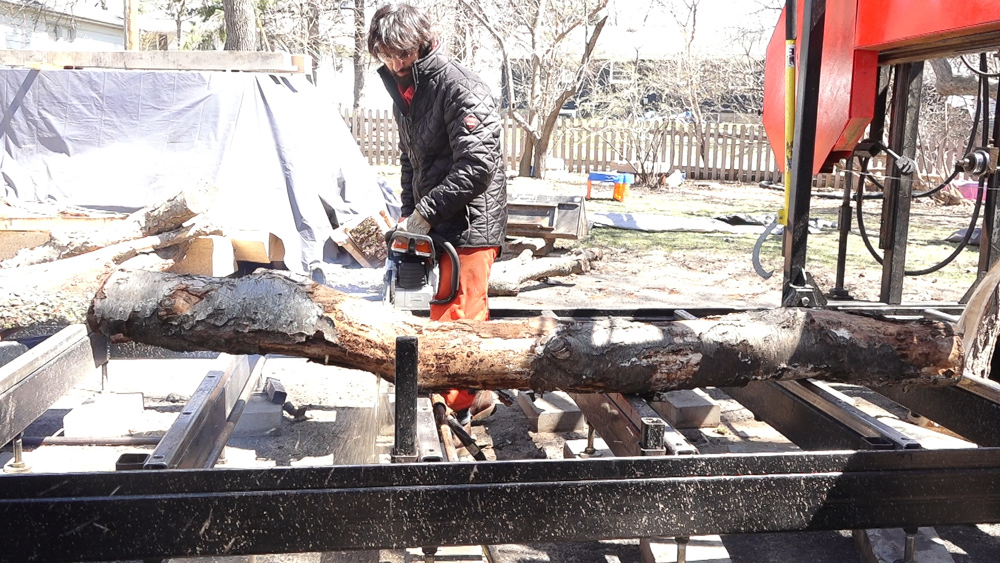
Next up is this longer 8′ log. This log has 2 bends in it, one towards each end. I’ll cut the log at the bends to make it straighter.
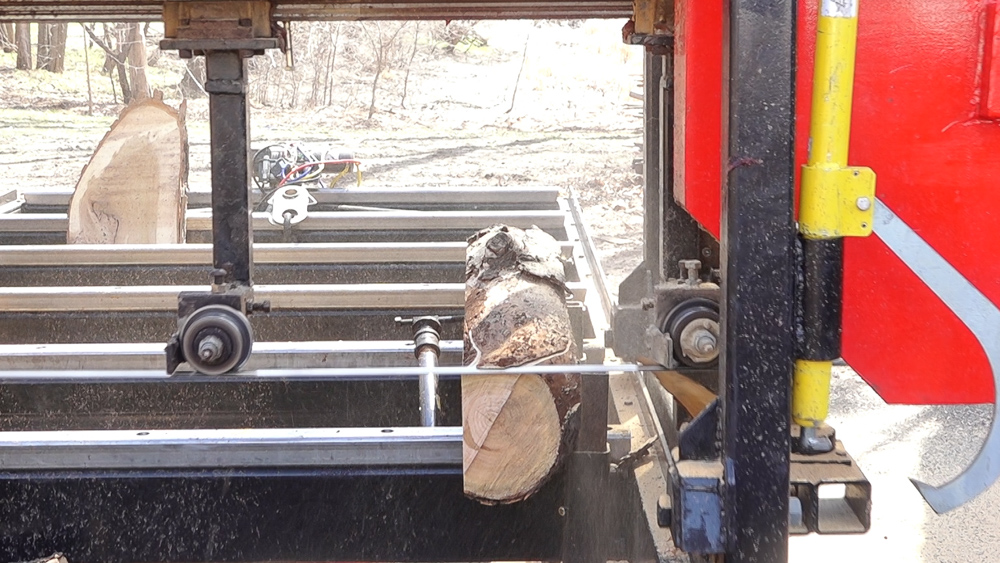
The logs can then be saw to create flat faces on three sides. I’ll prep all the logs like this and when I get through all of them, I can lay them all on the saw and slice them into boards all at once.
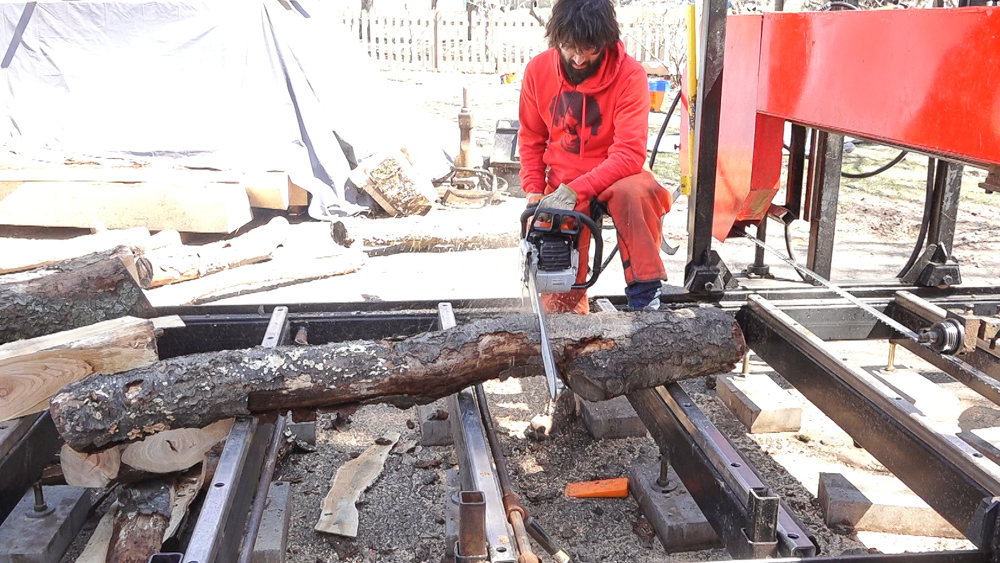
The next longer log has a crotch section attached which causes the log to curve. A cut can be made here to produce straighter saw logs.
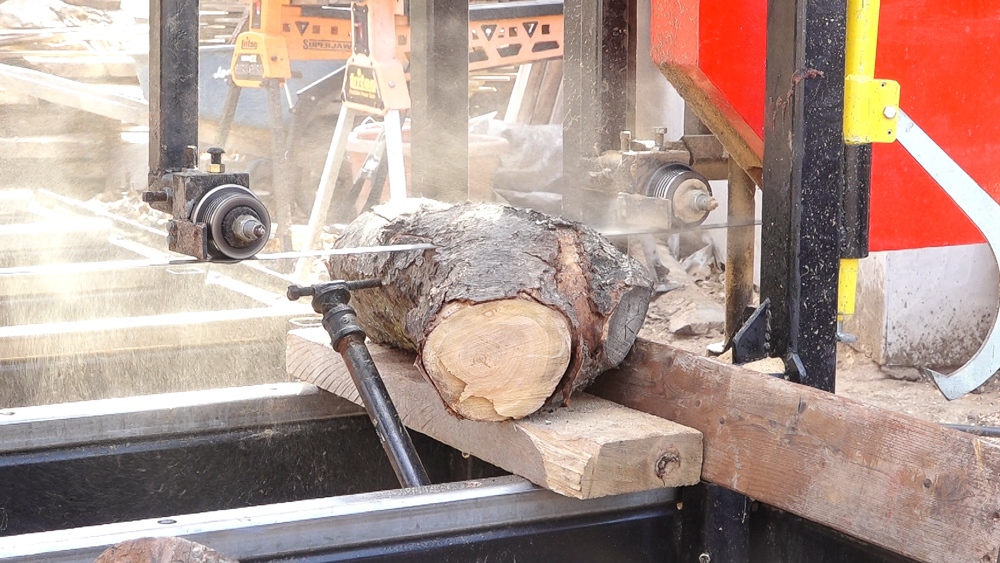
Something we’ll come up against when sawing small logs is they’re likely going to be short too. My saw can cut down to 24″ long – which is the distance between the bunks. To saw things shorter, an auxiliary bed can be created with some scraps of wood.
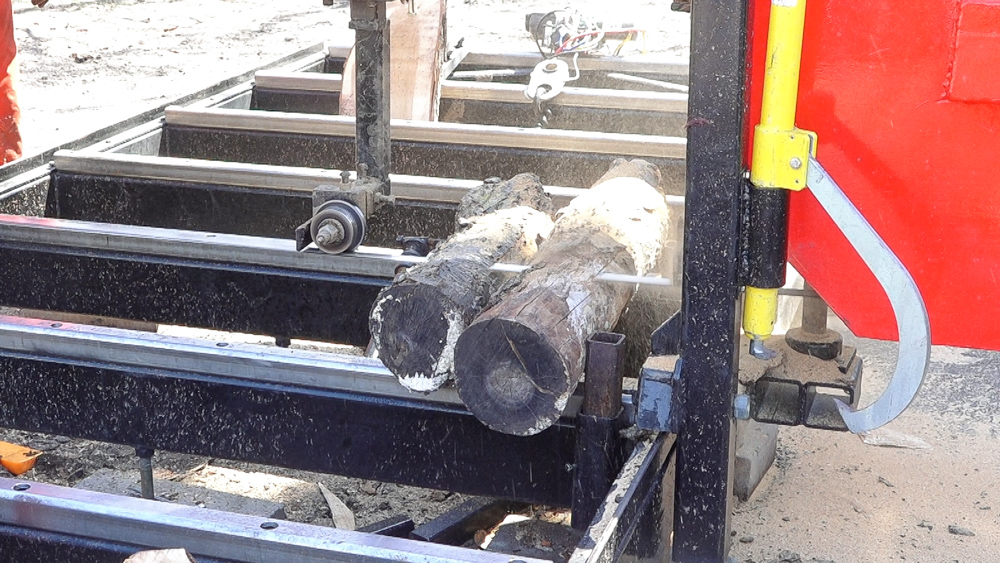
It’s also possible to cut more than one log at once. This is another task which is much easier when the logs are bigger and heavier. When they’re light, they’re squirmy.
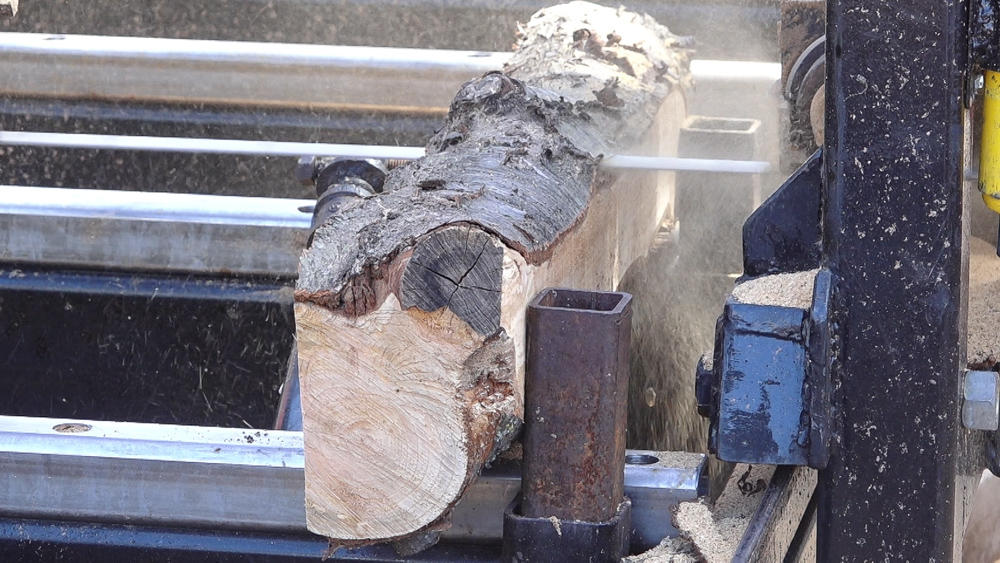
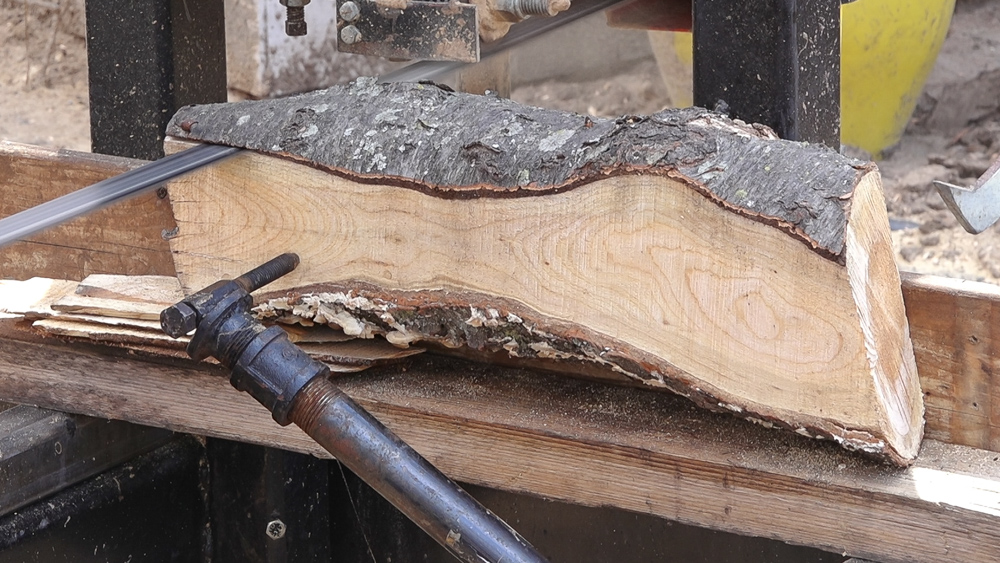
Another short log which needs some auxiliary support. This one has a curve and to even it out, I’ve placed shims under the left side.
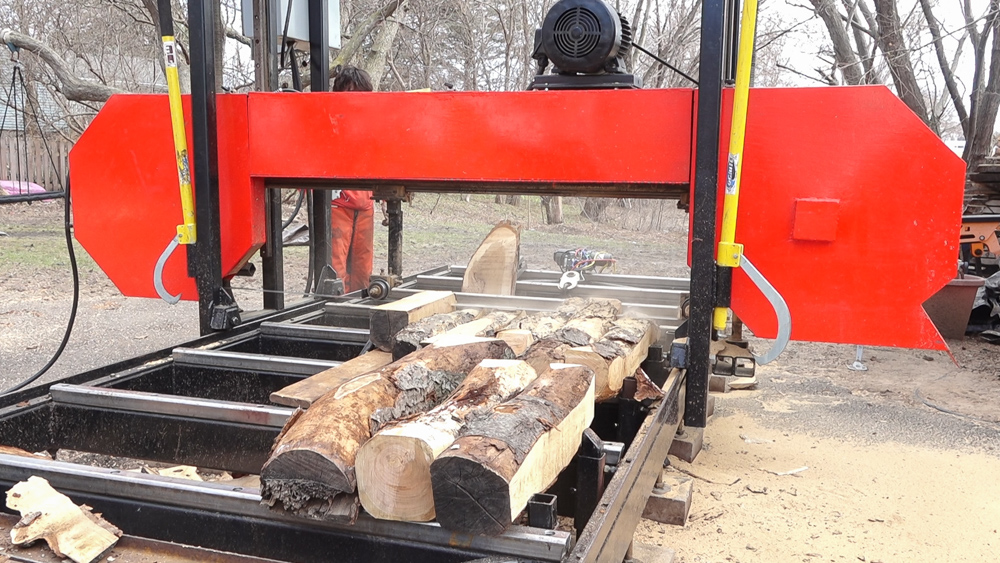
Now with three sides squared up on each, I can stack them all on the saw and start sawing them into boards.
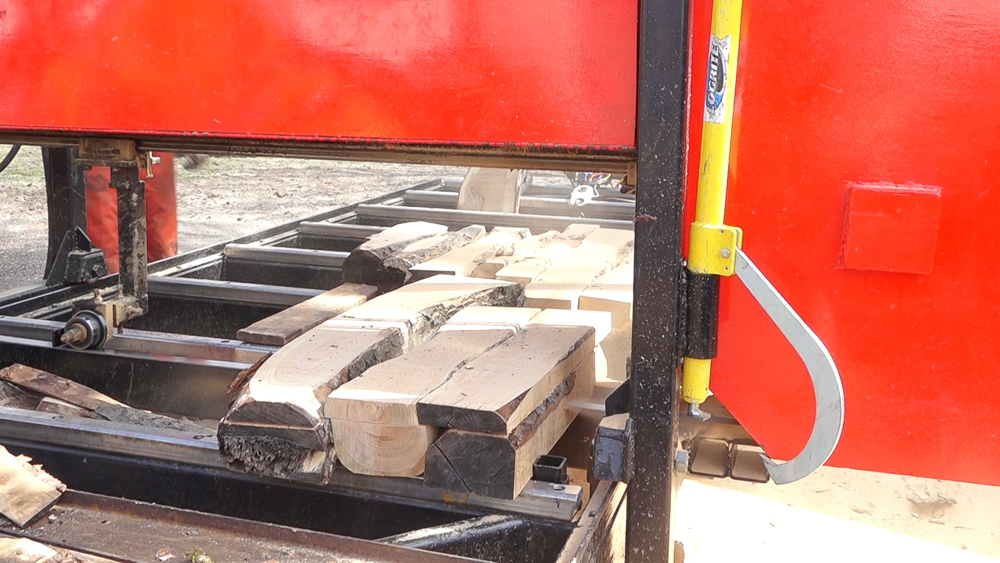
I can use the lumber scale to make all the cuts down to the bed. This will remove the remaining waste from the top and leave me with a stack of boards.
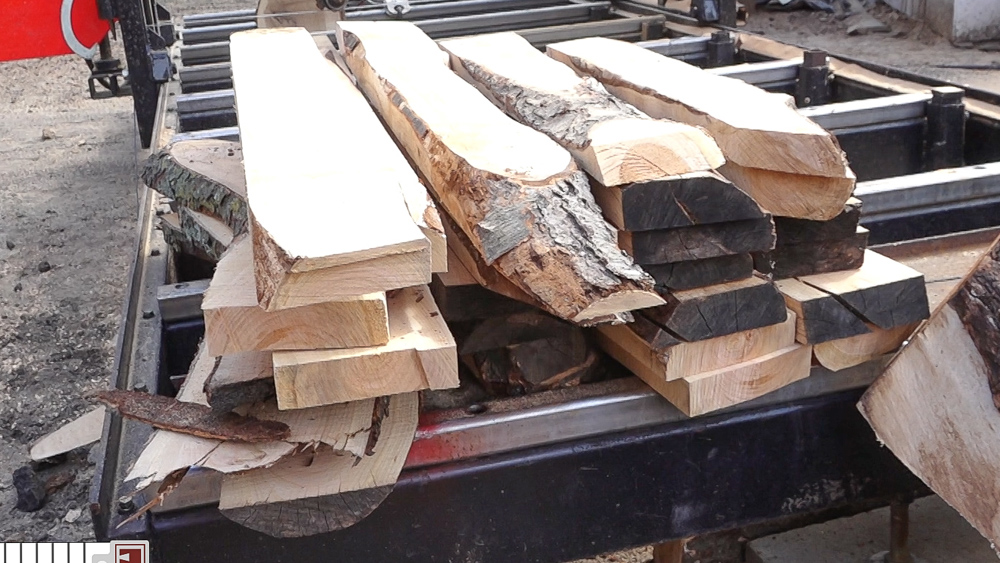
Here’s the stack of boards from the 10 logs sliced on the band sawmill. That’s about 2 hours of work.
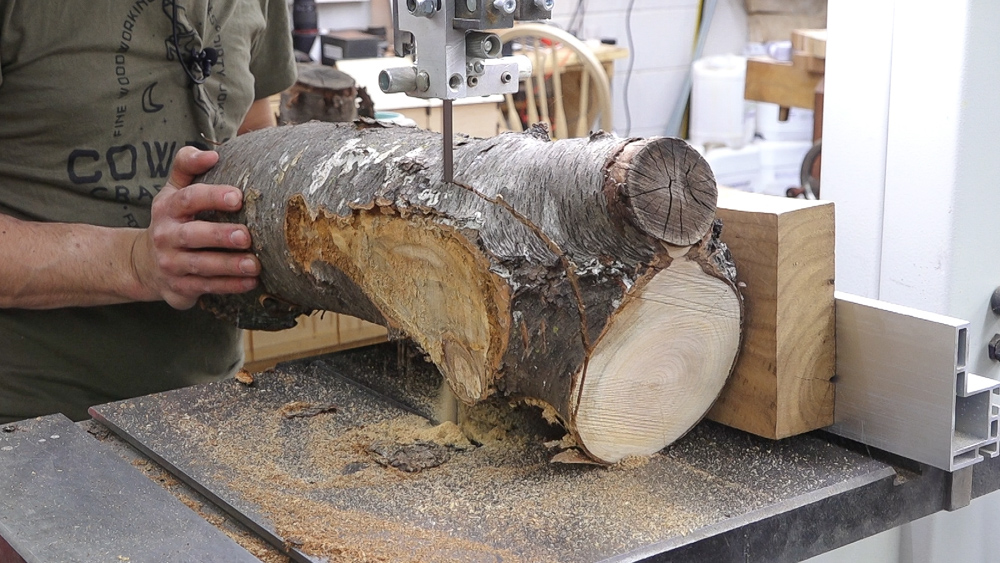
Another option for sawing small logs is with a shop bandsaw. In some cases this might actually be easier since most of the struggle with the sawmill is holding the log while it’s being cut. To start squaring up a log, a block can be screwed to it. This will help create a stable platform so the log doesn’t rock and it will run along the fence yielding a straight cut.
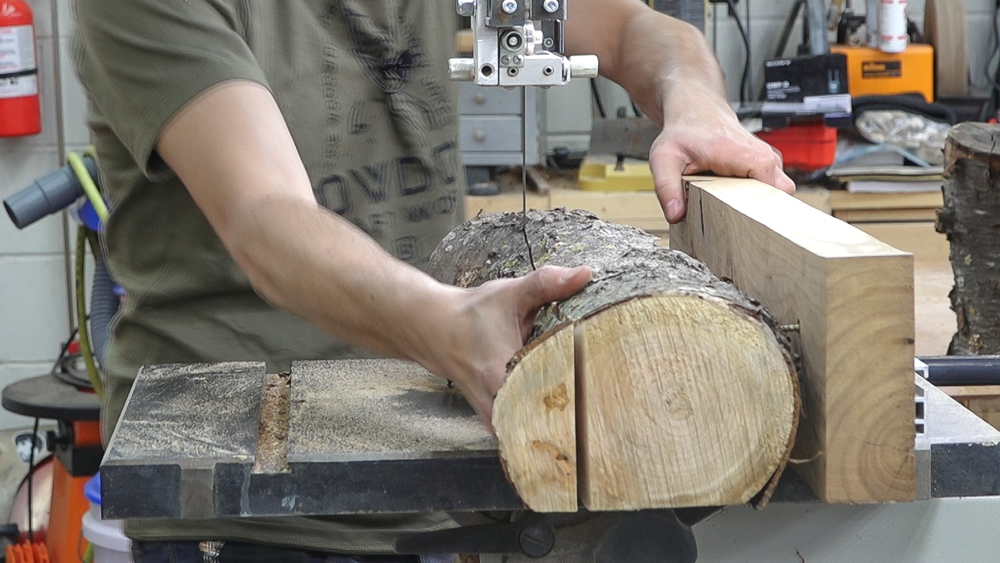
The log can be turned and reattached to the log. Since the flat area is down on the table the block just needs to reference the fence – it’s no longer needed for stability.
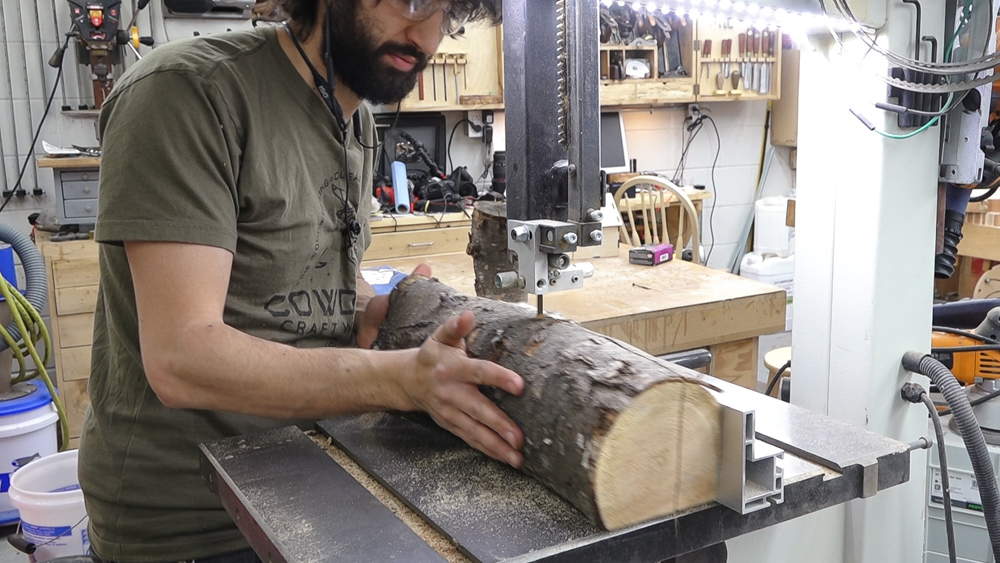
With two square faces, the log can be referenced off the fence and sliced into whatever thickness boards you’d like.
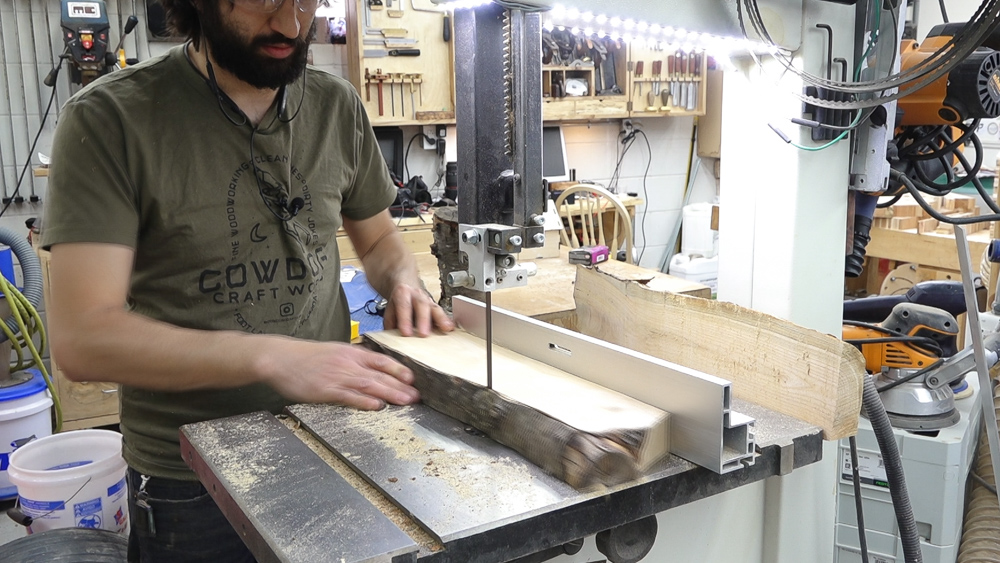
The last operation is to edge the lumber.


Welcome to my shop! This is a quick update to let you know what I’ve been up to. This big chunky thing is the leg

Welcome back to the home renovation. This time I’m going to be working on the kitchen island. Here is a small model of the island.

Welcome back to our home renovation. Today I am going to be working on this wall. It needs some upper cabinets and the surround for
One Response
What would be the minimum log size that you would consider to be mill-able?
thanks