
Matt's Weekly Shop Update
Kitchen Island, Barn Power – March 2024 Update
Welcome to my shop! This is a quick update to let you know what I’ve been up to. This big chunky thing is the leg
Welcome to my shop!
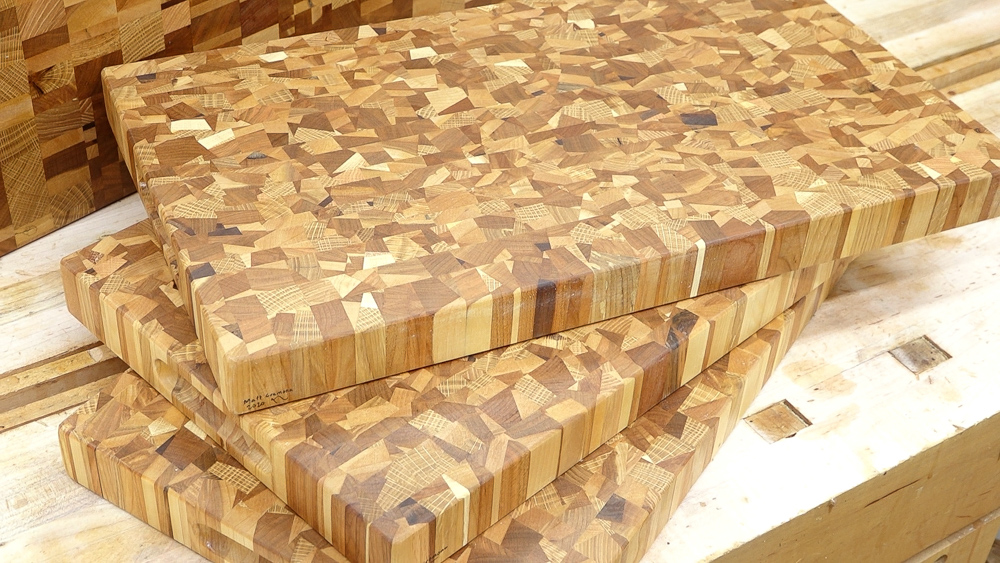
In my last video, we made some of these chaos-style end grain cutting boards. If you’ve ever made a cutting board before or one of these chaos-style boards, you know that they produce a lot of waste and offcuts. So I thought I’d have a little fun in the shop today, and I’m going to see if I can come up with some more cutting boards or some different things out of these scraps. Let’s get started.
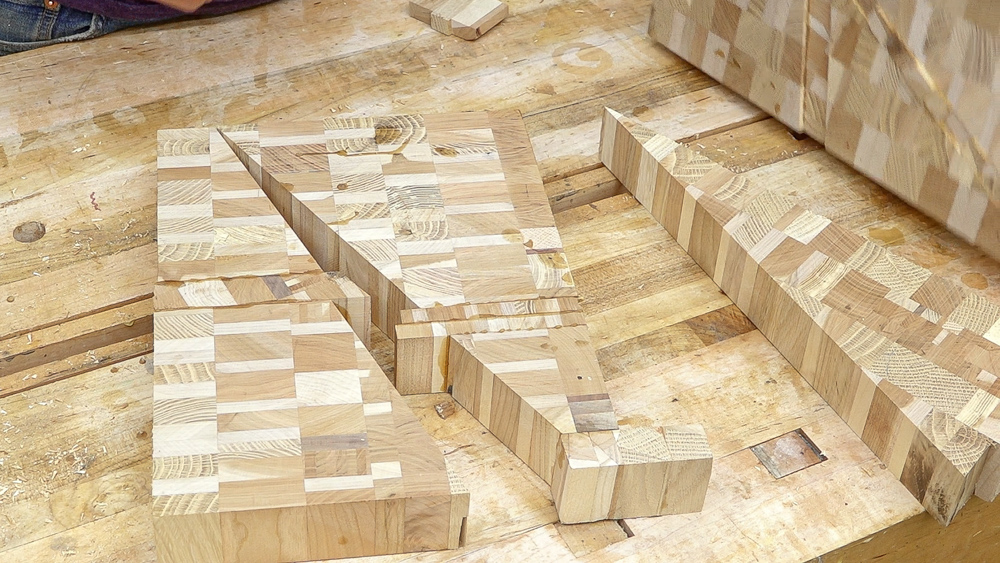
Normally with end grain boards, you end up with full strips like this that aren’t perfect enough to use on the boards, but the biggest thing you end up with from the chaos boards is these wedges, which are the result of creating a bias angle on the cutting board blank.
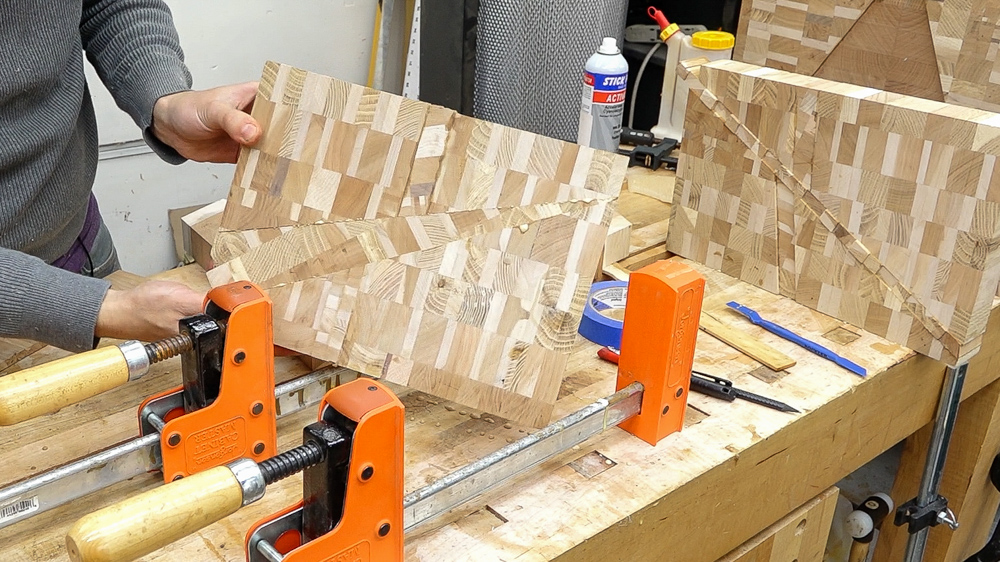
To kick things off a bit, I think we’ll do an easier one. I spent a little bit of time looking through these scraps and this is what I came up with. I have the original two boards that had cracks in them, and I have a long strip here, which happens to be the right length. Because these two main pieces are cracked, I think it’ll be interesting to remove the cracked area and inlay one of these offcuts. This is going to be a lot of glue-ups. Cutting boards are all about glue-ups.
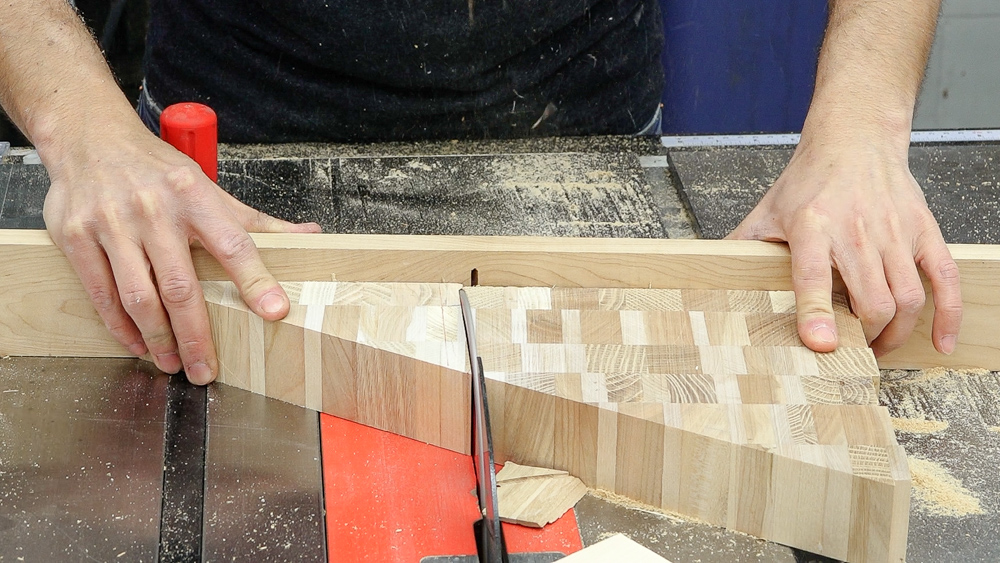
I am going to remove the cracks and then glue in the spacer pieces.
That’s kind of a cool first thing, it’s got some fun angles. I’ll throw that one in the pile and go figure out some other goofy thing to make.
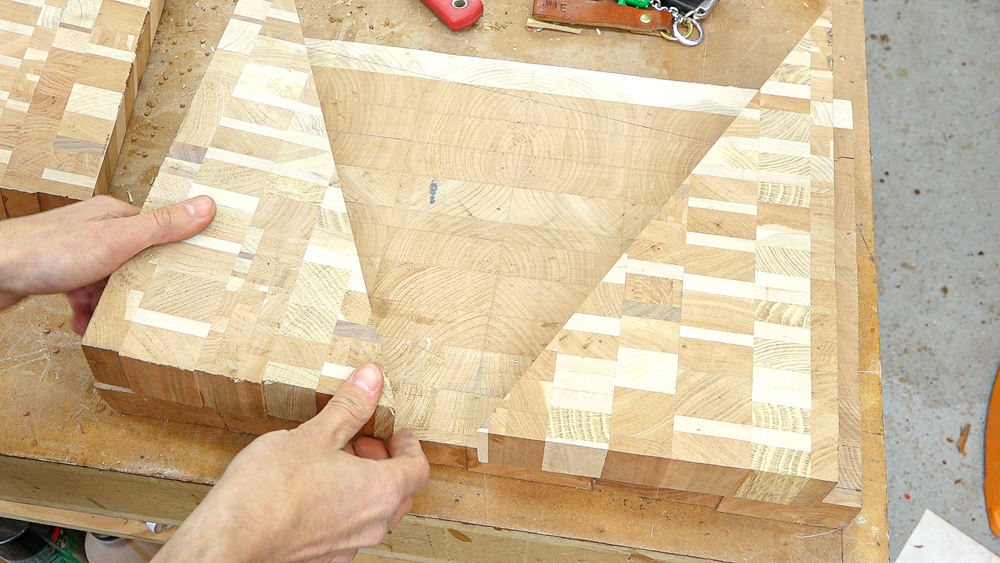
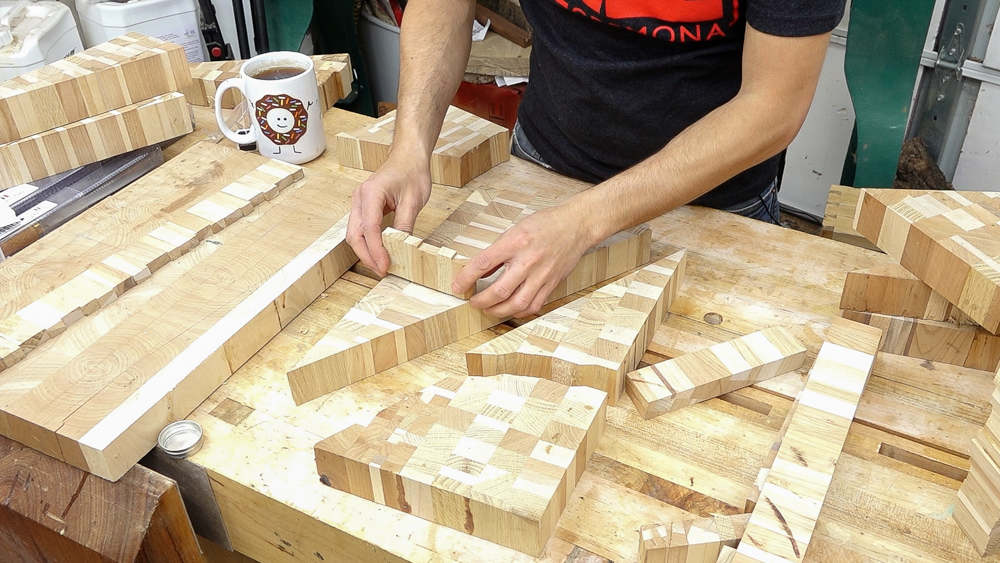
For the next one, I’m planning to take these two triangles here plus the board underneath them, which is a little bit thinner than the other boards I have. If I cut off the sides of the board and glue the triangles on, it’ll remove some of the defects from that board. Then I have some more scraps which I will glue together and lay across the top, so I will end up with a inlay in the middle.
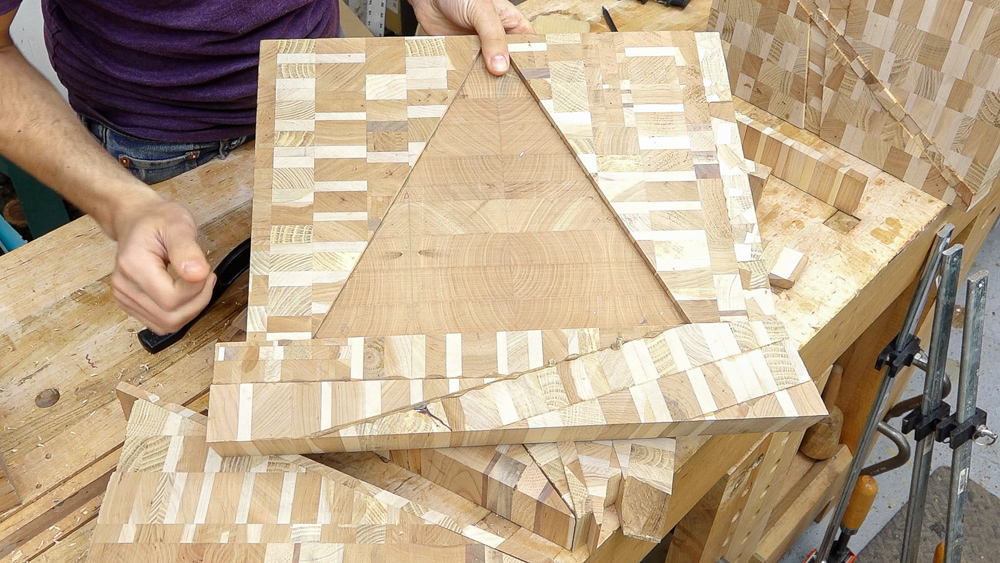
And now we have the illuminati board! That’s a goofy one.
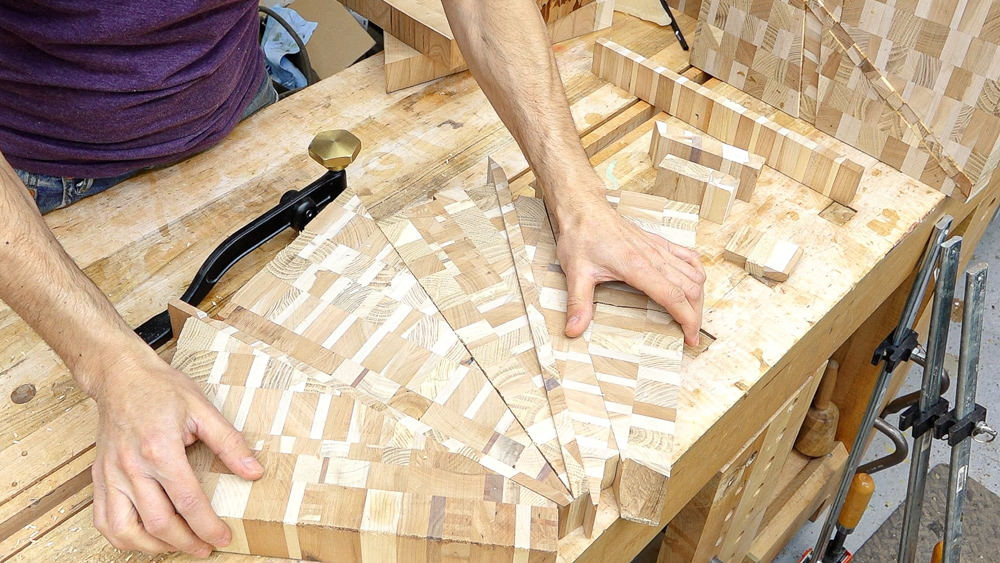
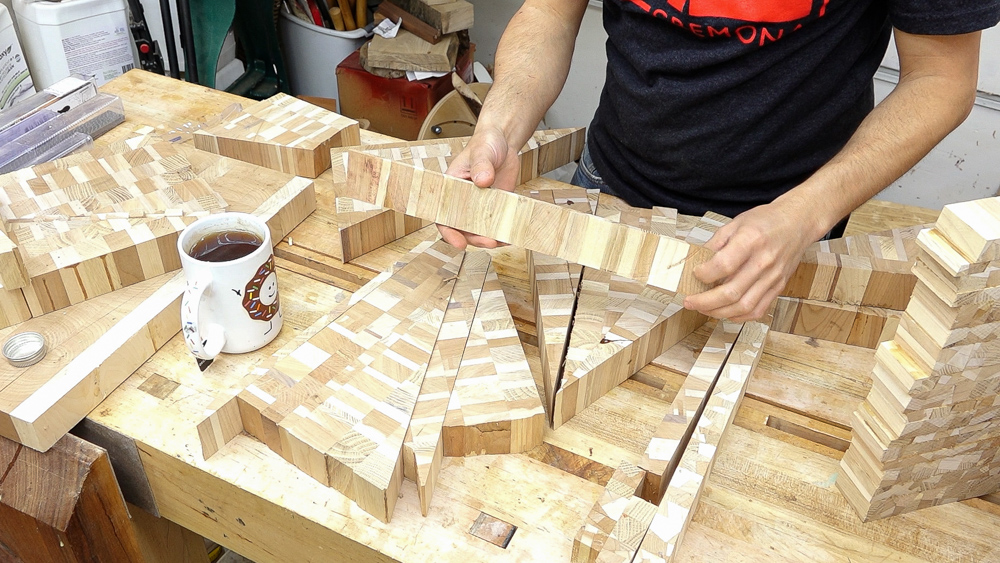
Now I have these offcuts left. For this one, I’m going to try and do a fan pattern with all of these wedges and strips put together, then I can put a straight edge at the point of that fan, flare out from there, and square off the top, ending up with a weird five sided weird.
I changed my mind. Now I want to make a cutting board like this with this wedge shape here in the middle. That way the two outside edges are parallel, and I get a square board. I just have to find a wedge piece that will fit in here.
This is actually kind of a fun one. That turned out really nice.
I still have a fair amount of scrap material. I think instead of trying to make some kind of shape with this, I’m going to make a little baby chaos board. Maybe we’ll get a small 8×12 board. It’s basically just a little baby chaos board.

And here’s the baby chaos board. It’s just a dash of chaos.
I ended up getting four boards out of the scrap material, which is pretty good. However, I have one little bit of scrap left, which is all the little trimming pieces from cutting all the little pieces at the table saw, so how about we make some coasters?
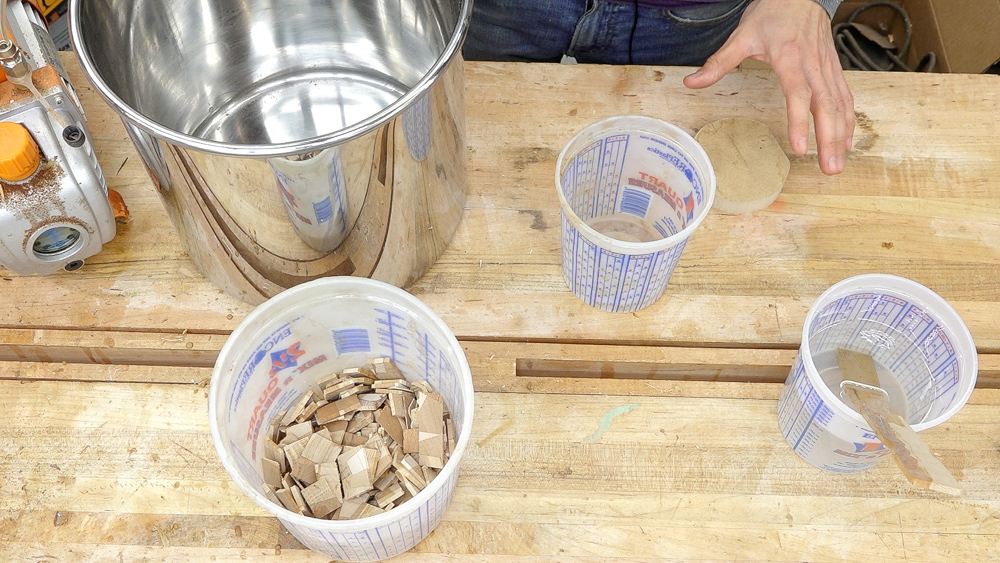
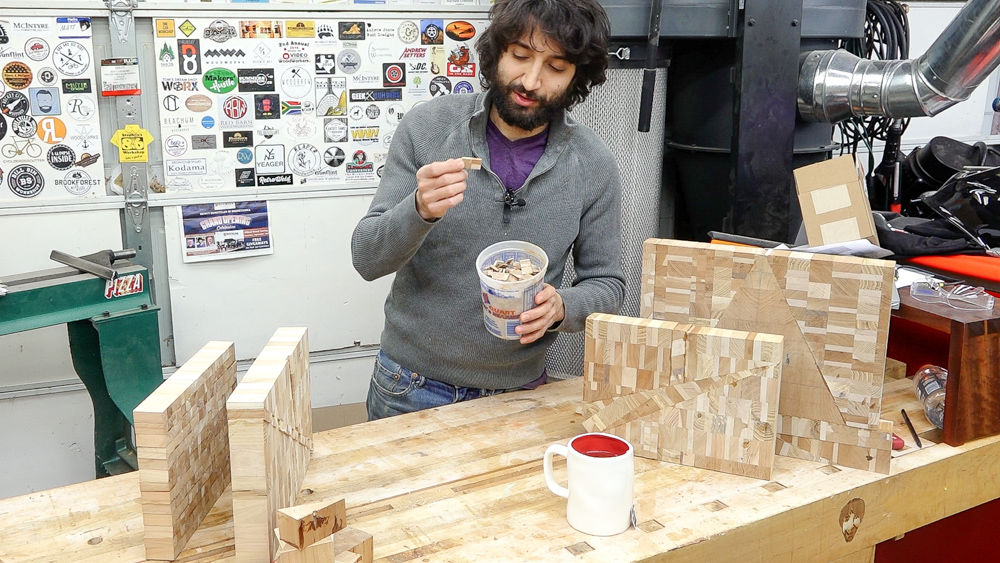
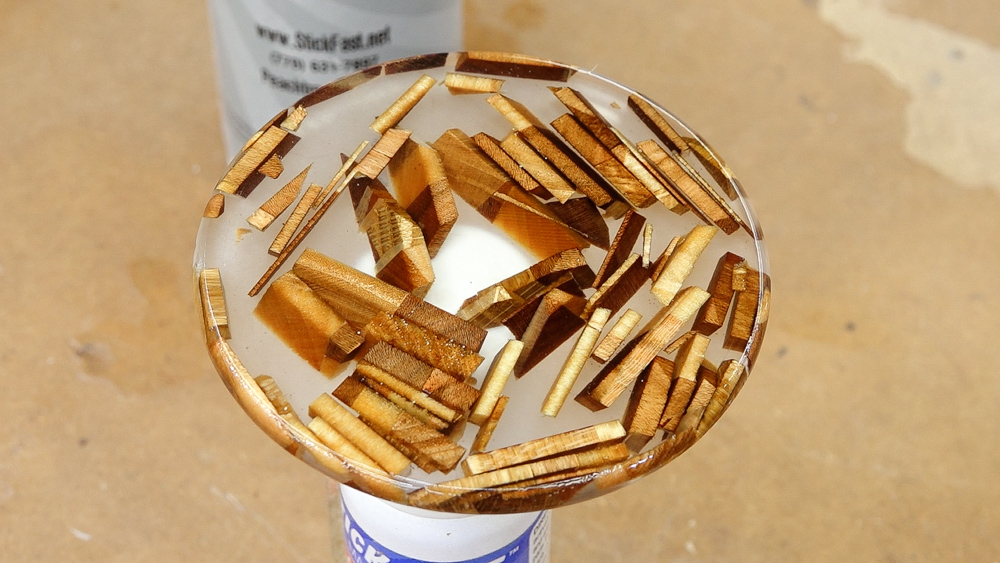
I just degassed some epoxy, so that’s ready to go. I have a cup, which is going to serve as a form for these coasters. The conical shape allows for some draft angles so you can get this out of here once it’s formed into a solid block. For slicing up later on, we’re going to need somewhere to hold onto it, so I’m going to drop in a piece of MDF. I’ll start by submerging this piece of MDF, and then I’ll start putting in some of these little off-cuts.
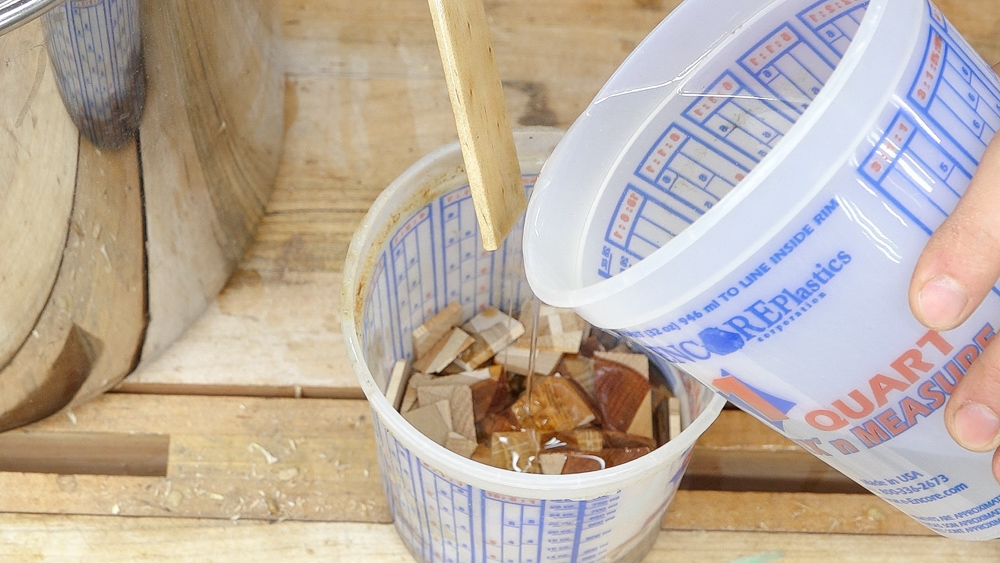
I’m going to gradually build this up so I don’t end up with a lot of trapped air, because I don’t want a bunch of giant air bubbles when I’m all done. We’ll let this cure, and finish up the cutting boards next.
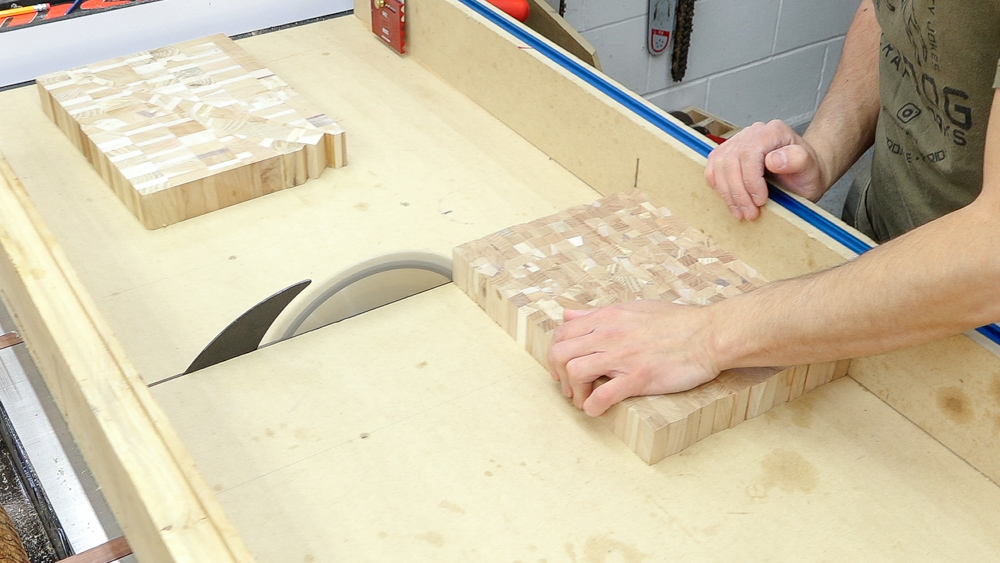
I do have a little bit of flattening to do. It’s going to be exactly the same process as I demonstrated in the video on the chaos boards. I’ll go through the process with the router sled, flush everything up, bring it all into a flat and consistent thickness, bring it in here and run it through the drum sander a few times to clean up some of those router sled marks. Then I can route the hand holds into the ends with the router and edge guide and a core box bit.
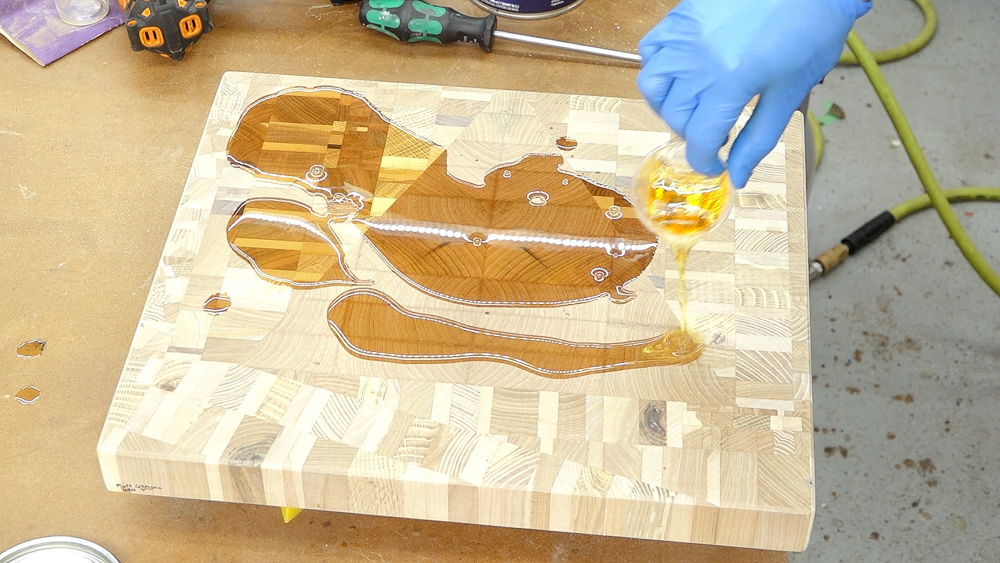
Then from there, a little bit of edge treatment and some finish sanding, and then these guys will be ready for some finish.
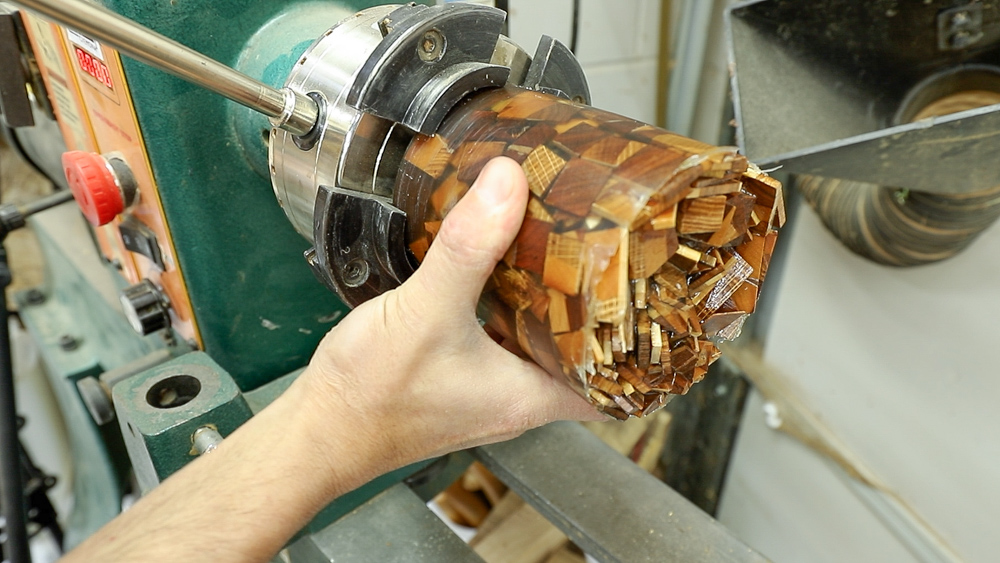
While we finish this curing on the boards, let’s do something with this guy. First off, it has that draft angle on there still from the container, so I’m first going to turn this into a cylinder instead of this conical shape. That should make it a lot easier to slice, and it’ll make the coasters all the same diameter.
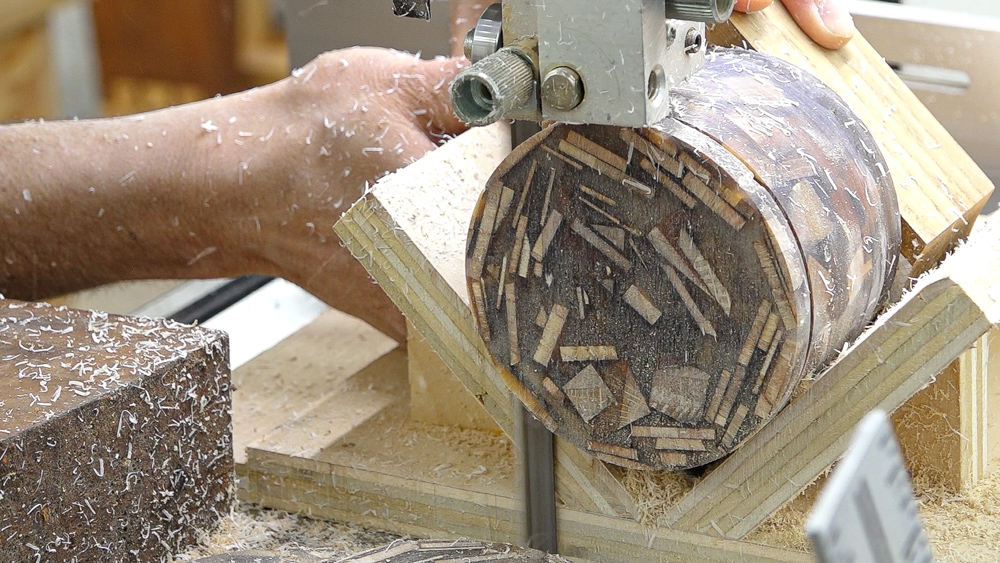
I attached this block here on the back, which is going to give me a little more meat to hold onto as I get down to those last few cuts. I’ll make the cuts with a little V-block sled supporting it through the cut and prevent it from rolling.

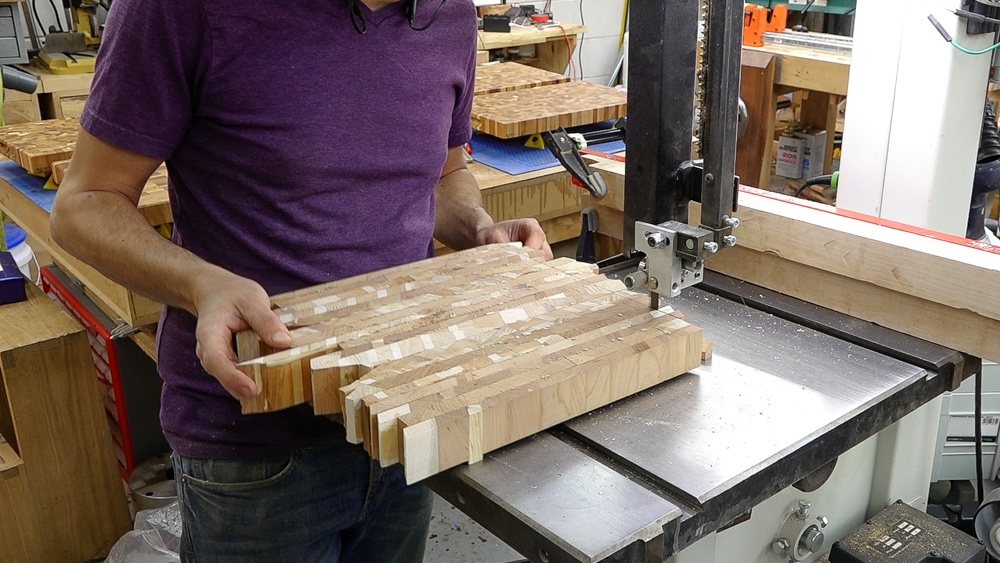
I’m going to go slice these into half inch thick slices, then pass them through the drum sander a few times to get started on the sanding that way, then put some kind of edge profile on there, and then some finish sanding.
Hopefully they turn out all right.
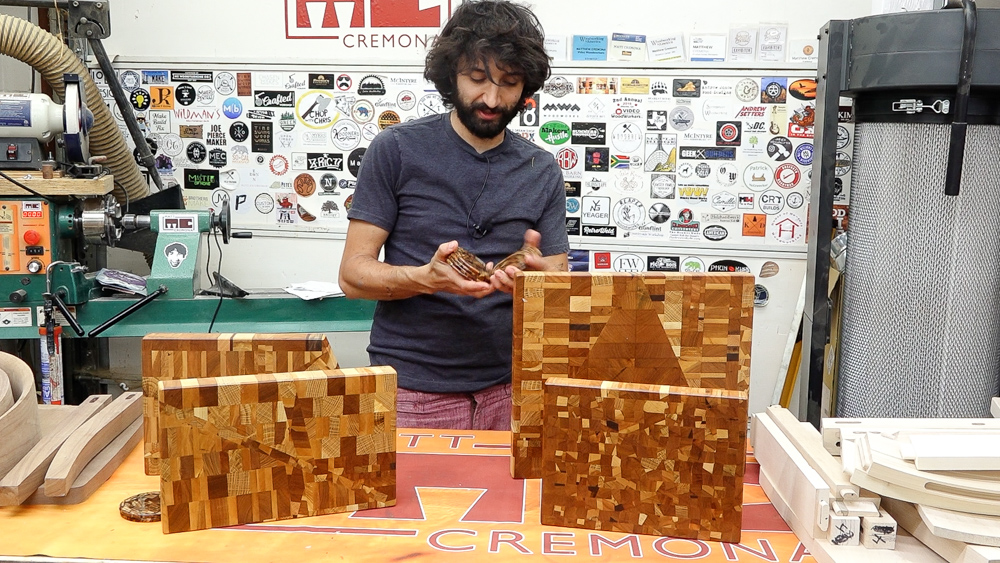
This was a fun little project for me. It’s fun to get out in the shop and do something that doesn’t really have a whole lot of purpose or end goals. Let’s take a closer look at the boards as well as these goofy coasters.
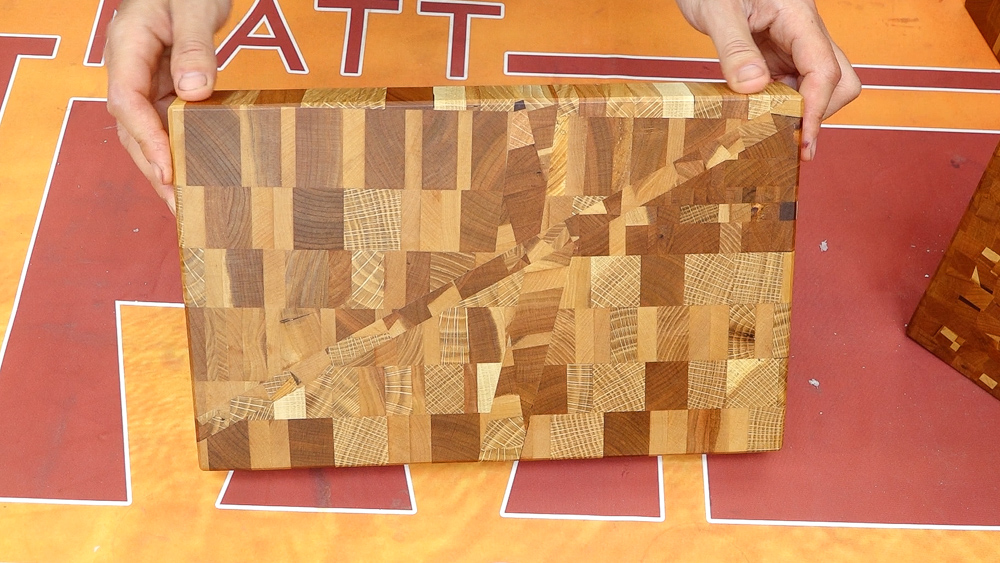
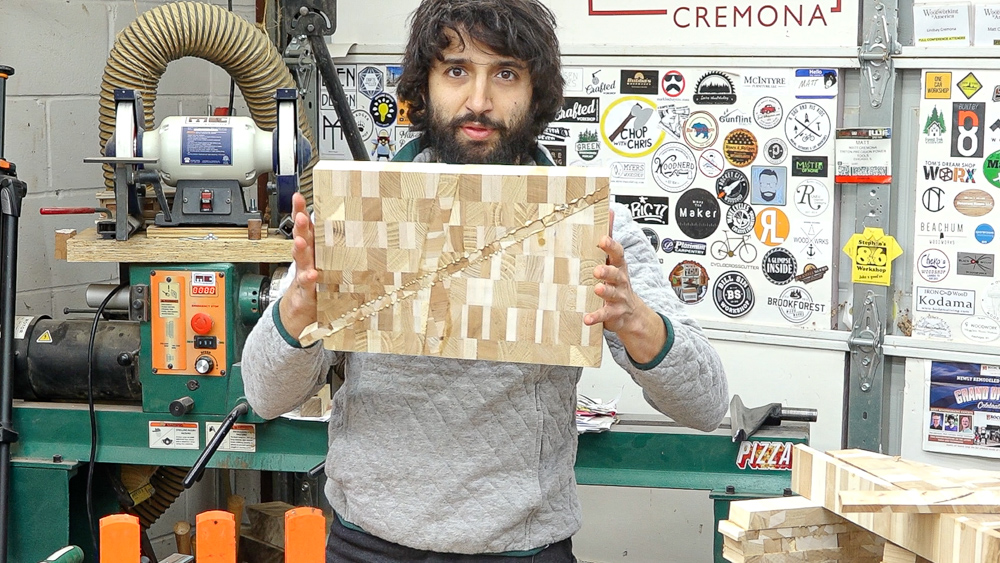
Here’s the first one. You can see that in order to make it rectangular, one side has a taper, which looks kind of interesting. It makes it not look rectangular, but it is actually rectangular. That’s kind of a fun pattern.
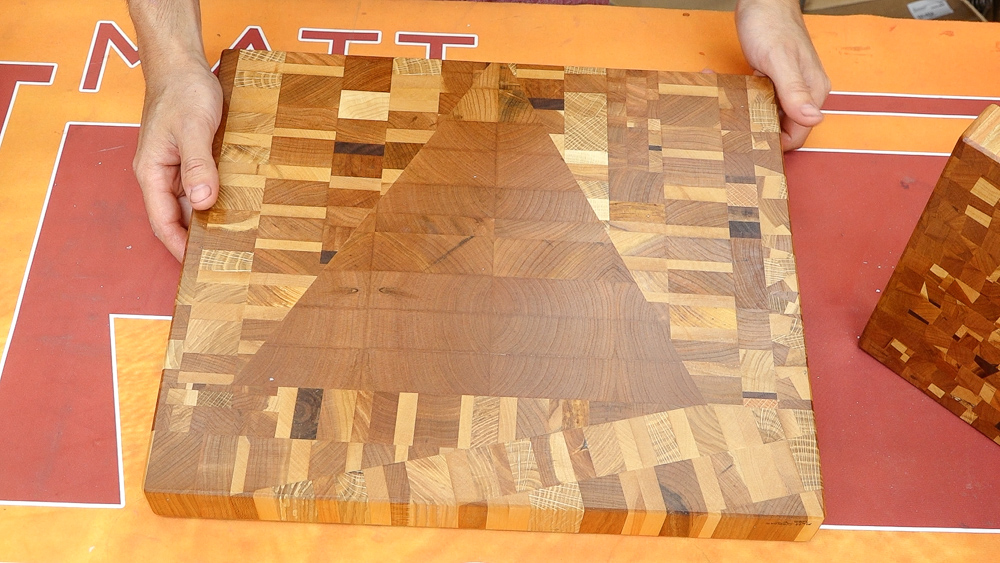
The next one is the illuminati board. It’s a little bit on the goofy side, but still pretty darn cool.
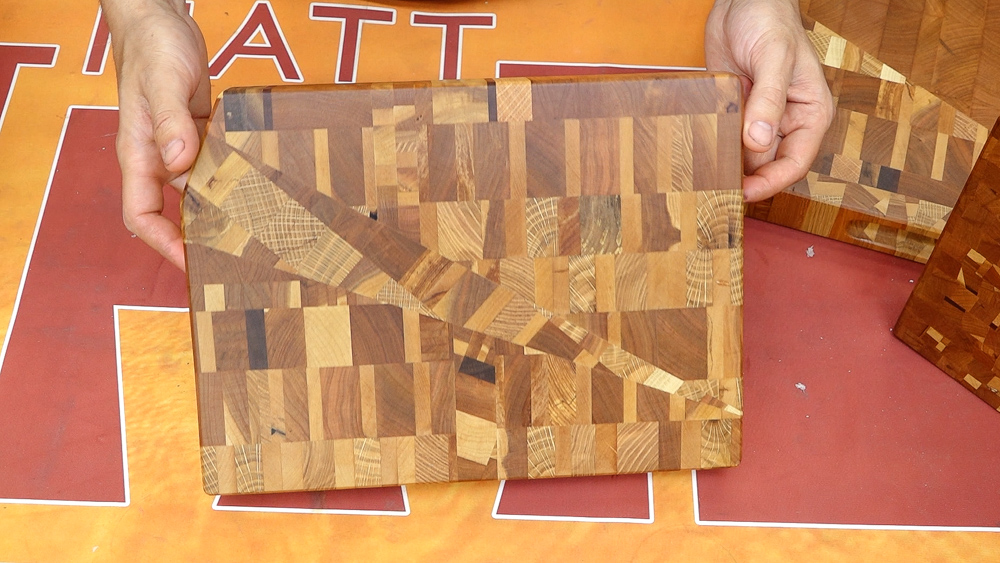
This next one is that wedge piece. One of the wedge pieces didn’t extend far enough out, so I trimmed off this corner, so it’s got this funny clipped corner look design.
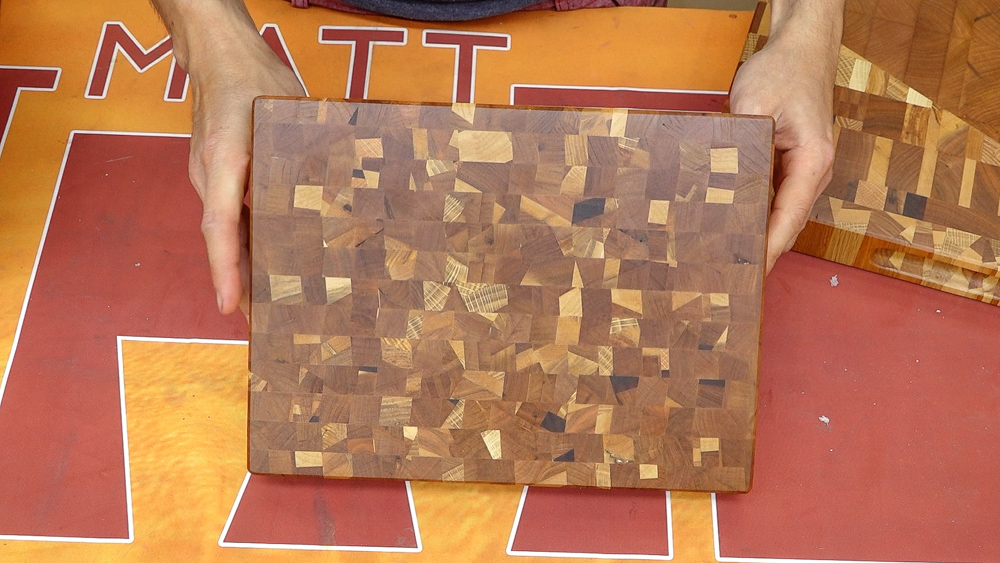
And then here’s the baby chaos. That’s just two iterations of chaos, just like the other ones, and it’s a good way to get rid of a lot of the other stuff.
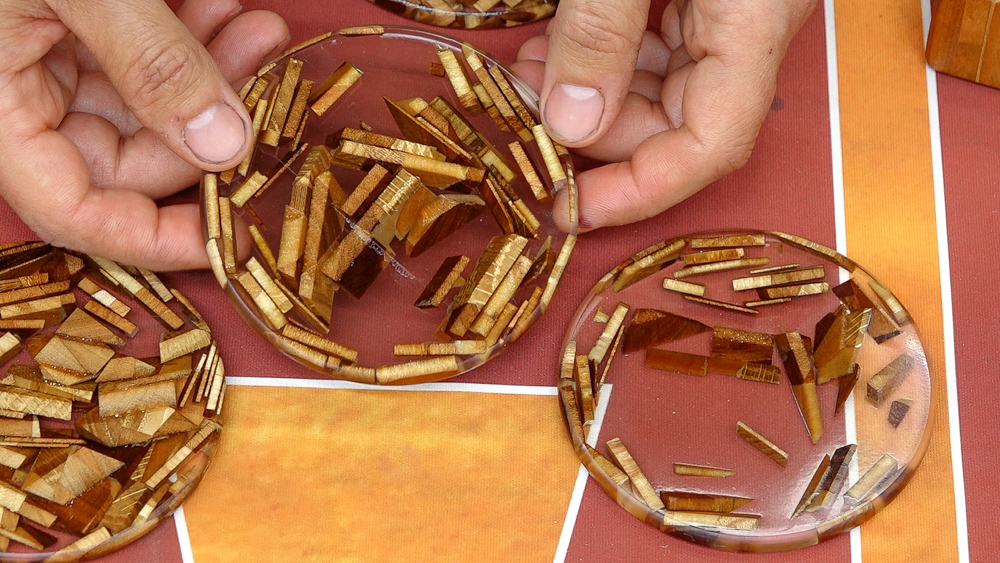
Now these coasters turned out a lot better than I thought they would. One thing surprised me is I actually like the ones with less wood than resin. The more resin you have, the more you can see through them, which I think is cool. These were a fun proof of concept project, so they’re not nearly perfect at all, but I think it worked out pretty nicely and it was fun to do something a little different.
That is going to do it for this one. Thank you as always for joining me, I greatly appreciate it. If you have any questions or comments on the cutting boards or anything else here in the shop, please feel free to leave me a comment. As always, I’d be happy to answer any questions you might have. And until next time, happy woodworking!
Welcome to my shop! This is a quick update to let you know what I’ve been up to. This big chunky thing is the leg

Welcome back to the home renovation. This time I’m going to be working on the kitchen island. Here is a small model of the island.

Welcome back to our home renovation. Today I am going to be working on this wall. It needs some upper cabinets and the surround for