
Matt's Weekly Shop Update
Kitchen Island, Barn Power – March 2024 Update
Welcome to my shop! This is a quick update to let you know what I’ve been up to. This big chunky thing is the leg
Welcome back to my backyard.
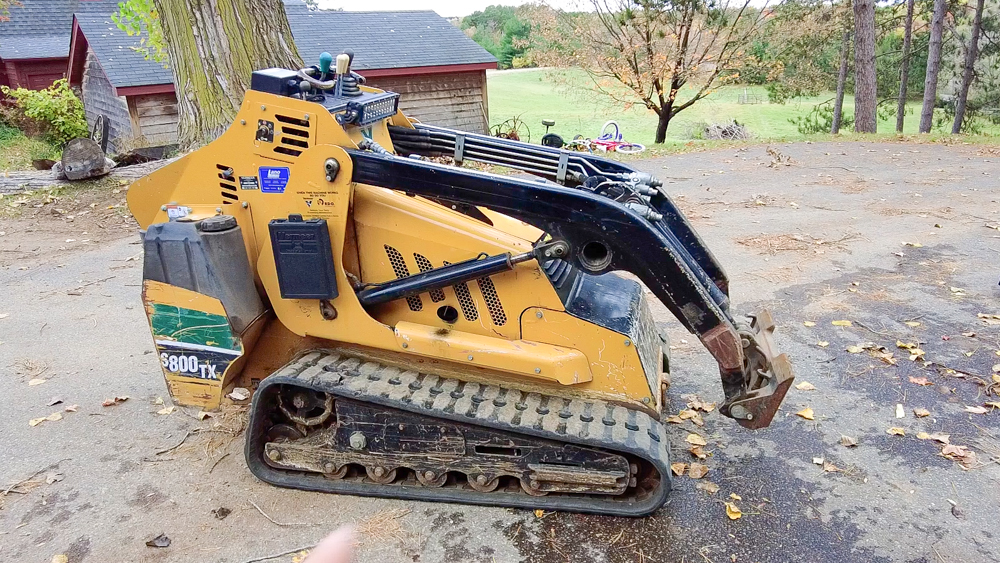
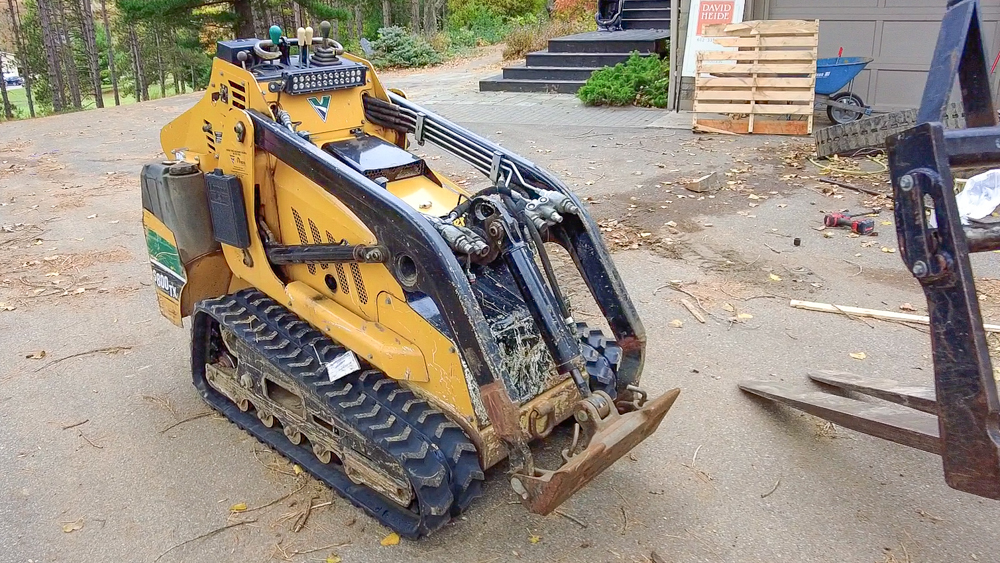
My skid steer needs some new tracks, so I thought we’d do a little tutorial on how to change the tracks on this thing.
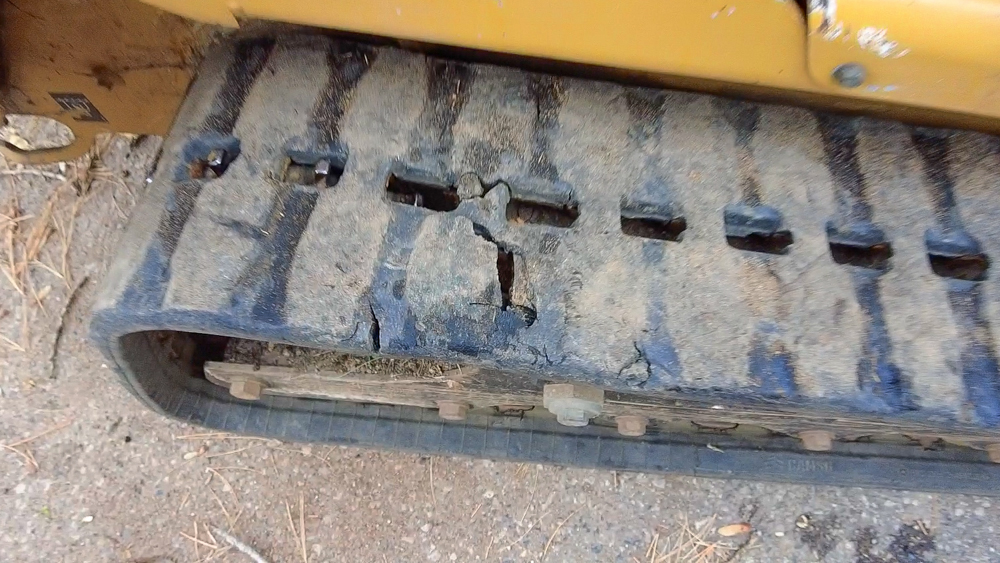
As you can see, one of the cables broke, and eventually that will just break apart. So I bought some new tracks for it. When I bought this machine, it had the original tracks on it, and I got three years out of those tracks. This skid steer was the first machine that I bought to help the business out, and it took me several years to justify a purchase like this. The total cost of the machine and the attachments was $28,000. That was a lot for me, but this is my number one best purchase.
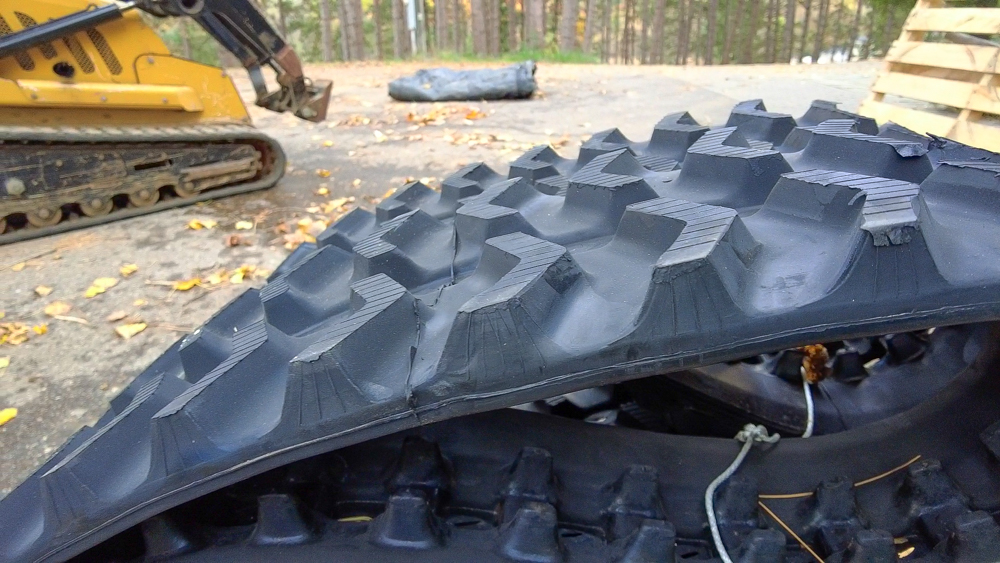
These are the replacement tracks. As you can see, they have a lot more tread. These cost me about $1,200, but I knew this cost was coming, so it wasn’t a big shock.
As I change these treads, let me extol the many virtues of this machine: Its small size, great agility, and pretty good capacity actually makes it a very useful tool for me. With its small size, it can go into a lot of places that a lot of other machines can’t. Also, with it being more of a skid steer, it can turn around in place, so you have the flexibility and maneuverability to literally turn on a dime without having to back up and do a thousand-point turn. It also has really nice capacity for the things that I do. Most of the things that I move around with the machine are only a few hundred pounds, and that covers most of what I’m going to do on a day-to-day basis.
Overall, this thing has been really reliable. This machine is nearly 10 years old, and that was one of my biggest concerns with buying an older piece of equipment, but I haven’t had any major issues with it.
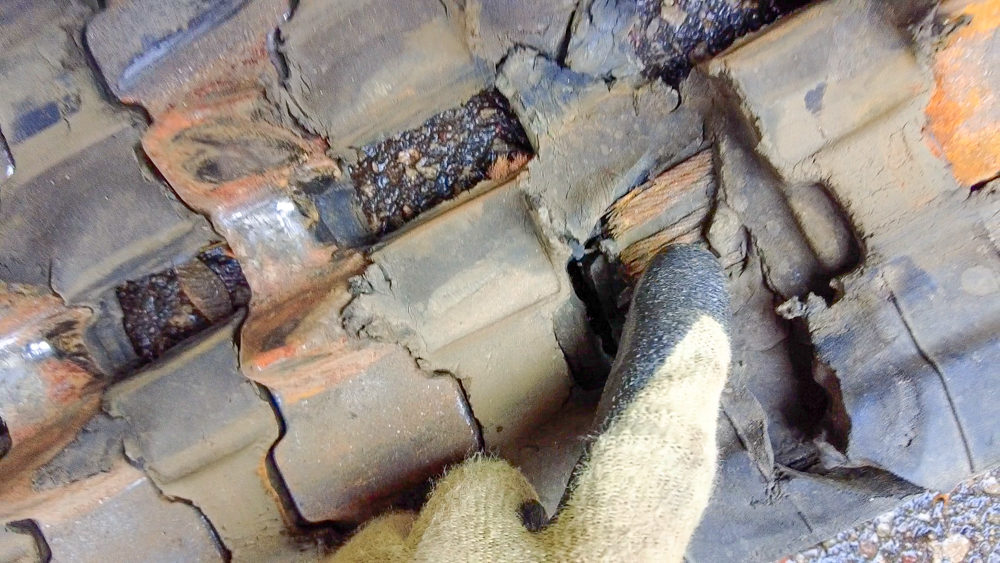
Here is the broken spot, and you can see how this track works. It’s got a bunch of cables inside of here and some steel pads where it actually bears on the rollers.
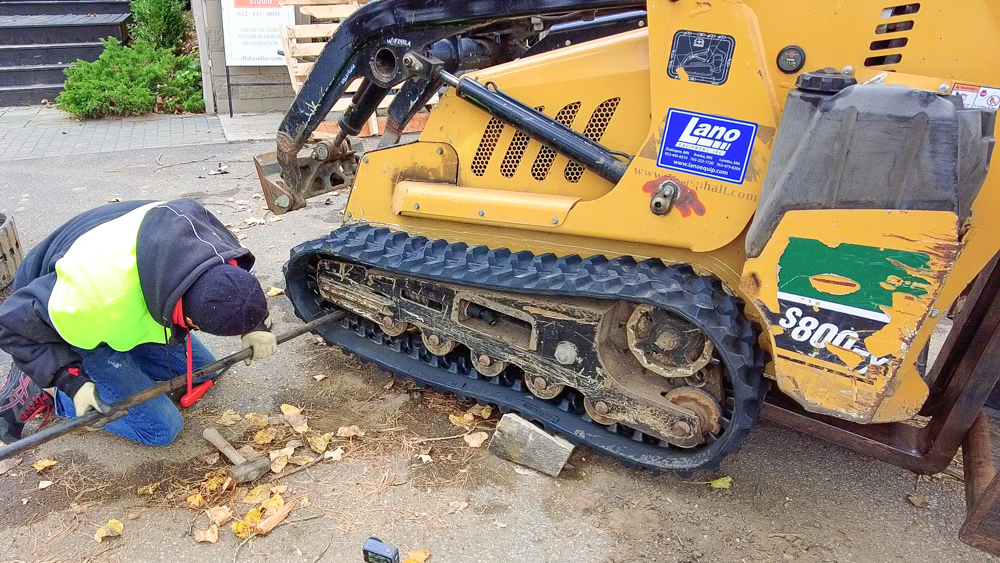
It rides so much smoother with some treads on there. I’m going to leave the adjustment doors off for now, put some miles on to stretch out the tracks a little bit, re-tighten them, and this will be all done.
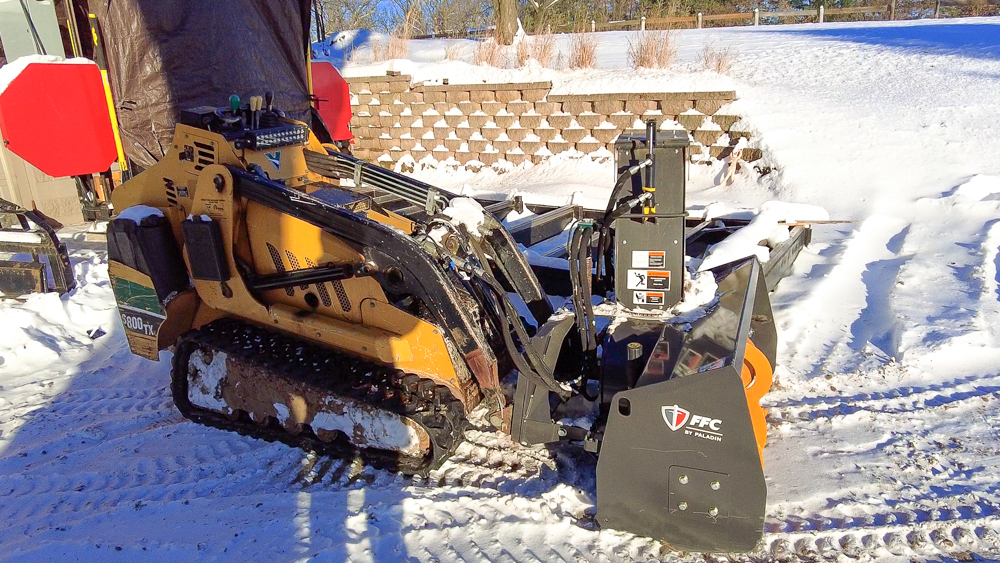
All right, it’s been a little over a month now. Conditions are a little different, and this is one of the conditions I was the most interested in seeing how those new tracks perform. But these new tracks have worked really well, and there’s a lot less slipping than there used to be while I’m snow blowing the driveway.
I do have to say, one thing I don’t like about this machine is the speed. It’s not bad if you’re working in one area, but if you have to cover a lot of ground, it’s slow. And if you go in reverse, it’s even slower. It’s an annoyance, but it’s not the biggest deal in the world.
So that’s going to do it for this one! Thank you, as always, for joining. I greatly appreciate it. If you have any questions, please feel free to leave me a comment. As always, I’d be happy answering any questions you might have. And until next time, happy woodworking!
Welcome to my shop! This is a quick update to let you know what I’ve been up to. This big chunky thing is the leg

Welcome back to the home renovation. This time I’m going to be working on the kitchen island. Here is a small model of the island.

Welcome back to our home renovation. Today I am going to be working on this wall. It needs some upper cabinets and the surround for