
Matt's Weekly Shop Update
Kitchen Island, Barn Power – March 2024 Update
Welcome to my shop! This is a quick update to let you know what I’ve been up to. This big chunky thing is the leg
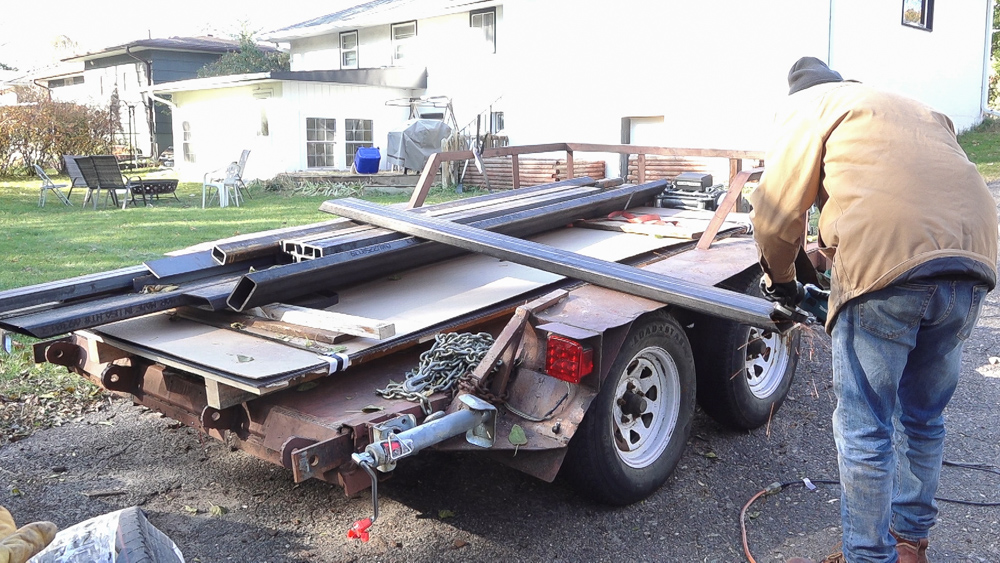
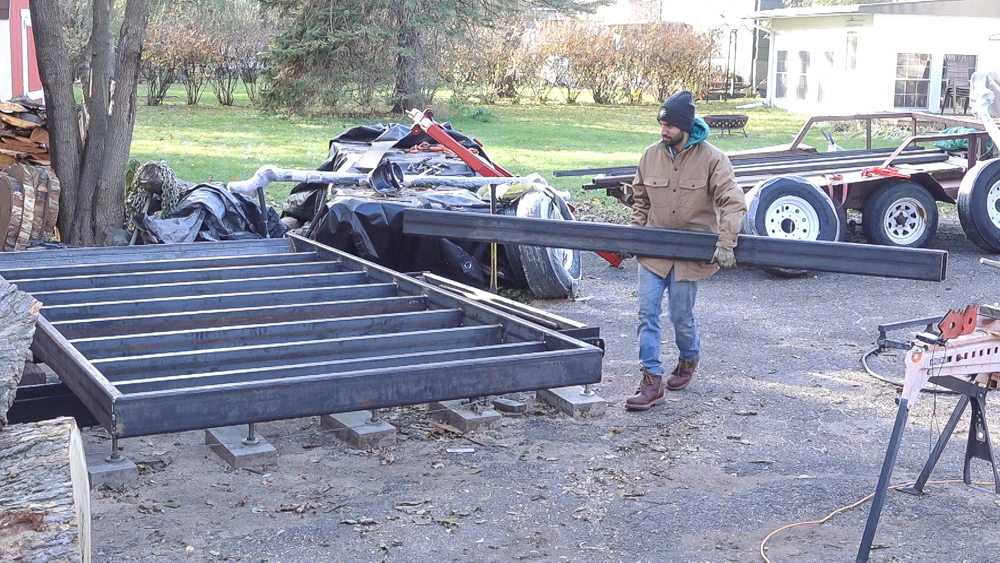
On my trailer is the majority of the steel I’ll be using to build the new trailer. The trailer frame, tongue, log arch, and decking are all there. As I did with the bandsaw mill, I had the steel yard precut most of my parts for me. Everything for the frame and tongue. There isn’t much glamour in cutting all these parts to length. The raw length steel is super long and heavy and the steel dealer has all the tools and equipment to deal with that while accurately cutting parts to length. I’ll prep all the parts before moving them over to the assembly area.

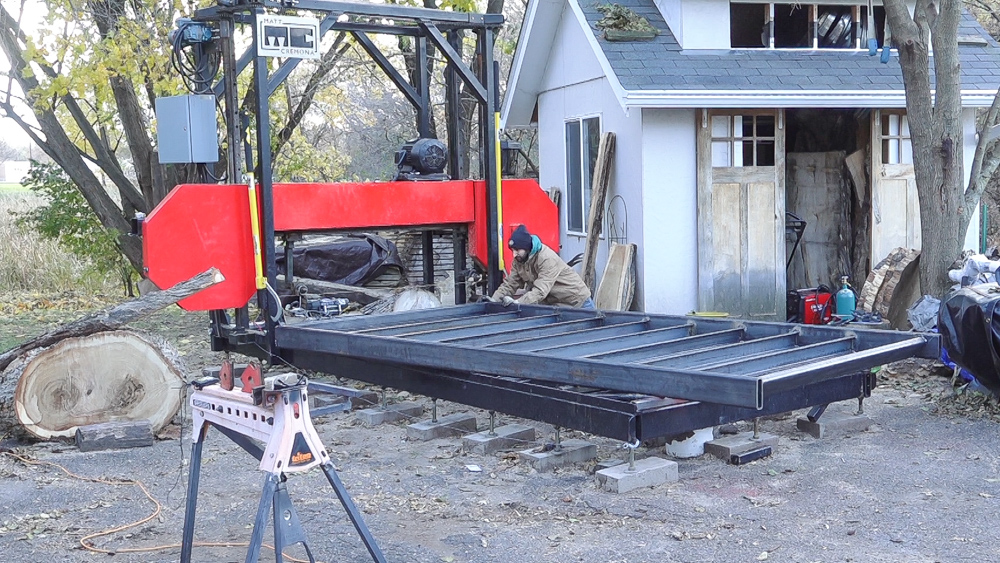
It’s also nice to unload and start laying out your project immediately. My bandsaw mill bed makes for a great assembly area because it’s nice and flat.
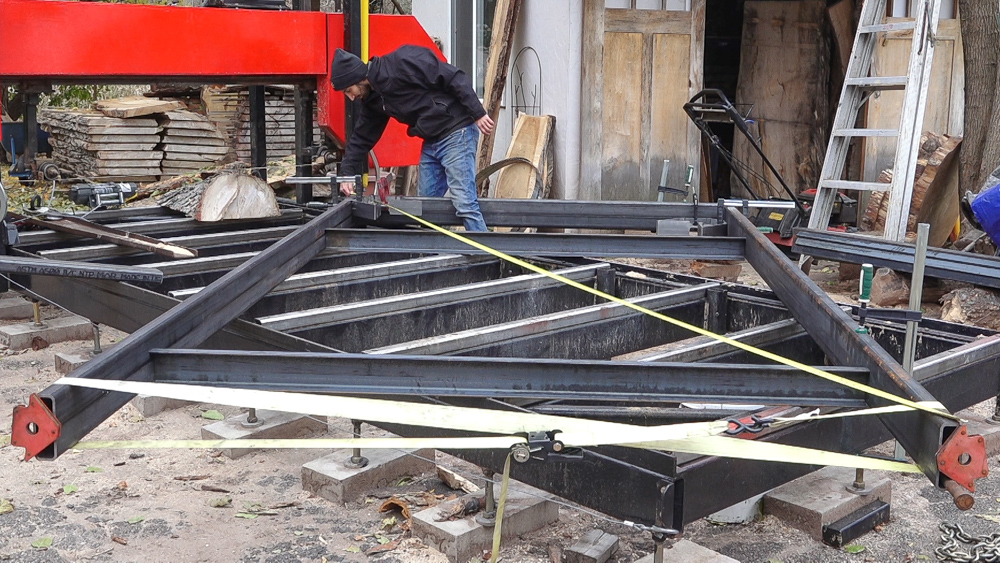
Although not imperative that the frame is square, I squared it up anyways. Making this frame square will make the rest of the project go easier since the frame can be used as a reference.
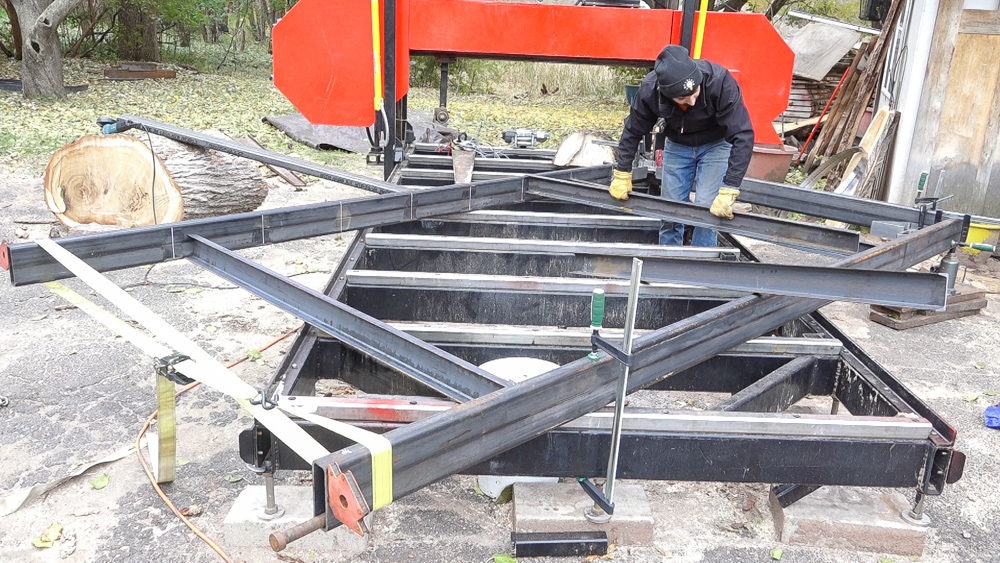
Next I can drop in the 4″ C channel cross members which are spaced 16″ on center so the seams of the decking will land over every 3rd channel.
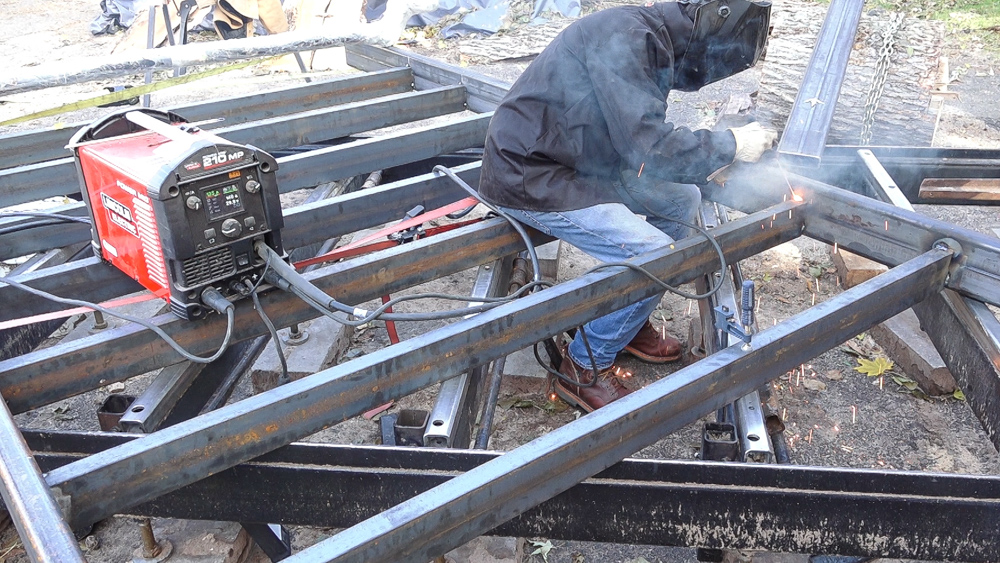
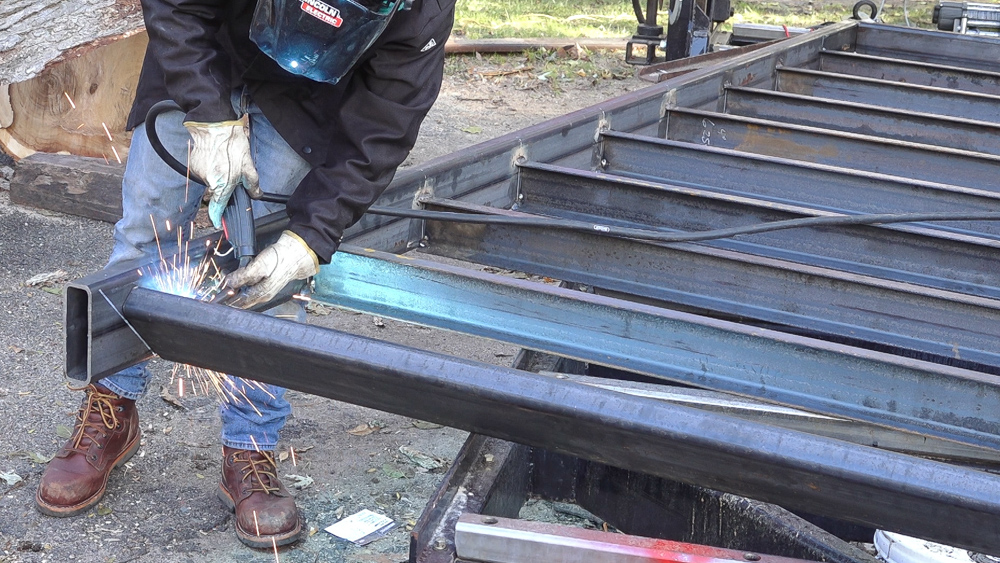
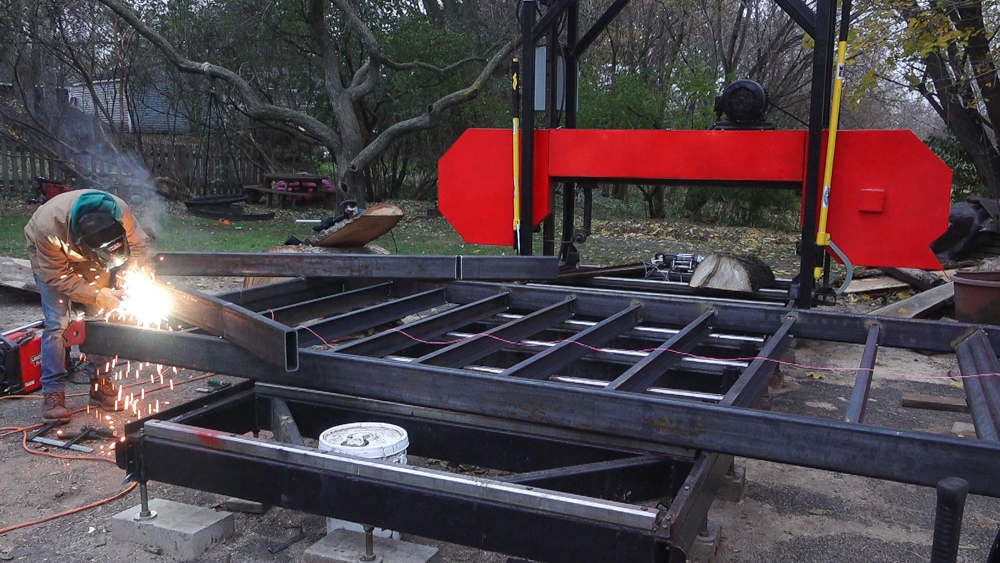
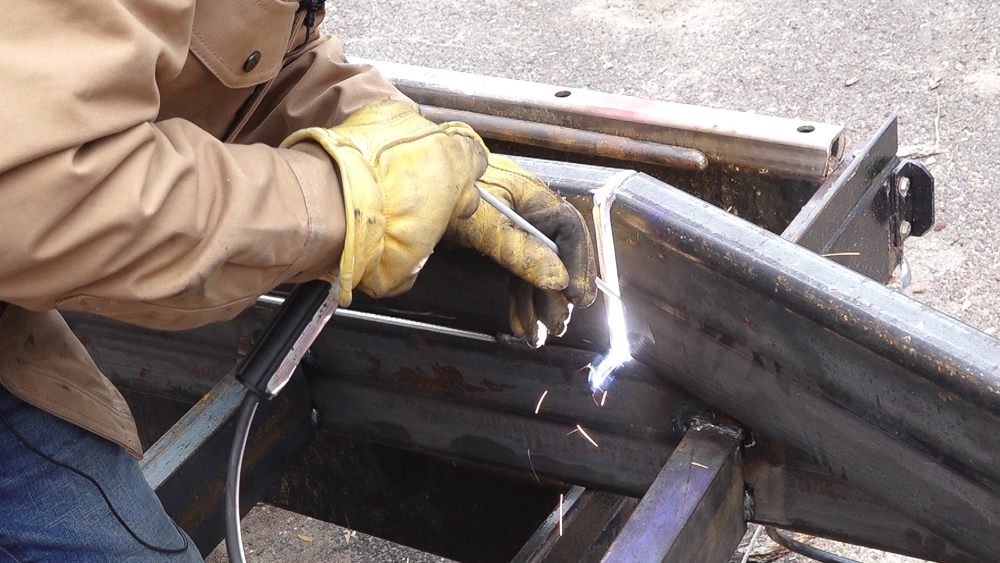
I used the MIG gun to tack all the frame parts together and then came back with stick to weld out all of the flat seams. The vertical seams will be welded later once the trailer is turned on it’s side.
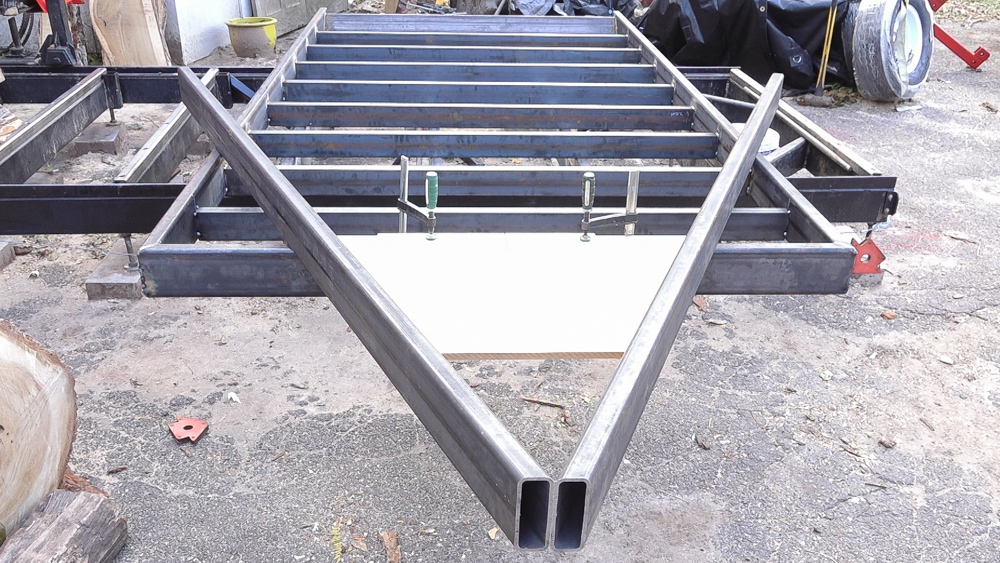
Lastly, I can install the angled back. This piece of tube sits at 45 degrees. The hardest thing about this was making sure it was tipped the right way since the trailer is currently upside down.
That takes care of the trailer frame. Now I can spin it a bit to make room for the tongue.
The tongue pieces are more 2×6 tube with a 25 degree cut on one end. They’re about 10′ long and not particularly light.

To make installing the tongue rails easy, I wanted to make an alignment jig. In order to do so, I needed to know the exact distance they should be apart where they meet the trailer frame so the overall length ends up where I want it with the rails at the angle that I want them. I wanted a 46″ length from the frame to the connection point and I wanted them to be at 50 degrees. A little trig provides me with the distance I’m looking for and I can move on to making my jig.
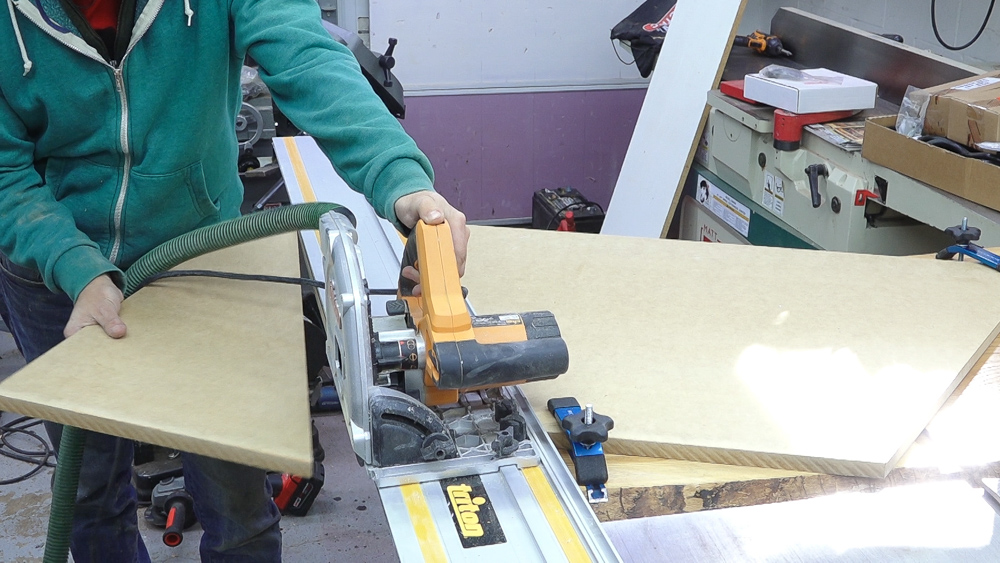
I drew out the lines at the angle I wanted spaced the proper distance apart and used a track saw to make those cuts. I added a fence so I could hook it onto the frame and I also cut a kerf right in the center so I could center my jig over the centerline of the trailer frame.
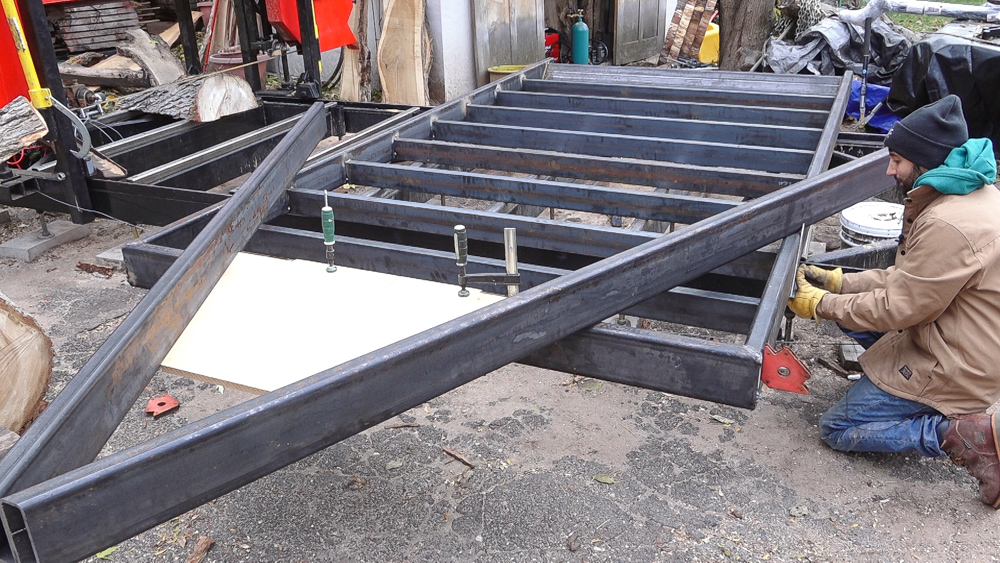
With the guide clamped to the trailer frame, it was just a simple matter of placing the tubes up against either side and pushing them forward until they touched.
Next I can start notching out the tongue rails so they can be bent to follow the trailer frame. I’ll transfer the intersection onto the tongue rails so I’ll know where to lay out the bend.
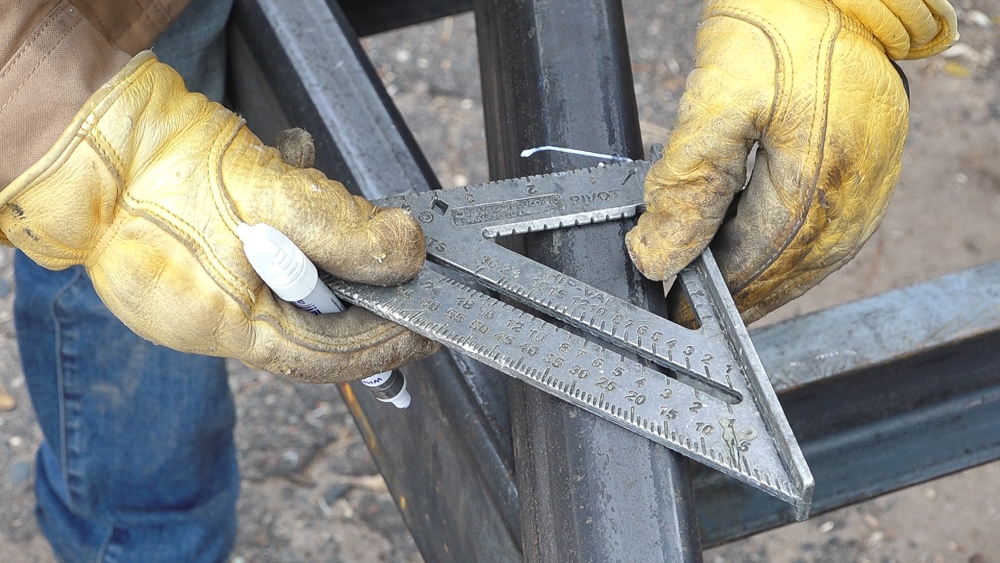
The miter angle on these should be 12.5 degrees. I went a little past that and laid the cut lines out so they would result in an opening when the bend was complete.
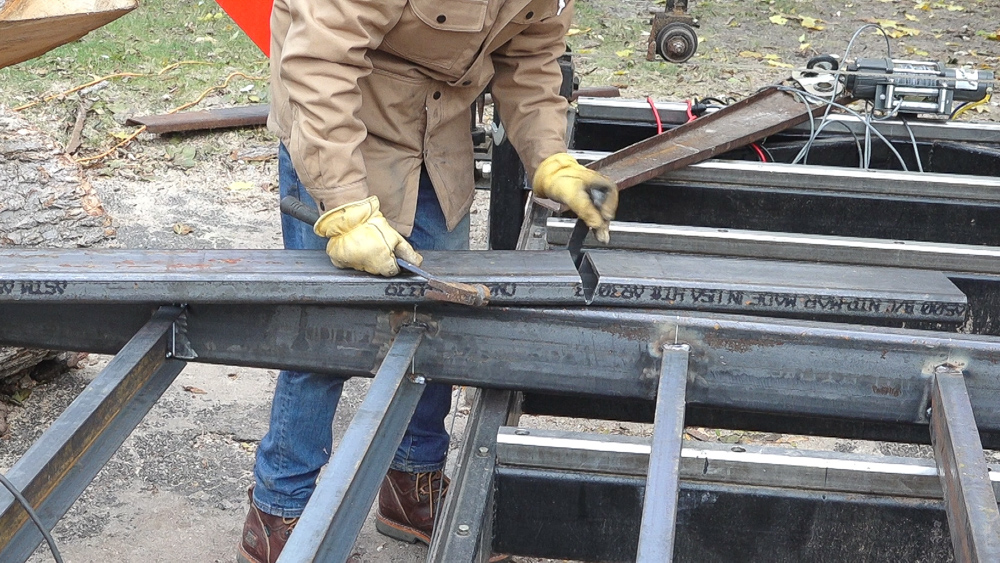
Using a cut off wheel, I can remove the wedge of waste.
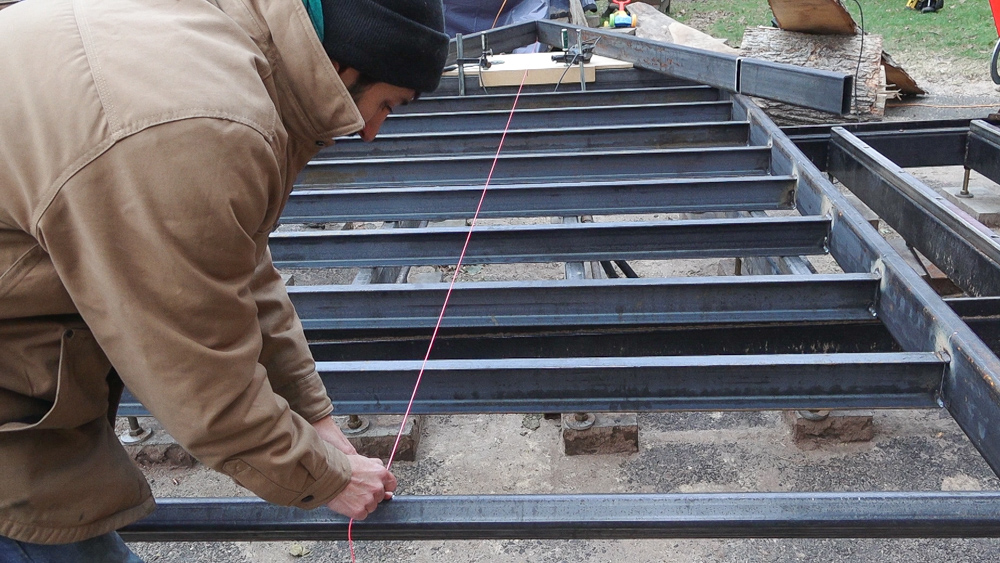
I’ll do one final check to make sure the tongue is perfect – the center of the tongue should match up with the center line of the trailer frame. A string stretched from the tongue to the center of the back rail should pass directly over the center of the front rail – right where the kerf in my jig is.
With the alignment confirmed and double checked, I can tack the tongue rails to the trailer frame.
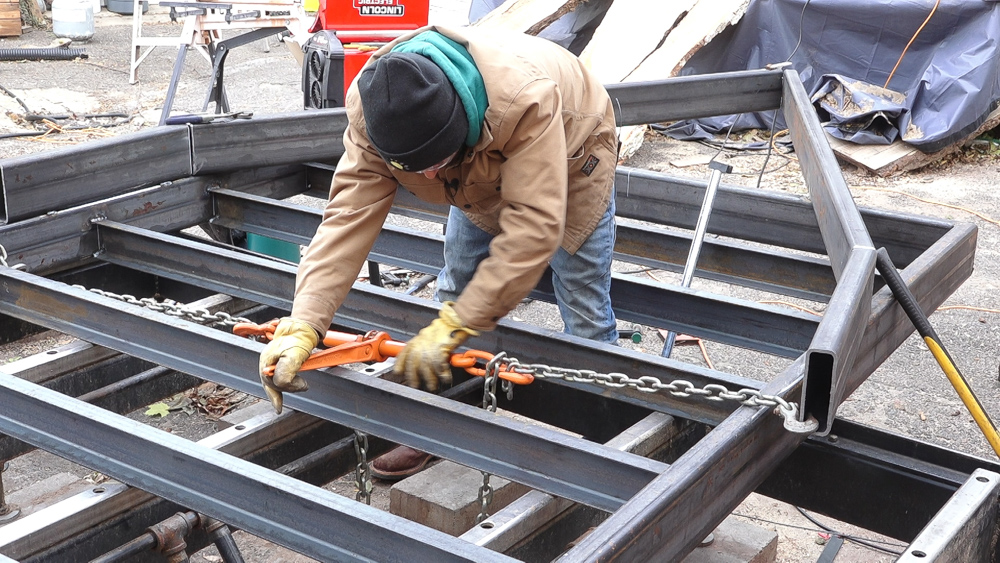
Time to bend the tube! I used a load binder and some chain to pull the short leg of the tongue over. There wasn’t really any resistance here but my arms did get pretty tired from cranking that binder. I took 3 full travels of the binder to fully bend the tongue.
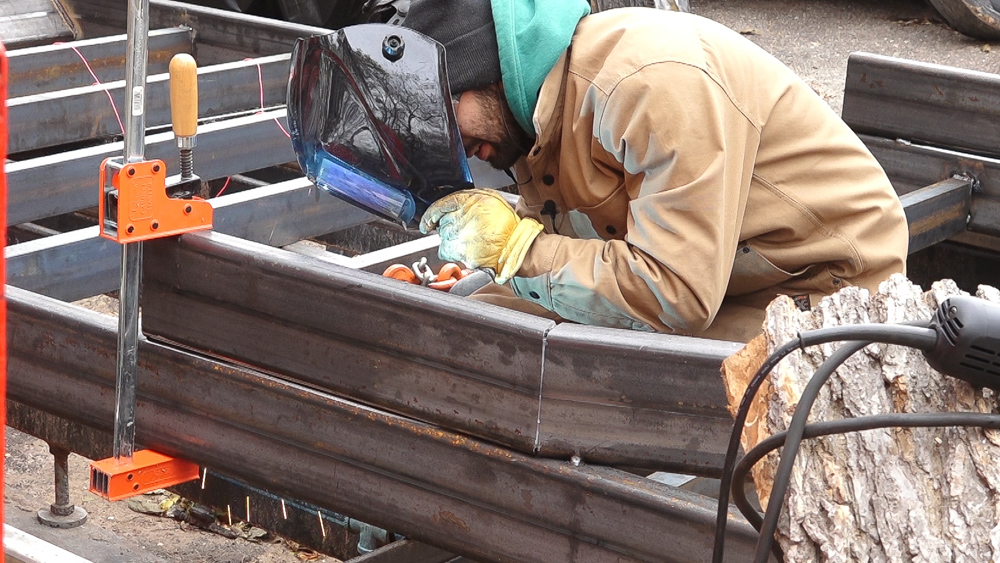
I bent until the tongue was in line with the frame, added a clamp to pull them together and tacked the tongue in place.
When I removed the wedge, I aimed for it to be a bit bigger than needed so I would guarantee that the two sides didn’t close up before the tongue was completely bent and so there would be a gap big enough to fit an electrode though so that I could weld the two halves back together where they pass over the frame.
PRODUCTS USED
[Amazon links are affiliate links]
Lincoln Electric 210MP Welder: https://amzn.to/2TkYlWf
Lincoln Electric Viking Welding Helmet: https://amzn.to/2UrIEwJ
Mitering Metal Bandsaw: https://amzn.to/2WlXarD
Triton Tracksaw: http://amzn.to/2f2P85l
Triton Multi-Stand: http://amzn.to/2AZs6a8
Triton Super Jaws: http://amzn.to/2eB0smV
Triton Engineers Jaws: http://amzn.to/2ftAyPE
Super Jaws Side Support: http://amzn.to/2eB18Zv
Fireball Tool Mega Square: https://fireballtool.com/mega-square/
Welcome to my shop! This is a quick update to let you know what I’ve been up to. This big chunky thing is the leg

Welcome back to the home renovation. This time I’m going to be working on the kitchen island. Here is a small model of the island.

Welcome back to our home renovation. Today I am going to be working on this wall. It needs some upper cabinets and the surround for