
Matt's Weekly Shop Update
Kitchen Island, Barn Power – March 2024 Update
Welcome to my shop! This is a quick update to let you know what I’ve been up to. This big chunky thing is the leg
Welcome to my backyard. Today we’re going to be extending the cut length on my saw.
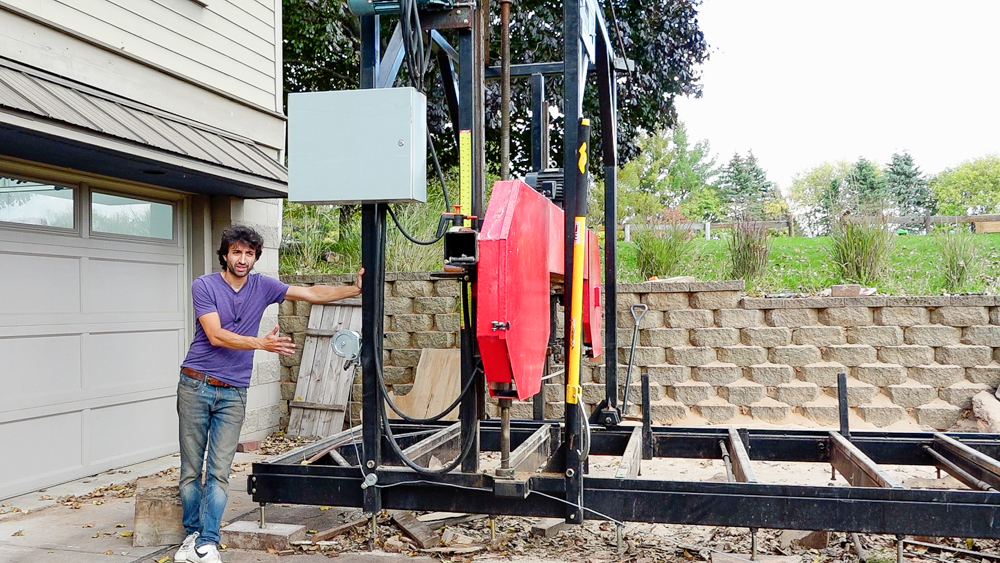
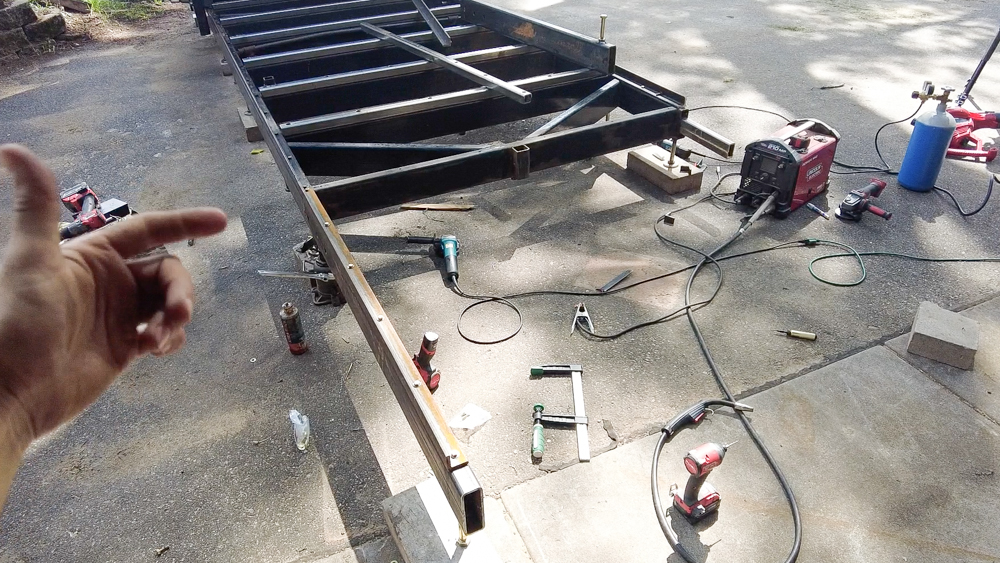
I’m not really doing a bed extension, just extension rails. I have some longer logs that I want to cut, and I have some more space at my new property, so I want to extend this thing. Right now this is a 16 foot bed, which will cut 12 and a half feet. Today, we are going to make a 5 foot rail extension, which will take me to about 17 feet of potential cut length.
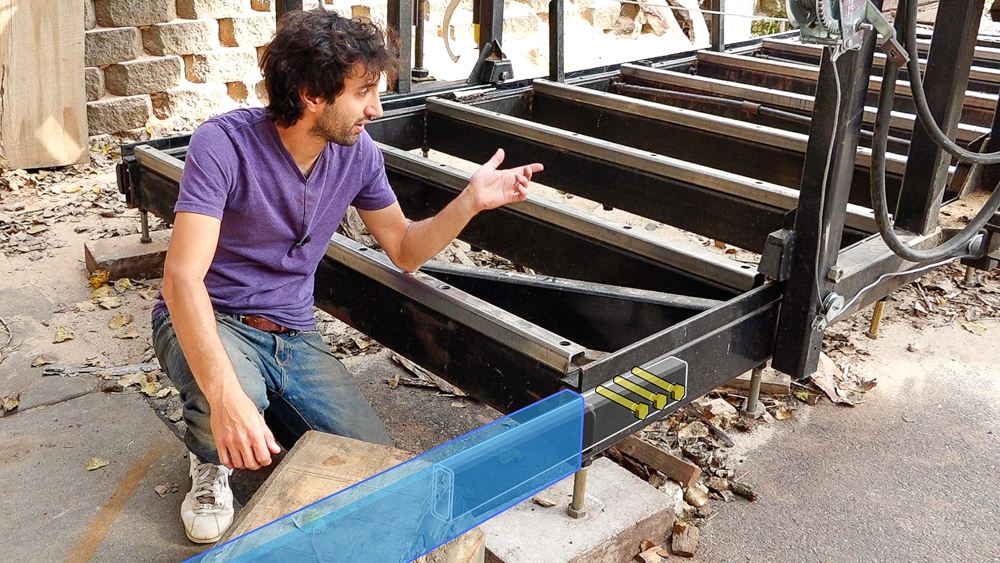
I want to make some rails that basically slide into here. Then it can get pinned in here, and it’ll have a foot off the back to support the weight of the saw head as it comes onto that extension.
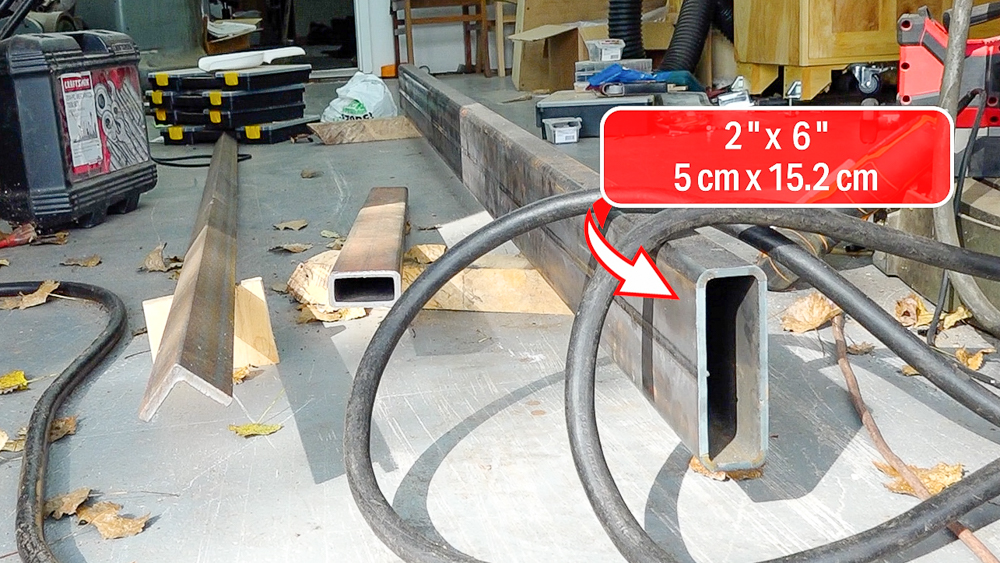
So here are my bits and pieces. I’ve got a 2×6 tube, a 2×2 angle that is 3/8 of an inch thick, and the smaller tube, which will fit into the bigger tube to act as a bridge piece.
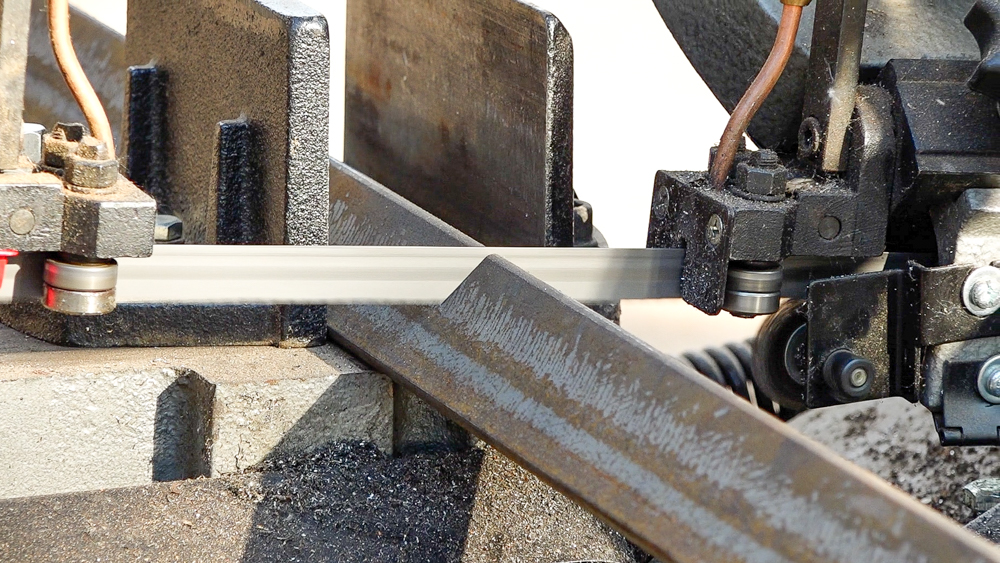
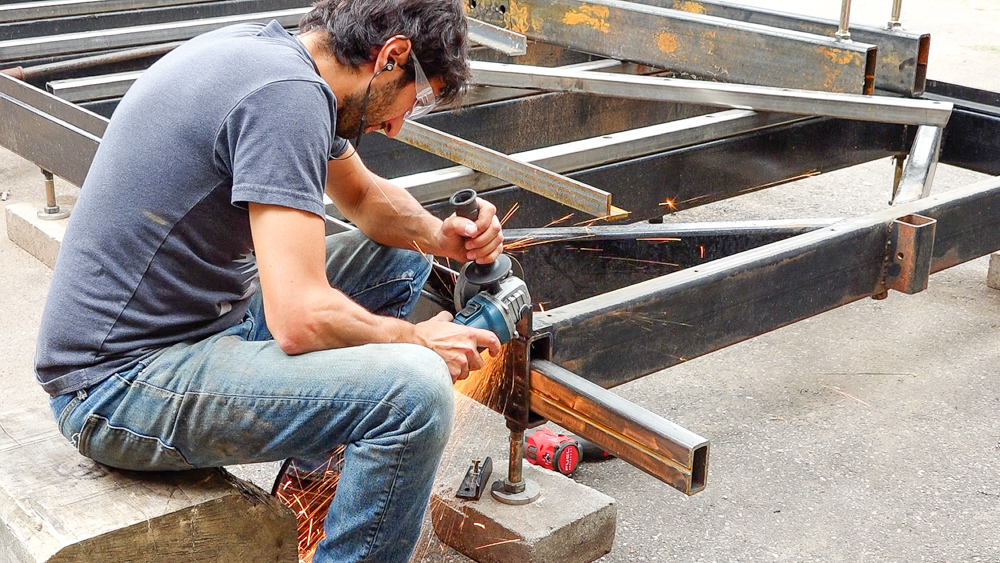
First I’m going to cut these pieces into 5 foot lengths.
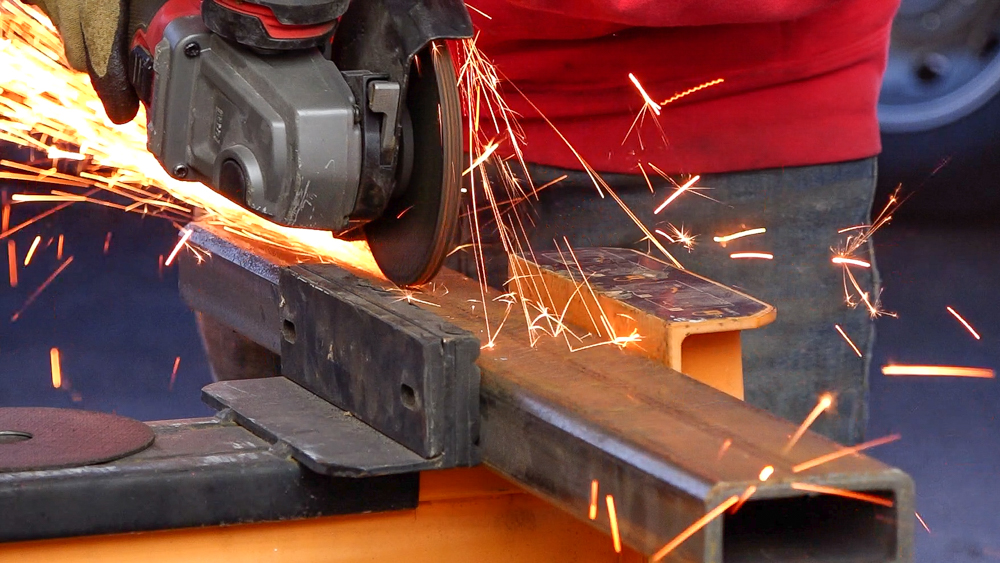
Then I’m going to cut a channel in that smaller tube to allow a space for the weld seam in the bigger tube.

Now I’m going to switch to drilling some holes. I need a hole in the underside of the new rails for the new leveling food, and some holes through the ends which will allow me to plug weld the floating tenon inside of the tube.

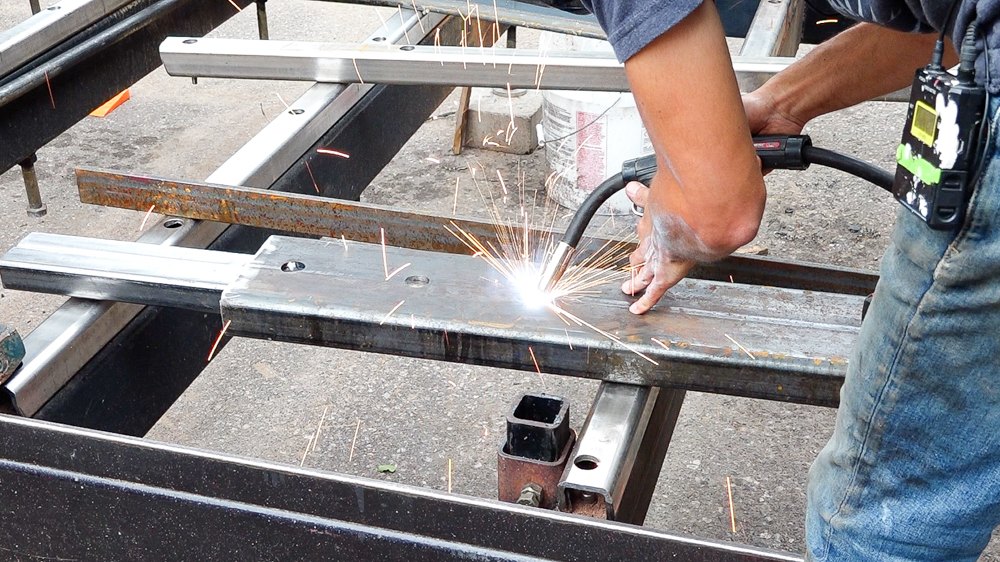
With those holes drilled, I can weld this nut over top of the hole for that level foot.
While those cool off, I’m going to disassemble part of the sawmill so I can get access to the end of the track piece. The only thing that worries me a lot about extending the track is the spot where the two track pieces meet. So I’m going to cut the original piece back a little bit so that the new track actually sits on top of the main rail of the saw.
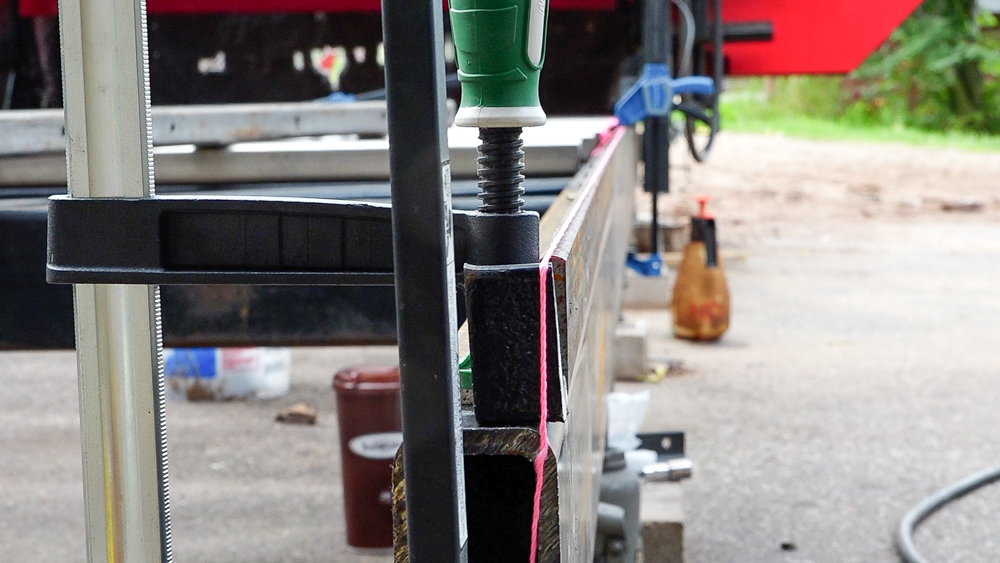
With all of that prep work done, let’s get that tenon piece in place now.
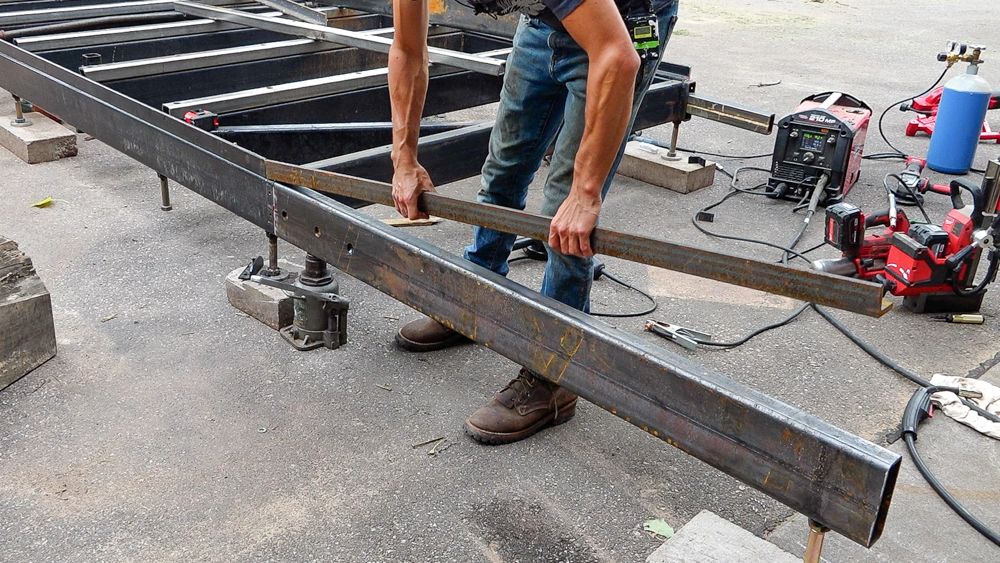
Then I can slide the extension into the sawmill. This new piece of track will also help align the extension, because it laps over the existing part of the sawmill.
It’s looking pretty good for now. I’m going to get the other side to the same point that this side is on, and then do the last bit of alignment before doing all of the pins.
Now that both sides are done, I’m going to get my alignment dialed in using a string line.
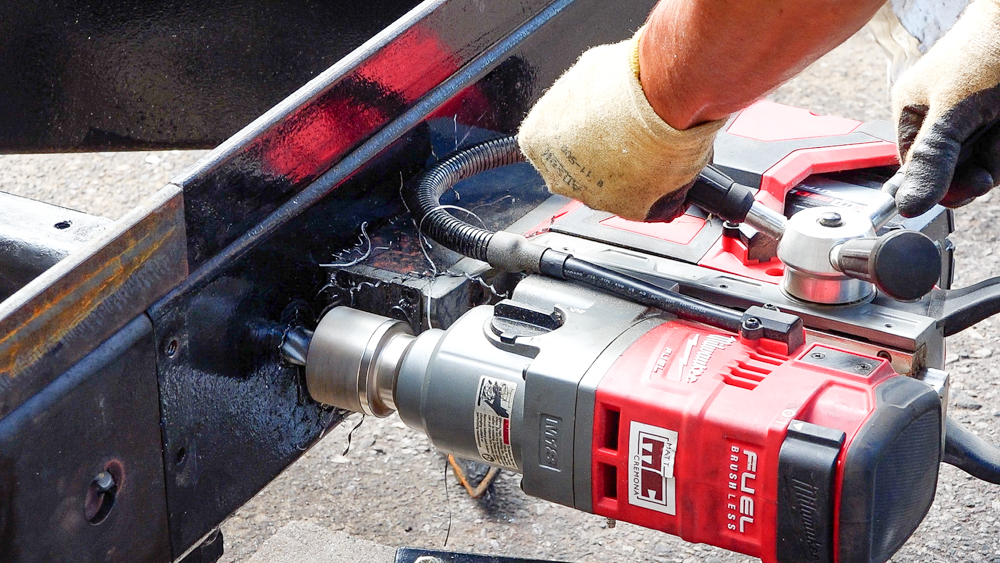
Now I can drill some holes for the pins and get the extension pinned in.
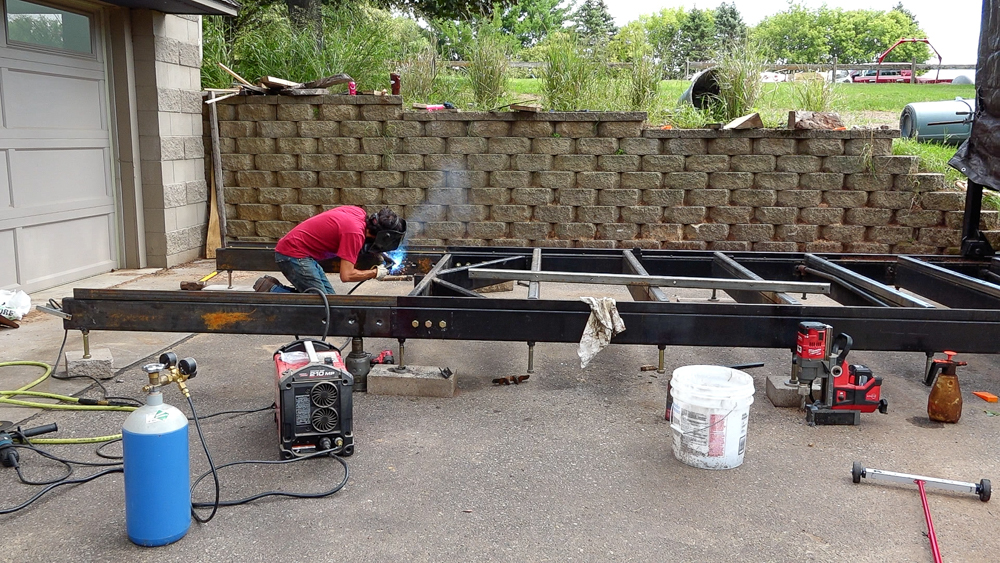
And then I can weld my plug welds.
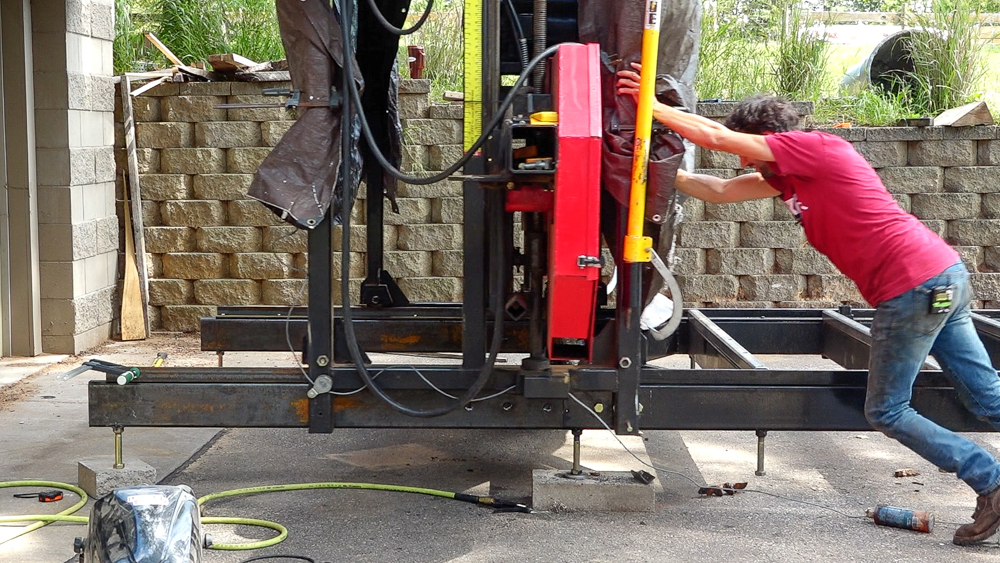
With all of that work done, it’s time to test the extension. Rolls pretty smoothly, and I’m quite happy with that! Now I just have to get the stops bolted on, and that’s really about it.
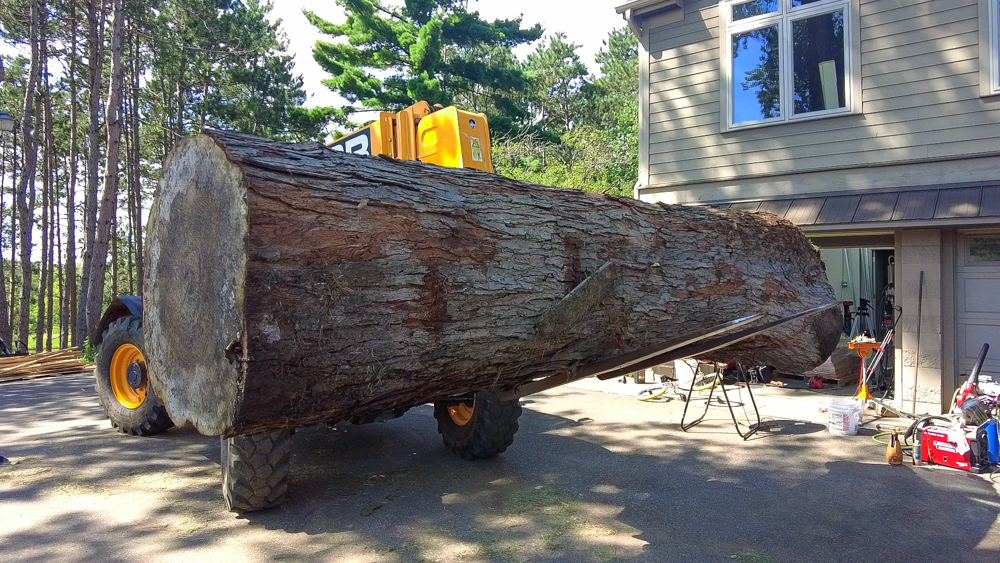
Here is the first candidate to go onto the saw. This is a silver maple with a treehouse step in it. We will cut this next time to test the track extension. So bigger adventures are coming soon!
It’s nice to have more space now. Back at the old house, I couldn’t even think of cutting anything longer. Extending this so that I can cut 16 foot long material should be pretty good for now. If I want to add a little bit more, I can always stick a couple more bunks onto the other side of the sawmill. But this should last me until we have an actual place for the sawmill, and we make that 40 foot long track.
That is going to do it for this one. Thank you as always for joining, I greatly appreciate it. If you have any questions or comments on the sawmill, please feel free to leave me a comment. As always, I’ll be happy answering any questions you might have. And until next time, happy woodworking!
Welcome to my shop! This is a quick update to let you know what I’ve been up to. This big chunky thing is the leg

Welcome back to the home renovation. This time I’m going to be working on the kitchen island. Here is a small model of the island.

Welcome back to our home renovation. Today I am going to be working on this wall. It needs some upper cabinets and the surround for