
Kitchen Island, Barn Power – March 2024 Update
Welcome to my shop! This is a quick update to let you know what I’ve been up to. This big chunky thing is the leg
The bed of the bandsaw mill still needs some mechanisms to hold the logs in position as they are being cut. Since I do plan on converting these functions to more robust hydraulic mechanisms in the future, I want the side support and log clamps to be simple to build but still very functional.
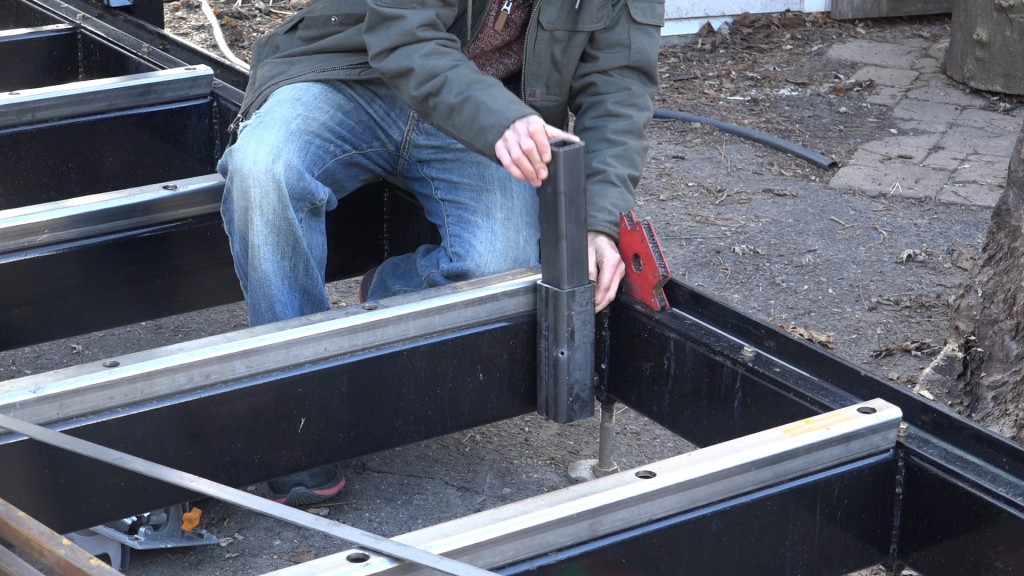
I’m starting with the side supports. These will resist the cutting force as the blade is pulled through the log. These are essentially the same as the table on a vertical bandsaw. I’m mounting a section of 2.5″ square tube to the frame so that a piece of 2″ square tube can slide through it. The 2″ square tube will be the side support and I’ll refer to the 2.5″ square tube as the pocket like a stake pocket you’d see on a trailer.
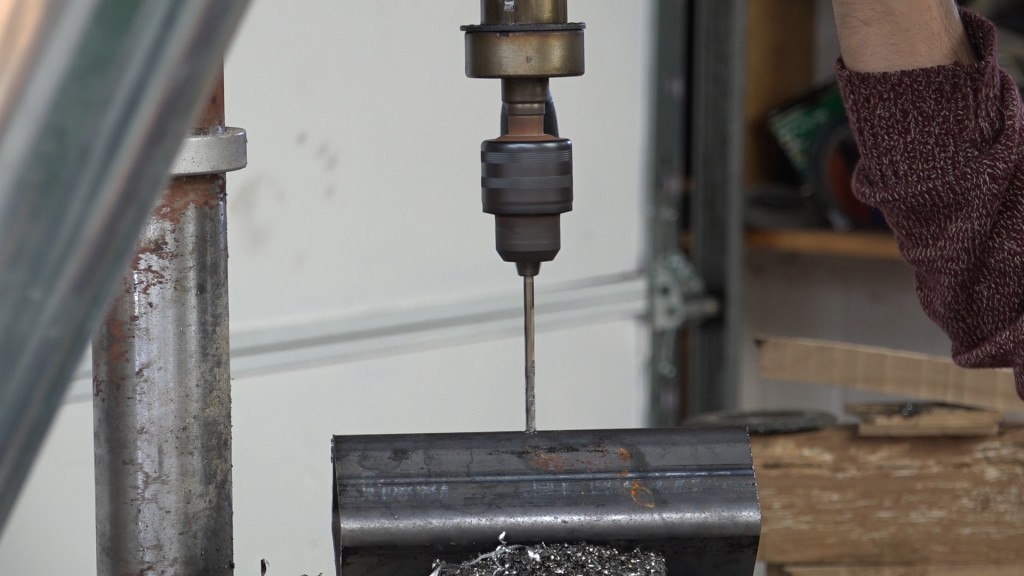
The pocket gets two holes drilled on one face opposite of the weld seam. These holes will be for adjustment bolts which will allow fine tuning of the side support to get them all coplaner and square to the bed. A hole also gets drilled into the corner opposite of the adjustment bolt holes. This will be for a locking bolt.
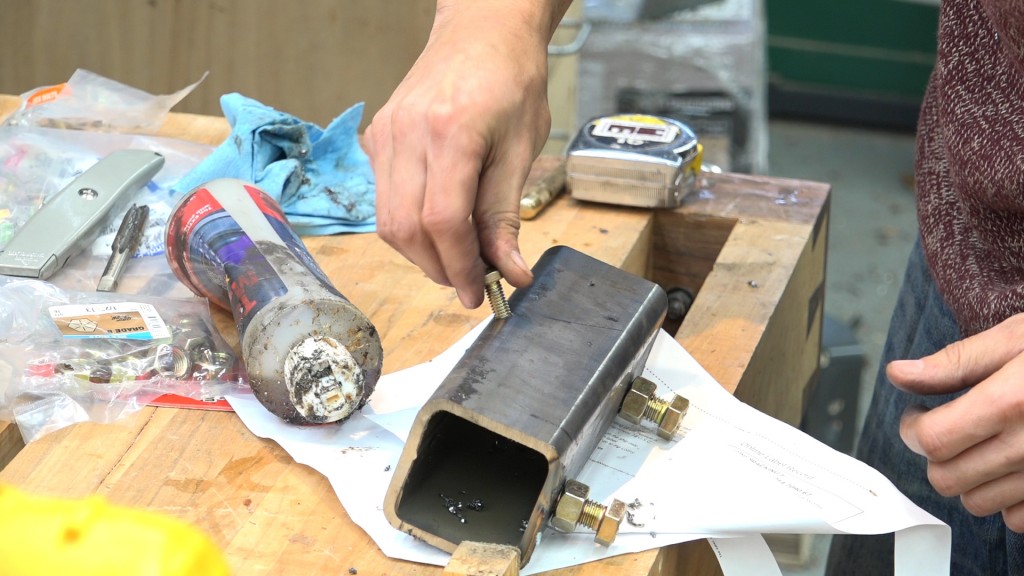
The adjustment bolt holes get tapped for 1/2″-13 bolts. I also install a nut on the bolts to lock the adjustments in position once they are set. The locking bolt is 5/16″-18.
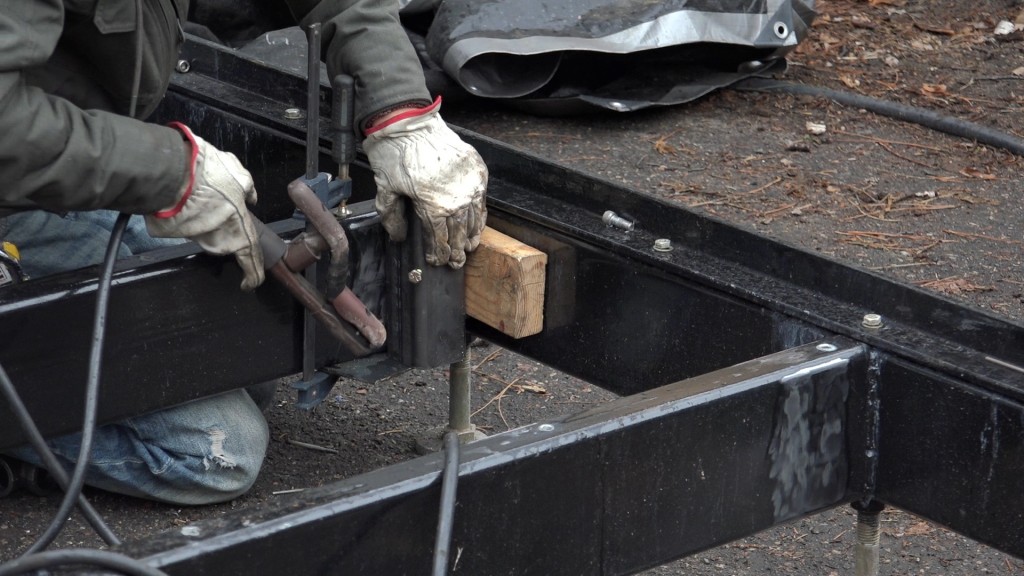
I clamped a scrap of material to the underside of the cross member to act as a shelf for the pocket. I used a piece of a 2×4 to set the distance off of the side rail. The 2×4 was the correct size to fit between the adjustment bolts and that distance away from the side rail still allows the adjustment bolts to be removed if needed. I held the pocket in place until I got a few tacks on it and then welded it in place. I only did a full weld along the top. I was trying to balance strength with removability in the future when I decide to so something more automated.
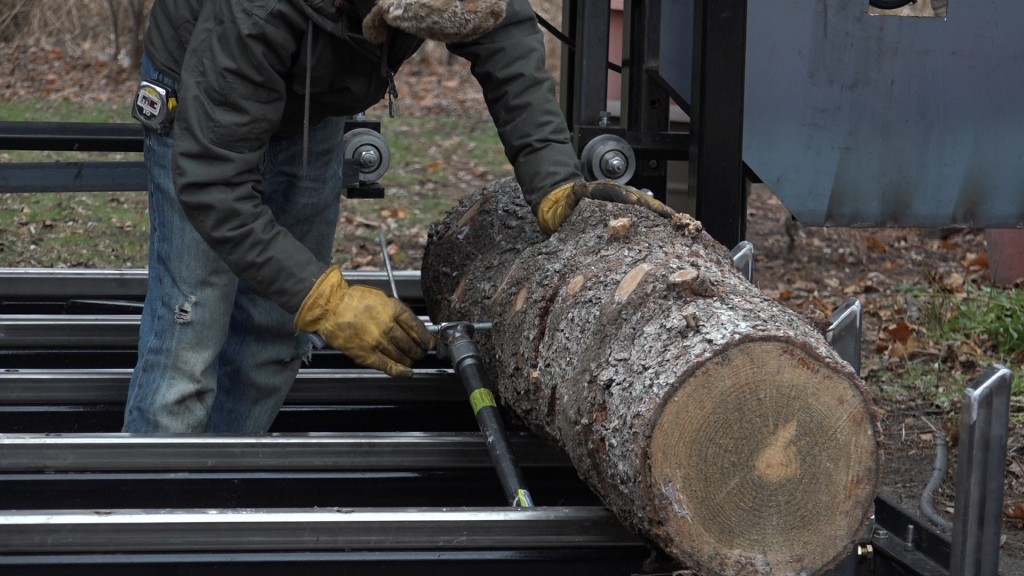
I built one clamp assembly to make sure the concept would work before committing to making all of the clamps. I have seen many home made mills use black gas pipe for the clamping mechanism however, the examples I saw were much shorter spans. I was planning to use larger diameter pipe however the price for the fittings at the larger diameters were much more expensive so I decided to see how 3/4″ and 1″ would work.
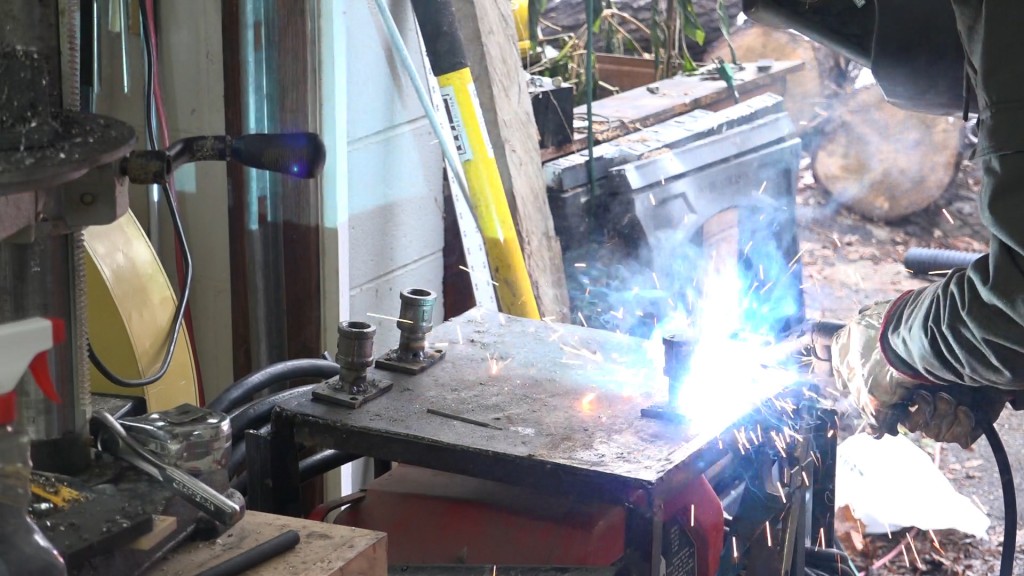
To save some money and have a little more flexibility, I made my own mounting flanges. These consist of a coupler, a nipple that I cut in two, and a scrap piece of steel.
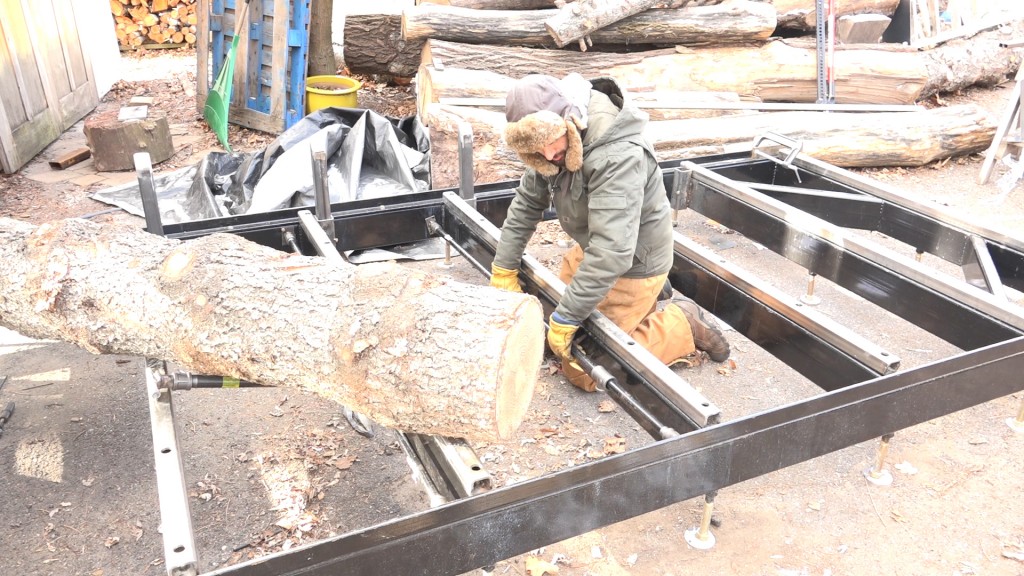
Once I had the mounts made, I could calculate the length of pipe I would need to span the inside of the bed. I had the pipe cut to the correct length and threaded for me at the home center. It was much cheaper to buy the full 10′ lengths than to pay per foot for what was cut. The 3/4″ pipe was around $5/ft or $10 for the full 10′ length. My 64″ sections would have been around $25 each but I took home the offcuts and paid $10 for each piece.
The couplers are threaded onto the pipe until the total length fits snuggly between the sides. A T fitting also gets slid onto the pipe for the clamp head. I’m using a 1″ T fitting.
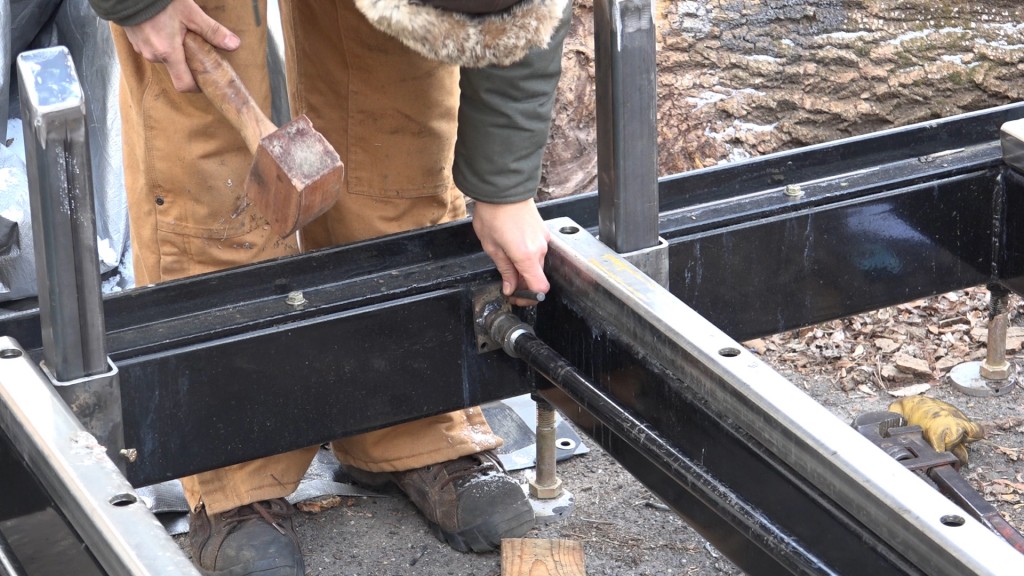
I positioned the mounting plates so that they were far enough away from the cross members that I could fit my drill in and drill squarely to the side. The hole locations can be transferred with a transfer punch.
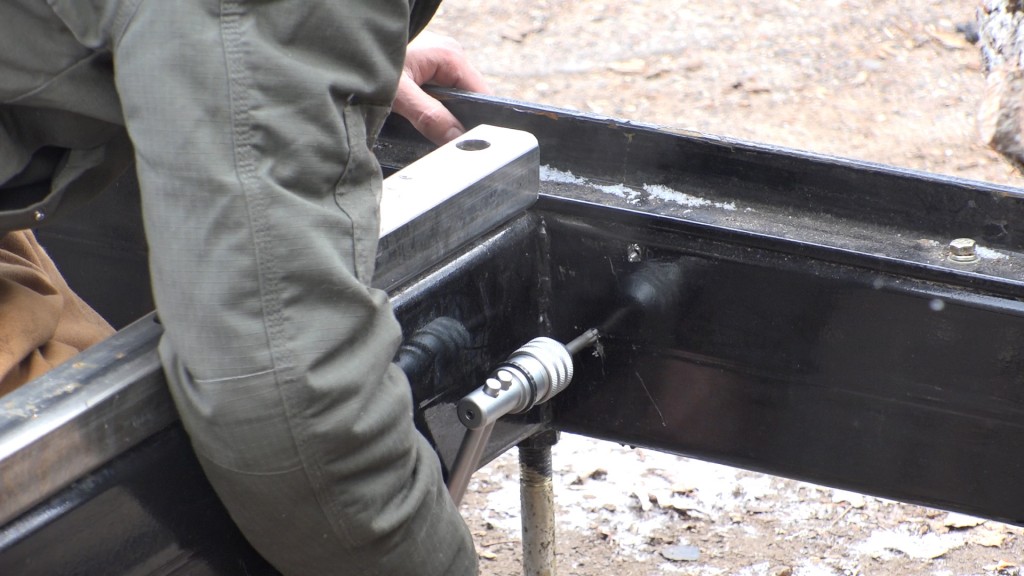
The holes were drilled and tapped for 5/16″-18 bolts. Having this ratcheting tap handle (Harbor Freight) made it possible to tap these without much frustration.
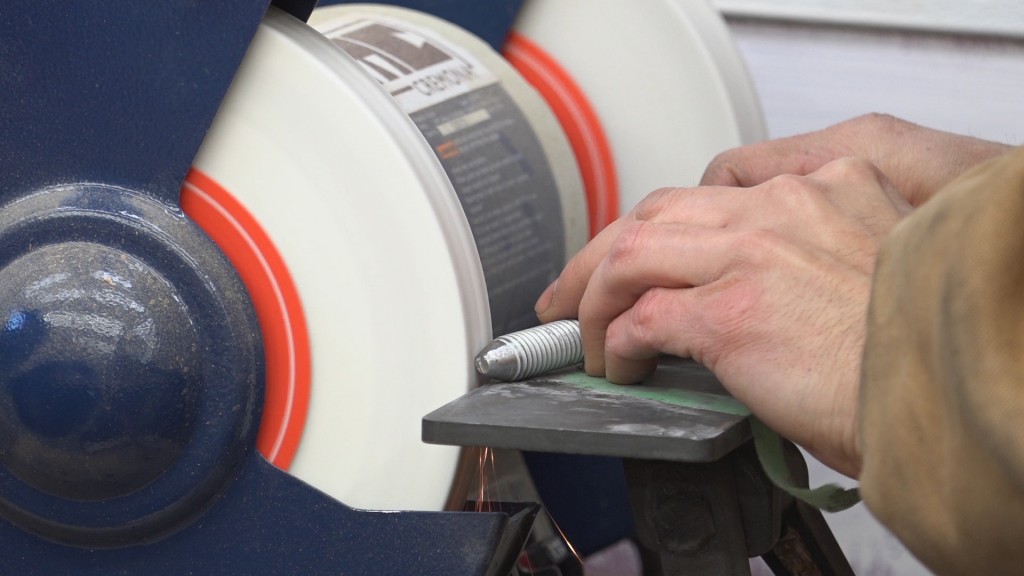
The clamping mechanism consists of a section of all thread passing through a coupling nut with a nut welded onto one end and a point ground onto the other.
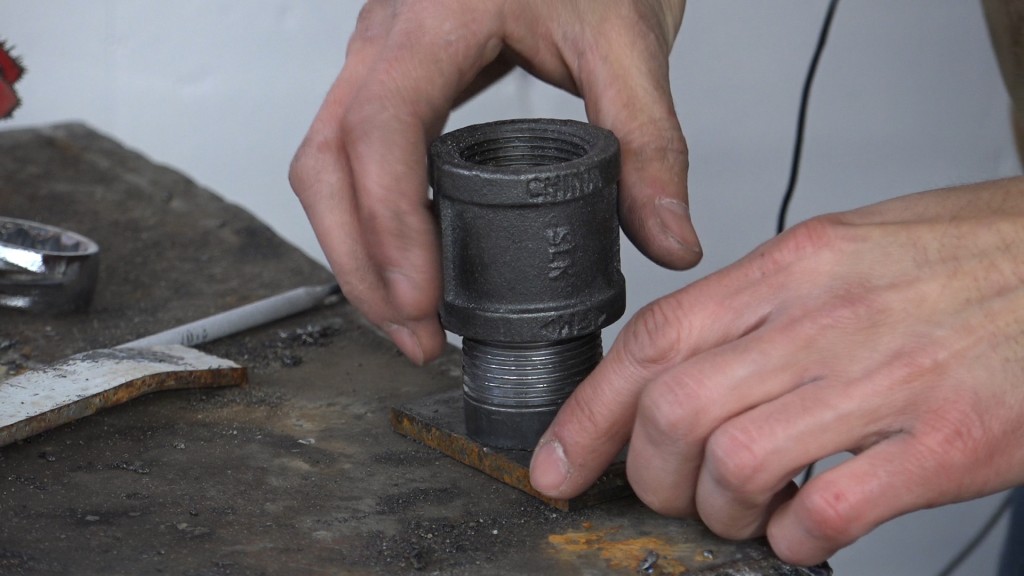
To attach the clamp head to the pipe on the mill, I made my own mounts similarly to how I made the other mounts. A nipple cut in two, welded to a scrap of steel and a coupler threaded on.
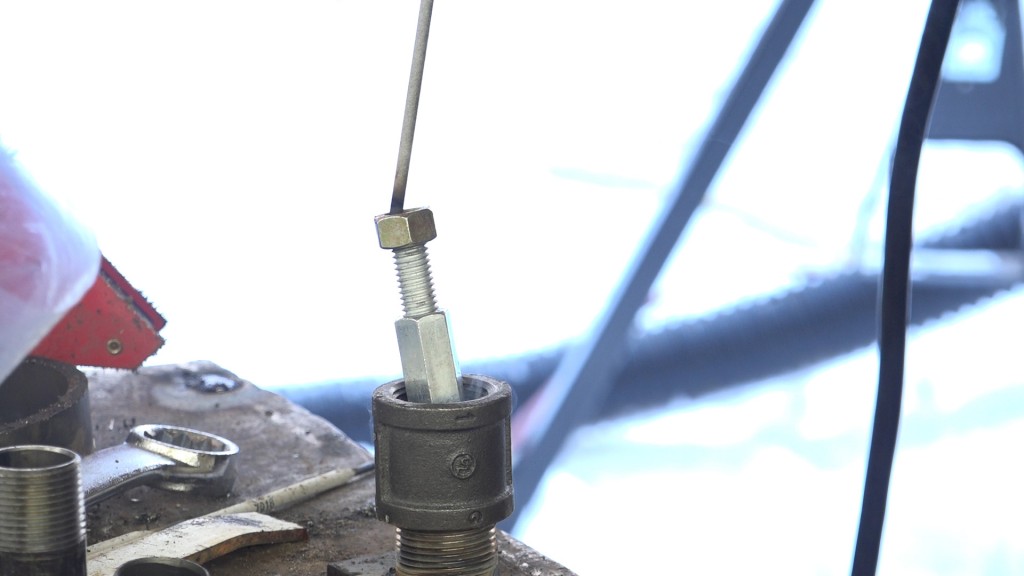
I used the mount to hold the treaded rod and conduct the welder’s current.
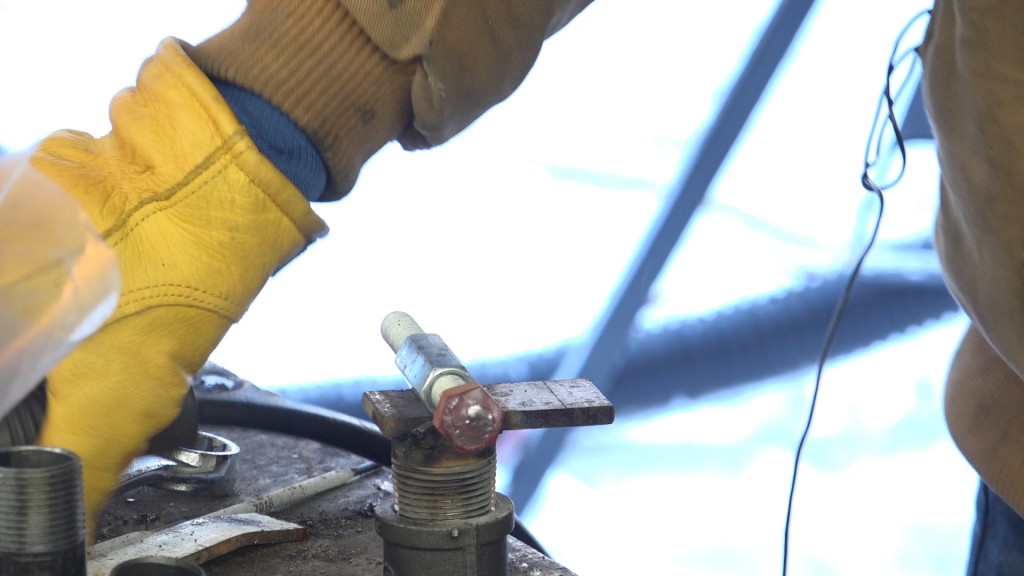
I left the scrap of steel wider than needed for future use. I’m not sure if adding a second screw would be adventurous but I have space for one if needed. I also have something else to hit with a hammer if that is needed.
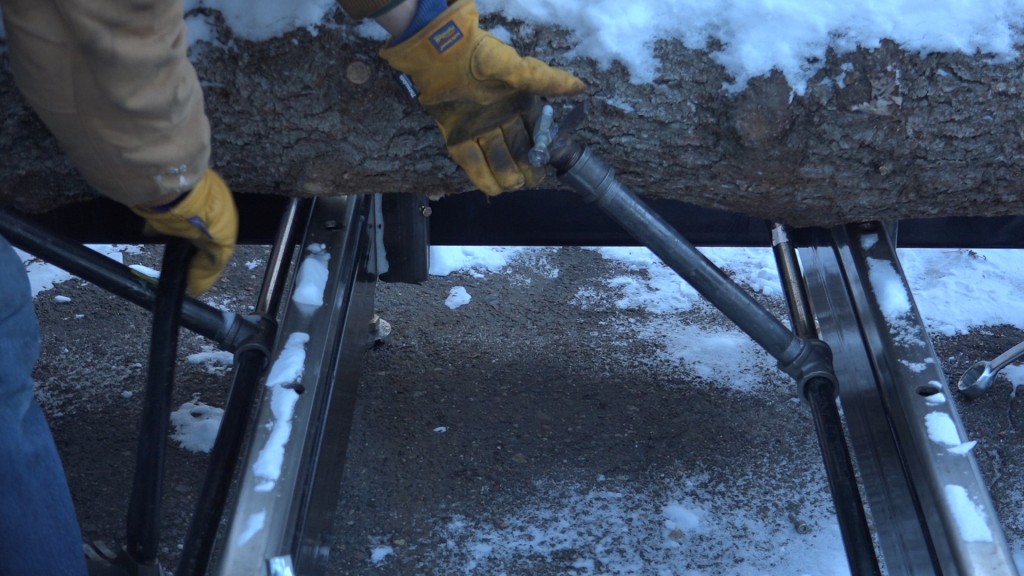
Here’s the clamp head installed. The clamps can be set pretty easily. The whole assembly can be pressed up against the log and the screw can be turned to tighten the clamp. As the clamp head is presses outwards, the T fitting tips and it’s treads dig into the 3/4″ pipe. The clamp can also be set with a hammer by tapping the T fitting along the 3/4″ pipe.
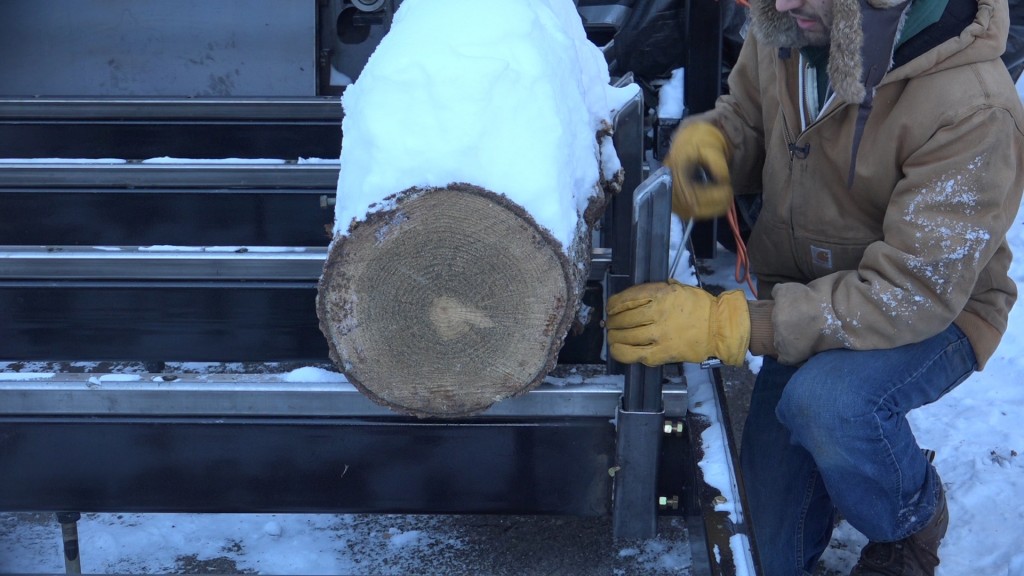
There are a couple of varieties of side support. The log supports (above) are installed while the log is being squared up into a cant. I angled and capped the tops so as a log is rolled against them, there is nothing for the log to get caught on. These need to extend to around the midpoint of the log and the ones I’ve made at the moment extend around 14″ above the bed. These could be cut a lot longer so they have more range, but I’m limited by the distance from the ground to the lower adjustment bolt in the pocket. For logs larger than around 28″ in diameter, I’ll make some longer supports. Once these are painted, I’ll add graduation lines so I can easily set them to the same height.
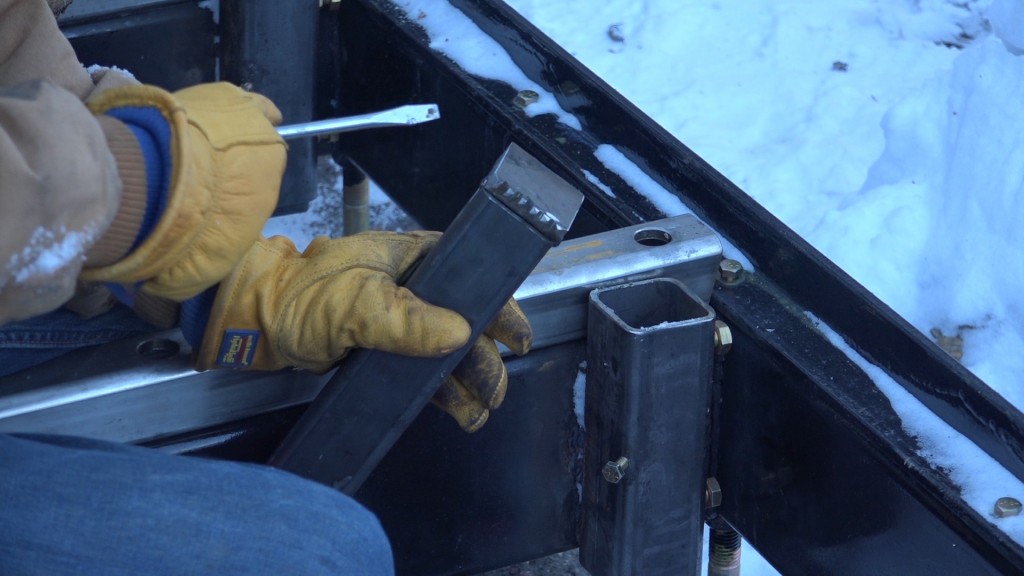
The second variety is a cant support. These don’t have to be very tall to support a squared up log so I used the offcuts from making the other ones for these. They’re around 10″ long. On one of them, I capped it with a toothed block. This extends 1/4″ so as the cant is pressed into the sides supports, the teeth will bite in and keep the cant from lifting. As logs are cut, stresses are released which can cause the cant to bow as boards are removed from it. This support will hold the cant down to the bed so all of the boards will be a consistent thickness.
With the weather turning, I’m switching to more of a rapid prototyping style of building so I can get this thing running before it starts getting really cold. So for instance here, I skipped putting handles on the adjustment bolts and just opted to use my chainsaw wrench for now to save building time. Next time we’ll take a look at adding the blade guards to the saw so it can be safely turned on for the first time.
Metal Circ saw: http://amzn.to/2c3DaSS
Lincoln 225 Welder: http://amzn.to/2cvOrfU
Triton Super Jaws XXL: http://amzn.to/2fPJCm9
Triton Super Jaws: http://amzn.to/2eB0smV
Triton Engineers Jaws: http://amzn.to/2ftAyPE
Super Jaws Side Support: http://amzn.to/2eB18Zv
Triton T20 Drill: http://amzn.to/2eqsmyD
Transfer Punch Set: http://amzn.to/2fiAQ0H
Tap Magic Xtra Thick: http://amzn.to/2c4E0j0
Cobalt Drill Bit Set: http://amzn.to/2bYIRnR


Welcome to my shop! This is a quick update to let you know what I’ve been up to. This big chunky thing is the leg

Welcome back to the home renovation. This time I’m going to be working on the kitchen island. Here is a small model of the island.

Welcome back to our home renovation. Today I am going to be working on this wall. It needs some upper cabinets and the surround for