
Matt's Weekly Shop Update
Kitchen Island, Barn Power – March 2024 Update
Welcome to my shop! This is a quick update to let you know what I’ve been up to. This big chunky thing is the leg
When I added the guides to the mill, they ended up in not quite the right position so up until now, the blade was guiding itself through the cut. The placement of the guides also prevented me from tracking the blade back far enough onto the wheels. I modify the mounting posts (1:15), track the blade (8:28), set the guides (12:13), and test the set up by milling a pair of logs (spruce and elm)(16:24).
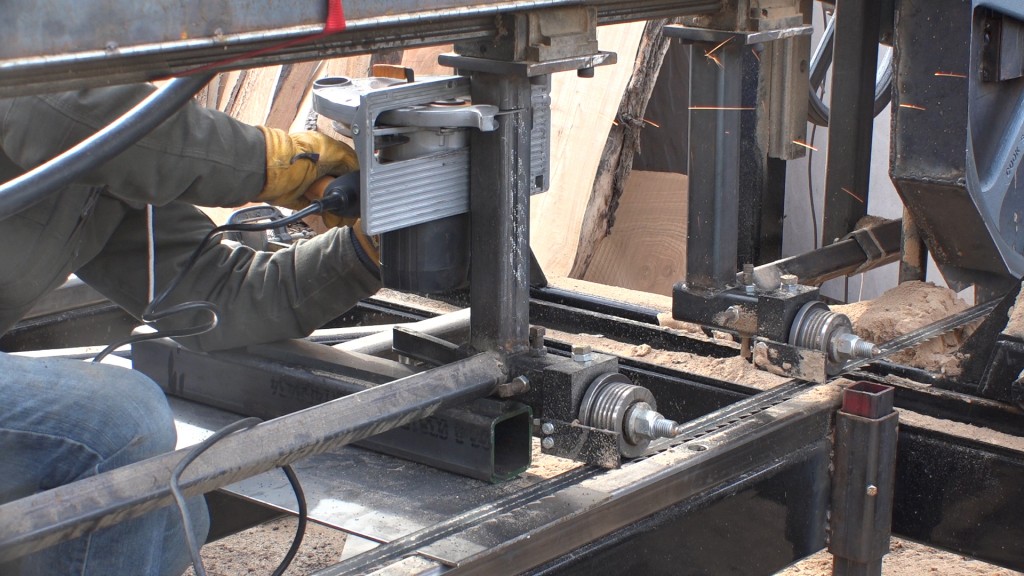
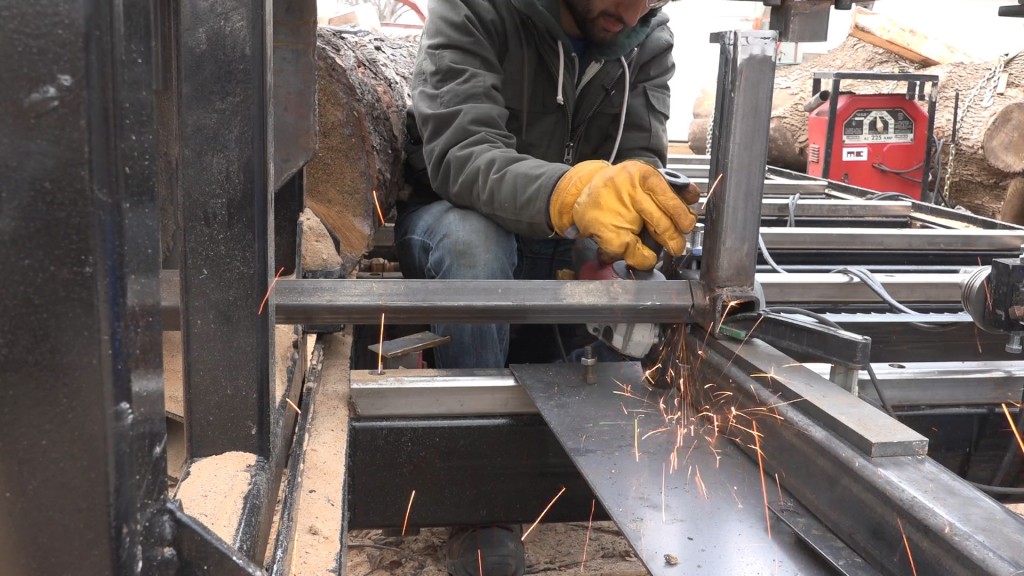
The mounts that I made for the guides ended up positioning them too far forward to too high. The guides have some travel in them but that wasn’t nearly enough. To solve the issue I’m going to modify the mounts by cutting the post and welding in a step.
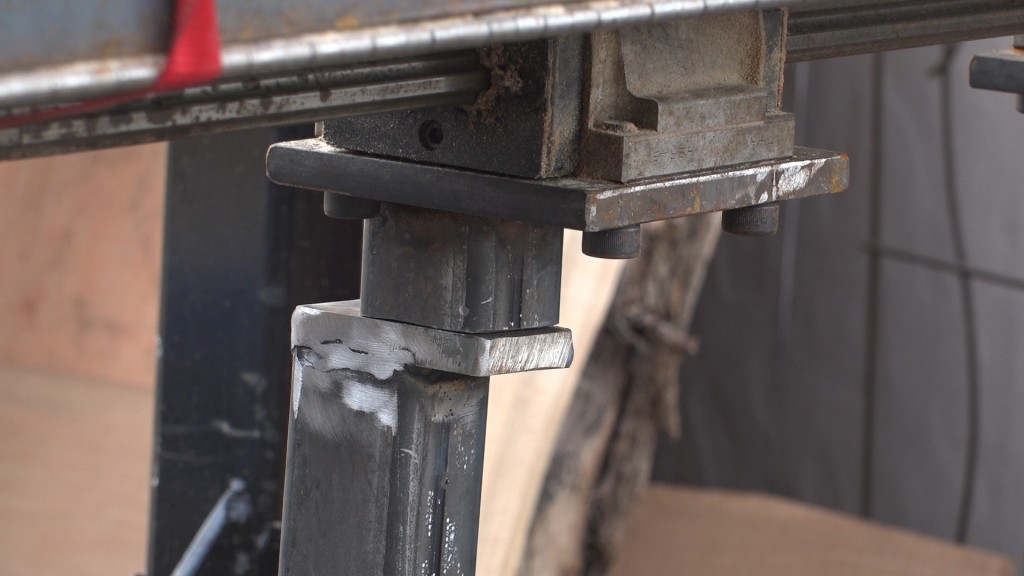
The step is a piece of 1/2″ bar stock. The 1/2″ thickness will lower the position of the guides so the travel on them can be used. The bar stock is cut to 3″ long. The post stock is 2″ square, so this step will move the guides back 1″. The guides need to move back 1/4″ for this 1 1/2″ blade but this saw can also run 2″ blades which means the guides need to be 3/4″ back from where they are now to properly engage a 2″ blade. I went with a full inch so I had some leeway.
I also need to remove the adjustment posts and move them accordingly. I ended up notching the front of these posts so there would be room for the adjustment bolt on the guides.
![]()
Next I can work on tracking the blade. In the set up video I did the tracking from the idle side by I ran out of travel before it was perfect. My drive side has the same tracking adjustment so I could use those adjusters to get the blade to track back on the wheels.
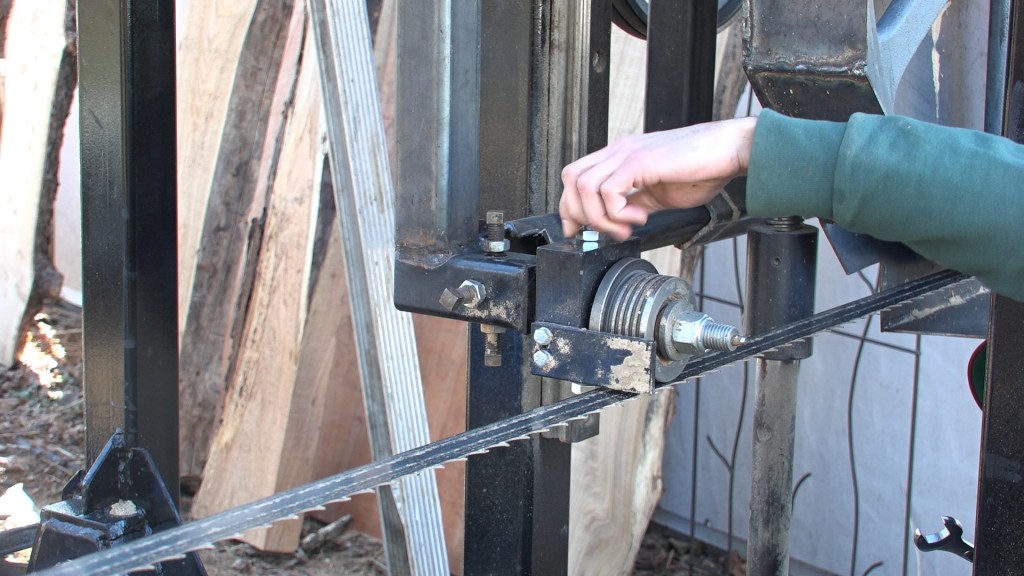
Now I can start setting the blades, starting with the thrust flange. This needs to be 1/8″ from the back of the blade so it only engages with the blade when cutting force is applied. That adjustment is done by loosening the tilt adjustment bolts and sliding the post in or out. Next is the vertical position. The guides need to deflect the blade by 1/4″ and the height is adjusted using the nuts on the top and bottom of the guide block.
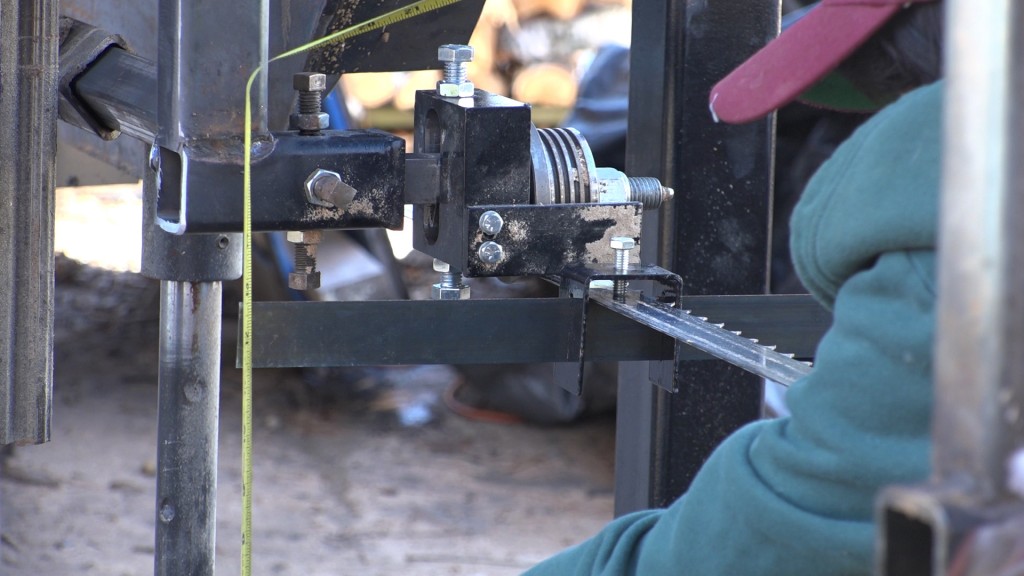
Up next is parallelism. Using a tool that extends the plane of the blade, I can measure to the bed at the front and back and adjust the tilt of the guide until the reading are equal. I’ll repeat that process for the other guide. Once they are both parallel, I’ll tweak the height seeing until they both read the same distance from the bed. Now the blade is parallel to the bed along its length and across its width.
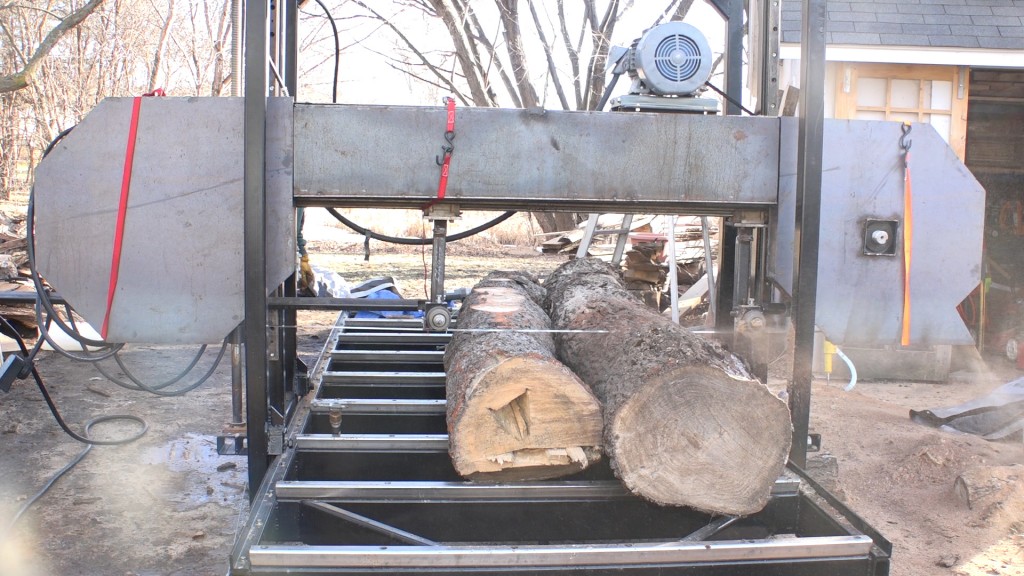
To test out the guides, I cut a pair of logs side by side. One spruce log around 18″ in diameter and 10′ long and one elm log around 22″ in diameter and almost 12′ long.
Welcome to my shop! This is a quick update to let you know what I’ve been up to. This big chunky thing is the leg

Welcome back to the home renovation. This time I’m going to be working on the kitchen island. Here is a small model of the island.

Welcome back to our home renovation. Today I am going to be working on this wall. It needs some upper cabinets and the surround for
8 Responses
Hi Matt, greetings from Seattle”,
Nice work man all I can say is…
Who needs a gym when they own their own saw mill.
All the best,
Doug
Thanks Doug!
Hey Matt,
Was that a diamond blade in your circ saw? It seemed to cut quickly.
Metal cutting saw with a carbide blade.
Thanks,
I didn’t know they existed. I have to cut a couple inches off the end of my table saw’s fence tubes and didn’t want to use the sawzall and butcher it.
oh yeah, they’re pretty slick. Here’s the one I have: http://amzn.to/2lDiV36
Matt, would you be able to post about what the build costs were on this? I’ve been looking at Lucas swingmill for slabbing and they are great saws…but….but…the slabbing would mean a certain amount of waste.
approx $8500 to the point where I’m at now. I’ll be doing a video shortly on the cost breakdown.