
Matt's Weekly Shop Update
Kitchen Island, Barn Power – March 2024 Update
Welcome to my shop! This is a quick update to let you know what I’ve been up to. This big chunky thing is the leg
Welcome back to the build.
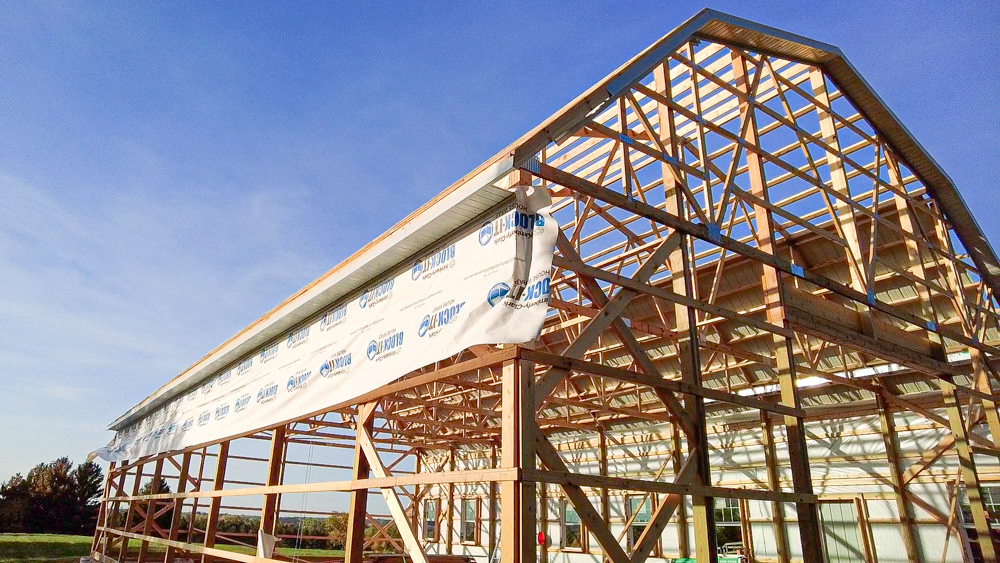
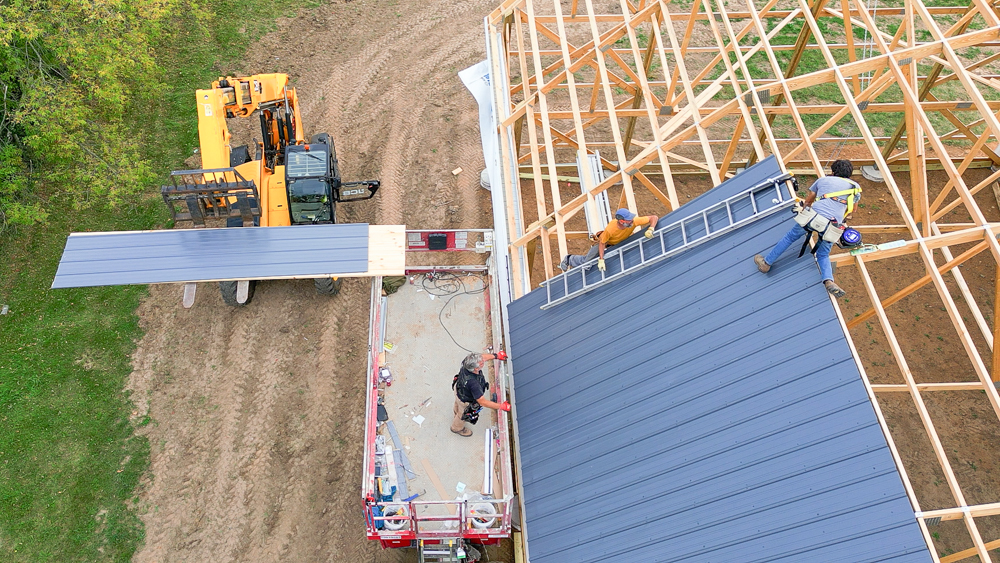
Today we are going to be working towards getting this face looking like the other face. This morning, we are going to start on the roof, but we have a little bit of extra prep work to do before we can get started. We have the eave cap to install onto the fascia, because that eave trim covers up the top of the sub-fascia there, and then the roof panels sit on top of it. So Jack and I will get those pieces installed, and then we can start getting up on the roof.
About a half hour later, we got the eve cap on there. Jack’s bringing the lift back, and we’re going to start on the right end and work our way down with the roof.
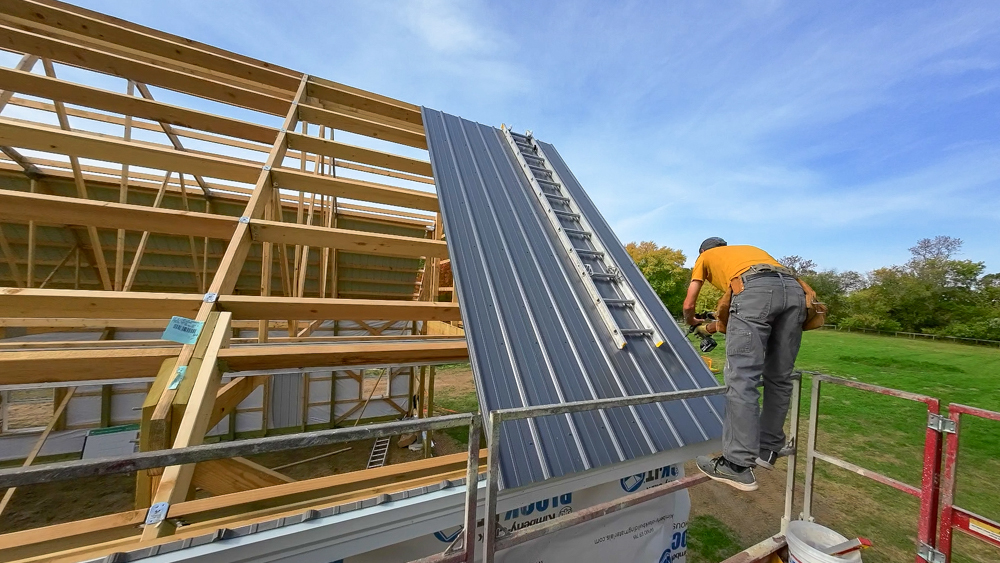
As with every coursework thing, the first one or two courses are important because they all lay in based off of that first one. So it takes a long time to get the first one set, and then we should be able to just kind of roll on down.
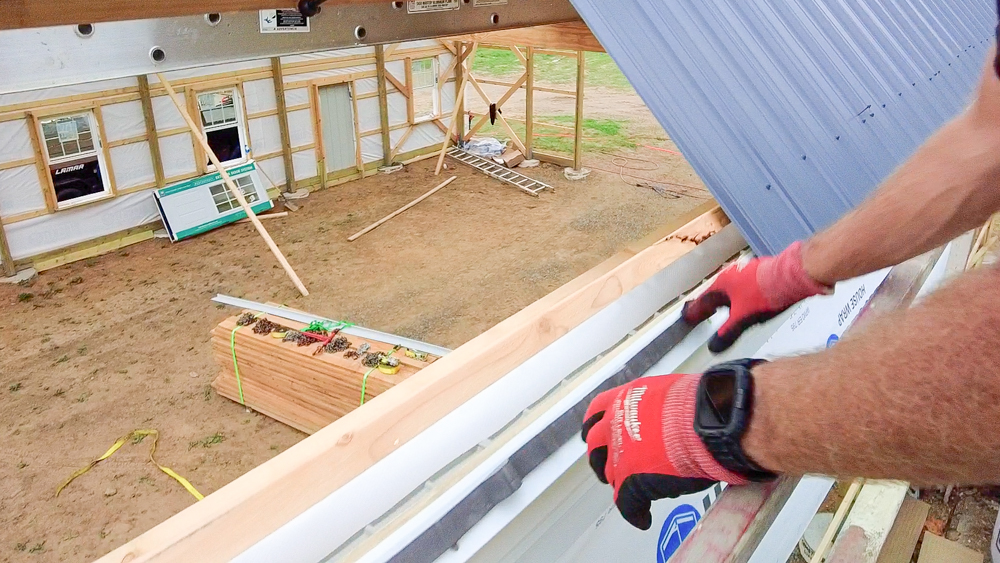
I’m finally get down here to get an actual shot of the foam going in.
We’re getting there! We have two more bays to go and two more sheets up on the lift right now. Because we added that last bay at the end, we had to get another pallet of steel.
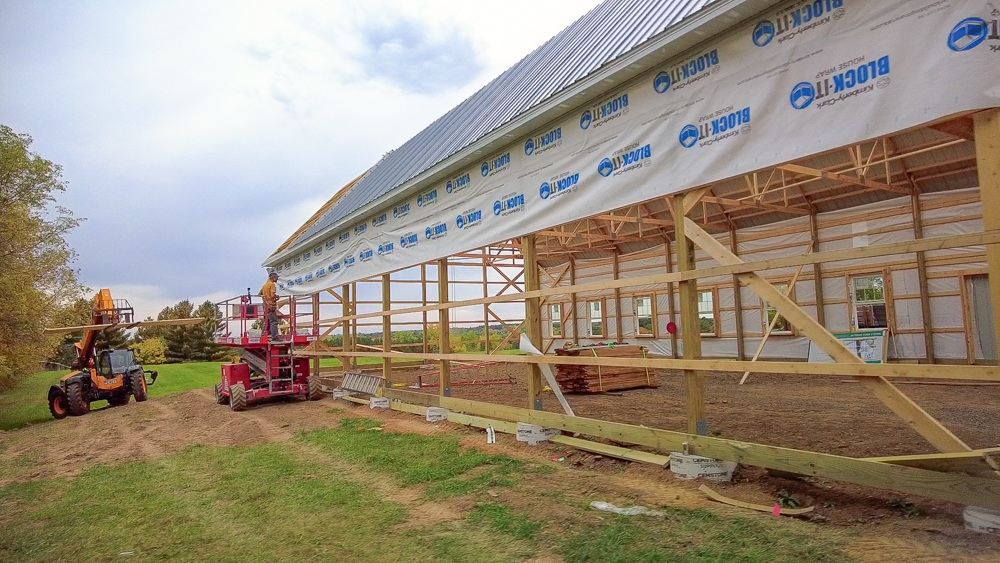
That’s going to do it for progress today. We got down to almost the last bay, just one more sheet until we are there.
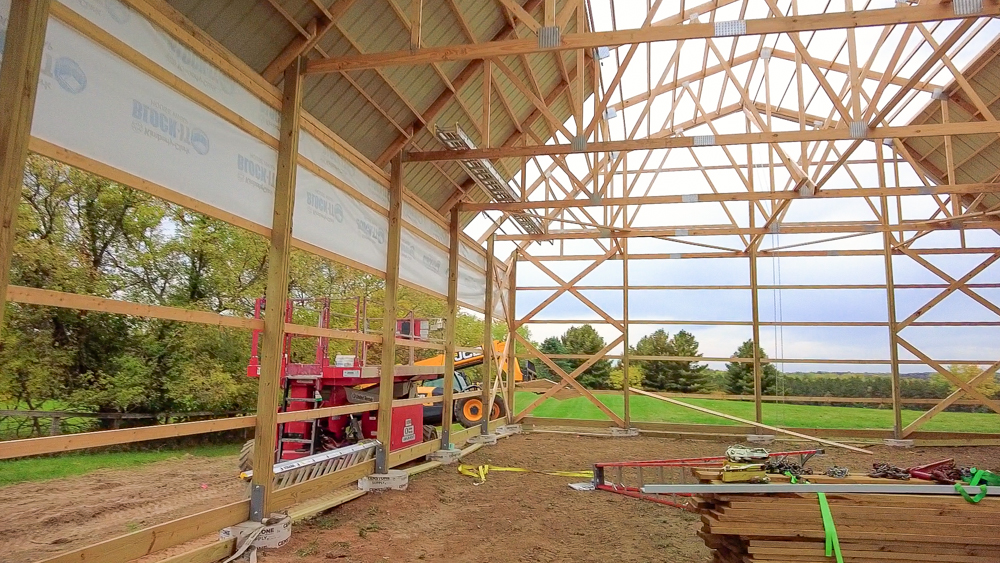
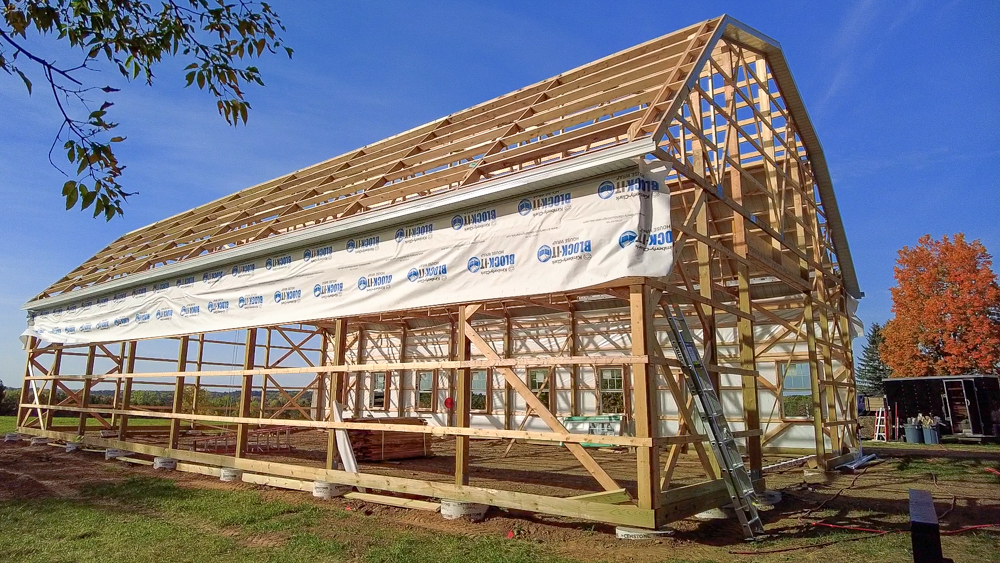
And on the inside, it’s starting to feel like an enclosed space. So I think we’re starting to get somewhere with this, or at least it feels like it.
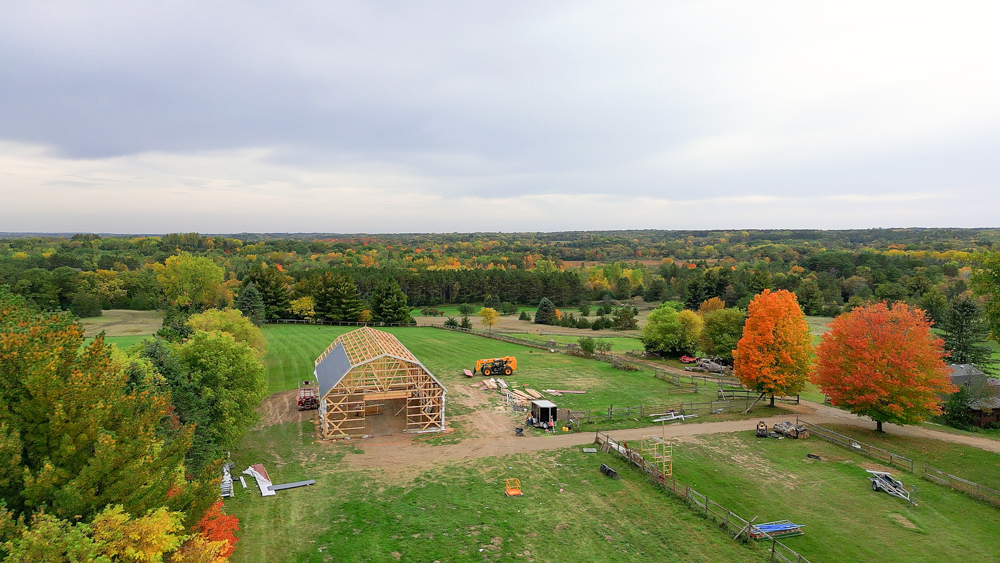
One of the biggest things I’ve noticed is that it takes a long time to get rolling. Then when you get rolling, it goes quickly, and then the day’s over. Like today, we didn’t start putting any pieces of material on the roof until after lunch, and then in four and a half hours we got this far on the roofing. We’re also starting to get into some actual fall colors now. That will be a nice backdrop for the remainder of this build.
That’s going to do it for this one. Thank you, as always, for watching. I greatly appreciate it. For any questions or comments on the barn, please feel free to leave me a comment. As always, I’ll be happy to answer any questions you might have. And, until next time, happy woodworking.
Welcome to my shop! This is a quick update to let you know what I’ve been up to. This big chunky thing is the leg

Welcome back to the home renovation. This time I’m going to be working on the kitchen island. Here is a small model of the island.

Welcome back to our home renovation. Today I am going to be working on this wall. It needs some upper cabinets and the surround for