
Matt's Weekly Shop Update
Kitchen Island, Barn Power – March 2024 Update
Welcome to my shop! This is a quick update to let you know what I’ve been up to. This big chunky thing is the leg
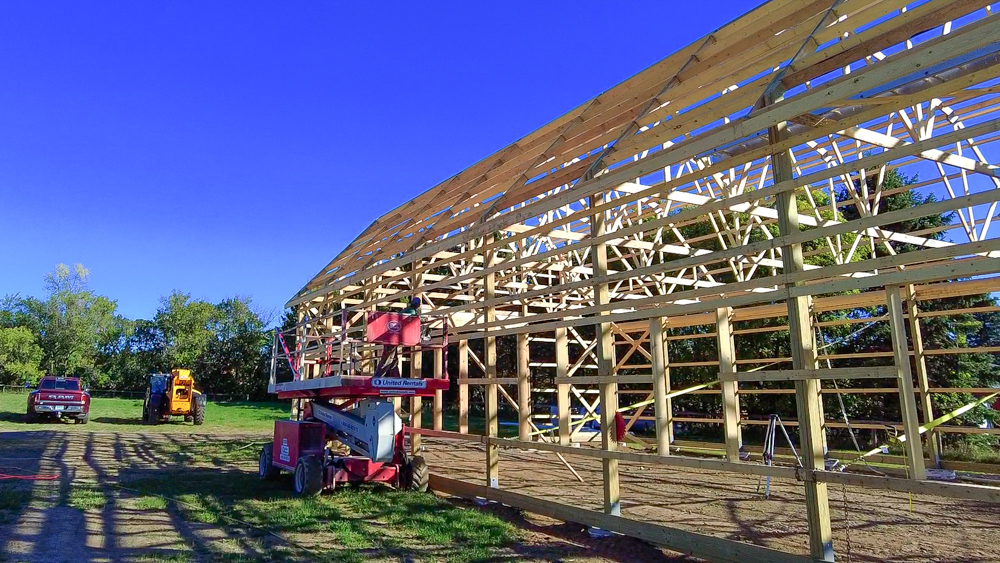
Welcome back to the build! Yesterday was a little gusty, so we took the day off from working on the barn, but we are back at it today. Let’s see what everyone’s up to.
Jack is prepping our fascia. It’s got a little bit of curviness going on, so he’s making tweaks as needed to straighten out that fascia to get it in plane with the trusses. He’s also making sure that our tails are all exactly the right length.
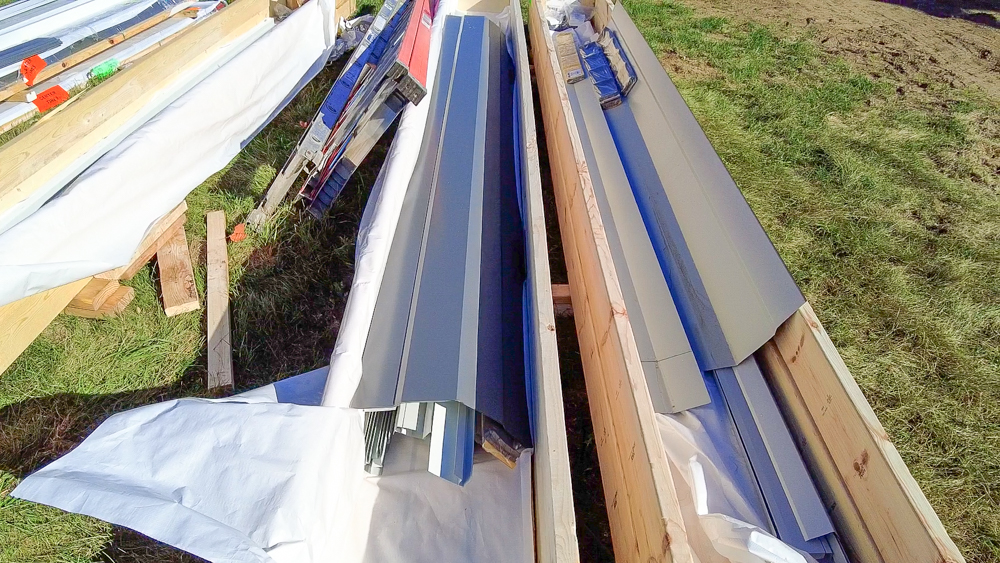
Donavan’s been digging into the cases of tin and getting things organized. We’re going to need the fascia and the soffit material because that goes on before all of the wall and roof panels.
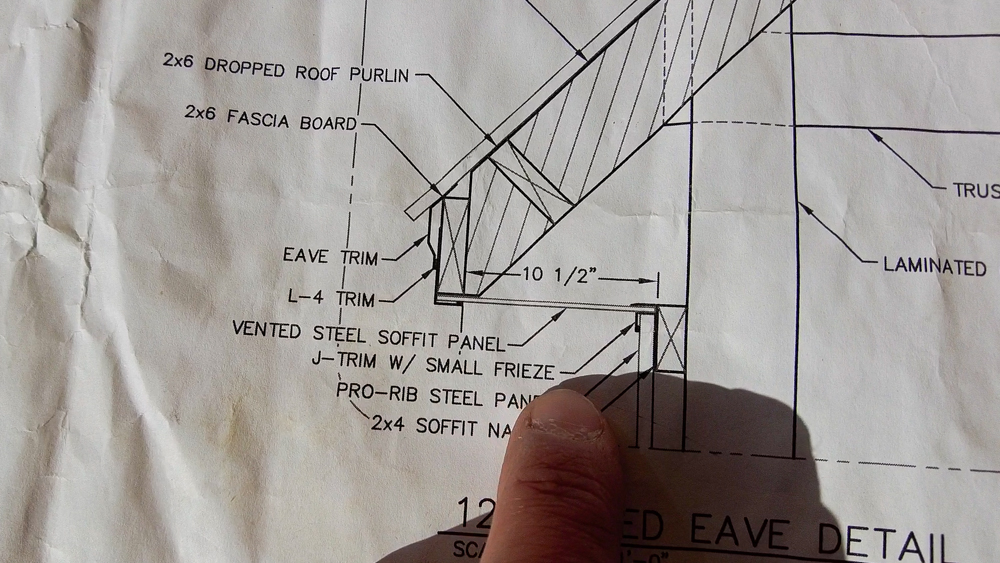
This is the cross section of the area we are going to be working on. The soffit goes on first, and it’s set by the height of the wall out to the bottom of the fascia. There’s two pieces here, the fascia piece and a cap piece that comes off the roof line, onto the fascia, and laps on top of the fascia piece.
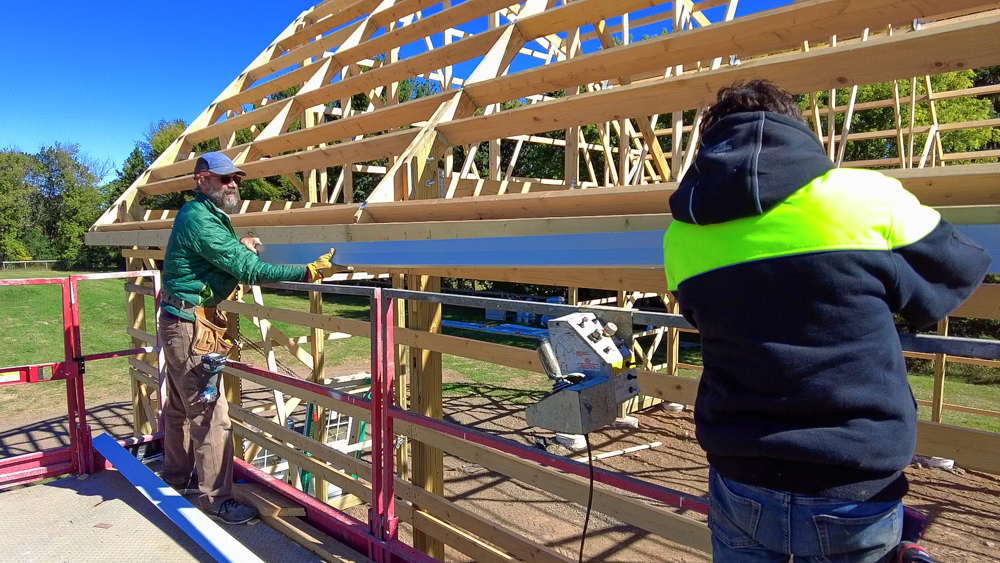
Now we know what we’re doing. Jack and I are going to start installing the pieces that hold the soffit, which are the trim piece that goes along the wall and the fascia piece.
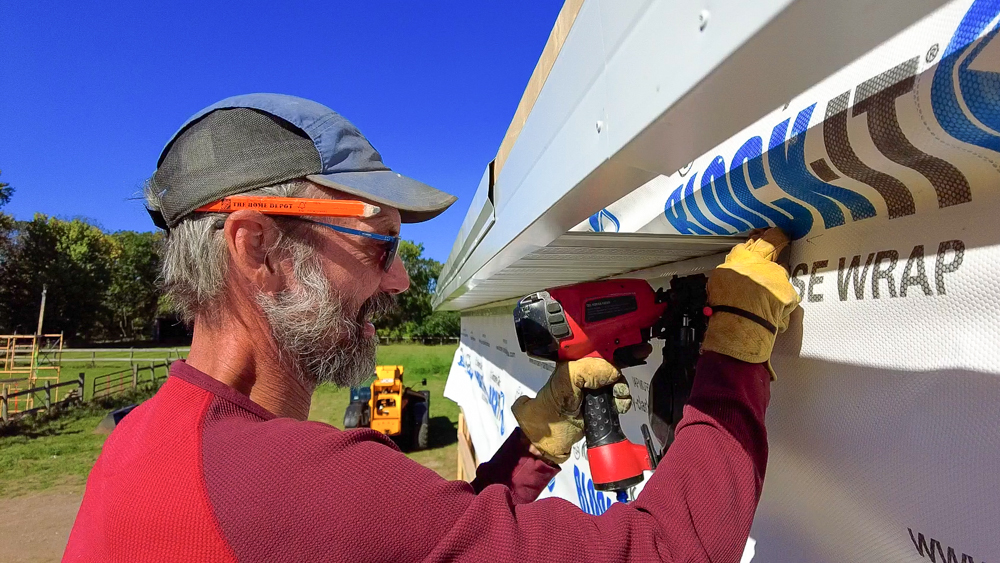
Next we’re going to install the F channel, which goes onto the wall. That’s going to capture the soffit and allow us to capture the wall panels that go up into it.
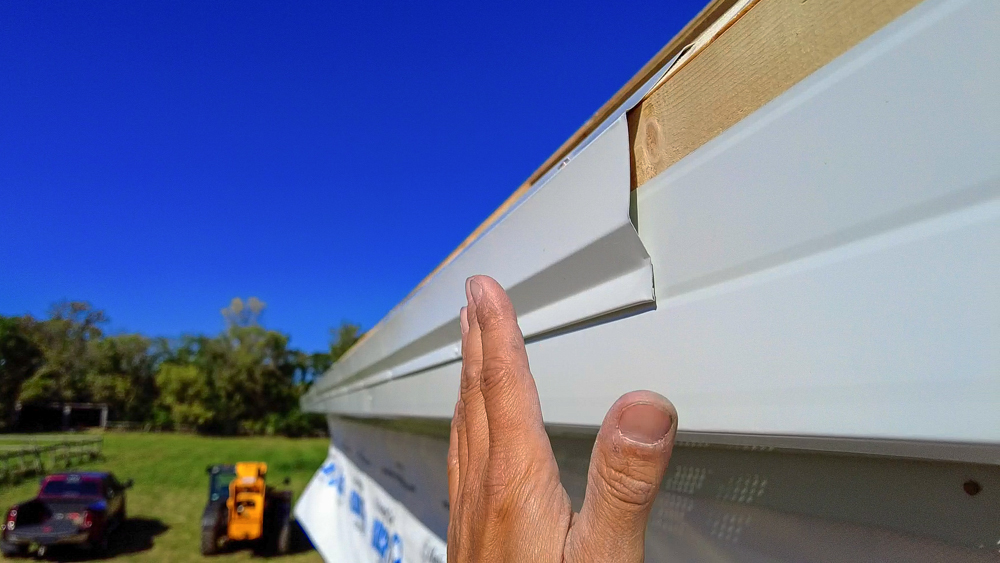
Here is a general look at how this all works. The F channel is back here, and this is where the siding or the steel on the side wall is going to come up and nest into a channel. The top of the F allows for a little shelf for the soffit, which just slides right in there. The fascia piece hangs down a little bit past the actual wood fascia, and that creates a channel for the soffit on this side.
And then we have this little cap piece which wraps around and ties it all together. So that’s the whole buildup of the soffit overhang.

On the gambrel side we’re going to do things a little differently. We have a crown nose we’re going to staple the soffit up in there, and then we’ll apply the fascia afterwards. While we are doing that, another crew is going to be getting some house wrap applied and setting windows.
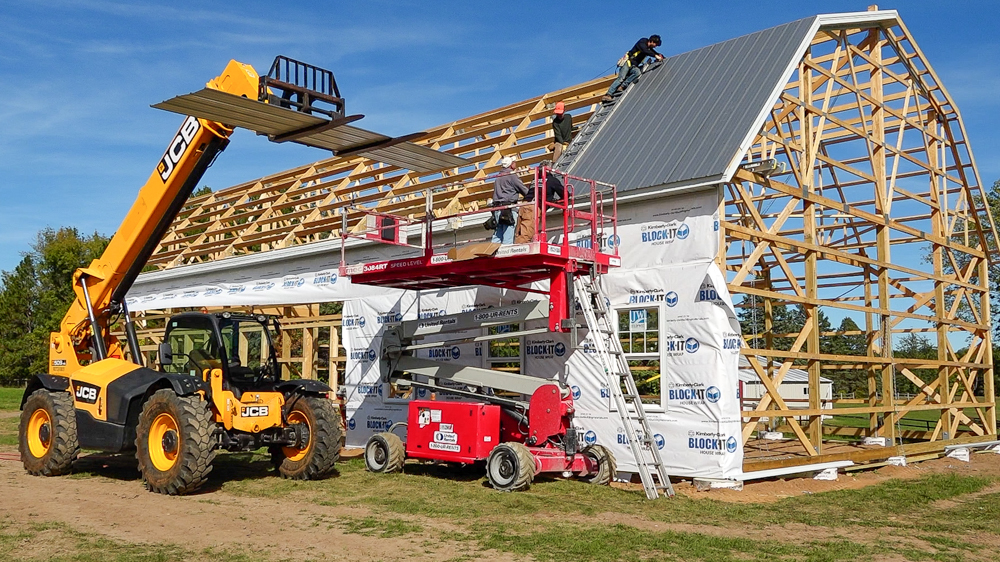
With that soffit done on the side, we’re ready to start putting some metal roofing up onto this roof. We have four roofs total, and the first one is ready to start going up. The roof panels are a charcoal gray color. With the red walls and the white trimmer rays, it should look like a classic barn and match the other barn on the property pretty nicely.
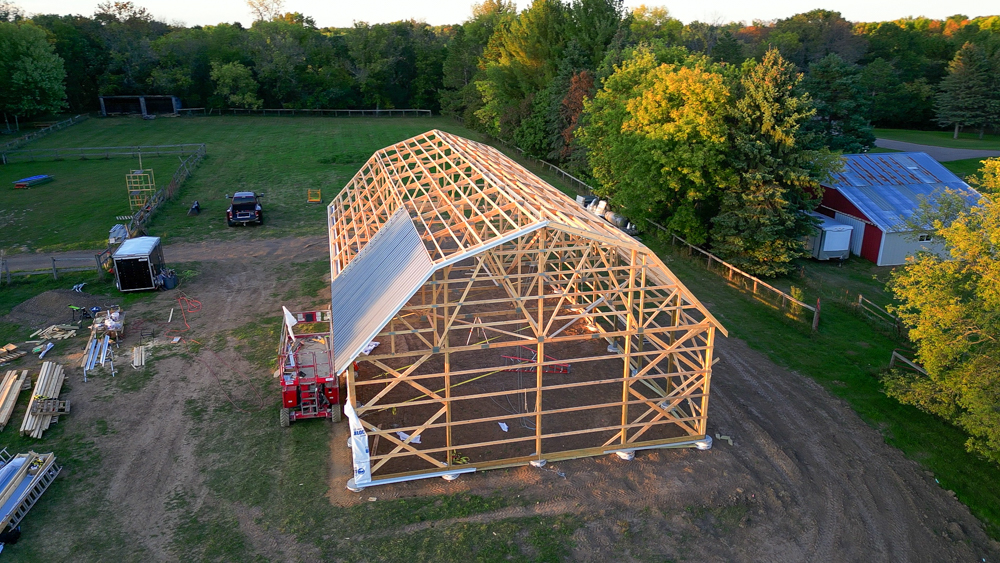
That’s where we are going to leave things for today. We got almost three bays covered, which I’m pretty excited about. It definitely takes some getting used to in order to get into the rhythm of being up there. The pitch we’re working on right now is a little greater than 12/12, so it’s very steep. Sliding the metal sheets up and being able to see where your screws are lining up is not exactly easy.
One thing we didn’t do, that someone probably will suggest, is punch the holes ahead of time. We didn’t do that because we know our purlins are not perfectly in a straight line and we wanted to make sure we can actually line up with our actual purlins when the steel is up there.
Definitely starting to look like an actual barn! Next time we’ll be continuing on with this pitch roof area. Thank you as always for joining. I greatly appreciate it. If you have any questions or comments on the barn, please feel free to leave a comment. As always, I’d be happy answering any questions you might have. And until next time, happy woodworking!
Welcome to my shop! This is a quick update to let you know what I’ve been up to. This big chunky thing is the leg

Welcome back to the home renovation. This time I’m going to be working on the kitchen island. Here is a small model of the island.

Welcome back to our home renovation. Today I am going to be working on this wall. It needs some upper cabinets and the surround for