
Matt's Weekly Shop Update
Kitchen Island, Barn Power – March 2024 Update
Welcome to my shop! This is a quick update to let you know what I’ve been up to. This big chunky thing is the leg
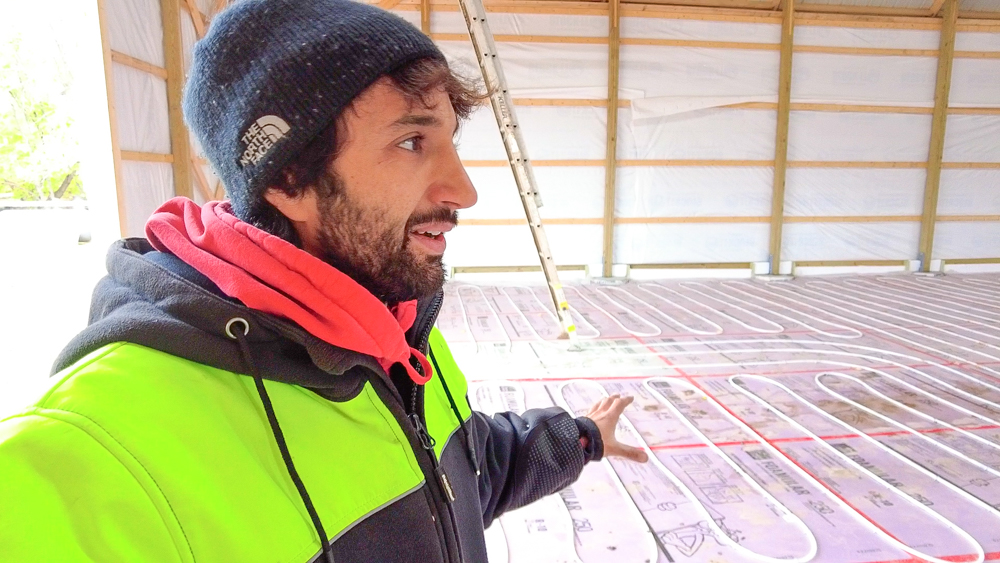
Welcome back to the build. This is a special Saturday edition of the build. It’s just Donavan and myself here today, wrapping up whatever we can during a short half day of work.
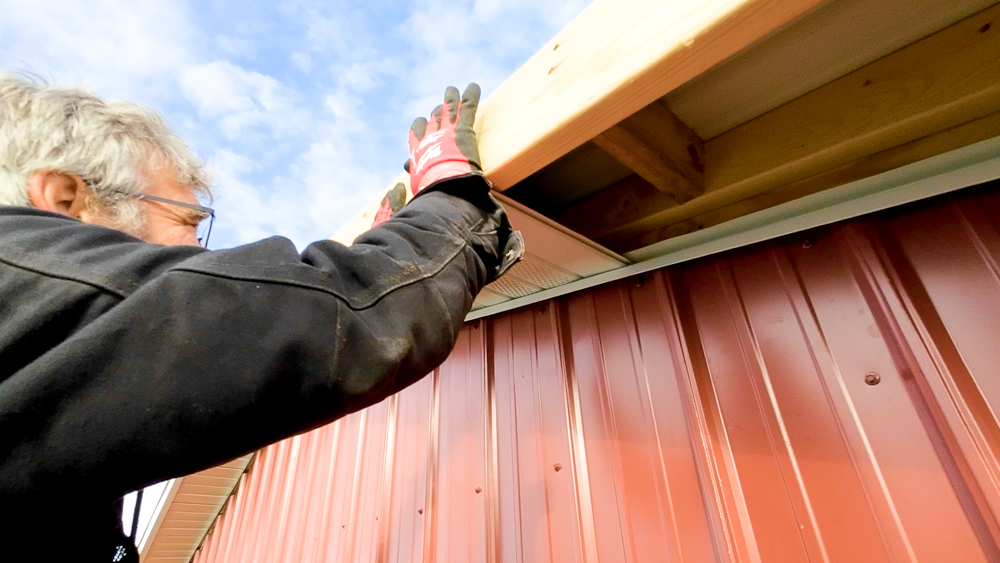
To start, we’re going to get work on the soffit and get that knocked out, and then we’ll see if we can get some trim details sorted out as well.
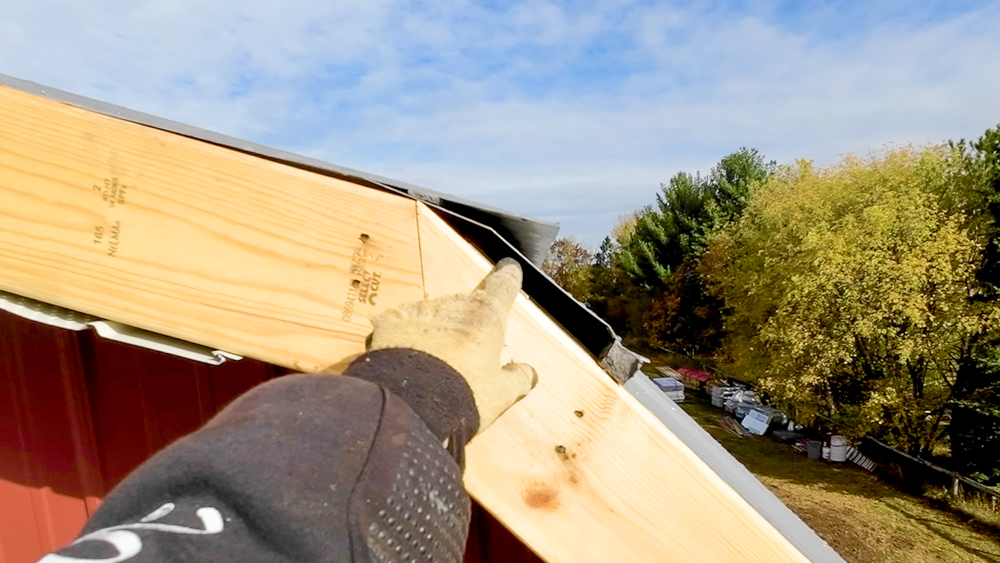
Another thing I can show while we’re up here is this detail. I had a few questions about how this buildup works. The lower roof comes up into this transition cap, and the upper roof sits on top. You can also see our outside closure foam on the lower roof, and then inside closure foam on the upper roof. So that’s how that detail comes together.
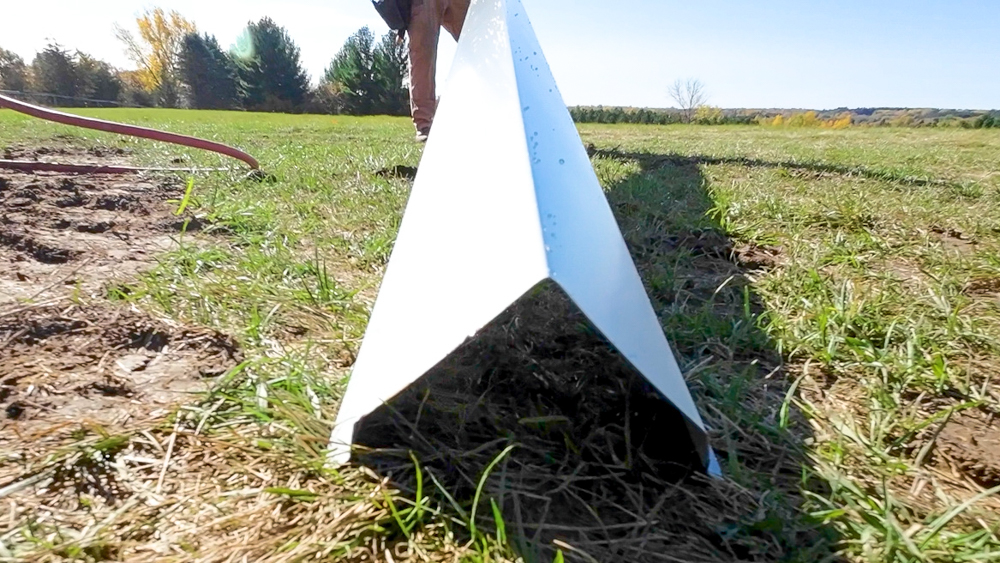
Well these are the corner cap trim pieces. It’ll cap all the corners on the building all the way around. The white trim will look good with the other colors on the barn.
There’s one corner done, and we’re going to call it a day here. Now that Donavan has figured out how to install this one, all of the other corner details should be easy to put in.
So that’s going to be kind of it for us for day-to-day work. We have the concrete pour on Monday, and then it’ll be sub-contractors who will be working to get the barn insulated, put the boiler in, and get the electrical panel prepped as well. We’ll be back out here in about two weeks when Jack has some time. We’ve got that ridge cap to install, as well as working through the trim details.
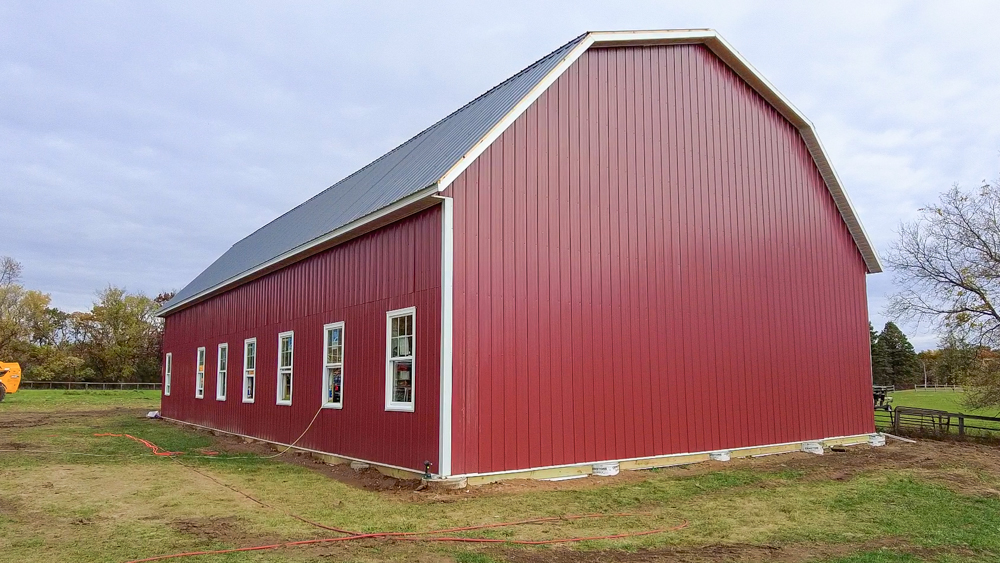
But the biggest thing for me is getting the building basically dried in so that it can be used for storage. All my stuff at my warehouse is in storage mode now, so if I can move it here, I don’t have to pay for the storage at the warehouse anymore. I’m not so worried about being able to use the space immediately, although I’d like to use the space as soon as possible in order to start making back the money I’ve invested in this building.

The biggest determining factor for time-frame is this door. That’s not coming in until the beginning of December. I am waiting to hear back on when the power company can bring their power line in, and the natural gas line in, and all of that. If that doesn’t happen fast enough, I do have a few contingency options that I can take, but this door is what is holding us back mainly. I’m not really expecting this to be a functional space until probably mid-December.
But I’m excited, because this is kind of the end of the constant day after day after day of getting this barn built. So at least we can get back to our normal lives now. Donavan’s got another job he’s been away from for a month, and I have other things to work on too.
Since this is kind of a quickie episode, I’m going to run through a few common questions that I’ve been getting, and hopefully provide some insight.
So first: the floor. Why didn’t we pour the floor in the beginning with the foundations? The short and quick answer is this method worked out better for our schedules. In order to get the floor poured, there’s three groups of people who have to do some work in a specific order: the concrete guys, us, the plumbers, and then the concrete guys again. Getting all of those groups’ schedules aligned wasn’t working out. Also, if we had put the floor in first, we wouldn’t have started building the building until the first week of October, and it would have been downhill from there, weather-wise. Doing the floor this way works out just fine.
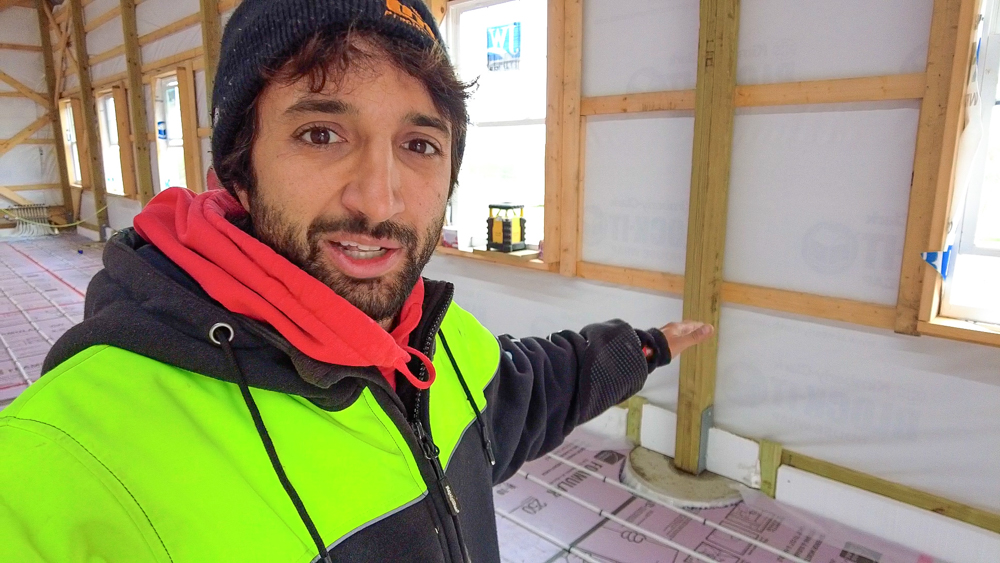
The only big difference is you have the post to deal with. On the inside, it doesn’t matter, because the floor is actually going to come up on top of them. It’s on the outside, depending on your grading and your details out there, that might be a little bit iffy.
Next question is the price point on something like this. How much is it going to cost? I will provide a more detailed breakdown of the cost at the end once everything is done. But the ballpark of where things are going to end up, I should be out about $175,000. I figure the total project cost once we add the porch on, it will be around $200,000.
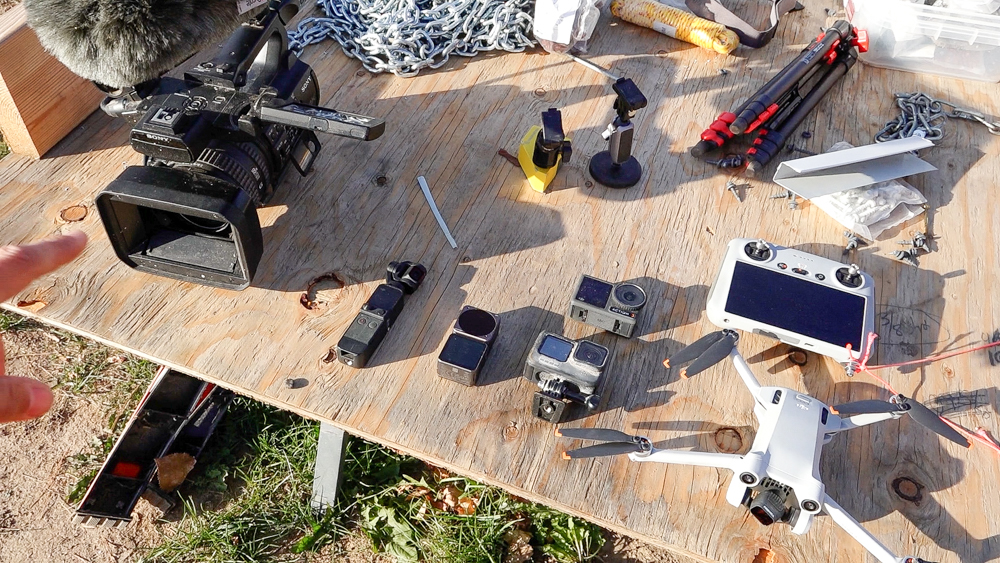
Last question for today. A lot of people have been asking about the cameras I’m using for all the shoots. I think a lot of people were surprised that all the footage has been captured by me, and all the edits are mine as well. So everything you’re watching is something that I produced. Filming and making these videos has been a really fun experience for me. This has just been a really fun refresher to get back the passion of filmmaking, as well as having some fun with the cinematography. It’s a nice challenge to take something that’s kind of mundane and turning it into something that’s fun and watchable. So this is the equipment I used for this shoot. I have other cameras and things, but this is what I’ve been using for the barn build so far.
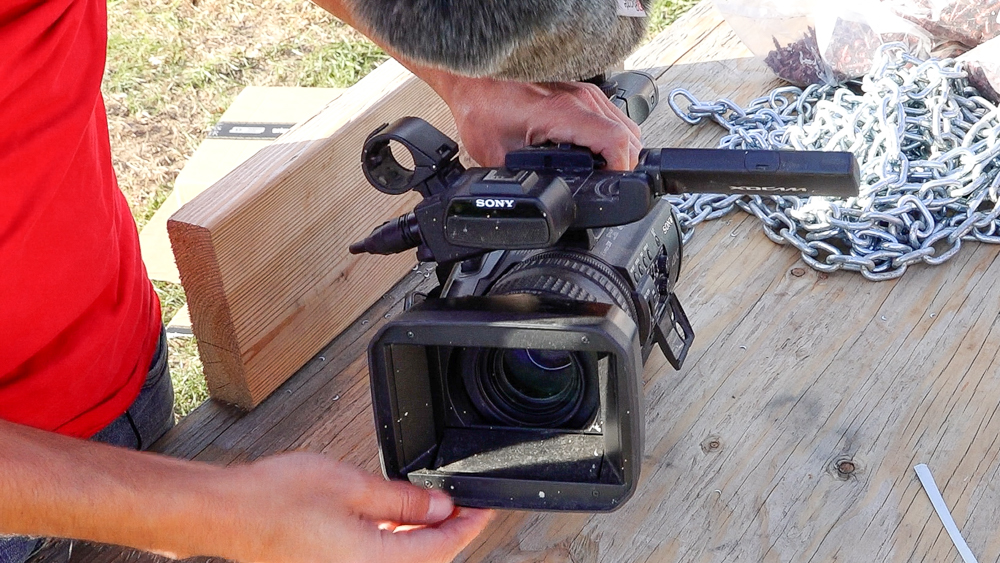
First thing here is a Sony Z 150. This is one of my go-to cameras around the shop or around the saw mill. For this build, it’s been a stationary camera on the ground, and it allows me to pick up a lot of what’s going on at ground level. It has a shotgun mic and the dead cat on here to eliminate wind noise. So if I want a really crisp, clear sound to use in the edit, I have this to use. So that’s the main base camera. This one stays on the ground on a tripod and rolls pretty much the entire day.
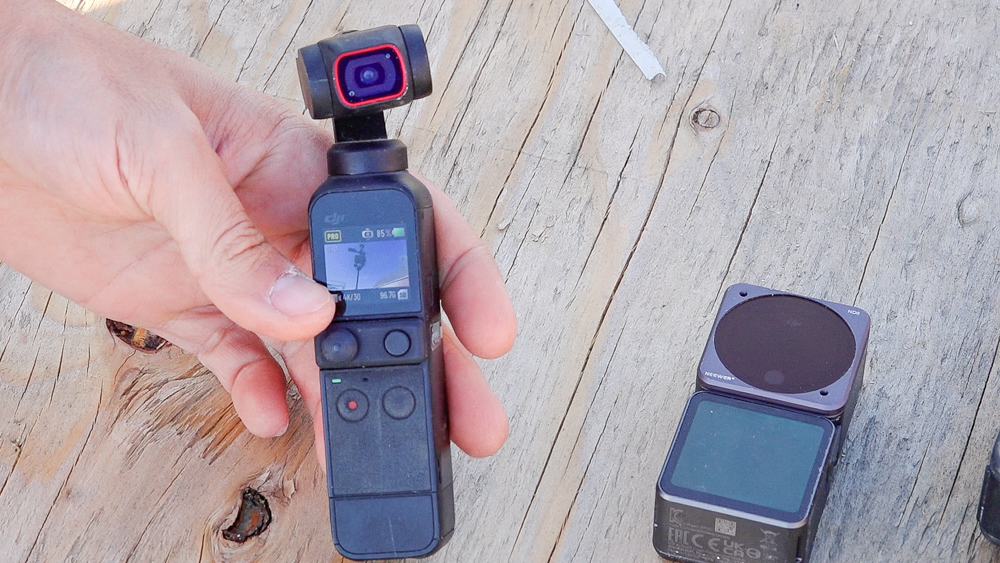
Next thing on the list is going to be the DJI Pocket 2. So this is a gimbal based handheld camera. I’ll use that any time I am just walking around, talking to camera, pointing at things and whatnot. Having a mechanical stabilizer also makes the footage extremely smooth, and it slows down any jerks you might have while you’re moving. It also has some ability to do object tracking. Back when we did the walls, I set this thing on a tripod, and I used Donavan as the target. The head would just follow him as he was working. But mostly any sort of intro, outro, walk and talk, point at stuff, this is the camera for that.
Next one here is the DJI Action 2. It’s a sort of a modular camera, so it’s got a base unit as well as a main body camera. So you can just use it like this and be able to see what you’re doing. I more frequently use just the camera by itself. I bought this specifically for one use case, and that is for the POV headband. I can actually wear that on my head, and it’s really lightweight and very easy to wear, and I have my hands free to do whatever I’m doing on the building.
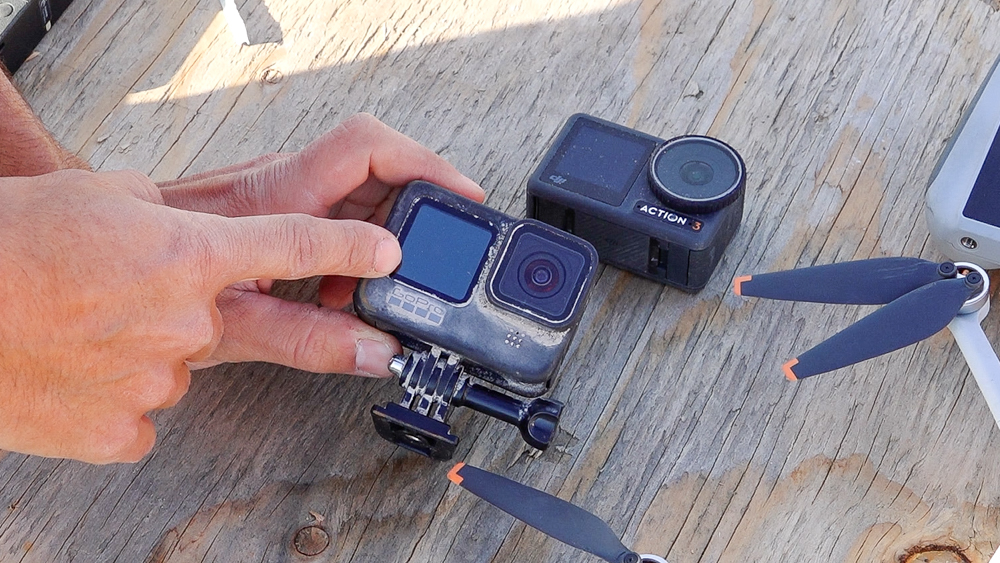
For additional pickup shots, I have an action camera. I have the GoPro Hero 9. I got this about a year ago. I don’t really like it that much. I use it for some pickup shots on the lift and things, but I really wanted to have that extra action cam to position wherever I needed it.
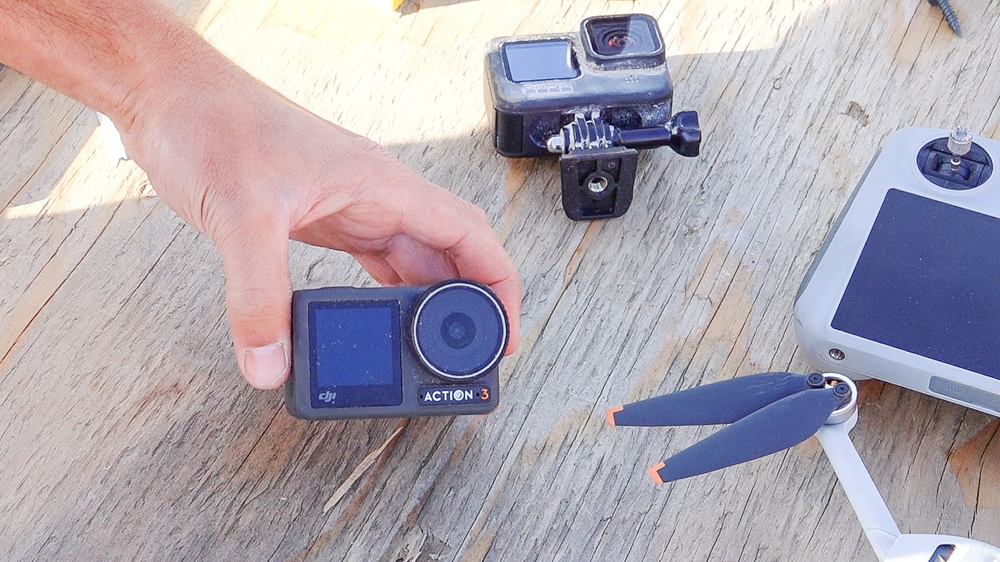
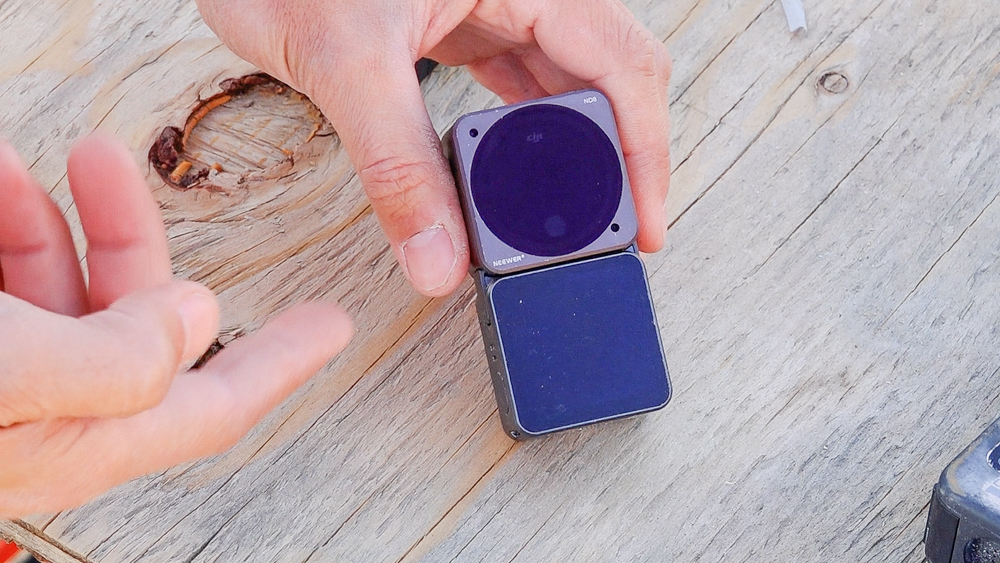
So I ended up buying the DJI Action 3. I like this camera a lot more than the GoPros. This is far more intuitive to use, and I think the image quality is a lot better. This also has magnetic mounts, so you can clip it to whatever mounts you want to use it on, which is really nice.
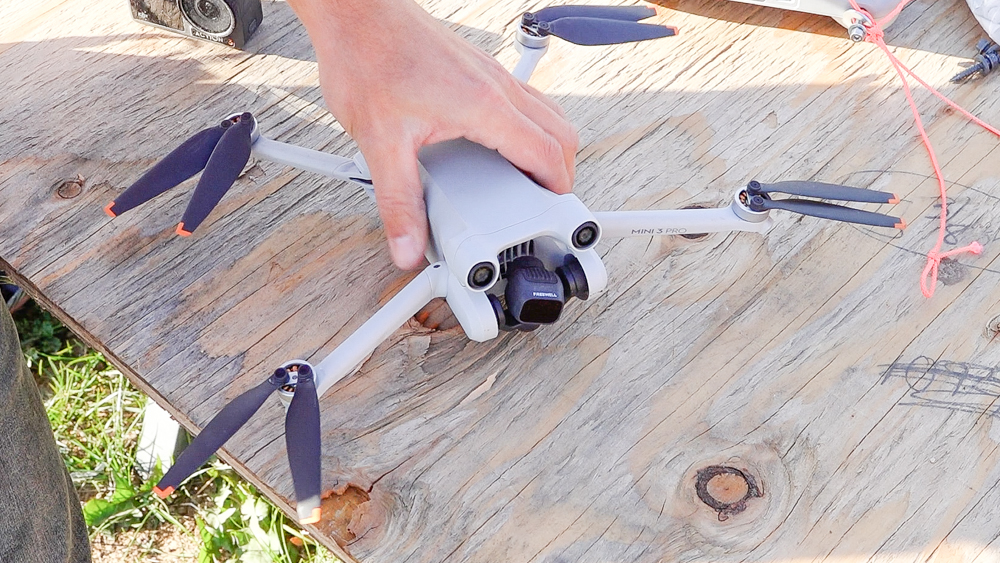
And then maybe everyone’s favorite is the drone. This is the Mini 3 Pro from DJI. I feel like this is a DJI sponsorship, but they just make really good stuff, and it’s worked out really well for me. This drone has a lot of features I was looking for in a drone, the biggest one being some of the autopilot features. This does have object tracking, so now I can have it track things. This also has the ability to also circle around an object, and I’ve used that feature quite a bit.
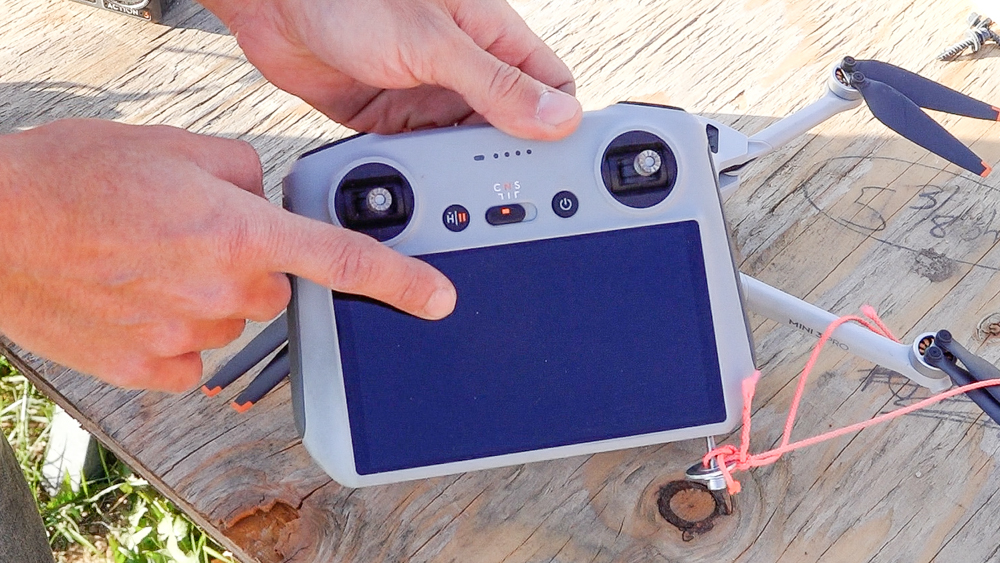
I also went with the dedicated controller. On my previous drone, it had a controller where you put your phone in, which I absolutely hated for my purposes, because then I can’t use my phone when the drone is in the air. This controller has a tether, so I can tether it off to a purlin when I’m not using it. So those were all up there on the roof with me while I was working.
And the last thing I use is my phone. I have it in my pocket all the time, so if I don’t have a camera near me and something interesting is happening, I can use my phone for quick pickup shots of whatever I might need footage of.
So that’s the general array of cameras. For each video I usually have at least three camera sources. That means I’m pulling footage from three different cameras into the edits, which is always an interesting process. I have to get everything synced up and aligned and everything, but I think having footage from multiple angles makes for a much more interesting video.
So that’s going to do it for today, and for a lot of the build. Super excited about that! So thank you as always for joining. I greatly appreciate it. If you have any questions or comments on the barn thing, please feel free to leave me a comment. As always, I’ll be happy to answer any questions you might have. And until next time, happy woodworking!
Welcome to my shop! This is a quick update to let you know what I’ve been up to. This big chunky thing is the leg

Welcome back to the home renovation. This time I’m going to be working on the kitchen island. Here is a small model of the island.

Welcome back to our home renovation. Today I am going to be working on this wall. It needs some upper cabinets and the surround for