
Matt's Weekly Shop Update
Kitchen Island, Barn Power – March 2024 Update
Welcome to my shop! This is a quick update to let you know what I’ve been up to. This big chunky thing is the leg
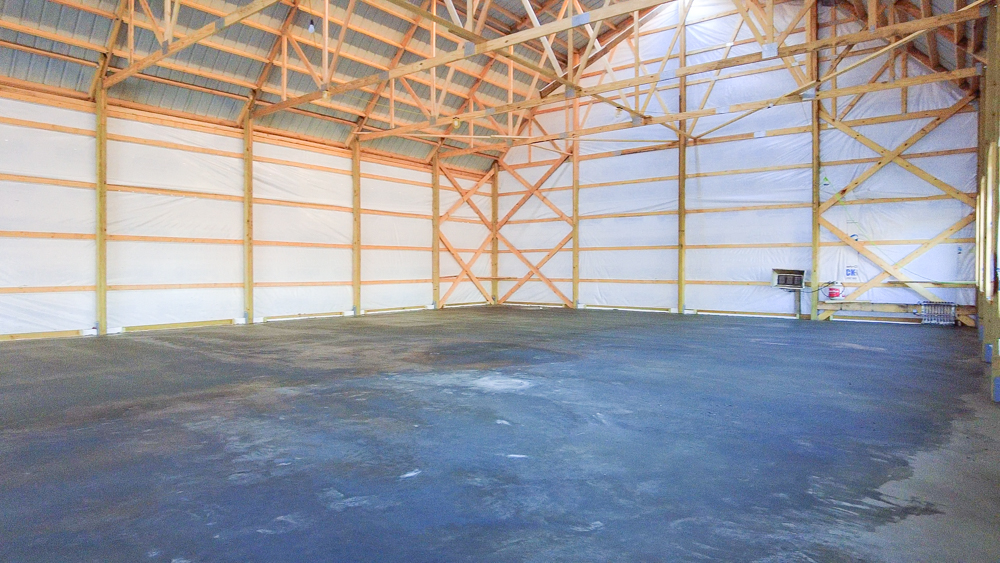
It’s concrete pour day! We had a bit of a delay because of the cold weather, but today it’s supposed to warm up.
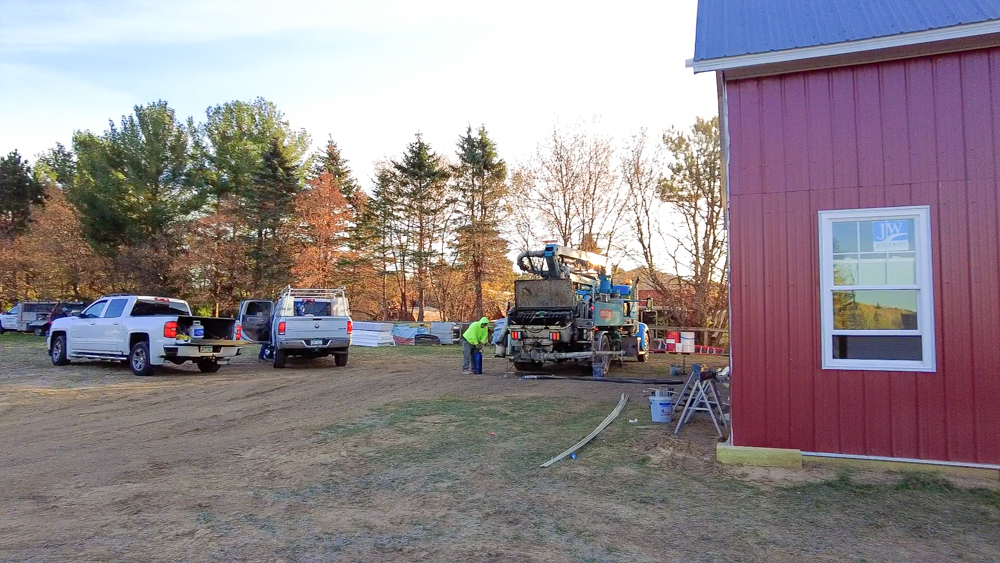
We have two crews here today, and they’re prepping right now. They have their laser set up, and they’re setting the final grade of the floor. There will also be some fiberglass rebar going in, so one of the crews is tying that off right now. The pour today is 44 yards, so it’s going to take five trucks, and they have a pump here so they can pump the concrete in to fill up the whole building.
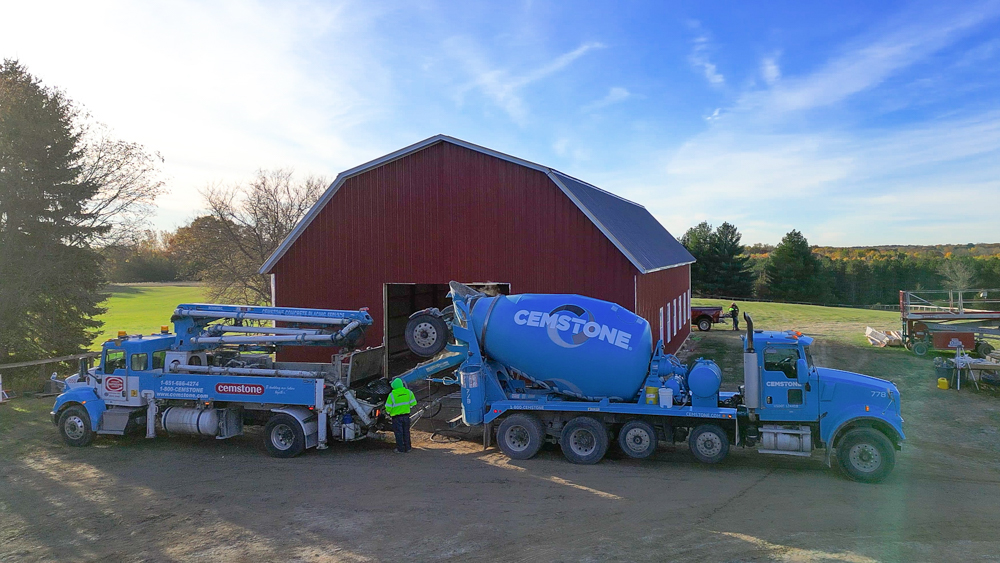
First truck is here, ready to start pouring some concrete!

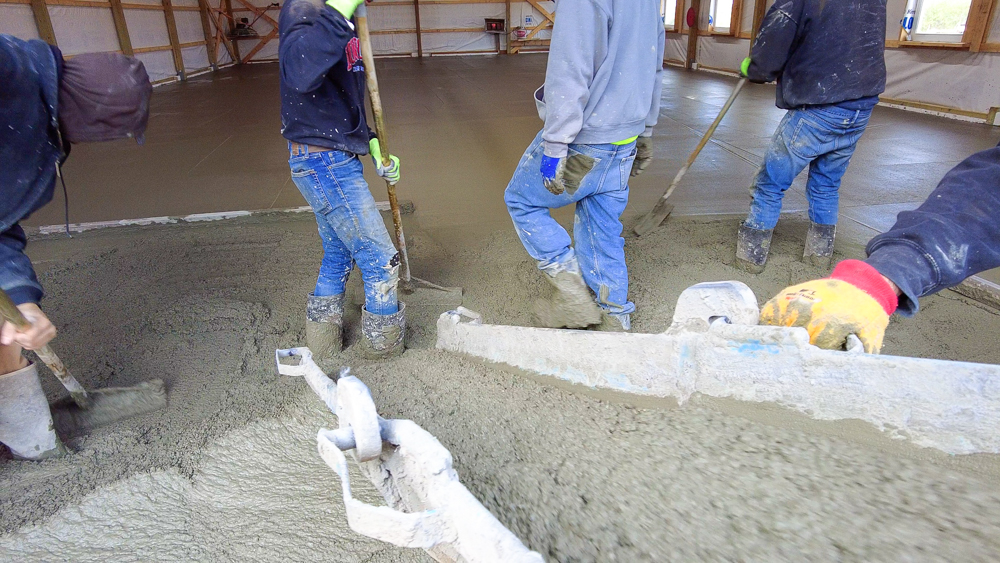
They have the chalk line on the wall, which is their rough idea of where the height of the floor is going to be. This is a five inch thick pour, and then they’re coming back with the grade stick and laser. That way the person holding the grade stick can get the final grade set and help out the guy with the screed to set the actual final thickness and height.
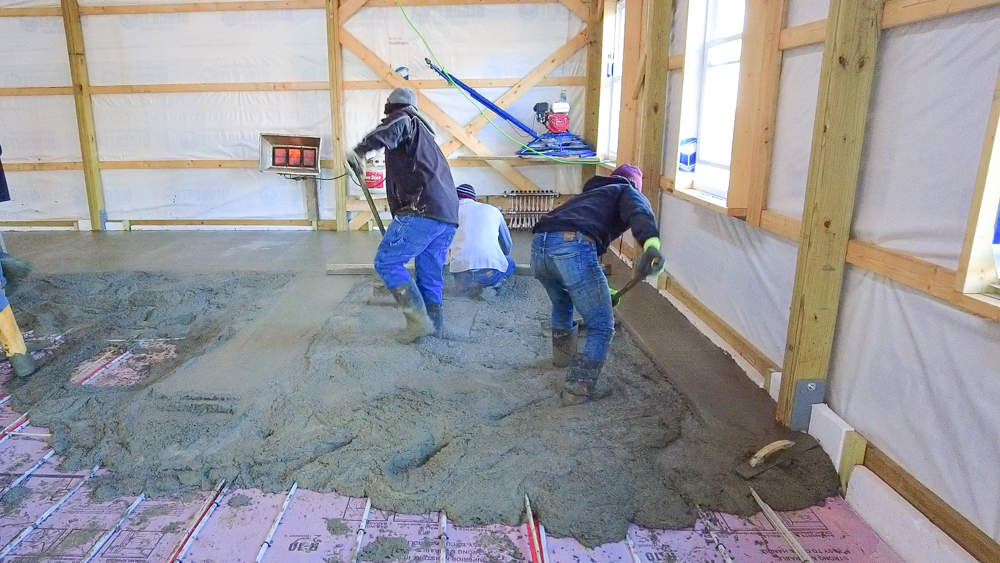
You can see that they establish two final planes on either side for the screed, and then the guy with the screed will come by and follow those two heights and fill in the middle. By doing it this way, they can pour concrete into an already built building.
Two trucks covered just about three bays worth. And we’ve four more bays to go.
The last truck is here with a partial load.
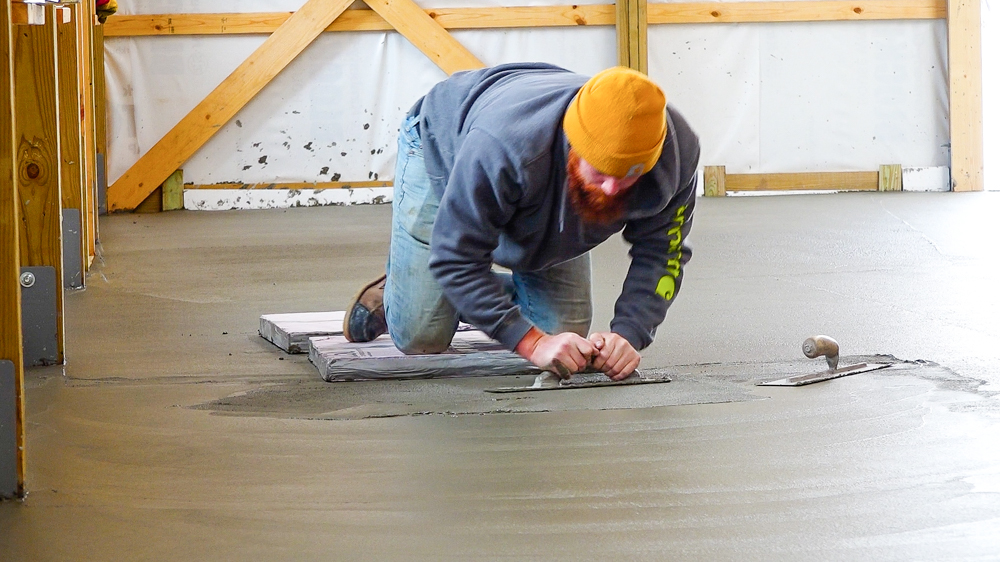
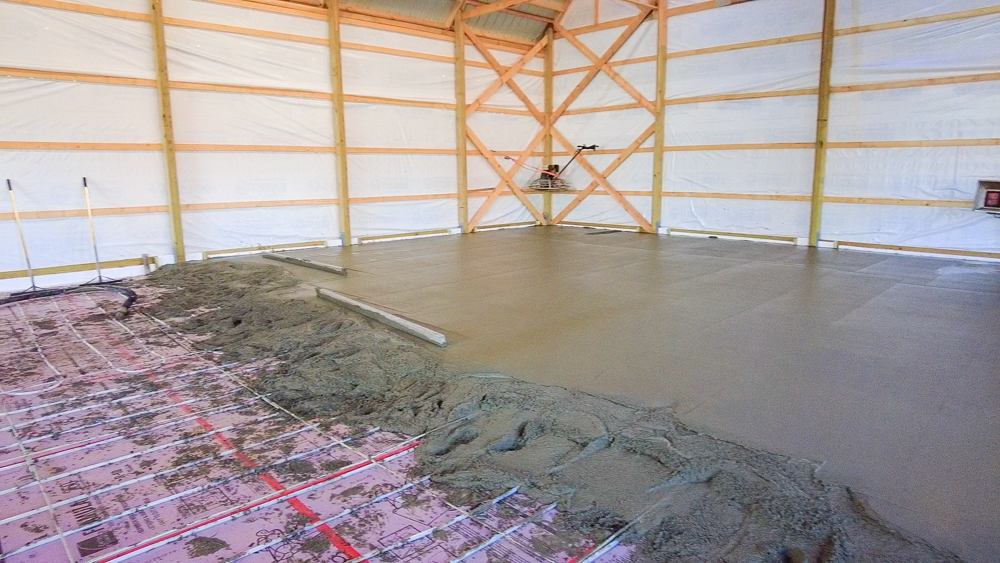
They’re starting to trowel now. They have a couple of guys going around the outside with hand trowels where the machine can’t reach, and then running the power trowel in the middle. At this point, they are bringing the cream up to the surface, so they can keep troweling and troweling. I don’t know how many times they’re going to go around and trowel, but it’s a first step.
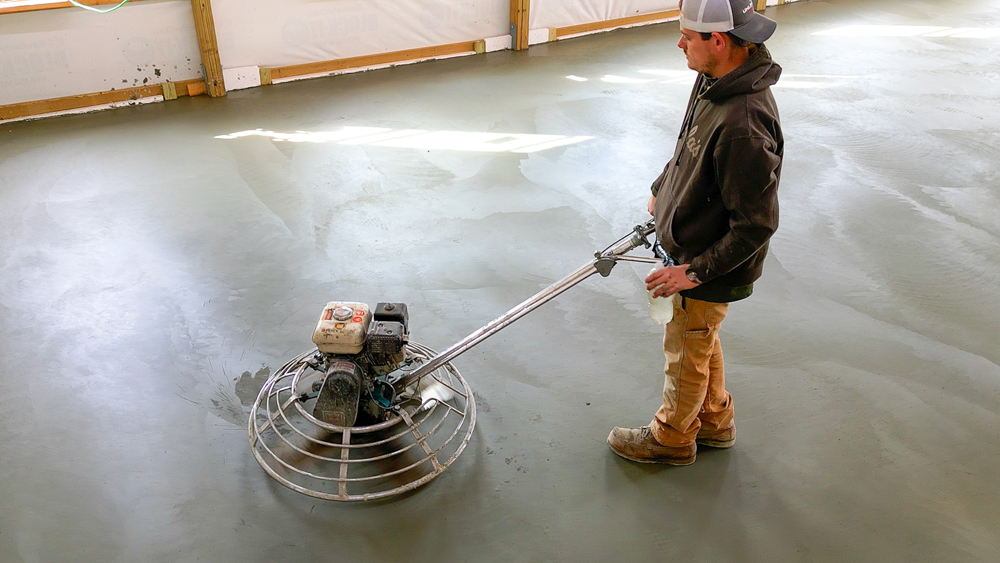
Here’s how it’s looking after lunch. Must be the second round.
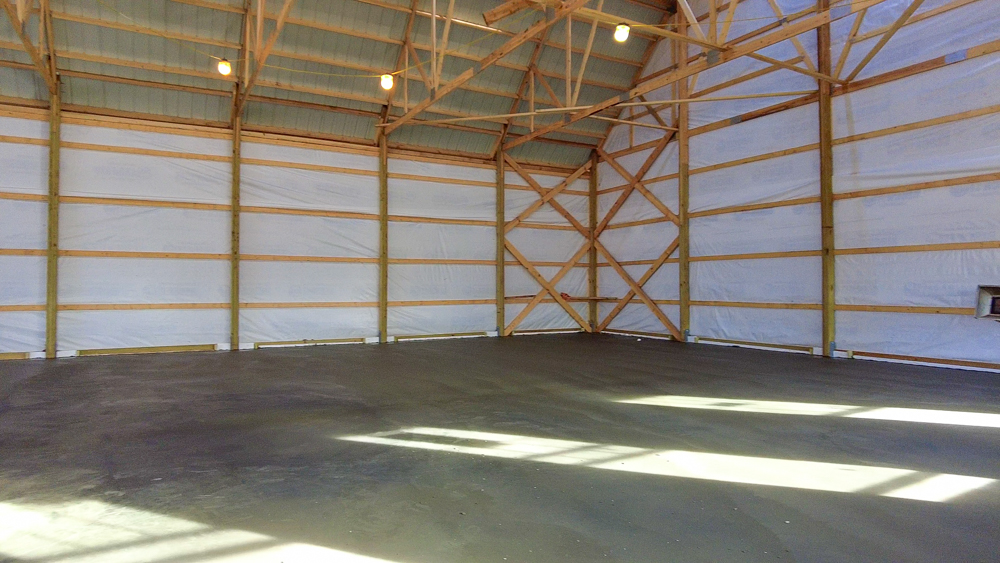
Here’s how things are looking at four o’clock. It’s definitely a floor.
Here’s how the floor looks the next morning. Still looks like a floor. When we thought about how much concrete we’re going to need, we figured 44 yards, which is the square footage of the building times the five inch pour. The concrete guys ordered extra, of course. They ordered 50, which also wasn’t enough. The total pour was around 53 yards, so quite a bit. I think they poured a little thicker than five inches, which I’m fine with.
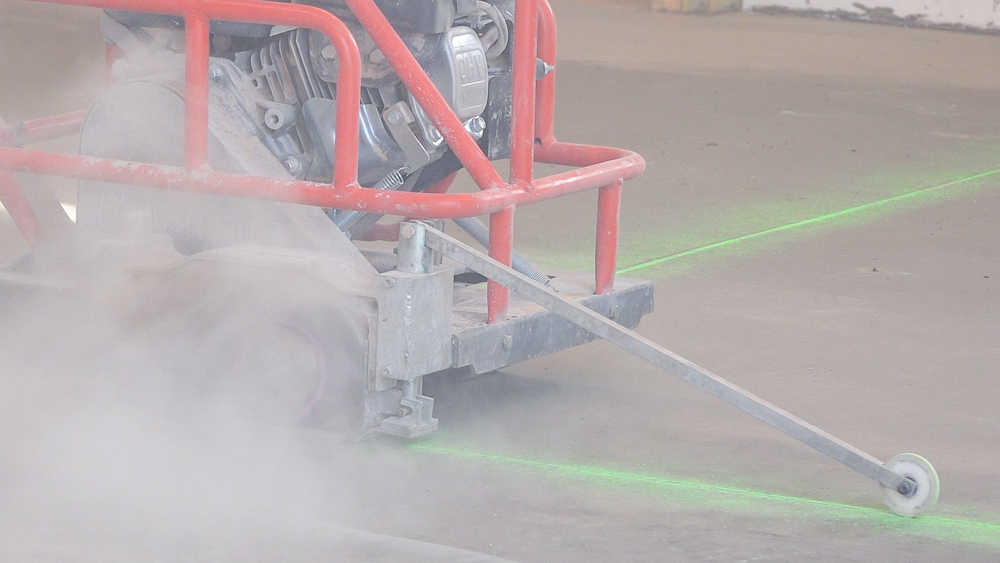
The guys are doing some saw cuts in line with all the posts. We’ll have three cuts the whole length of the building to give us roughly 9×9 squares.

Here is the floor five days after the pour. The saw cuts are all cut and looking good. They did a nice job getting them straight, which I definitely appreciate. The saw cuts will allow any cracking to be contained within those cuts, so you don’t have the cracks in the surface when the concrete actually cracks.
As for the surface finish, I was planning to do a polished concrete, but in talking to the concrete guys, they suggested doing a burnished finish. So they just troweled it a little bit more and gave it a really smooth troweled surface. It’s not quite as smooth as polished, but I think it’s probably going to be smooth enough. I have polished concrete at my warehouse base. I like that a lot because it’s really easy to clean, and it’s very durable, but we’re just going to do the the burnished surface here. They’re going to come back 28 days after the pour, and they’re going to apply a sealer that will chemically bond to the concrete. I think that’ll work just fine and will save me a little bit of money on the polishing.
So one step closer to a functional space! Having an actual floor in here feels pretty darn nice. The slab is going to cure for about 10 days, and then I’m going to start moving in here. Later this week, I’ll start moving my warehouse here.
That’s going to do it for this one. Thank you as always for joining. I greatly appreciate it. If you have any questions or comments on the barn build, please feel free to leave me a comment. As always, I’d be happy to answer any questions you might have. And until next time, happy woodworking!
Welcome to my shop! This is a quick update to let you know what I’ve been up to. This big chunky thing is the leg

Welcome back to the home renovation. This time I’m going to be working on the kitchen island. Here is a small model of the island.

Welcome back to our home renovation. Today I am going to be working on this wall. It needs some upper cabinets and the surround for