
Matt's Weekly Shop Update
Kitchen Island, Barn Power – March 2024 Update
Welcome to my shop! This is a quick update to let you know what I’ve been up to. This big chunky thing is the leg
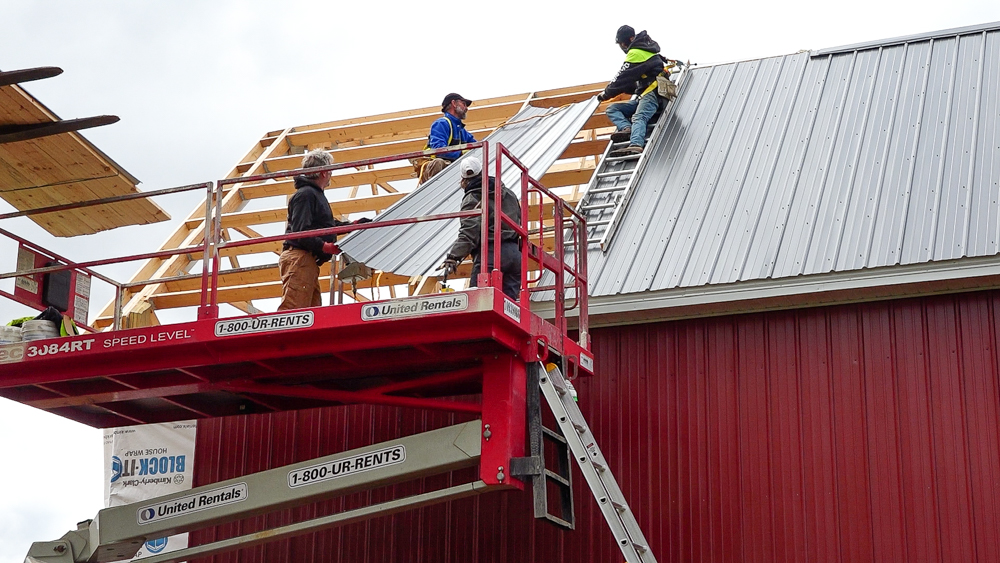
Welcome back to the build. Today, Jack and I are going to start installing the caps that go between the two roof pitches.
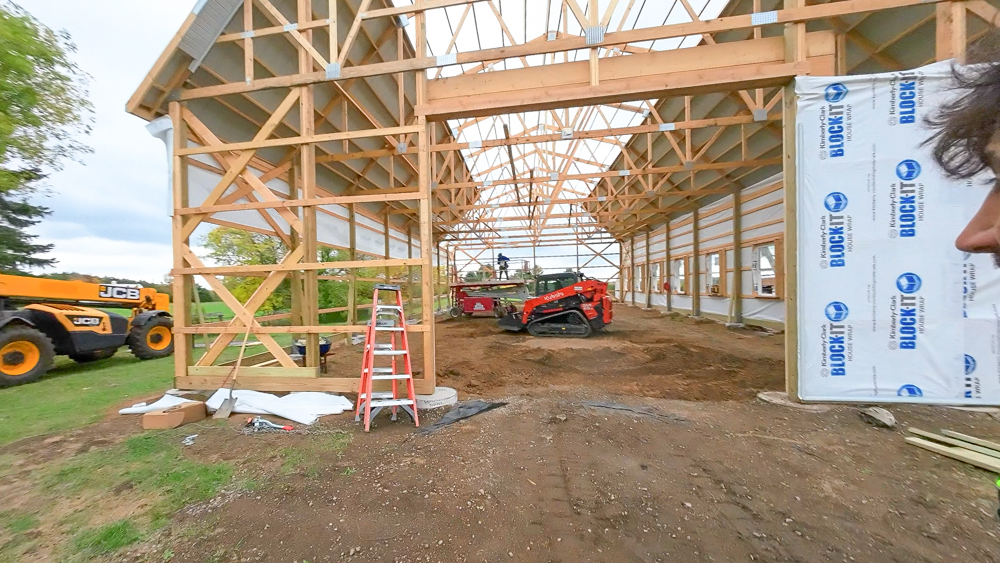
Between the lower roof and the upper roof, there is an angled piece of steel that goes on top of the lower roof and underneath the upper roof. And this will be the first step to getting ready to install the upper roof. We also have a few roofing panels that have to go on this lower section of roof, but we’ll get to that when Donavan gets here. He is out picking up the foam that’s going to go down on the floor for our insulated slab. We’re going to try and set that angled piece from the inside. The most difficult part of this process is getting access to those points, but we should be able to get the lift up there close enough that we can work from the inside and reach out around the top versus trying to install these caps at the very top of the peak of that lower roof.
![]()
This is what that cap piece looks like. Part of it will lay down onto the purlins and part of it is going to lay down onto the lower roof we just installed.
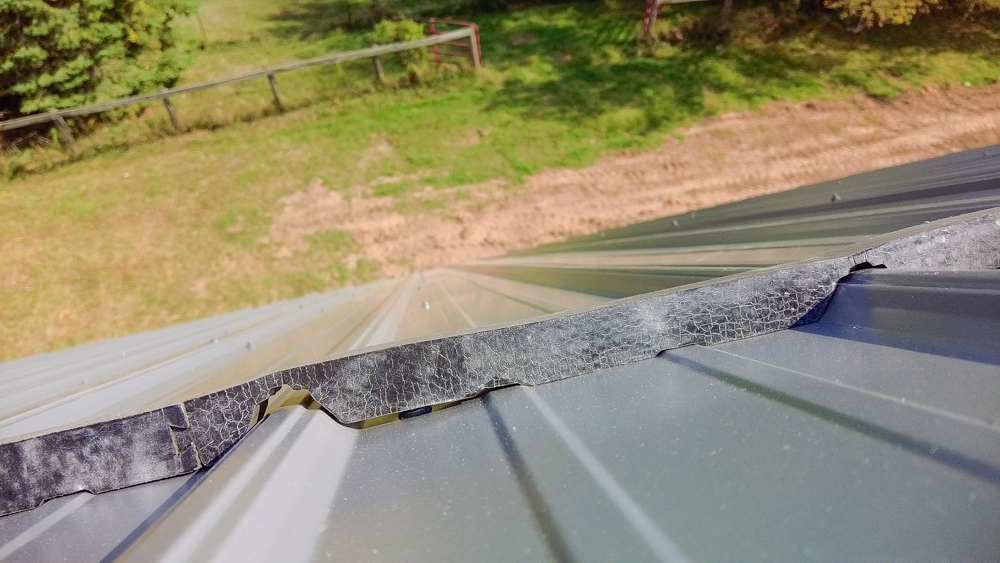
Some wooden blocking foam goes on first, underneath the cap. It sits down there like that, and this is where the screw flange will land. As we’re screwing that flange down, the foam will compress and get a nice tight seal, so we don’t have wind and things coming up underneath that cap.
That took an exorbitantly long time to do. A lot of driving around and finessing and tweaking and whatnot. So we’re going to roll this one into tomorrow. But that cap is up there now, so that’s checked off the list.
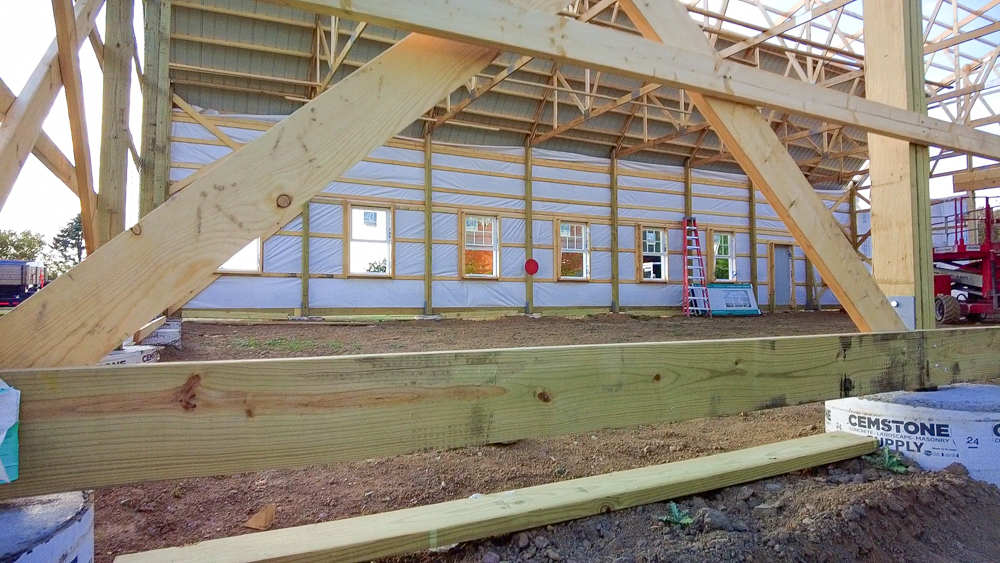
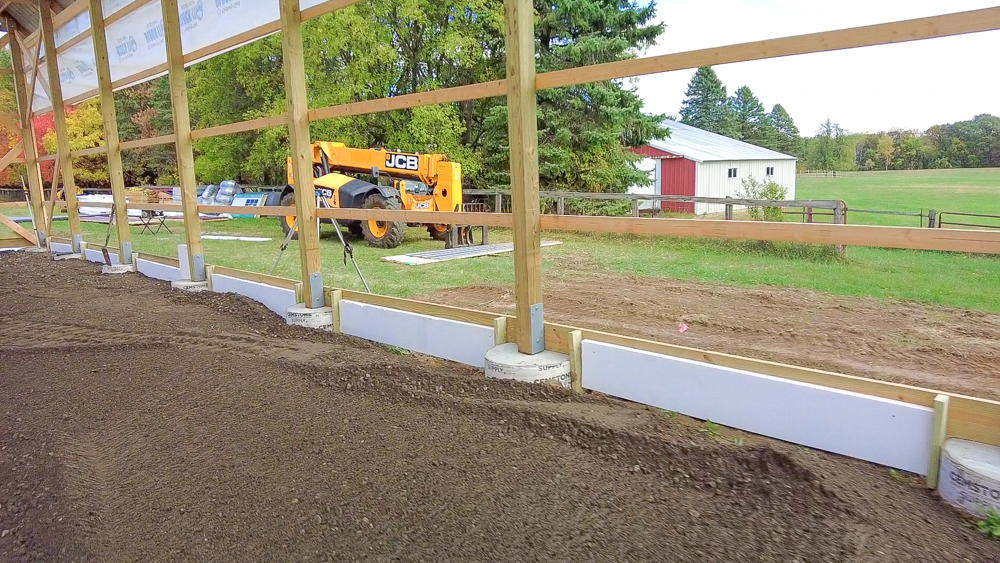
Tomorrow we’re going to be focusing down here on the ground. We have the final grading happening on Friday, which is two days from now. And before that, we need to get our support boards in. We’ve got these 2x6s which will get attached to these 2x8s, which will allow us to put in some foam. That way we’ll have an insulated slab on the bottom and up the sides.
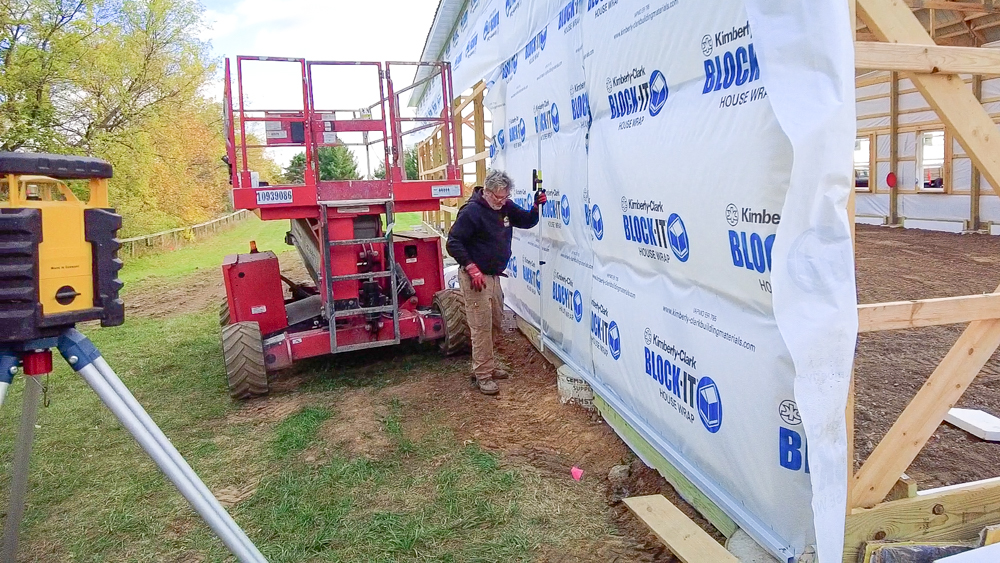
Good morning, everyone. A little change of plans. Our concrete guys are here today instead of tomorrow because it worked out better for them. So we have Zack and Jarrod back again doing that, and they’re going to start on the floor. Laurie is here giving us a hand today too, so we are going to be doing a lot of floor prep today. And my job is doing this grade board detail today.
As we’re making some progress, here is the layout for the thermal break. We have that foam in here to prevent heat from escaping from the slab out the wall.

The concrete guys are coming in with some base materials so they can grade the floor, get it compacted, and get that ready for the foam which gets laid down on the floor to provide our insulation.
We’ve got all of our wall panels here onto our little table. There’s a stop block at the end so we can butt them all together so they’re all flush on the end. Now we’re going to pre-drill all the holes for the screws. Doing it this way is super nice, but you only get one shot at it. If you screw up here, you kinda screw up all the panels. So we have checked many times to make sure our screw layout was going to be right on. We’ll have four screws in each panel, and after they are drilled, the panels can go onto the building really quick.
The bottom gets this base channel trim piece, which the panels rest on, and we’re using the laser to set that at the same height as the other side of the building.
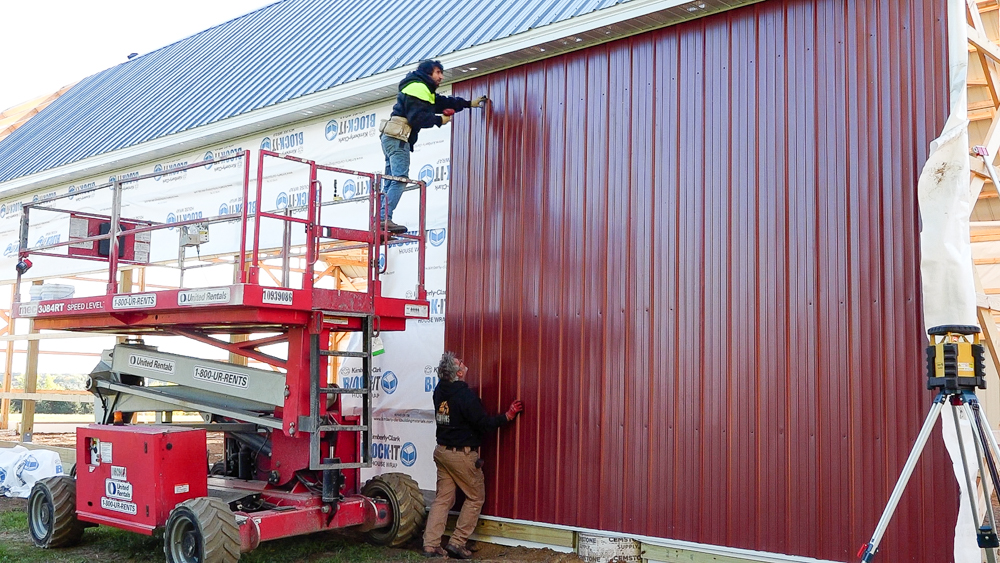
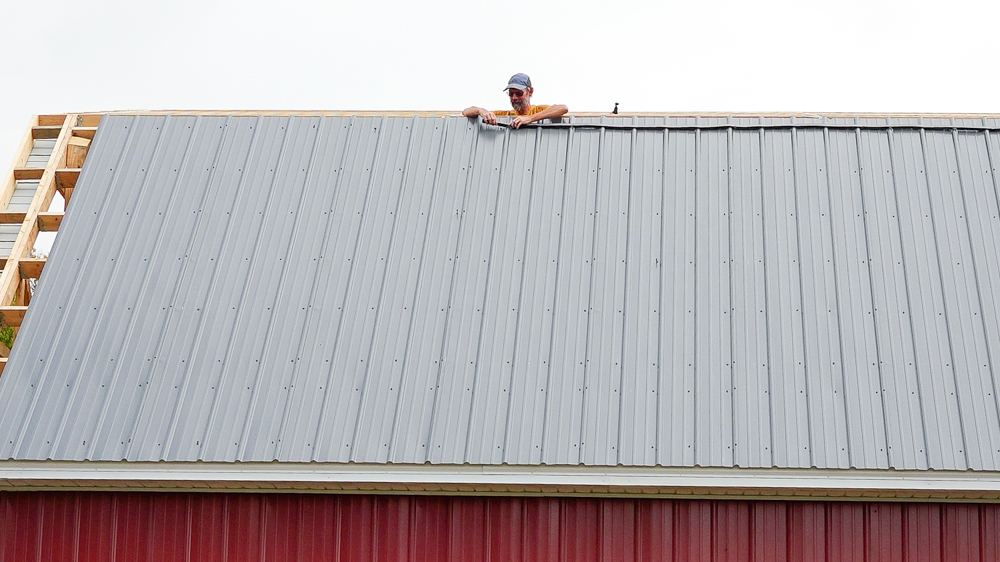
We did something! Took us about 15 minutes to get this far with the siding. Pretty wild when you compare that to yesterday, when it took us the entire day to install that ridge cap piece on both sides.
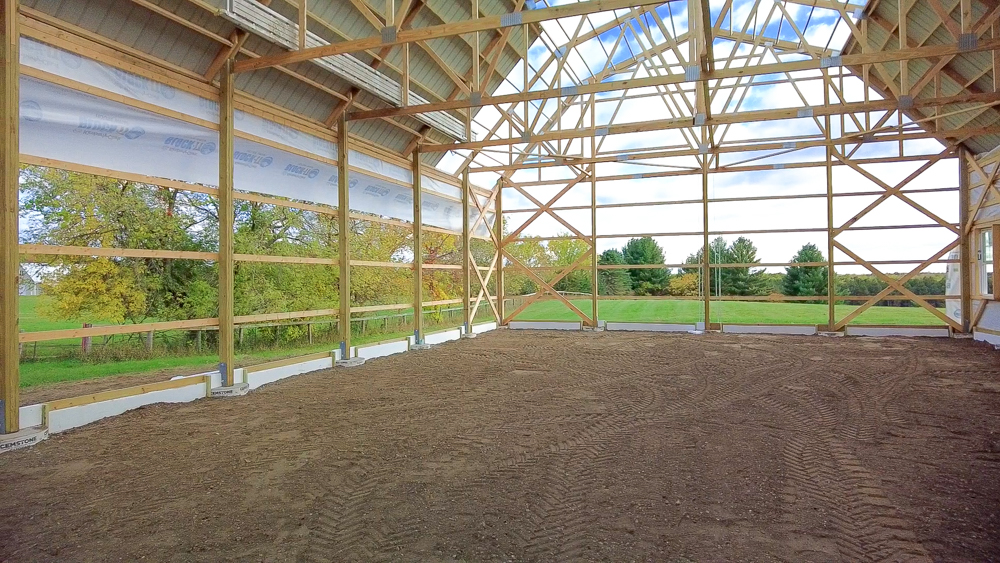
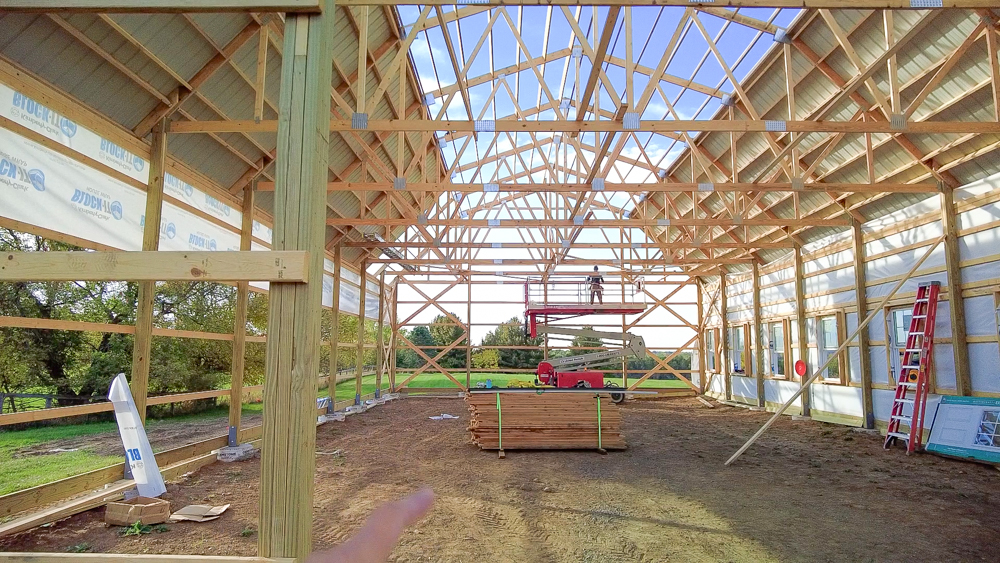
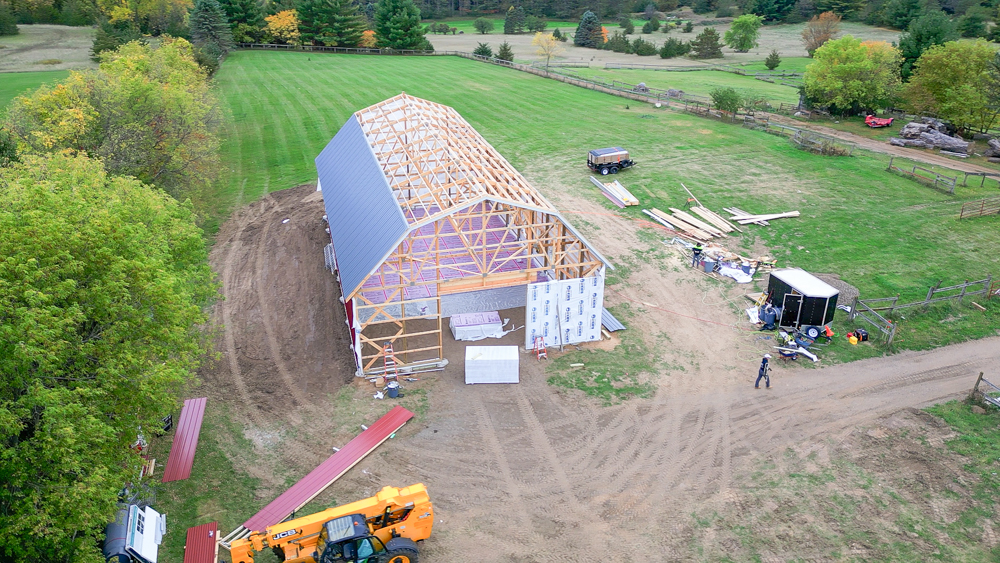
So the guys will be back tomorrow to finish up the prep work in here. They have one more load of base material to bring in, and then they’ll do their final leveling. Having all the excess stuff out of here and having the floor flat-ish really transforms the space. It’s starting to feel real, which is a good feeling.
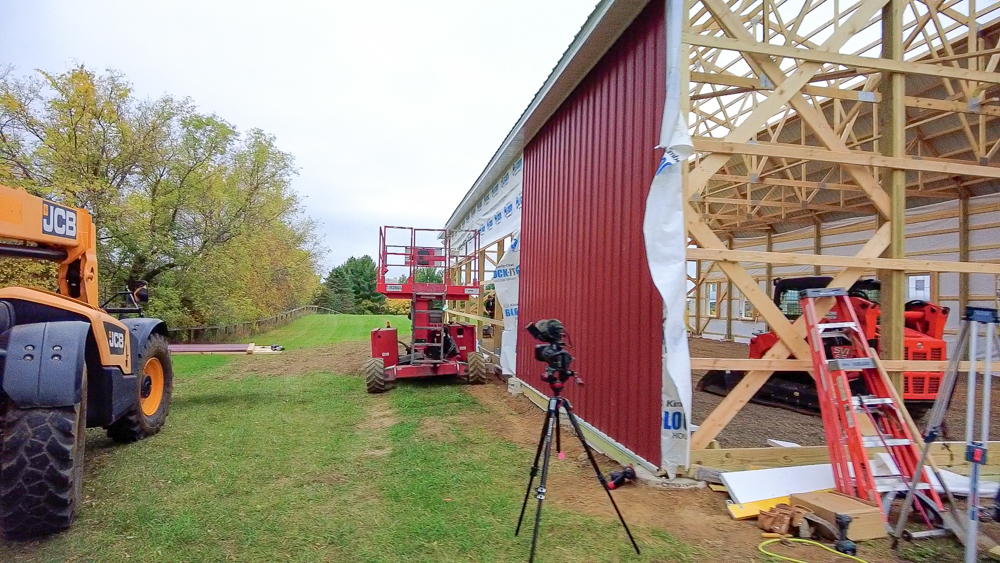
Next day: Jack and I are going to be tinning all this wall. Zack is in here starting to do the final grade and getting the base material compacted while Jarrod’s getting another load of base material. I’m thinking maybe we’ll have a productive day today. Hopefully.
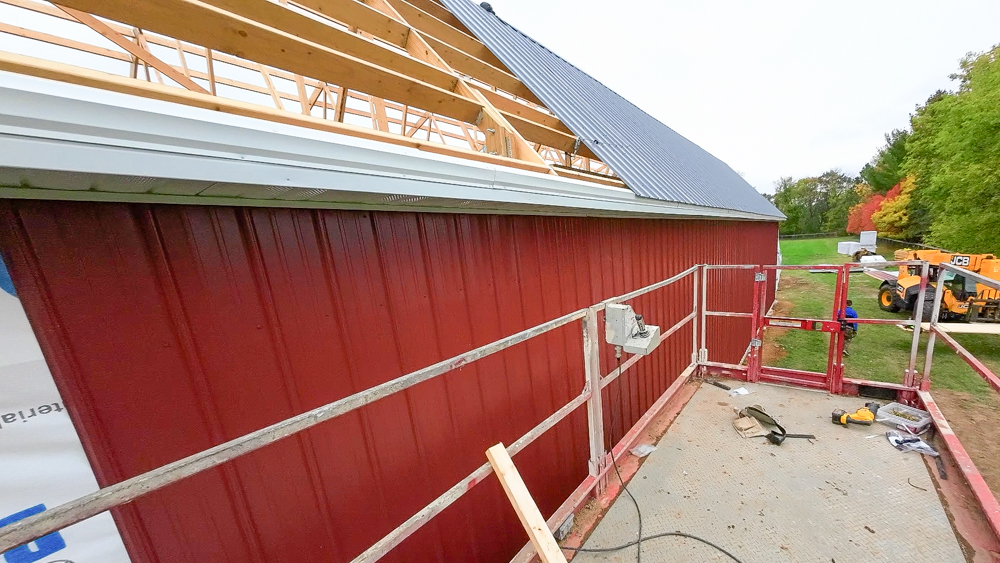
In 45 minutes we got most of the wall tinned. Altogether it took us about an hour to get this wall tinned.
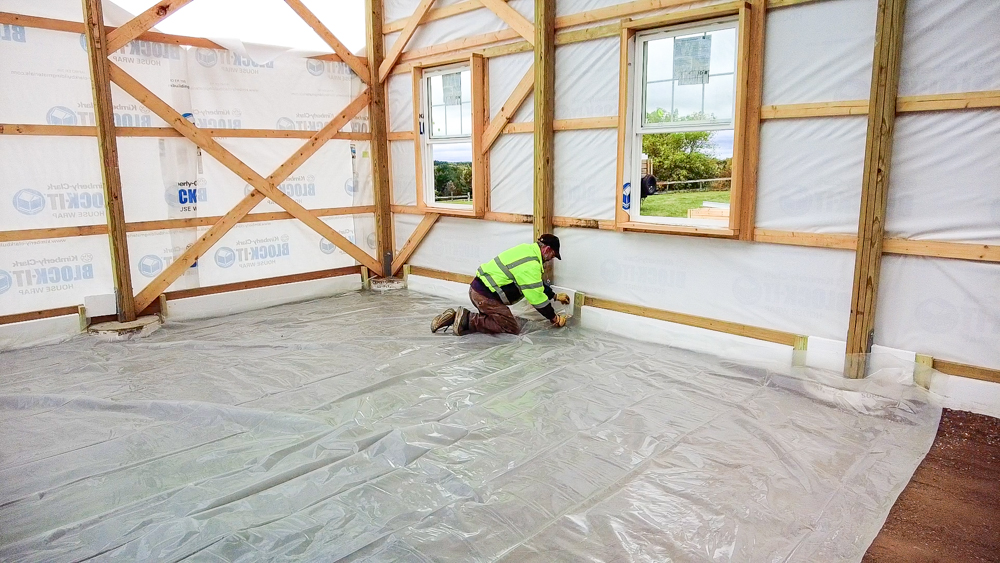
Meanwhile, Jack and Laurie are putting down the vapor barrier, and then they’re going to start laying some foam down.
Next up for our productive day is to finish up this part of the roof.

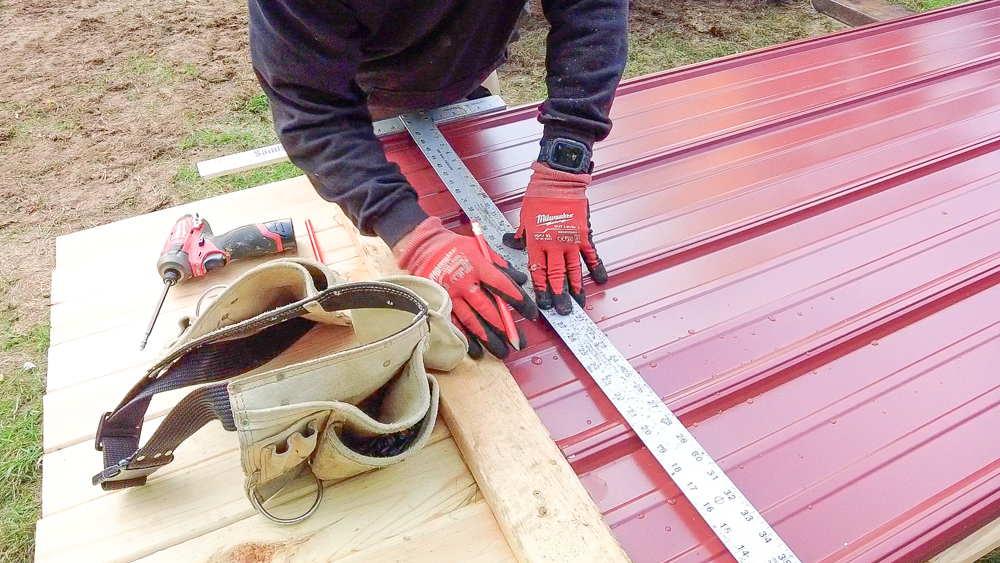
Next on the list is prepping the panels for the end walls. The panels are all precut to whatever length they need to be, but they have a square top and they have to go up into our angles on the gambrel. So we have to cut the angle onto the top of each sheet, and then we will pre-drill the holes again.
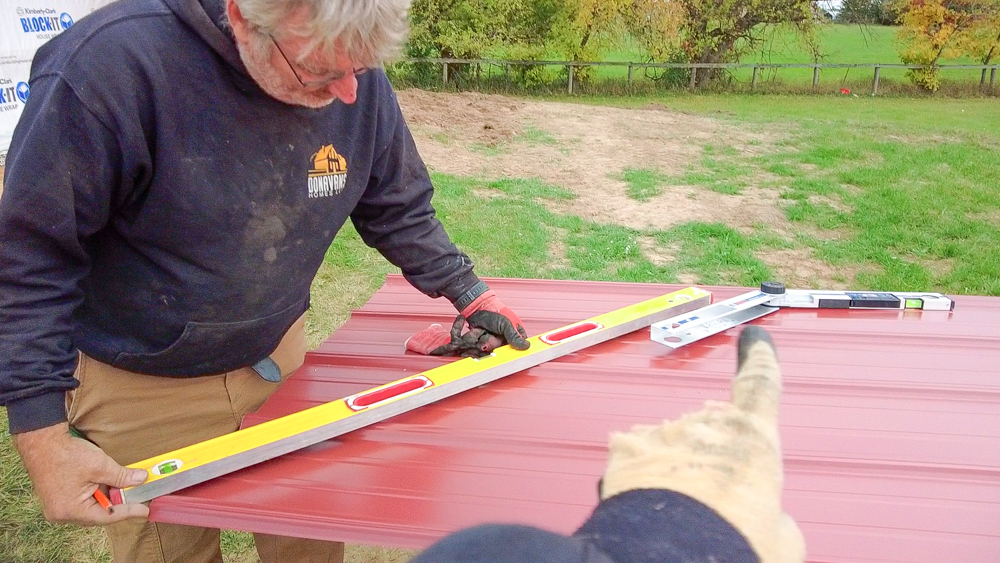
We used an angle gauge to pick the angle of the post to the truss, and that’s what we’re using for our constant angle to draw our cut line on top. After we cut, we measure the high side, because that’ll become the low side of the next sheet, so that helps us with our layout on the next one.
So that is it for today and for this week. It feels really good to have a day finally that was actually productive. Something about larger projects that I’ve been learning is that sometimes you get to a point where things just don’t work and things are taking too long and there’s complications. You have to accept that that day’s not going to go anywhere. This was not as productive a week as we had hoped, but we got more done today than we have in the last two or three days combined.
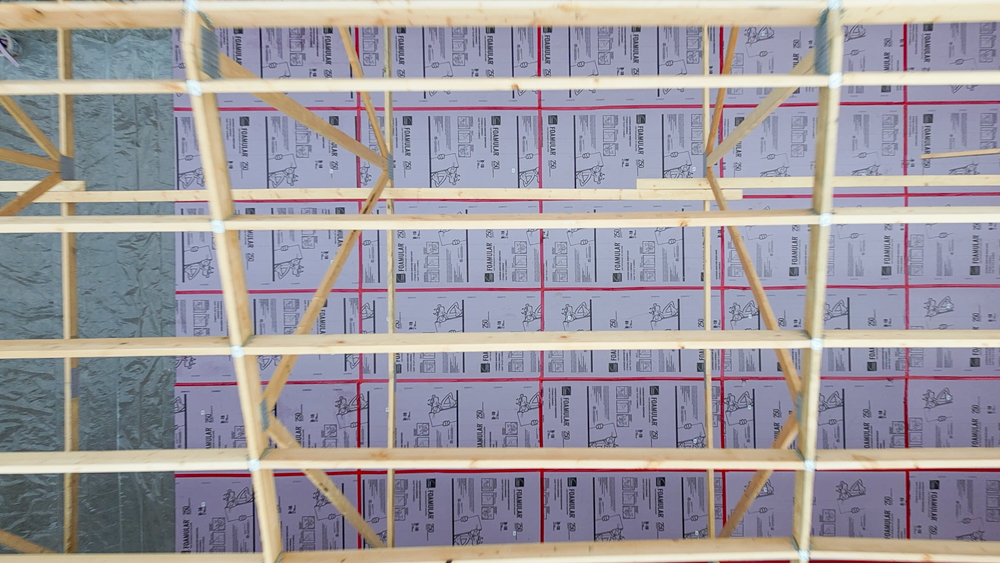
Here’s the interior. We got about two thirds of the foam laid down. Next week, our plumber, Mike, is going to start installing the PEX in here for the in-floor heat, and the floor pour is scheduled for a week from Monday.
Thank you as always for joining, I greatly appreciate it. If you have any questions or comments on the barn, please feel free to leave me a comment. As always, I’d be happy to answer any questions you might have, and, until next time, happy woodworking!
Welcome to my shop! This is a quick update to let you know what I’ve been up to. This big chunky thing is the leg

Welcome back to the home renovation. This time I’m going to be working on the kitchen island. Here is a small model of the island.

Welcome back to our home renovation. Today I am going to be working on this wall. It needs some upper cabinets and the surround for