
Matt's Weekly Shop Update
Kitchen Island, Barn Power – March 2024 Update
Welcome to my shop! This is a quick update to let you know what I’ve been up to. This big chunky thing is the leg
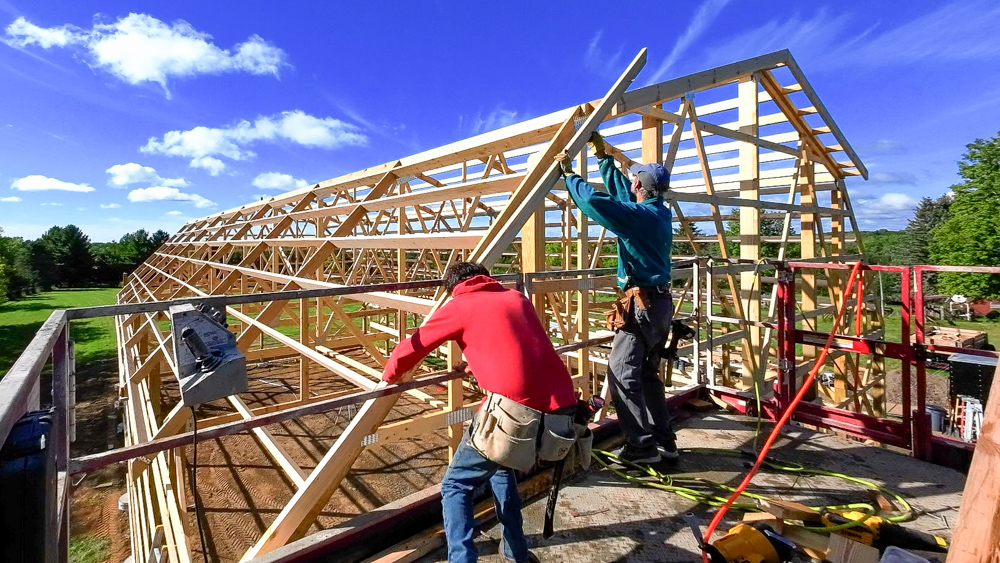
Welcome back to the build. Today, we have more detail work to do to start transforming this overhang roof. Of course, that means more purlins, because you can ever have enough purlins.
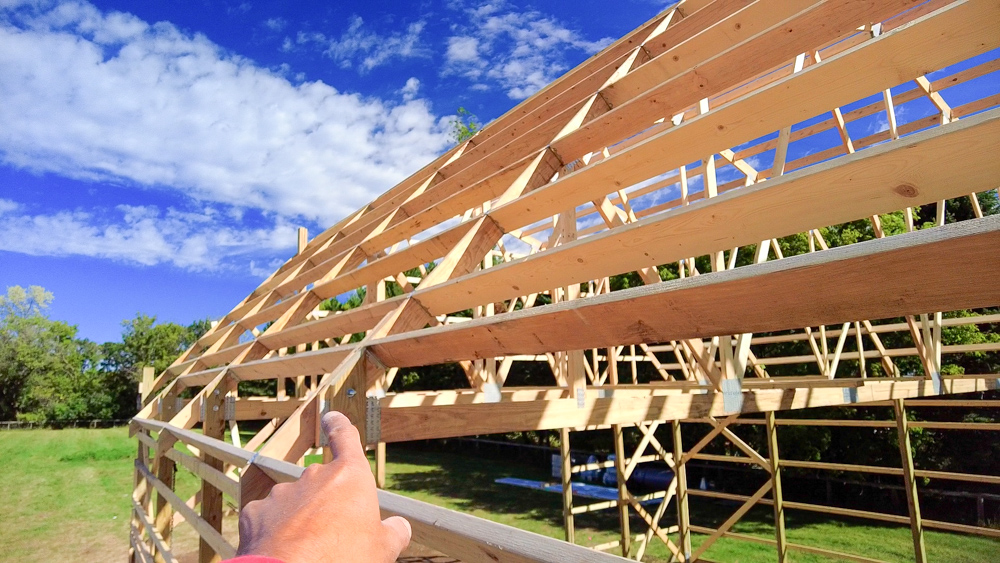
So Jack and I are going to set purlins up into where the tails are. We’re adding these two lower purlins. One goes into the truss, and one goes down into the tails. We’re using saddle hangers for the purlin in the tails, and a regular hanger for up in the truss.
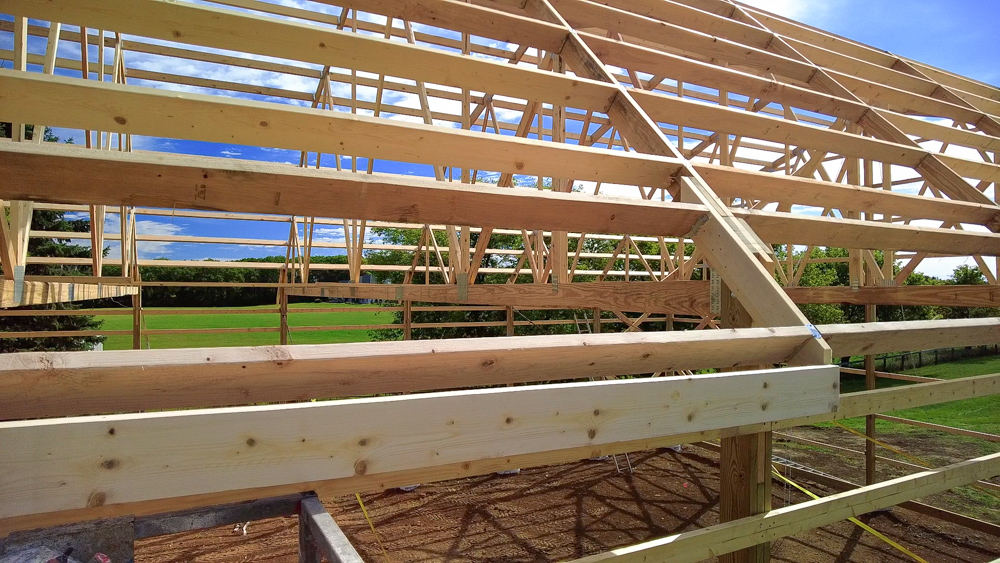
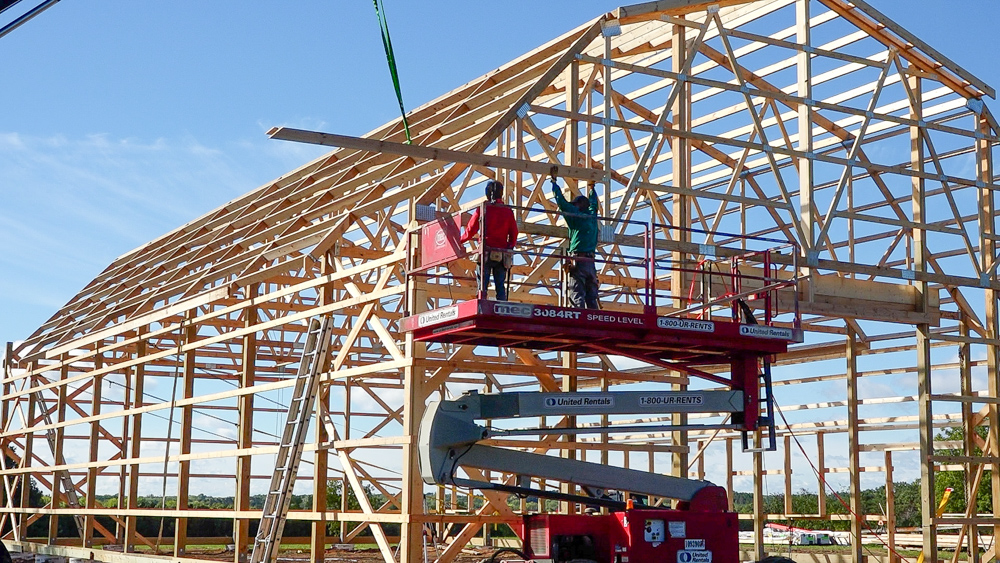
Now we’re going to start installing the fascia board. The first one is an 18 footer, just like all the girts. We’re starting here on the third post, putting this 18 footer in, and then we can just lap our way down and do the same thing on the other end. We’ll have a longer one that goes out into that last bay.
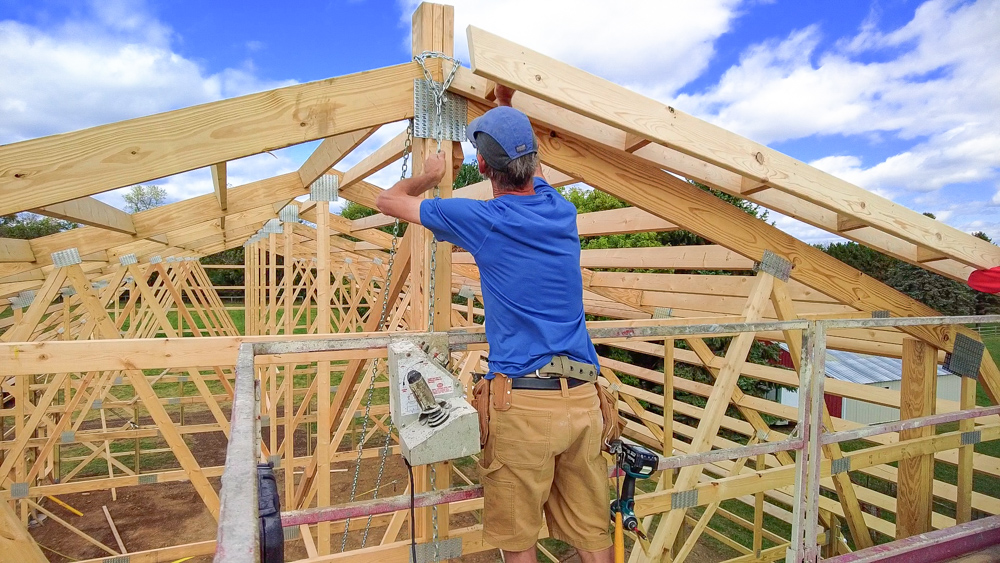
Now we’re going to see if the ladder frame fits. This ladder frame is the overhang for the gable end.
The top part of that overhang is in there now. We need some longer boards to do the sides, which we’ll do tomorrow.
We have the backer piece for the next ladder frame, and we’re going to test fit just the backer to make sure that fits before it turns into a giant, heavy frame.
Donavan has built the ladder frame, so now we can install it. And once it’s installed, we can turn that corner, put in two more purlins, and extend the fascia to the end of that ladder.
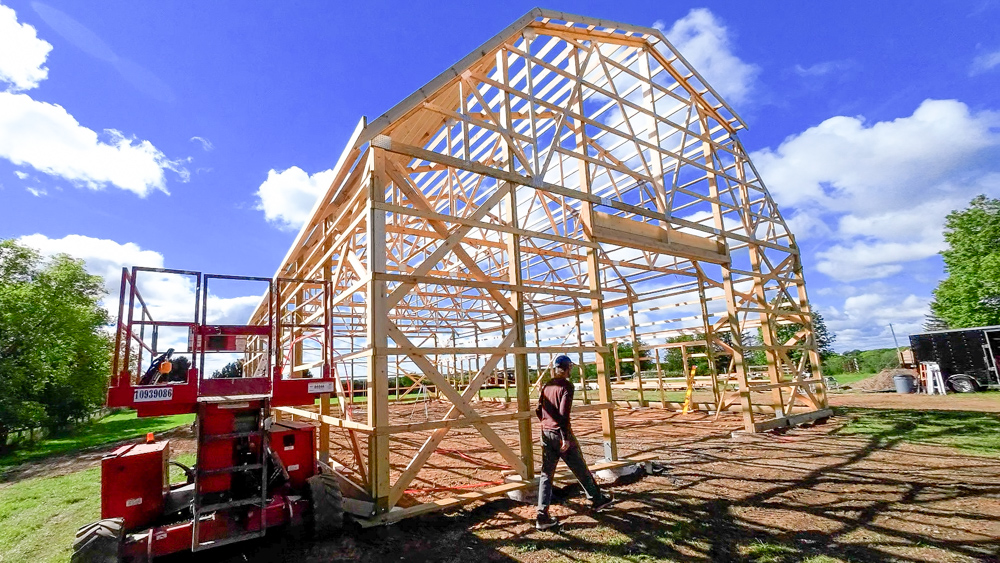
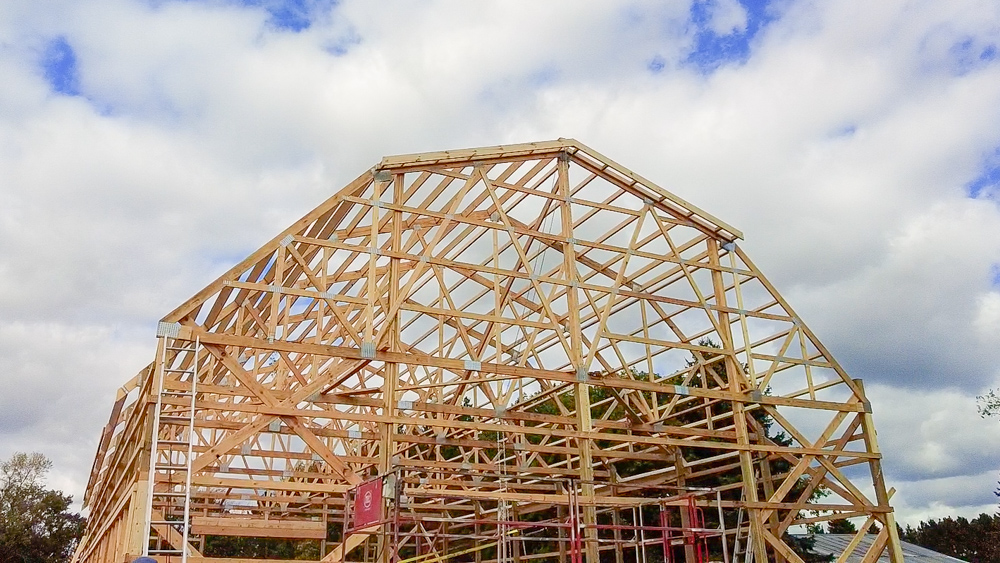
Here is one corner with the framing complete. You can see how our overhang comes down off the end and continues around to the side wall. Three more corners to go.
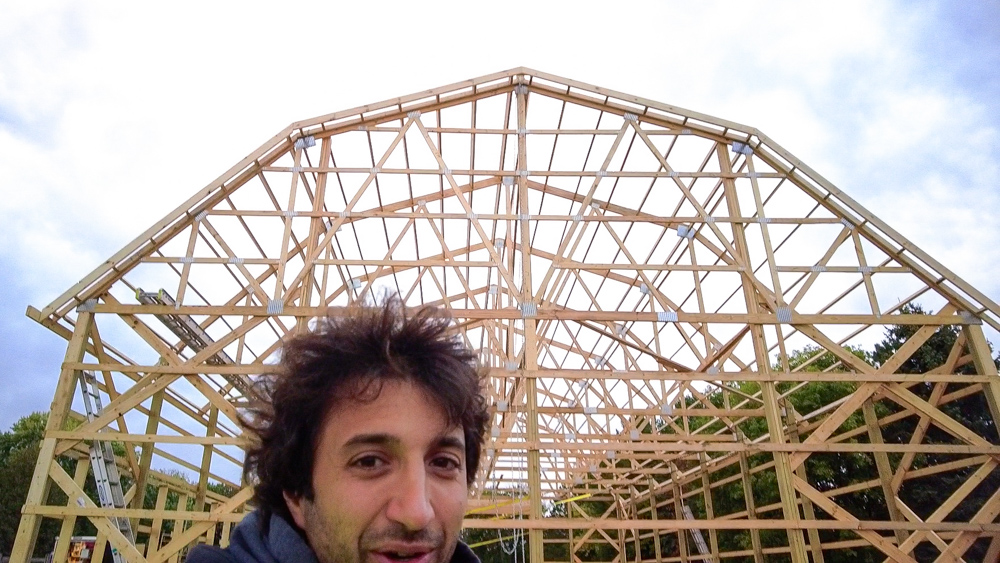
That’s as far as the weather will allow us to get for this week. We got the rest of the fascia and two purlins installed, and we still have one more corner to do. And that will take care of all of the framing! Then we’re going to start installing the soffit. Next week should mostly be making this skeleton disappear and turn into something that resembles a barn.
So, thank you as always for joining! I greatly appreciate it. If you have any questions or comments on the barn, please feel free to leave me a comment. As always, I’d be happy to answer any questions you might have. And until next time, happy woodworking!
Welcome to my shop! This is a quick update to let you know what I’ve been up to. This big chunky thing is the leg

Welcome back to the home renovation. This time I’m going to be working on the kitchen island. Here is a small model of the island.

Welcome back to our home renovation. Today I am going to be working on this wall. It needs some upper cabinets and the surround for