
Matt's Weekly Shop Update
Kitchen Island, Barn Power – March 2024 Update
Welcome to my shop! This is a quick update to let you know what I’ve been up to. This big chunky thing is the leg
Welcome back to the home addition/remodel project. The last 10 or so posts we have been toiling away inside through the winter. Now that it’s warmer out, we’re back to working outside and working on the exterior stuff that we were working on before winter so rudely interrupted us.
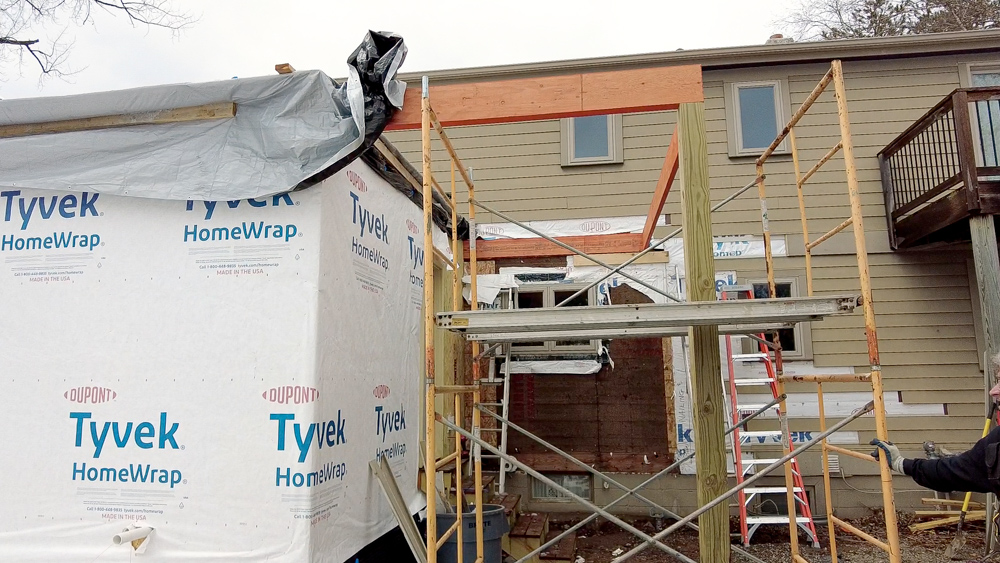
So this afternoon, we’re going to get the ceiling installed here. What we really want is for the roofers to get in here and install our membrane roof onto this entire thing. Due to weather, we are still working on the actual schedule for that. In the meantime, we will get this ceiling extended and in place.
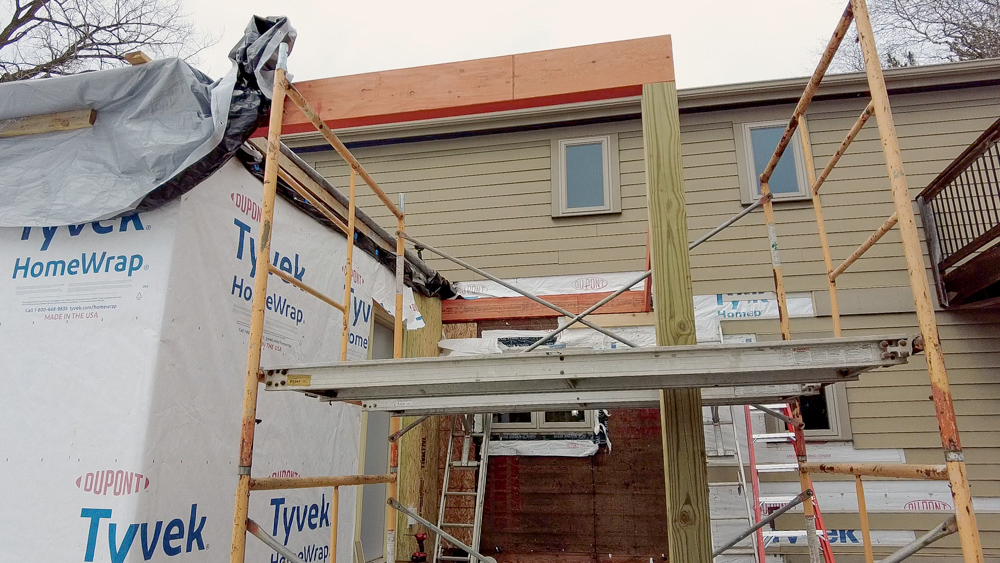
Last time we got the post and the beam to support the roof set, which established the exterior of the porch area, and we also stripped back the siding on the house. Now we’re going to start setting in our ceiling joists.
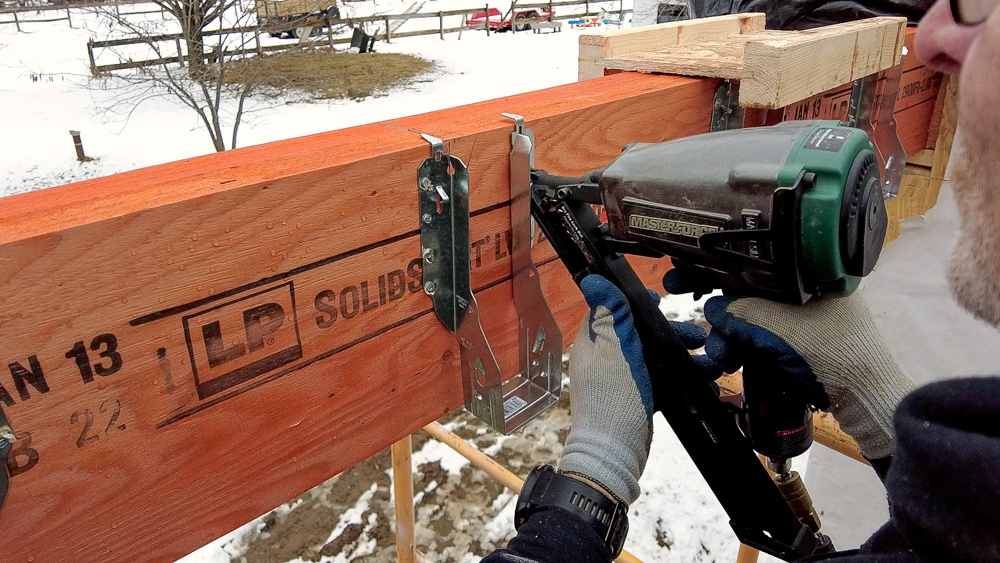
After measuring and marking, it’s hanger time.
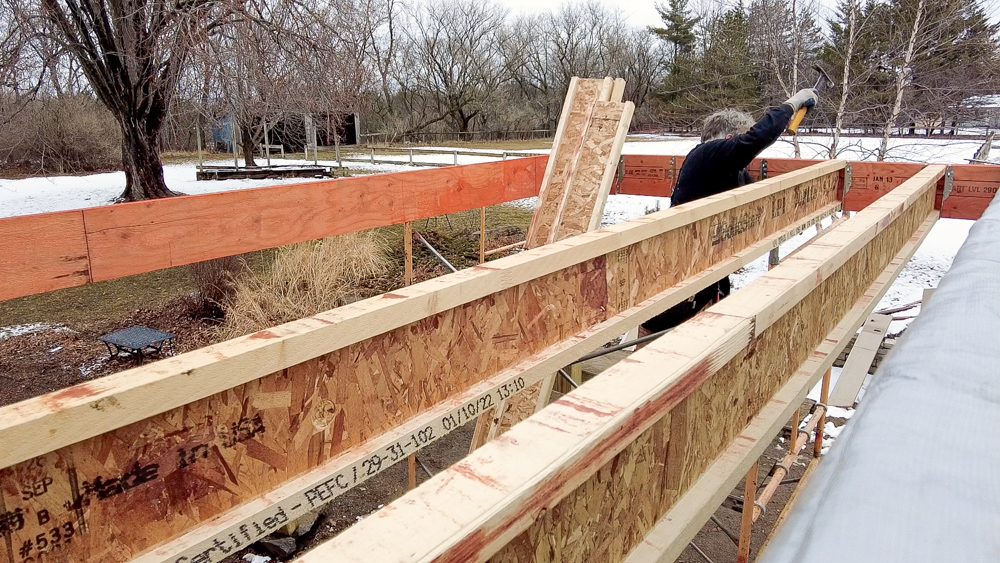
And then we can drop the joists in.
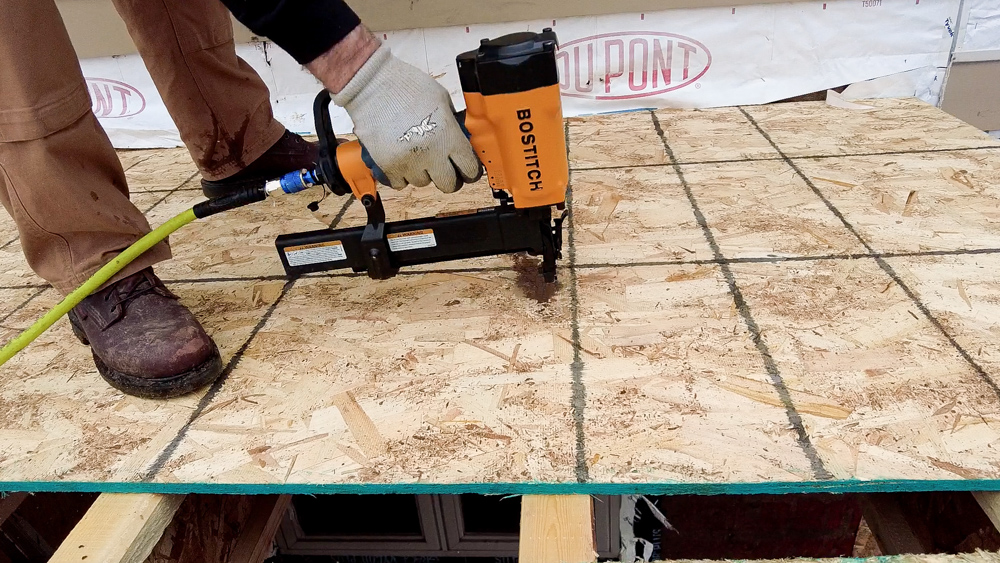
Then lay down some sheets.

Well, some time has passed now, and we have been having weather that is not conducive to home renovations projects. We worked on smaller things in the meantime, but I didn’t film any of that, so now I will quickly catch you up on what we worked on.
We spent some time on this front wall, and now our final rough openings for the windows are in place. Originally Donavan framed this big opening, and he made it oversized so we can fine tune the placement of the windows. We ended up with three 33 inch rough openings that took up most of the space. So those are the three windows which will be in front of the sink.
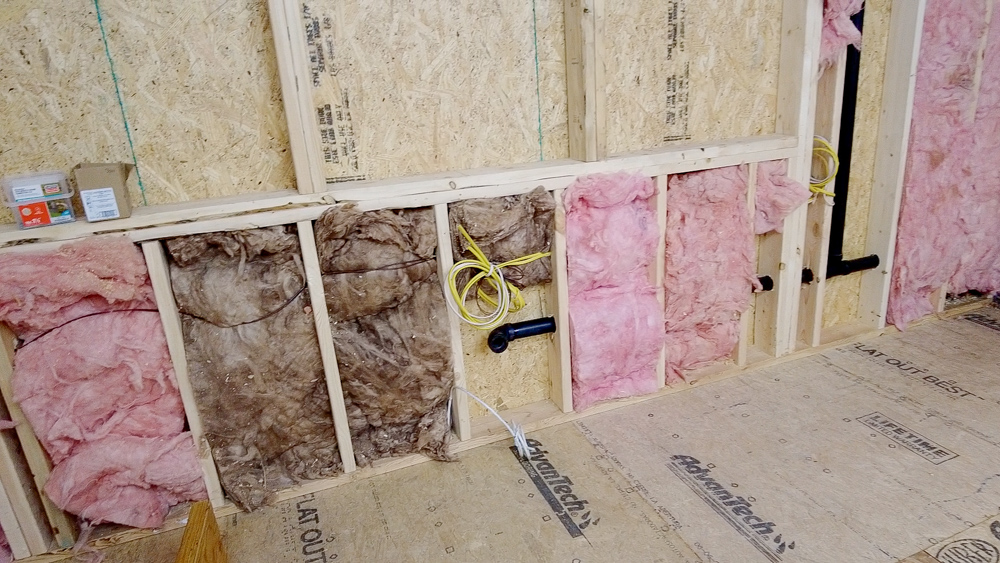
Speaking of the sink, you can see down here that our plumbers were here, and they got the sink drain roughed in, as well as getting started on the venting for the drain.

Now a slightly bigger thing: the framing for the office and the closets is just about done. There’s a few little places where drywall nailers have to go in, but otherwise all of the big framing is in place. So this hallway area is all done.
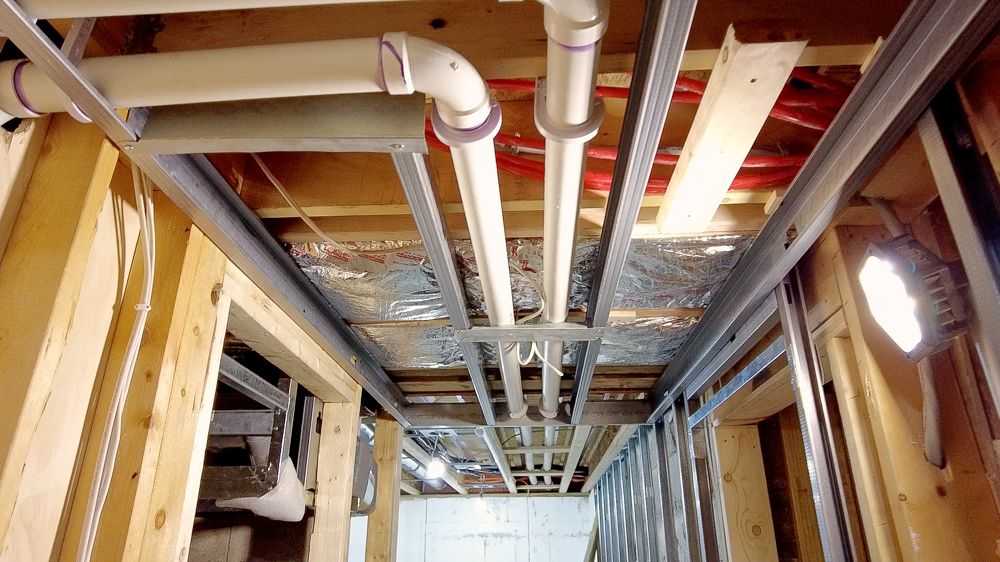
The ceiling height will come down a little for these new vents that Mike, our plumber, installed for our new boiler, which I’ll show you in a second.
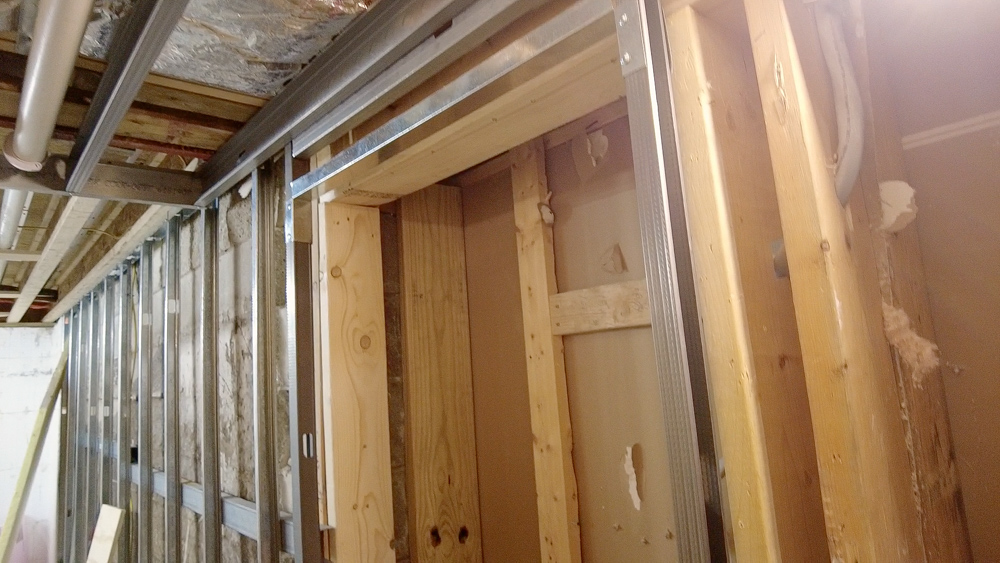
We have this bonus closet space here. That’s all framed out and ready for whatever I want to build into that space.

And then the main closet is also all framed out and soffited to go around all this duct work up in here.
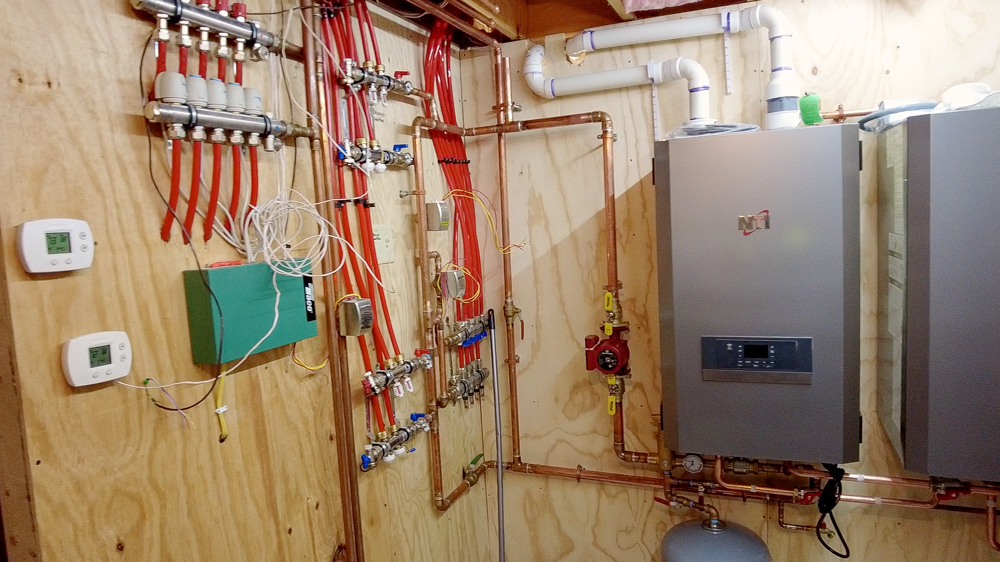
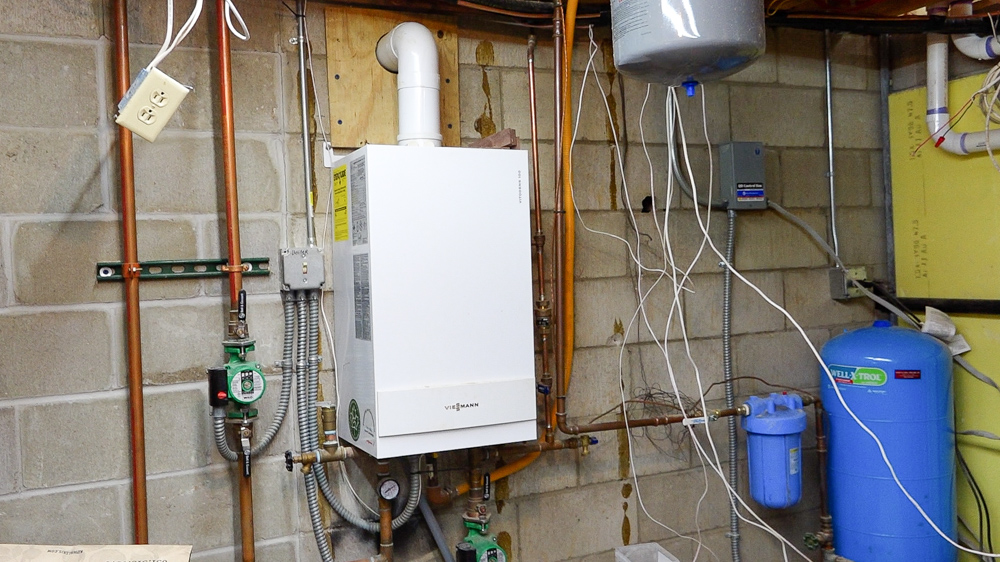
If you come into the mechanical room, I can show you what Mike’s been working on. There is the new boiler for the infloor heat, and we also have a water heater that goes along with it.
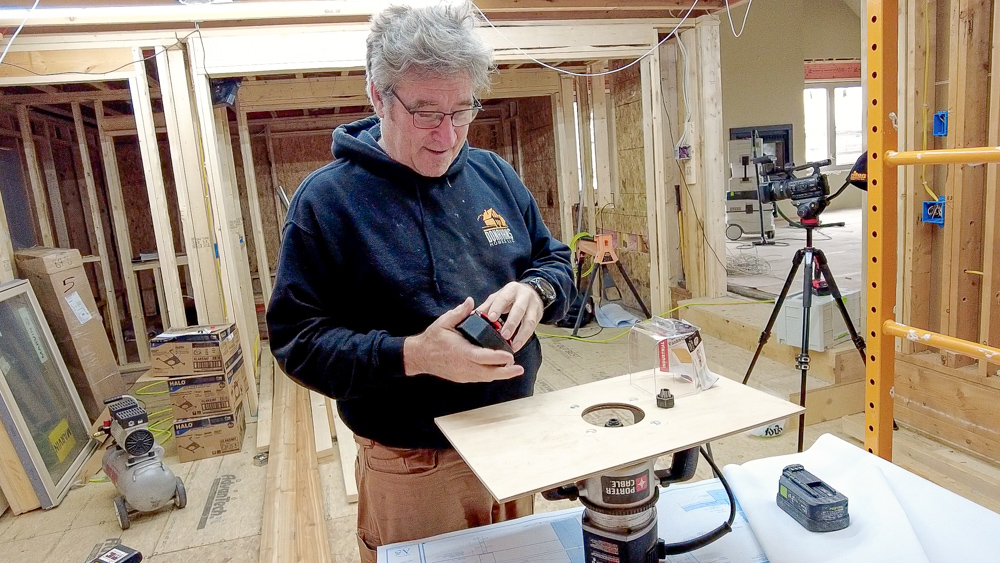
We also made this big router base, because we’re going to try and make some window sills.
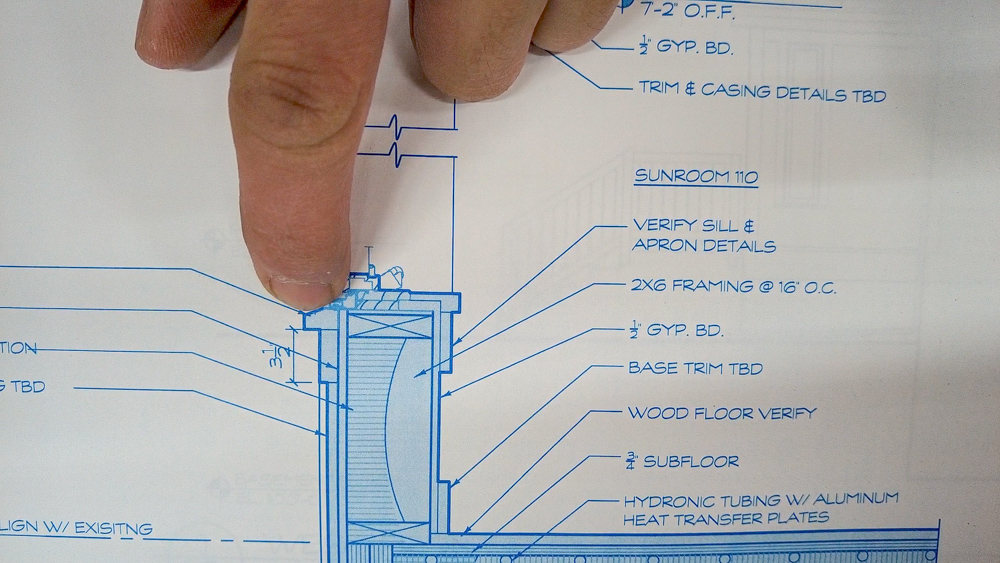
This is the window sill that we’re going to be making. So we have a little bevel detail and we’ll put a little water breaker.
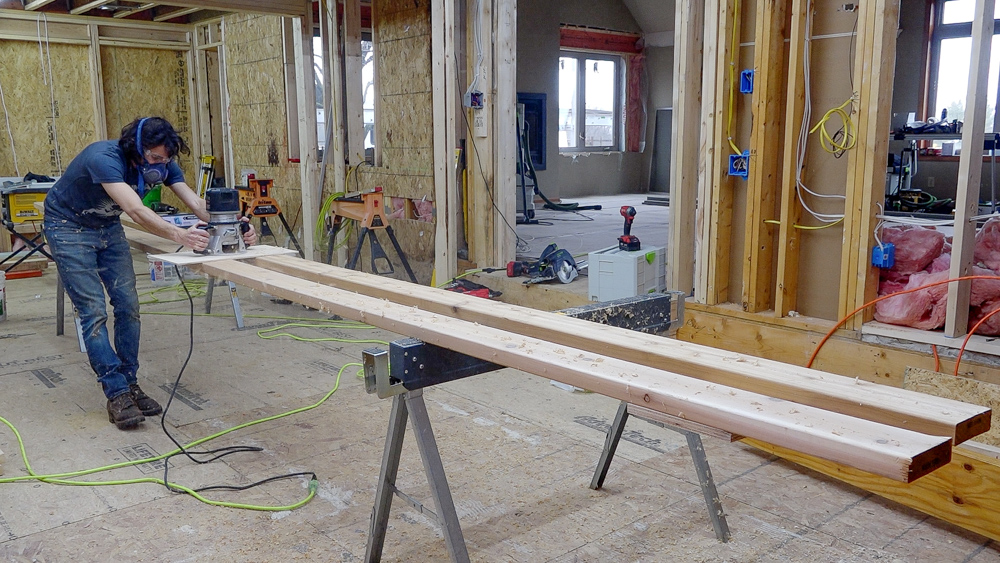
We have these nice long 20 foot boards here which are going to be our window sill stock.
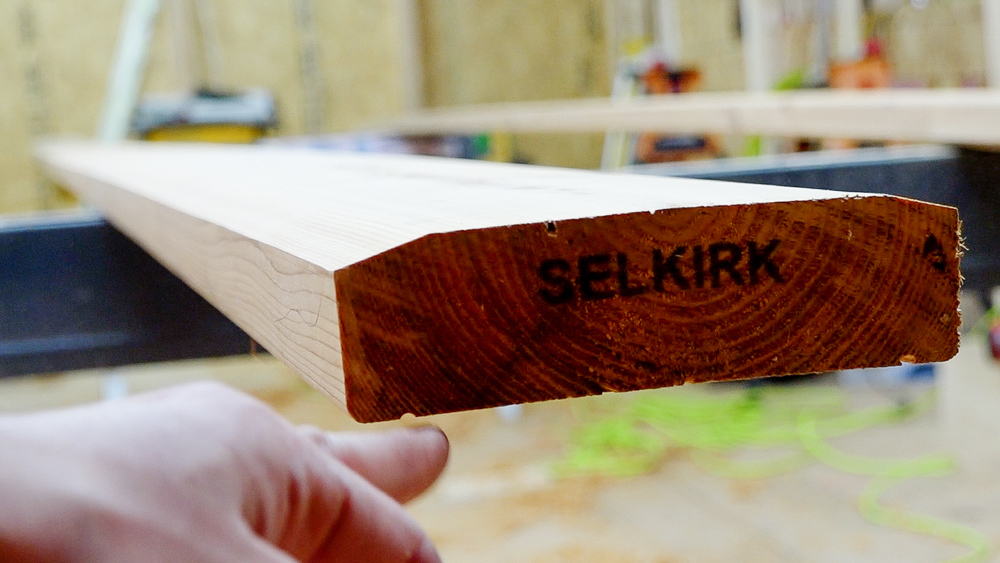
So there is our little drip stopper. This little divot will interrupt water as it’s falling and cause it to bead and fall off instead of continuing down underneath our window. Now with our stock all run, we can rip apart into the various strips.
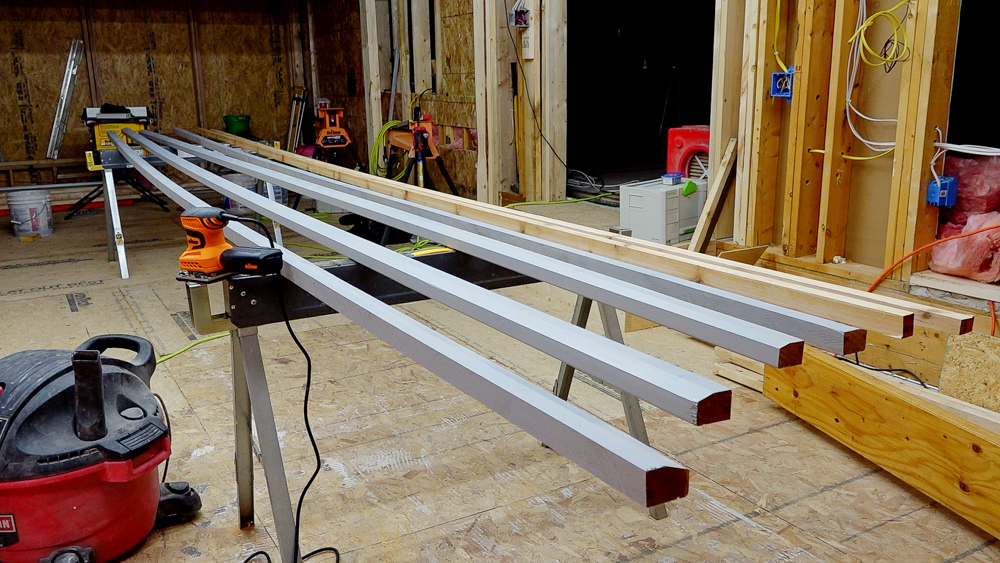
Here they are with a coat of gray primer on so that they blend in a little better against the house until they finally get painted. I don’t really know how long it will be until we actually get around to painting all the trim and siding on the house.
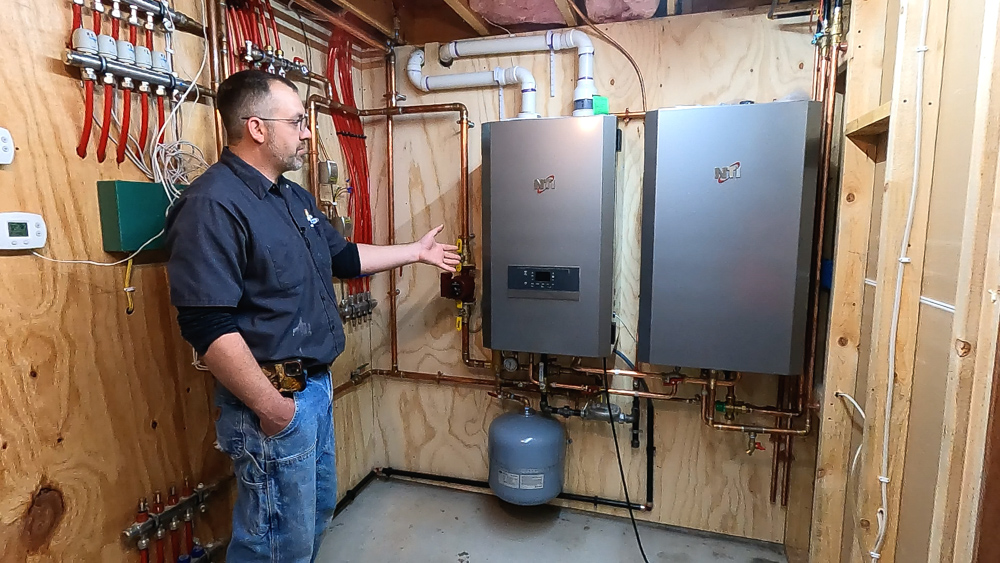
Now Mike is back, and he has been busy! He’s going to walk us through what he has been up to. First we are going to talk about these two boxes, which look similar, but aren’t the same. Before, we had a condensing boiler that was 100,000 BTU, and then a standard atmosphere 40 gallon water heater. Now we went up to a 150,000 BTU condensing boiler, which also allowed us to put in an indirect water heater, which will handle the equivalent of an 80 gallon water heater. And now, all of the mechanicals are in one spot, and this will take up a lot less space.
Mike recommended going with the indirect water heater versus a power vent or a more traditional tankless type because a condensing boiler is a 95% efficient burner to heat your hot water, and then the boiler gets used year round. One of the big problems with condensing boilers is they get used in the winter and then they sit for the summer. While it’s sitting, the water that’s draining out of it from the condensation will calcify and build deposits on the inside.
This particular brand is what we call fire tube. This is a vertical exchanger instead of a horizontal exchanger, which have a tendency for the condensate and the flue gasses to drip to the bottom and drain out, meaning that it doesn’t really sit on anything. That in turn means that they aren’t as difficult to clean. But of course, you should maintain your boilers and have them cleaned at least once every two years.
Mike spent a lot of time taking the boiler piping that was on the old boiler and moving it over to this boiler, as well as reworking the piping that was already in here.
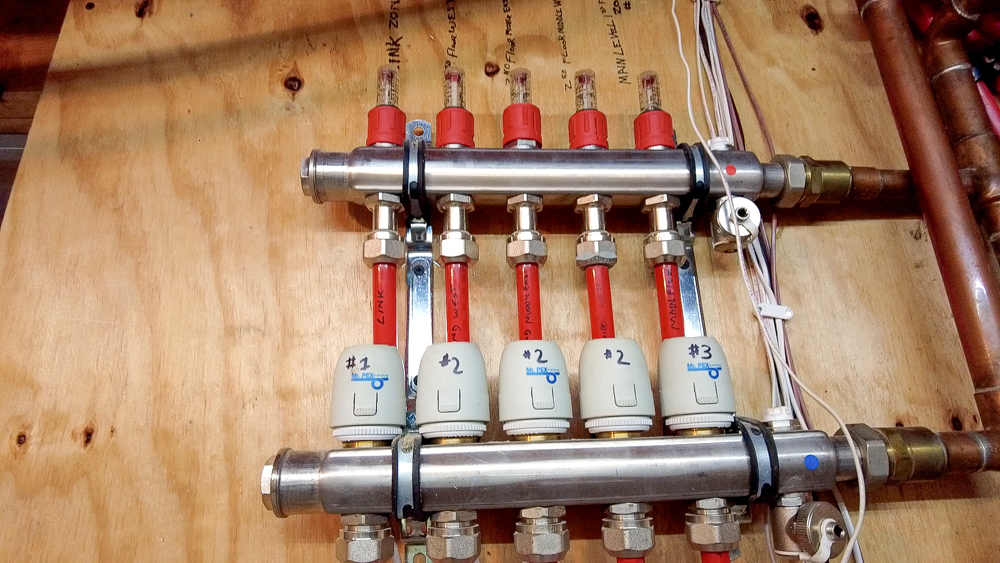
A couple of these manifolds have individual zone valves or actuators, which each control a different area. Then the ones that don’t need individual actuators, we did zone valves on, and ended up with zone valves for three zones. So it was just a matter of getting everything moved over and aligning everything to make it zoned correctly.

Mike also put in a bigger circulation pump because we added four more loops to it. The bigger pump ensures that all the gauges are flowing and all the pipe tubes are getting the correct amount of flow.

And this boiler already has a pump inside of it. With this model, you can buy a template, which allows you to space out these pipes. Then they have a piping kit that they sell with it, so if you line this all up, it does all the near boiler piping for you.

Next time we have something a little more exciting planned. Our windows have been delivered, but we can’t do the back ones until we have the roof done, but… these three windows at the front can go in! That’ll be next time.
Thank you as always for joining us, we greatly appreciate it. If you have any questions for us, please feel free to leave us a comment. As always, we are happy to answer any question you might have. And, until next time, happy woodworking.
Welcome to my shop! This is a quick update to let you know what I’ve been up to. This big chunky thing is the leg

Welcome back to the home renovation. This time I’m going to be working on the kitchen island. Here is a small model of the island.

Welcome back to our home renovation. Today I am going to be working on this wall. It needs some upper cabinets and the surround for