
Matt's Weekly Shop Update
Kitchen Island, Barn Power – March 2024 Update
Welcome to my shop! This is a quick update to let you know what I’ve been up to. This big chunky thing is the leg
Welcome back to our home renovation remodel project.
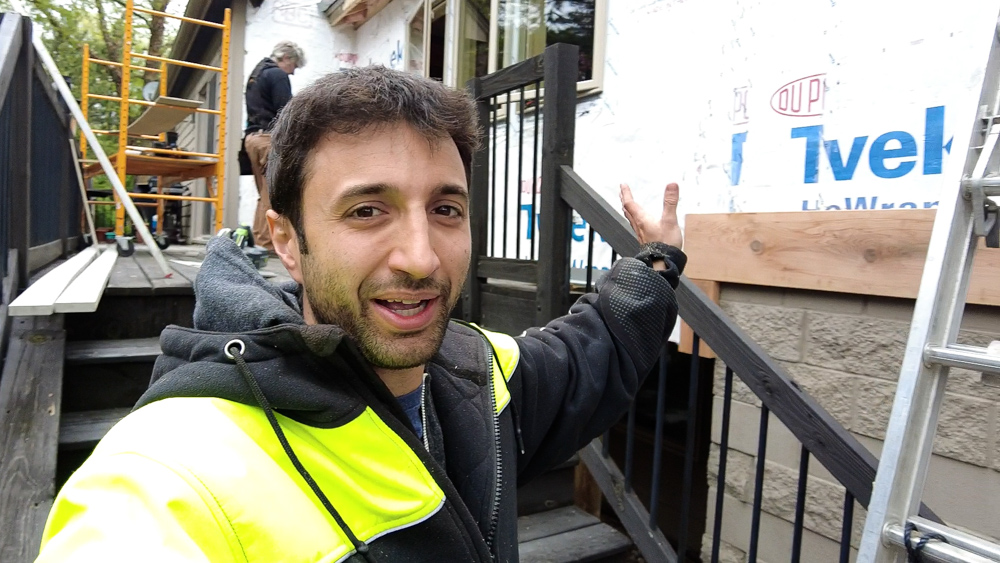
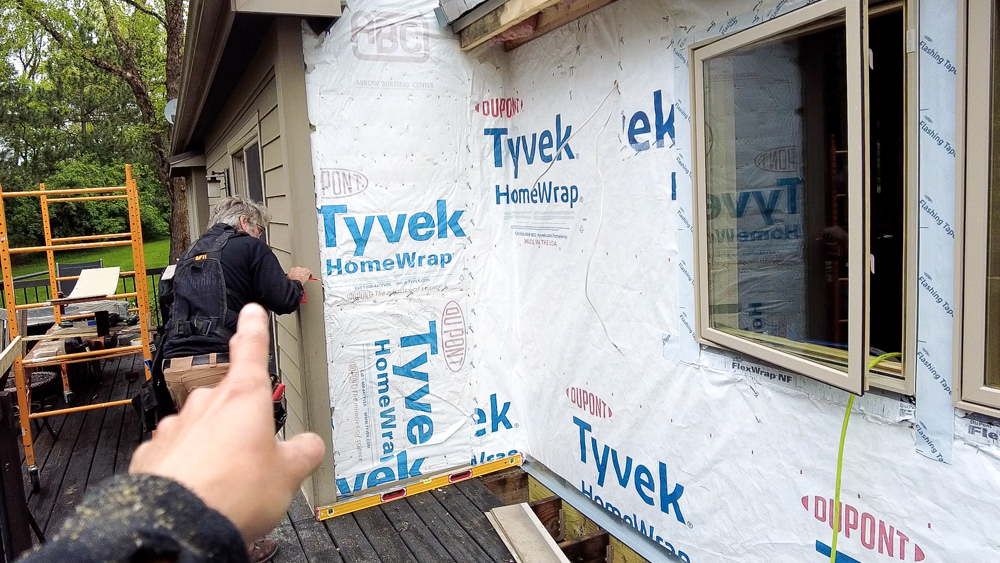
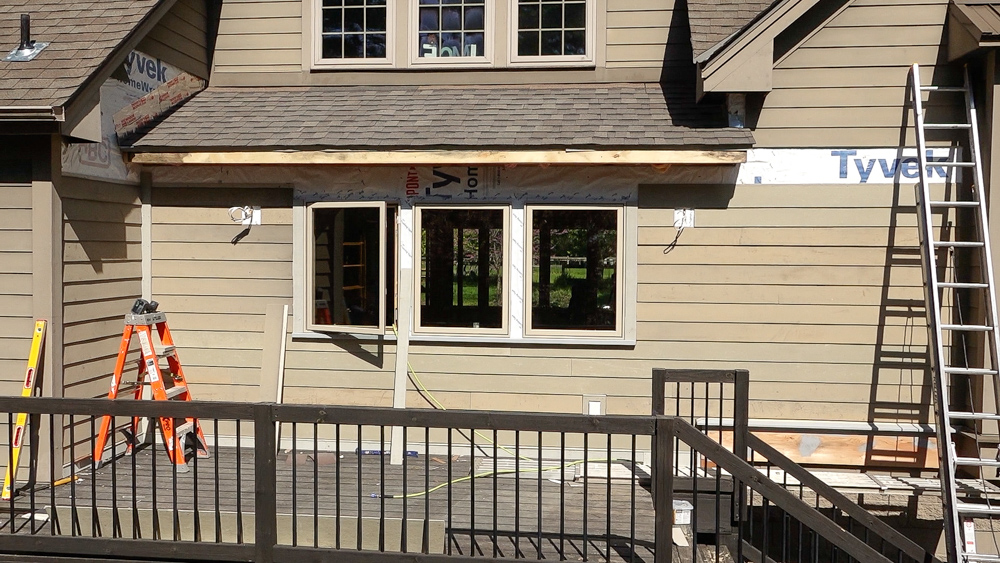
We are working on the front of the house today, and we are going to finally get this all wrapped back in. Before this addition, the house was set about four feet back. A lot of the process of addition work is making it look like it was not an addition at all and blending it all together. That’s where the real skill comes in.
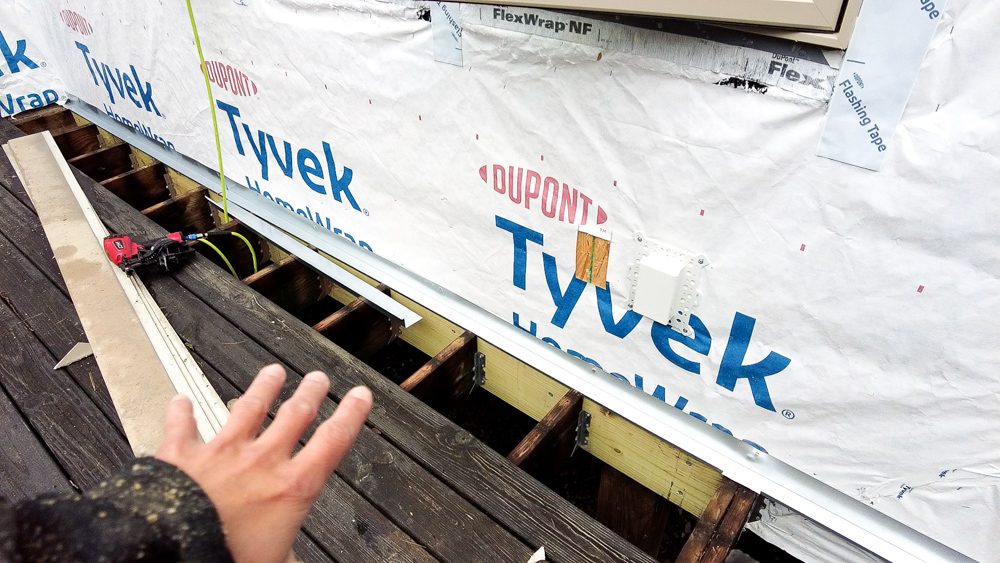
So down here, we have our deck, which used to extend four feet back and is now tied into our new structure. We have a water board table that wraps the whole house, and as we got into it, we found out that when it was installed, someone thought it was a good idea to make this out of regular construction lumber.
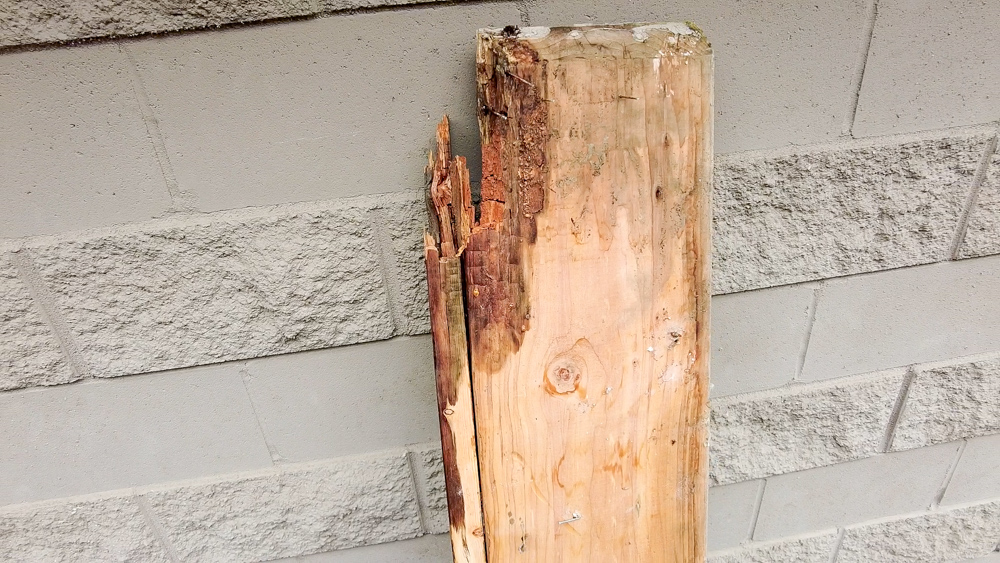
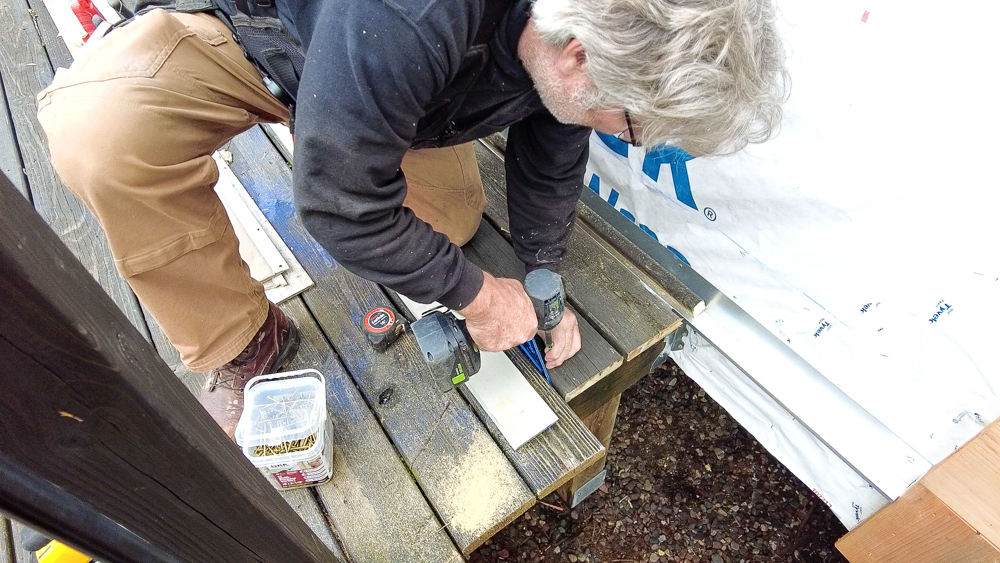
So that’s what this is. This is a regular construction-grade 2×12 with a 2×4 sitting on top of it. You can see it doesn’t really weather particularly well.
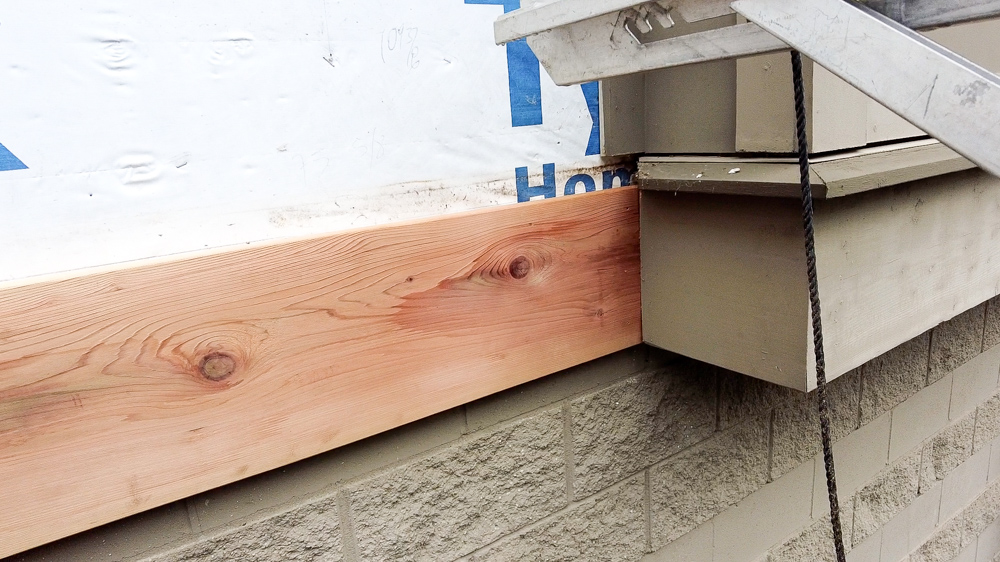
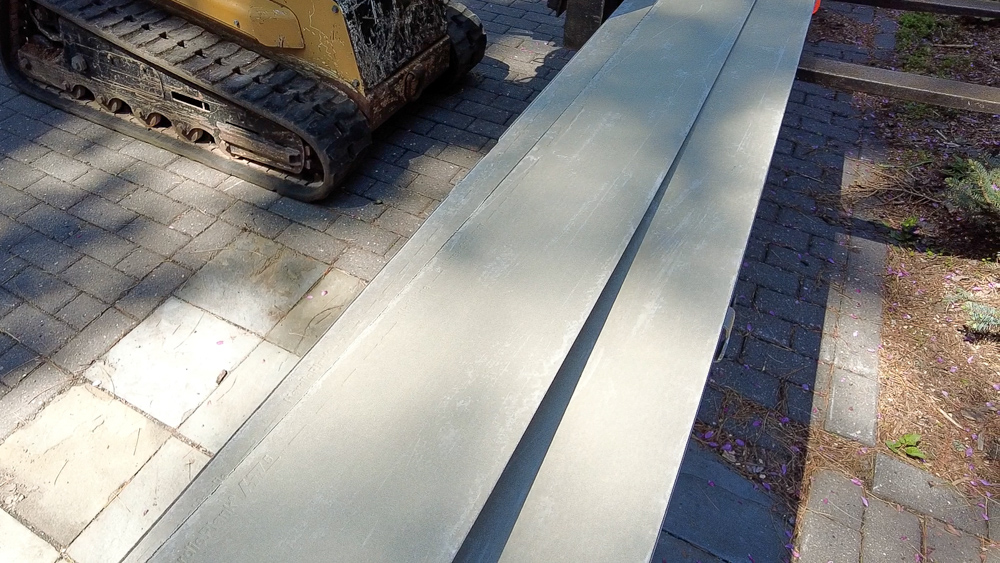
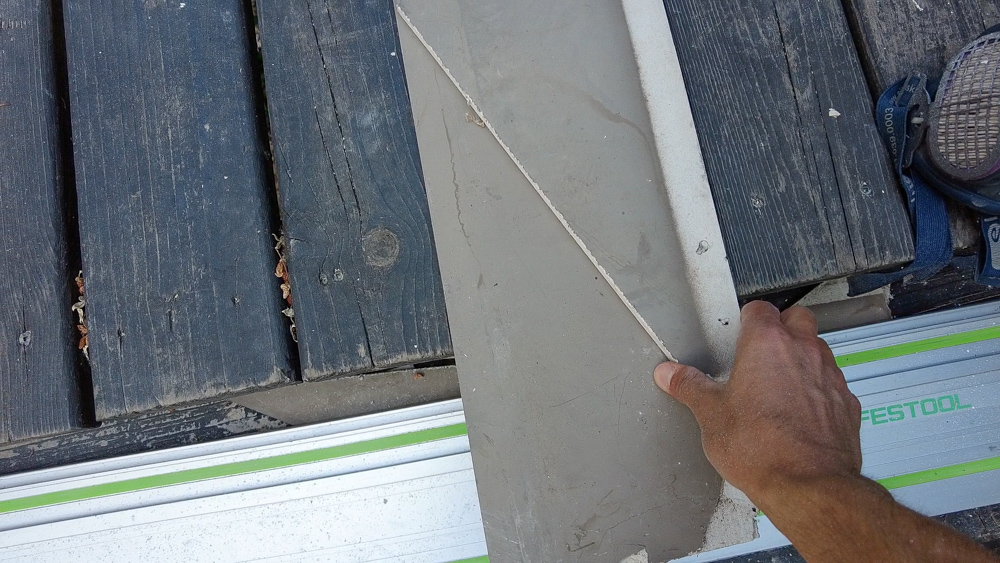
A lot of this that’s on the house looks like it’s kind of okay, but there’s some problem spots here and there. So we’re going to a cedar 2×12, with another piece of cedar on top as a new drip cap. I made the new drip cap already this morning, which is one of the benefits of having a full shop here. We can fabricate exact replica pieces of anything on the house.
We also have window frames to make to go around the new windows, and we have some trim boards that need to go in. Then we have to come back around the corner and tie into this part of the house, which was built in the sixties.
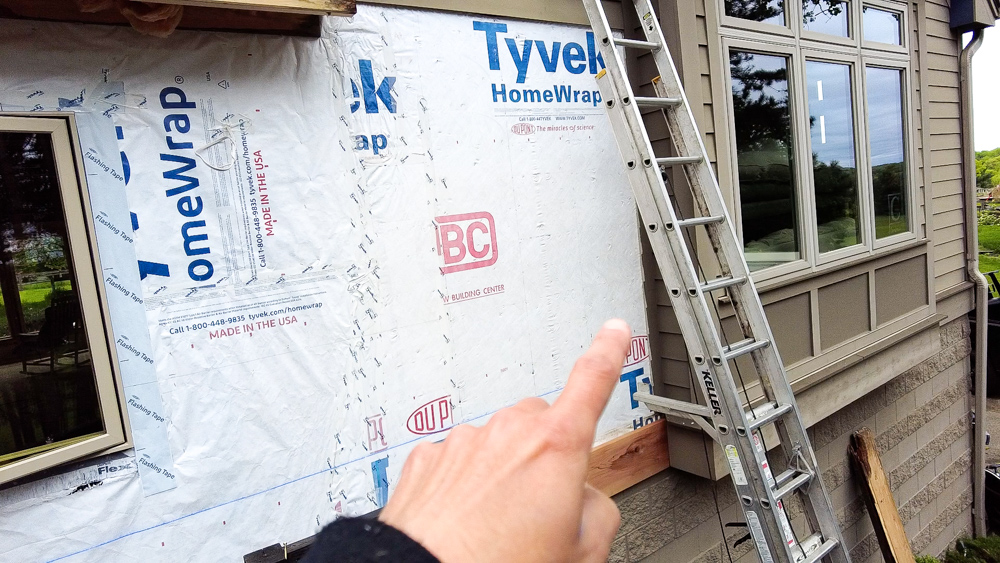
We are having a few head scratching moments. As we’re trying to lay out the siding, things aren’t really matching up. If we take a level line and connect the courses on the wall from the 1960s house over here to this wall on the 2008 addition, it ends up almost an inch and three quarter high on this wall. Somehow when they laid out this addition, they hid that elevation change somewhere. After further research, we found out that the whole 1960s section is actually too high relative to what’s going on around the corner.
Here is how we’re going to proceed: since this is going to be replaced with the front door in the future and the trimming detail is going to get changed anyway, we’re just going to strip all this back in the future and essentially raise it up higher. So for now this is going to look dumb.
So we will be setting our courses level with the 2007 addition, and it will be level all across our new addition. Then when it comes to the original house, there’s going to be a step. And that’ll be like that until we get the original house renovated in the future.
So after figuring that out, now we’re ready to do something. We’re going to start putting the deck back in place using the boards we pulled off last fall when we cut the deck back.

We’ve shown this stuff before, but Donavan is installing Boral that’s made from fly ash. This stuff comes in all different sizes and thicknesses, widths, etc. This one has a wood grain face and a smooth-ish face, and we’re doing the smooth face.

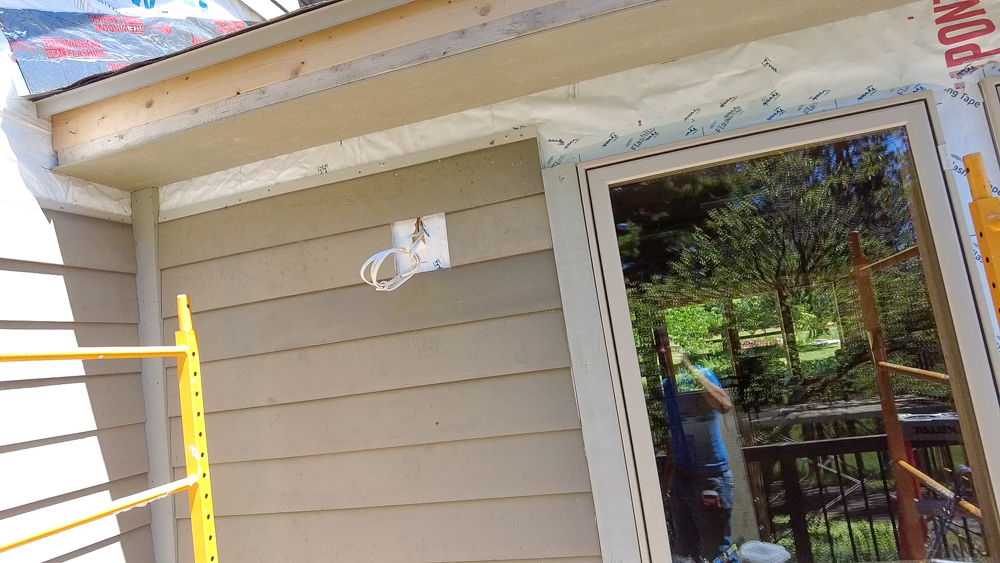
The next bit of prep work is to get the coach light blocks in the right place. We want to get the backer blocks in our course, so we’re going to make a quick adjustment to the height of the wires so that it comes out at the right place. While Donavan’s doing that, I’m going to make the blocks out of Boral in the shop.
Here is the siding we will be using. Hardiplank with the six inch exposure. We are planning to get it installed with as few vertical seams as possible, with no vertical seams above window height.

Down here, we have a starter strip which is going to kick out the bottom of that first course. Then every subsequent course gets kicked out by the top of the last course.
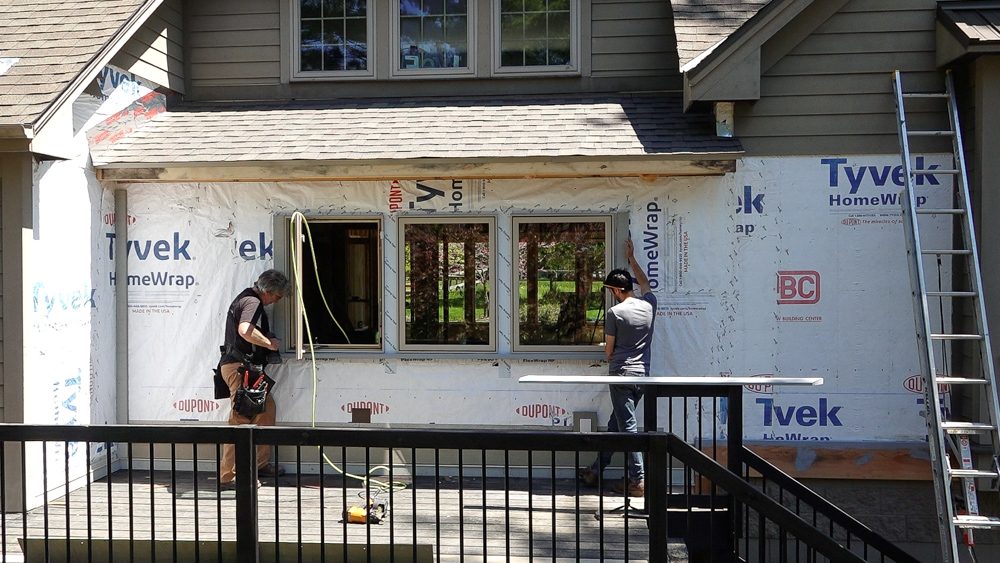
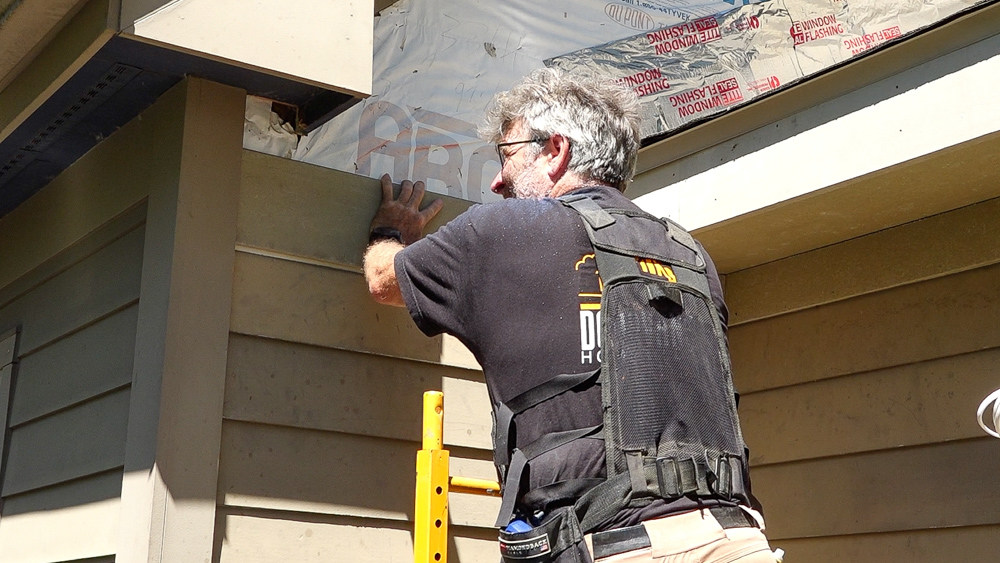
Next we’re knocking out the trim on the windows, getting that figured out as we go up with the siding.
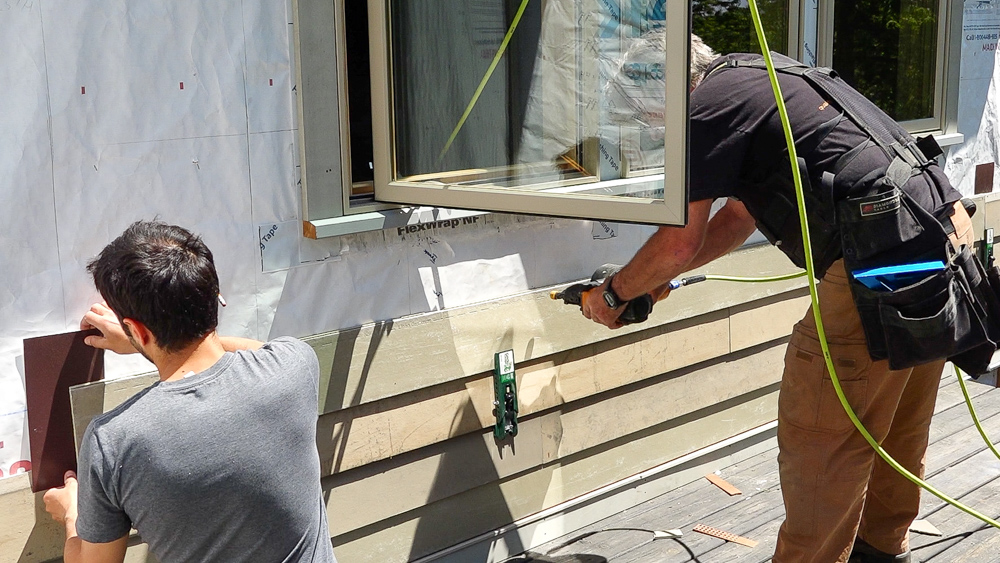
Now we can install the siding, course by course.
This is actually coming together, looking really good.
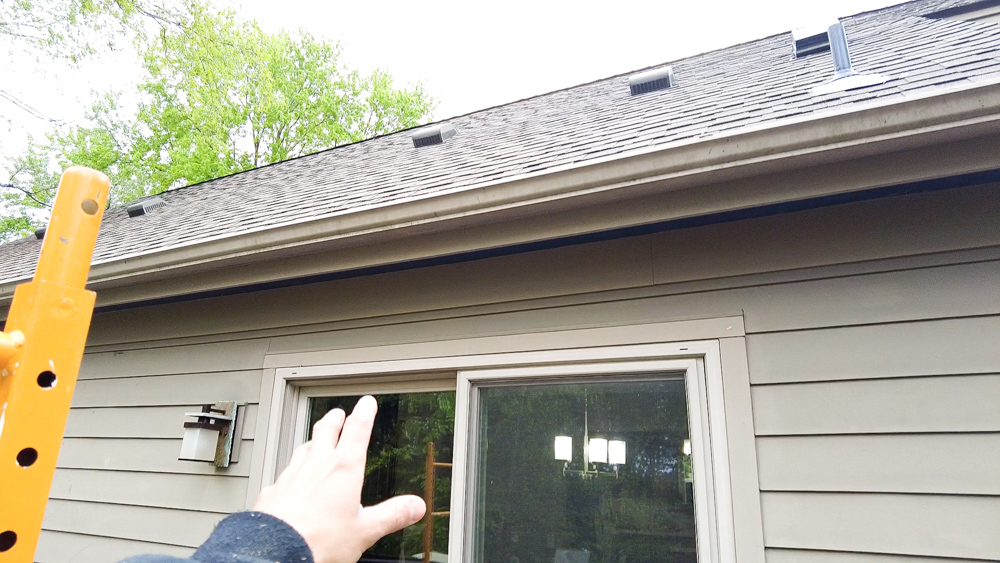
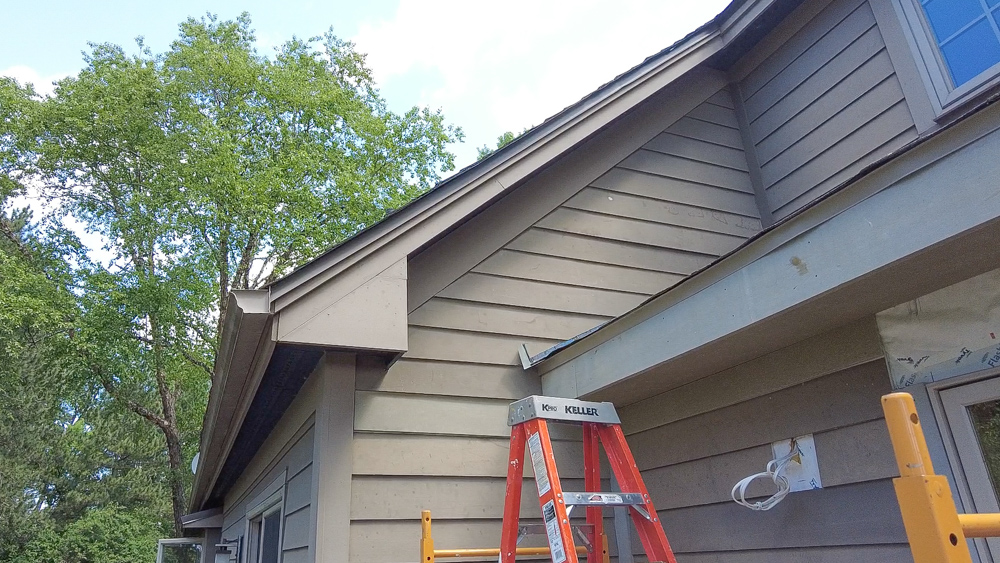
The siding is up to basically window level, now we can work on the fascia and soffit area and the head casing up here before continuing up both side walls. Our soffit is a piece of fiber cement board just like the siding. Then our fascia, a piece of Boral, will go on top of that.
Soffit and fascia are up, so now it’s back into siding.
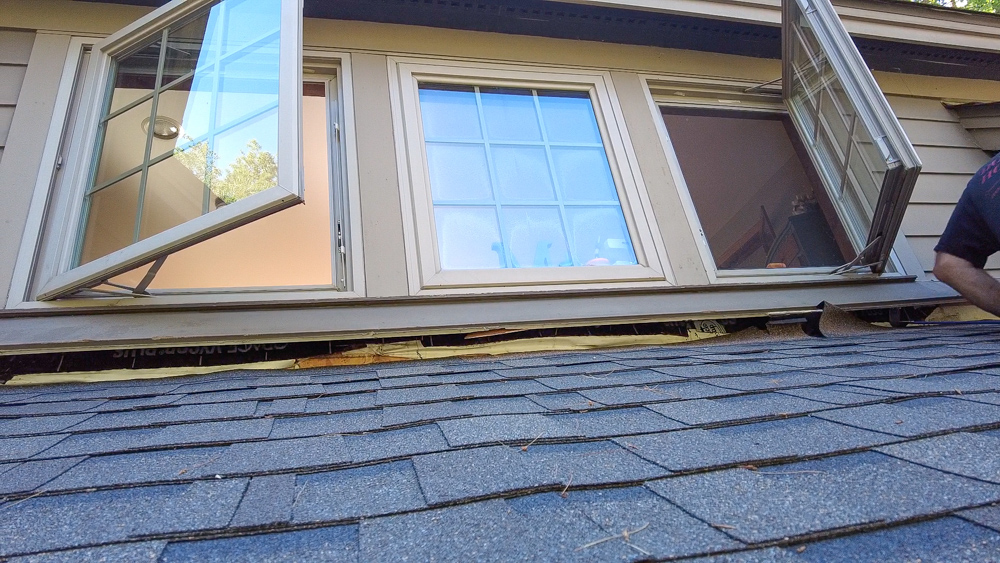
The next thing we’ll take care of fairly quickly is to finish up the roof installation, where our roof meets the old house. There needs to be a flashing there. But first, the band board has to come off in one piece. Then we can flash it properly, put the band board back on, and then add our last course of shingles.
Now we’re heading up the gable end, so all of the cuts are going to be angled on both ends and the angles are different. That should be fun. Yesterday we made the angle patterns for these, so I have my patterns that I can use to lay all my cuts.
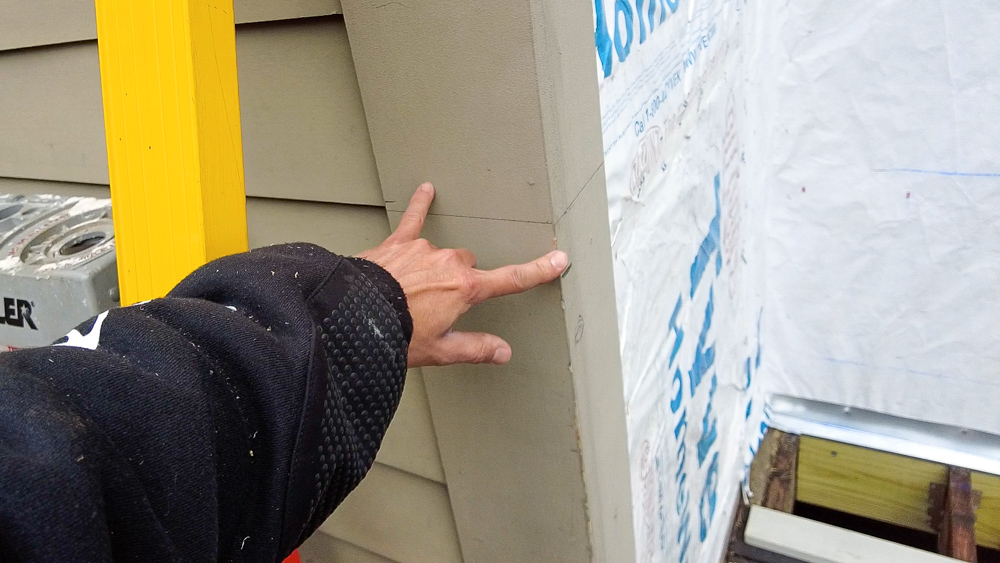
Okay, so that is the inside corner area done! What we just did, as much fun as that was, is temporary because it will come off when this wall goes straight up during the next renovation. But it will look good in the meantime.
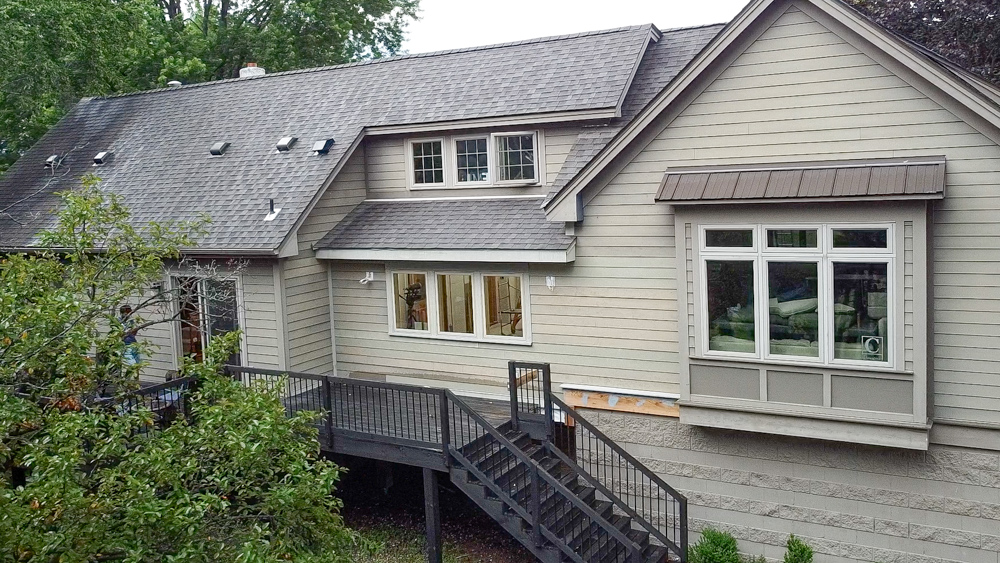
So with the window frame installed, that’s about it for out here, at least for now. A couple of small things that still have to happen out here: we have to install the coach lights later and we have to install a gutter with a downspout. But at this point, our addition has melted back into the original house. To me, it feels like the addition was always part of this house. It’s very weird to go back and look at pictures of the house before we added this addition. You probably wouldn’t know this used to be the main entrance to the house.
So that’s going to do for this one. Next time, we’re going to start on the exterior work on the back of the house, on the sunroom addition. We’ll be getting into a lot more trim details back there. Thank you, as always, for joining us. We greatly appreciate it. If you have any questions or comments about the home renovation project, please feel free to leave us a comment. As always, we’ll be happy to answer any questions you might have. And until next time, happy woodworking!
Welcome to my shop! This is a quick update to let you know what I’ve been up to. This big chunky thing is the leg

Welcome back to the home renovation. This time I’m going to be working on the kitchen island. Here is a small model of the island.

Welcome back to our home renovation. Today I am going to be working on this wall. It needs some upper cabinets and the surround for