
Matt's Weekly Shop Update
Kitchen Island, Barn Power – March 2024 Update
Welcome to my shop! This is a quick update to let you know what I’ve been up to. This big chunky thing is the leg
Welcome back to the renovation project!
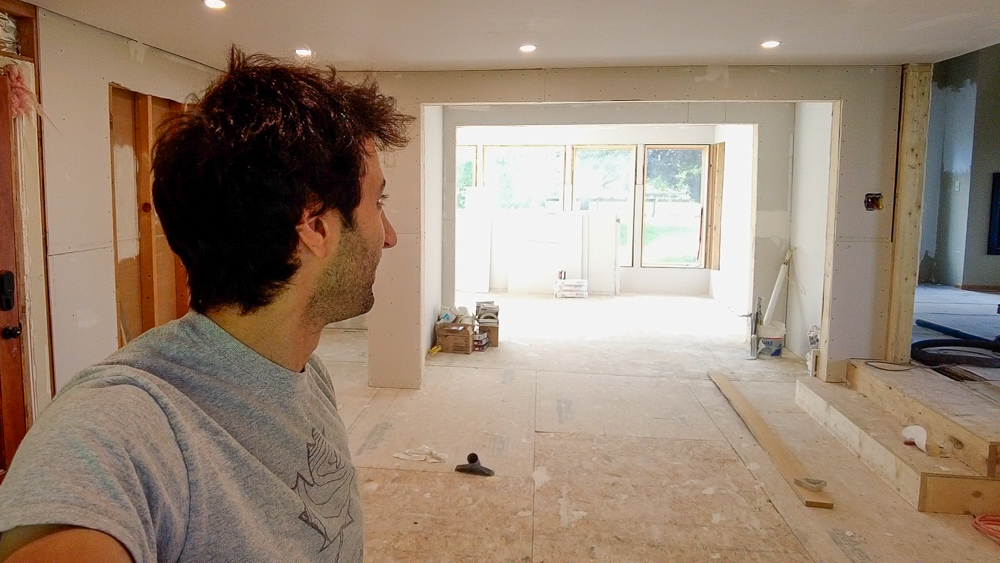
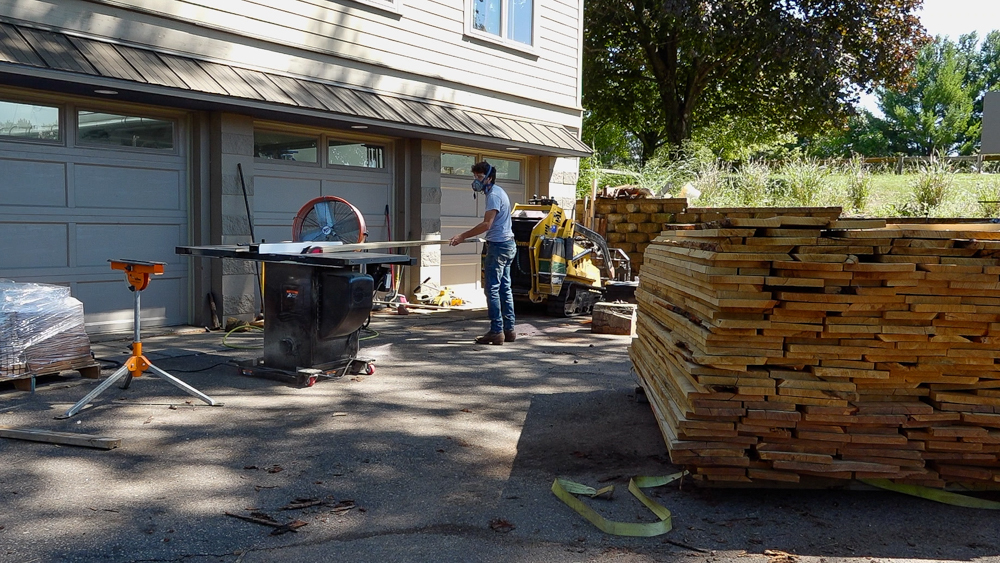
It’s just me today, and Donavan has left me this blank slate to start on the interior finishes.
Today we are getting started on the flooring. We decided on a white oak rift sawn floor. The floor is going to be the only thing in the whole space that has a wood grain finish, as everything else will be stone or painted. So the floor is going to be a big highlight of the space, and I’m trying to make a ridiculously awesome-looking floor. I have made flooring before, at our old house, and at that time I said I would never do a floor again. And yet, here we are! The room that I floored at the old house was 325 square feet, and this time I will be covering 650 square feet.
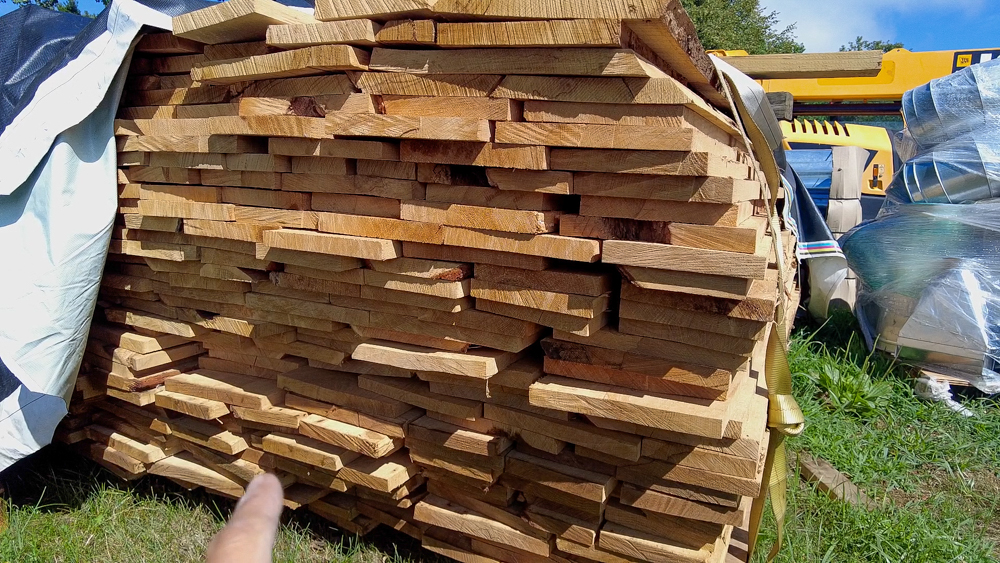
Here is the lumber I picked up to make this flooring out of. It is roughly 1,500 board feet. These are all flat sawn pieces, so today I will be ripping the strips I need and trying to get the grain orientation exactly where I want it. For final plank width, I’m aiming for somewhere between five and six inches. These boards also need a little bit of final drying as well.
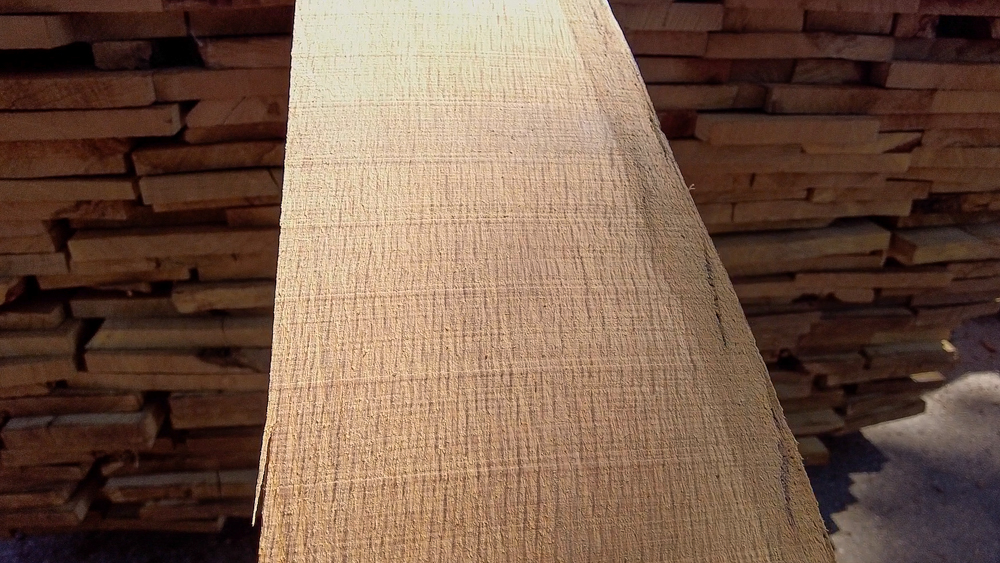
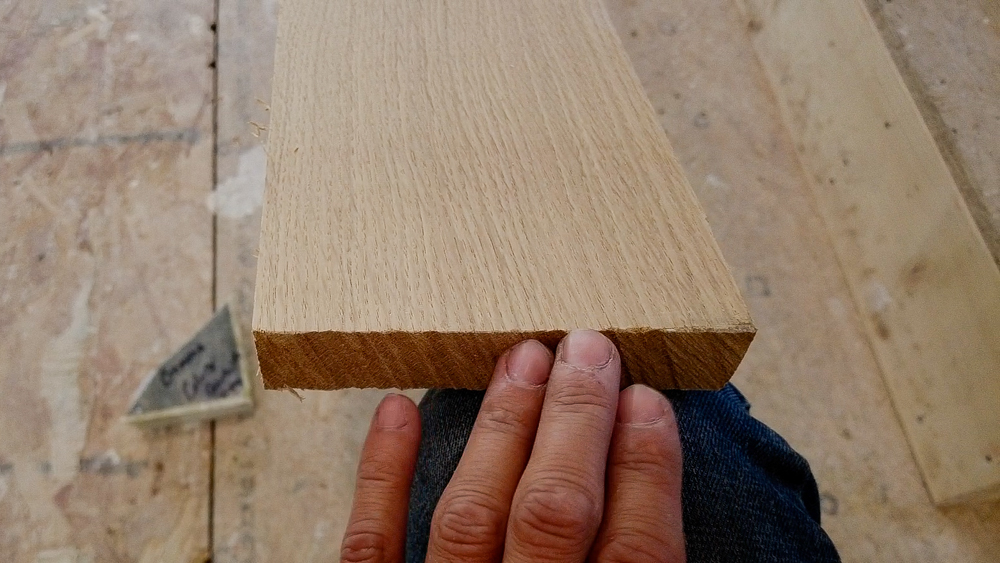
Here is a piece that is going to be rift sawn through the whole width of it. You can see that it has some pretty straight grain, some really nice-looking stuff.
So I’m going to get to ripping, and we’ll see how far I get through this pile.
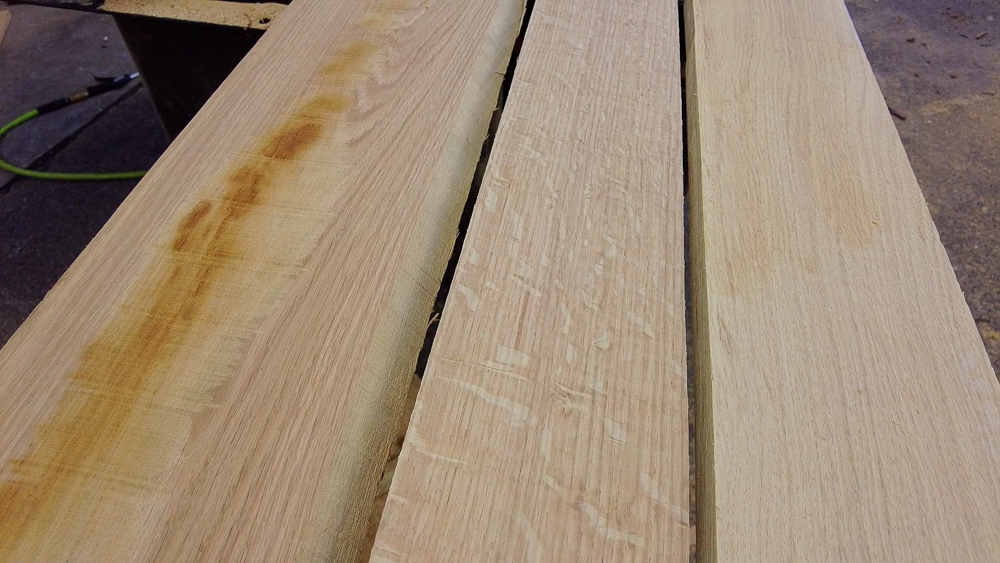
I thought I would show a few different examples with the different grain orientations to help better illustrate what I’m going for, for those that aren’t super familiar with different grain orientations. This one on the left is plain sawn or flat sawn, so it has some cathedral patterns instead of straight grain lines. This one in the middle is quarter sawn, so it has straight grain lines, and you can see the ray flecks, which are the medullary rays of the tree. The one on the right is rift sawn, which is fairly similar to quarter sawn as far as the grain lines go. They are straight all the way down, but they don’t have the ray fleck exposed on the surface.
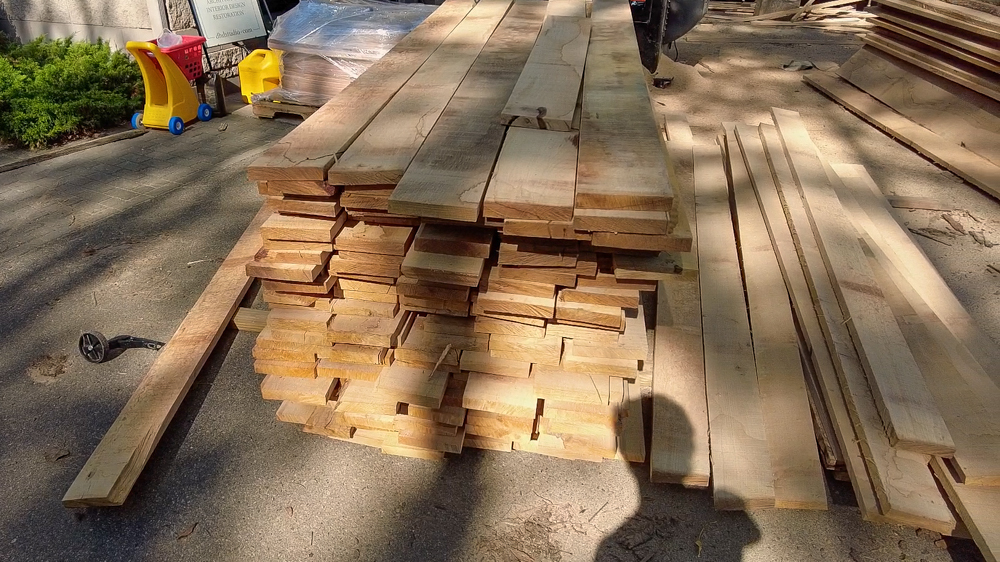
Progress report: here is the stack of six-inch boards, and that is pretty close to what I need.
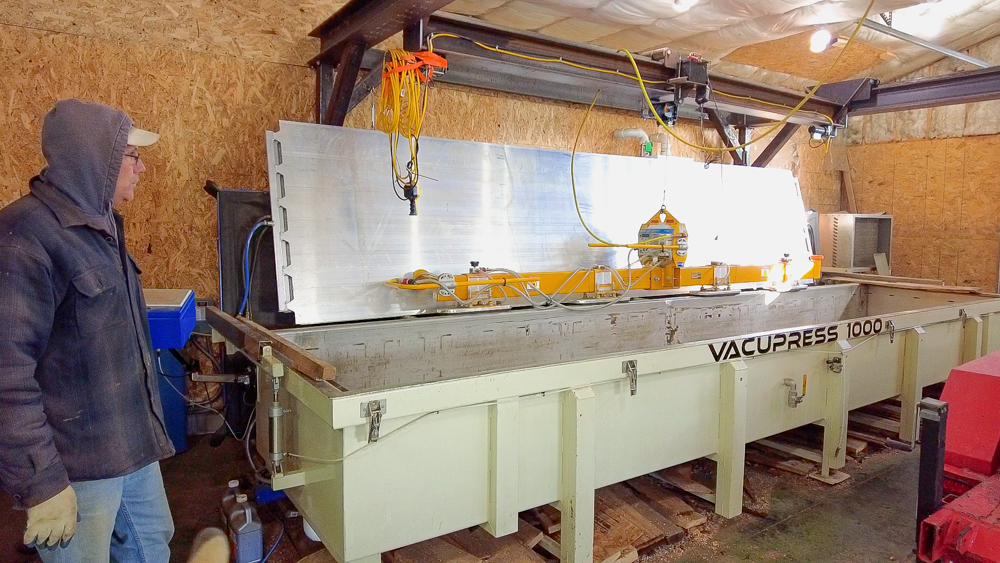
It’s been three months now, and in the meantime, I built a barn. Now that that is close to done, I can get back to the flooring. I am taking the white oak to my friend Eric’s to run it through his vacuum kiln for final drying. These don’t have much moisture in them, so it should only take a couple of days to get this down to 6-8% moisture content.
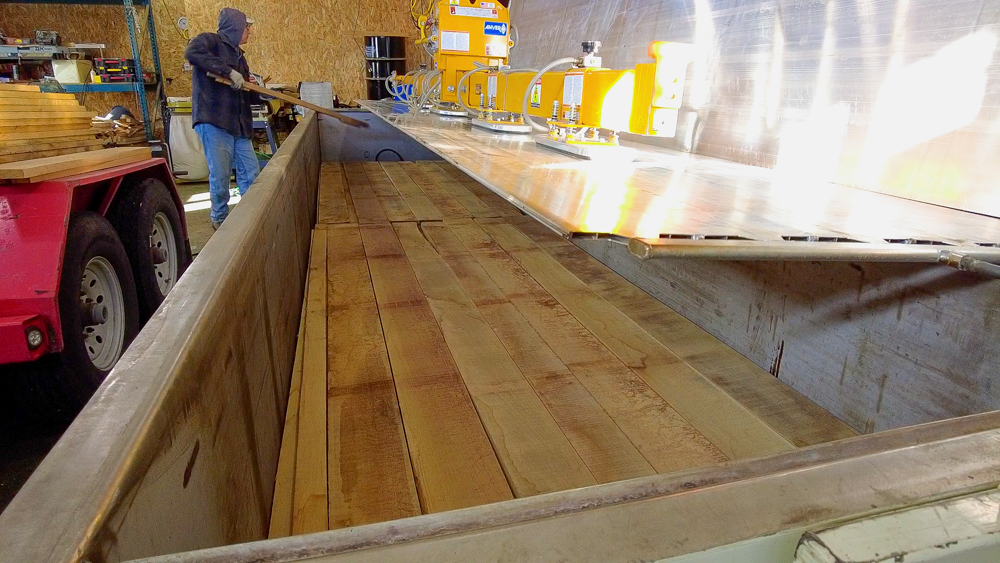
Quick summary on the kiln: We stack the wood into this box with some plates that go between the stacks. A vacuum is applied to the entire chamber which lowers the boiling point of water, allowing us to boil off all the moisture in the wood. And the plates allow us to heat the wood while it’s in there with no air.
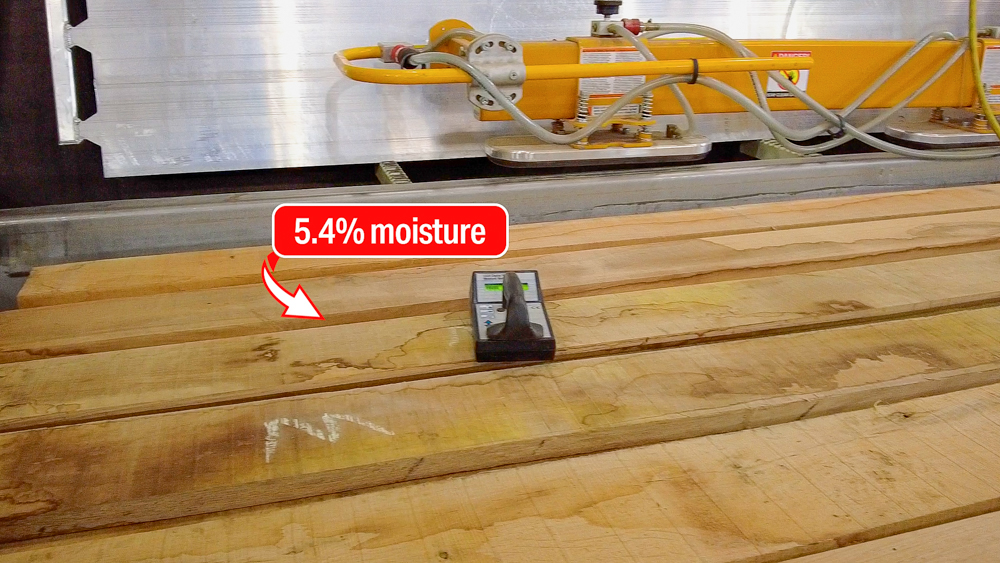
Back at the kiln a couple weeks later, and the boards are reading at 5.4% moisture, after running the kiln for four days.
![]()
So here is our stack of wood all dried and ready to be machined into flooring. I should have pretty close to enough for the flooring. I figured I’d quickly touch on some things that I learned from the last time I installed a floor. Last time I did flooring, I jointed to and planed all the boards into blanks, and then I ran them through the table saw to make the tongue and grooves. This time, I want to use an actual molding machine to make these, because that’s a little bit easier and faster, but more importantly, it should be more consistent. And consistency was the biggest issue that I had last time. It was rare for me to be able to install an entire piece of flooring without having to tweak something.
That is going to do it for this one. Thank you as always for joining. I greatly appreciate it. If you have any questions or comments on the flooring, please feel free to leave me a comment. As always, I’d be happy to answer any questions you might have, and until next time, happy woodworking!
Welcome to my shop! This is a quick update to let you know what I’ve been up to. This big chunky thing is the leg

Welcome back to the home renovation. This time I’m going to be working on the kitchen island. Here is a small model of the island.

Welcome back to our home renovation. Today I am going to be working on this wall. It needs some upper cabinets and the surround for