
Matt's Weekly Shop Update
Kitchen Island, Barn Power – March 2024 Update
Welcome to my shop! This is a quick update to let you know what I’ve been up to. This big chunky thing is the leg
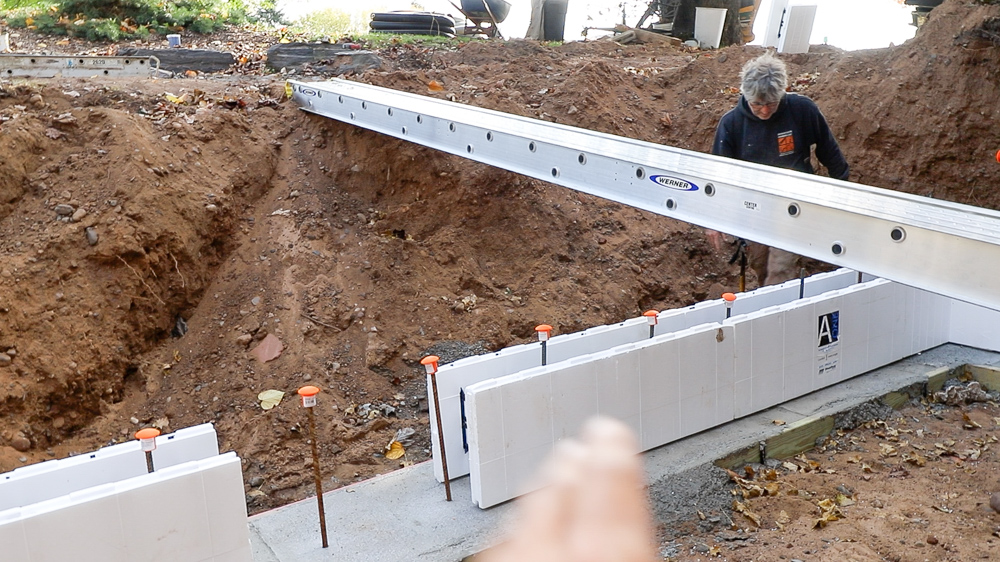
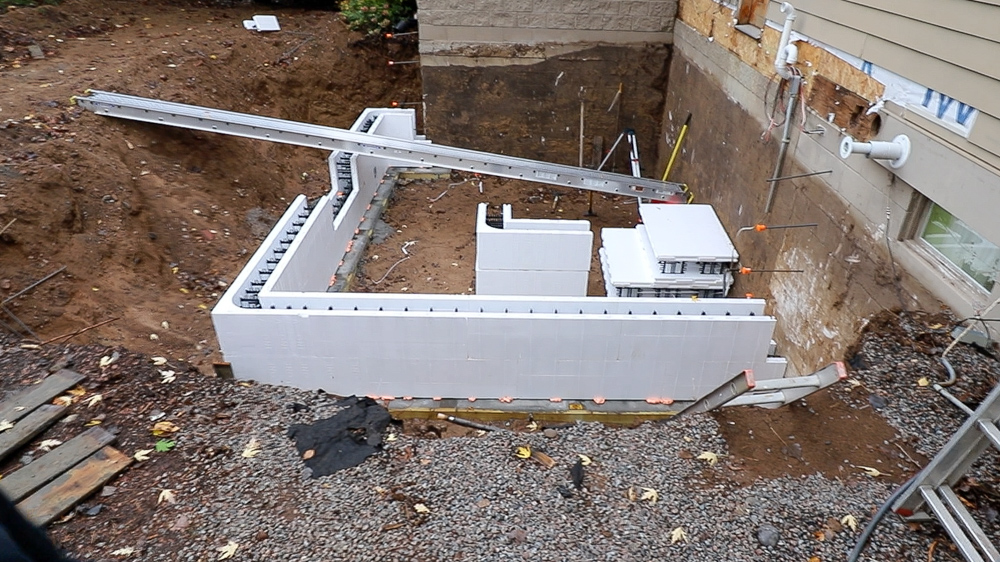
Welcome to my backyard, and welcome back to the home addition/remodel project! Last time, we worked on getting the footings in, and the concrete in these was poured yesterday. Today we are going to get started with the walls.
The concrete footings have had about 18 hours of drying, so we’re not going to put the form boards on those today. Today we’re going to get the top boards out of the way so that we can start doing our layout for the walls. We do have a deadline we are working under, because we have a concrete truck scheduled for Monday to pour the walls. Today is Wednesday, so we have about two and a half days to get the walls ready for the inspection and the pour on Monday.
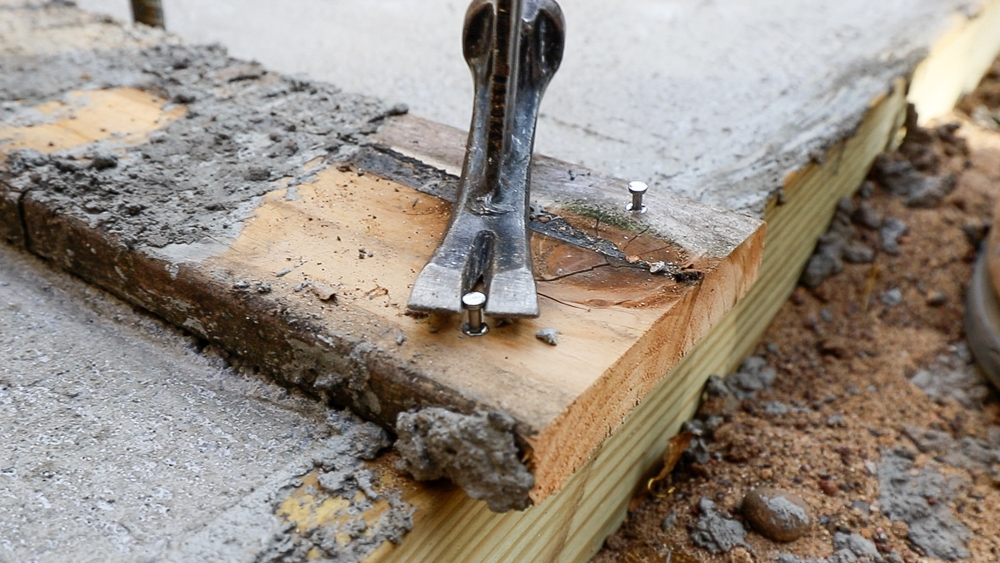
We’re going to start pulling up these boards here. If you haven’t seen these nails before, these are called duplex nails. They look like little thumbtacks, and they have a second head. They’re made to be pulled out, so they are very easy to remove and can be used again.

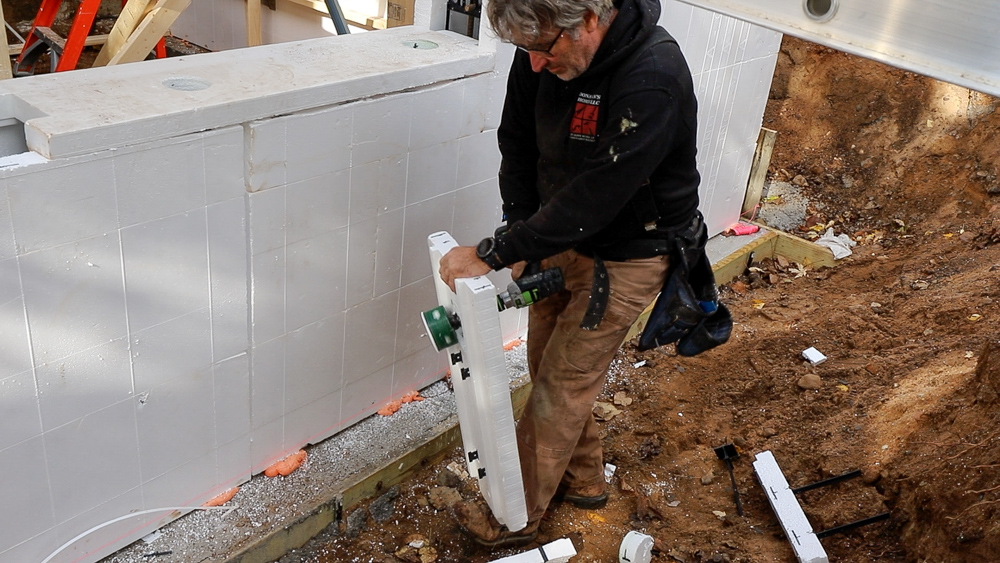
We’re getting our first course laid in, and I thought I’d tell you a bit about these things.
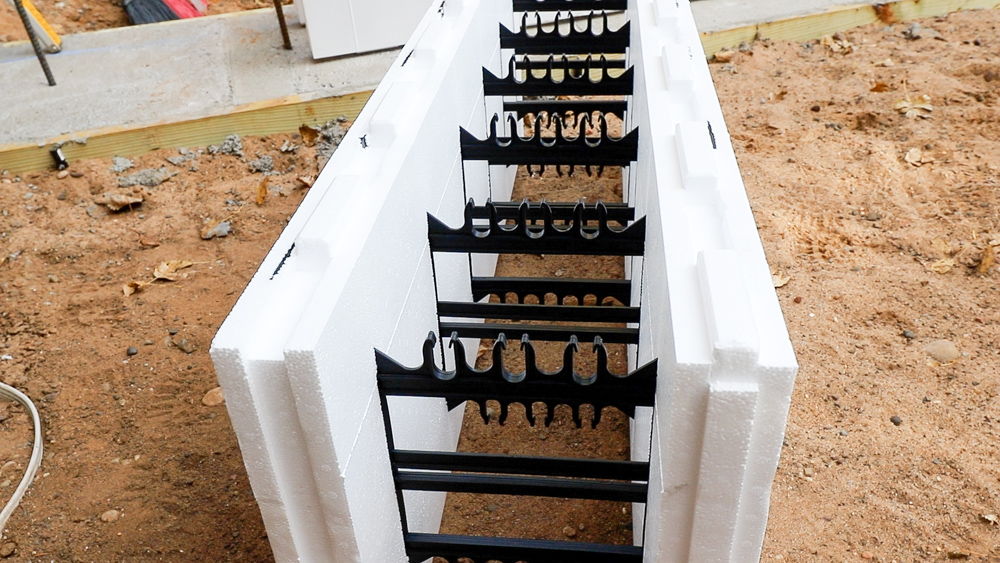
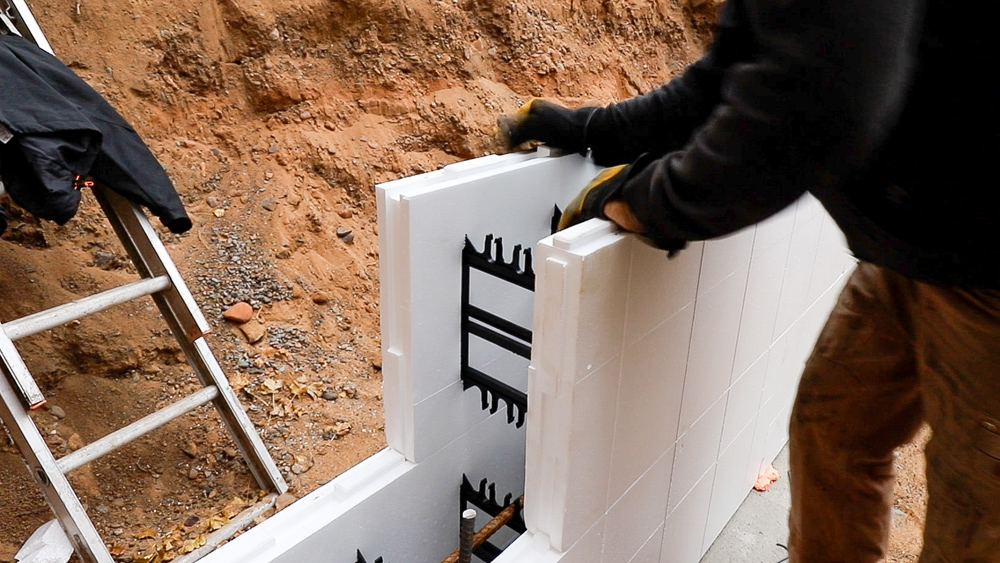
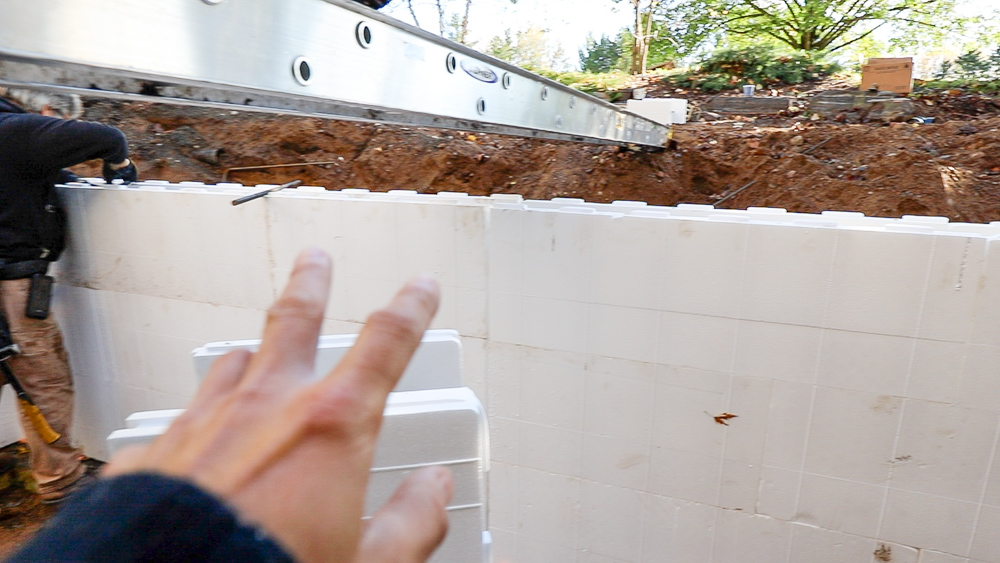
These are ICF’s, insulated concrete forms. They have a piece of styrofoam on either side and they’re connected by plastic ties. You get them all set together, and then you can fill them with concrete. Unlike a standard form pour, these stay in place after the pour, so you have insulation on both the inside and outside of your concrete wall. Another nice thing about these is that you can screw and attach things directly to them, so we will be able to hang the sheet rock directly to the styrofoam.
Like most block work, it’s all about the first course. Once you get the first course laid in nice and flat and straight, then they stack up real easily. The ICFs are all interlocking, sort of like a Lego system. They have tabs on the top and bottom and on the ends, so they can interlock as you build up.
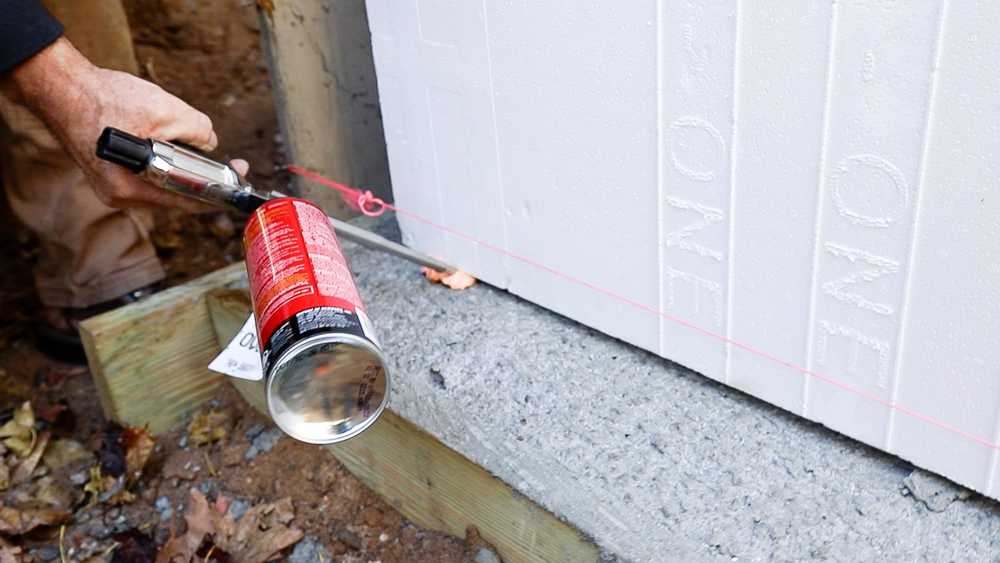
After the first course is done, we will glue them down with some spray foam, which will attach the form to the footh and prevent the concrete from coming out when it is poured.
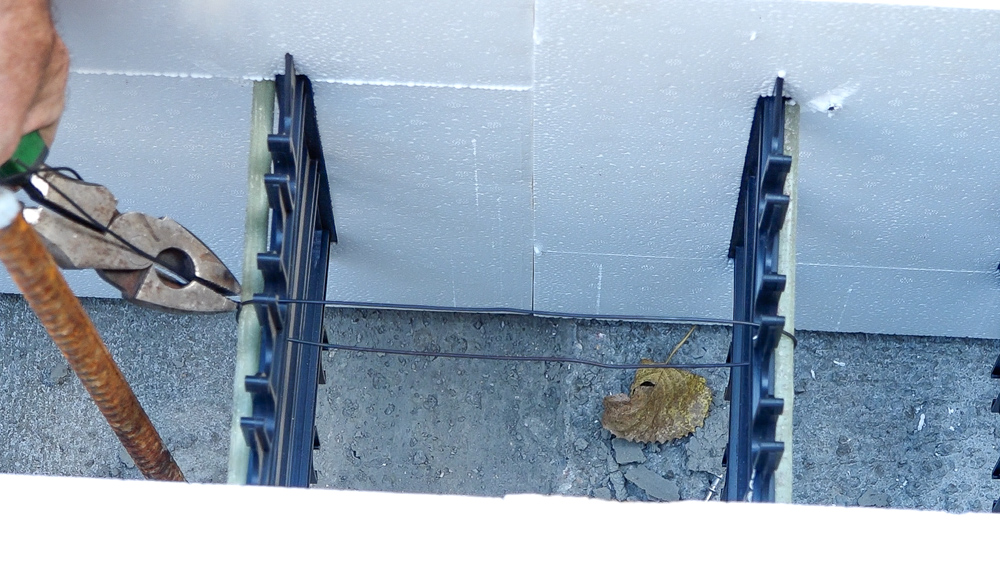
We’ll also tie the forms together so that they can’t be pulled apart when the concrete’s going in. Donavan is tying these two forms together with some wire, which will prevent the forms from spreading apart. We also used some stock clips to tie the form together at the corners.
We’ll have a window here as well, so there are some end cap pieces, which will form out that egress window area.
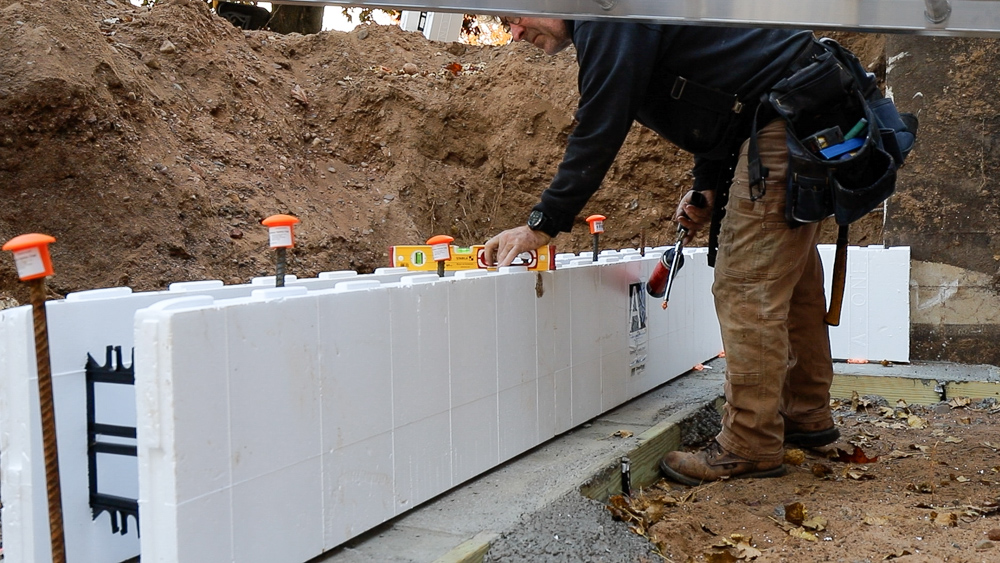
The biggest drawback of using ICFs is that you have to be pretty much dead on from the beginning. All of the prep work really pays dividends as you work with this. If you do a good job getting your footings nice and level and in the exact right place, then you don’t have to adjust a lot on the first course and everything will go smoother.

We’re currently lapping over the footing on the old house, and the fun part is getting the last one in and seeing if it will fit.
We’re essentially done with the first course, we just have to take care of this hole and put the rebar in. It’s only taken us an hour and a half to get this first course laid down, which is a testament to Donavan’s work with setting the footers.
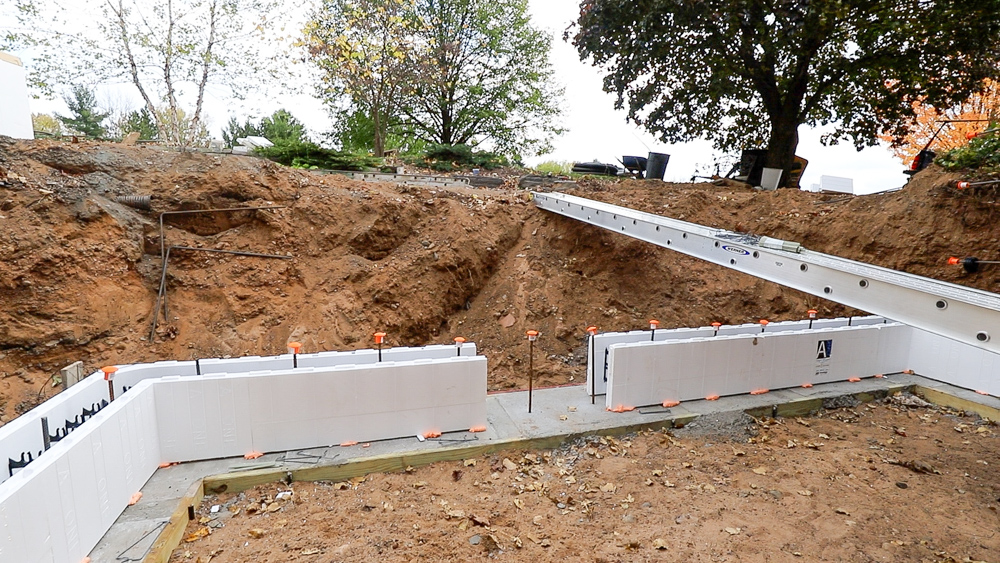
The first course is all set, and now it’s just a matter of stacking these.
Happy Thursday everyone! We had a rainy day yesterday, so this is how far we got after two hours down the hole. The first course is set, and the second one is roughed in. We have to cut a form to fit near that window, and then drop in the rebar.
We have three courses installed, and Donavan is dropping the rebar in for this course. This is the last of the full courses because as we’re moving up, this will be our window opening. This will be an opening for the next three courses.
I’ve been out getting supplies for about two hours, and when I came back, Donavan is a lot further along than when I left!
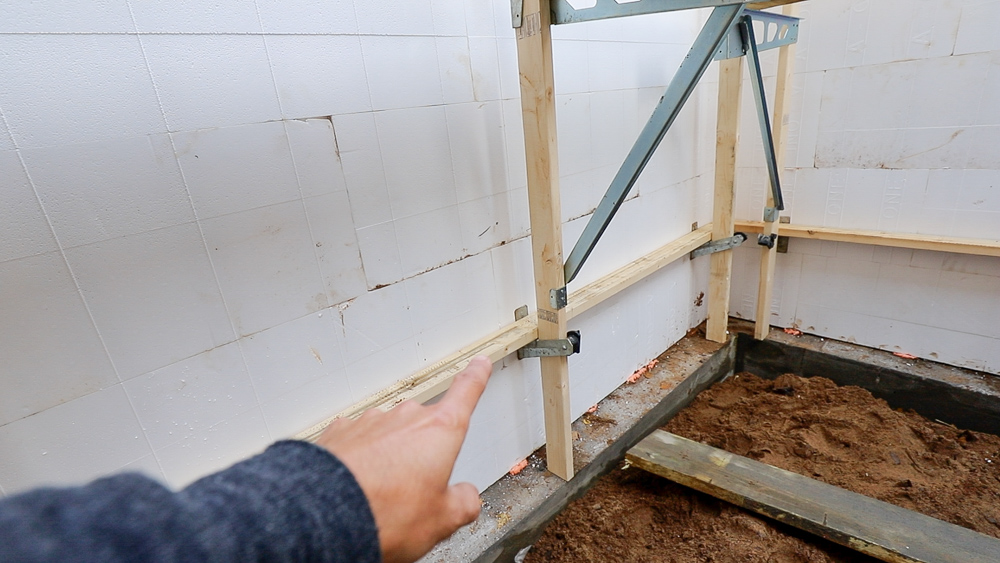
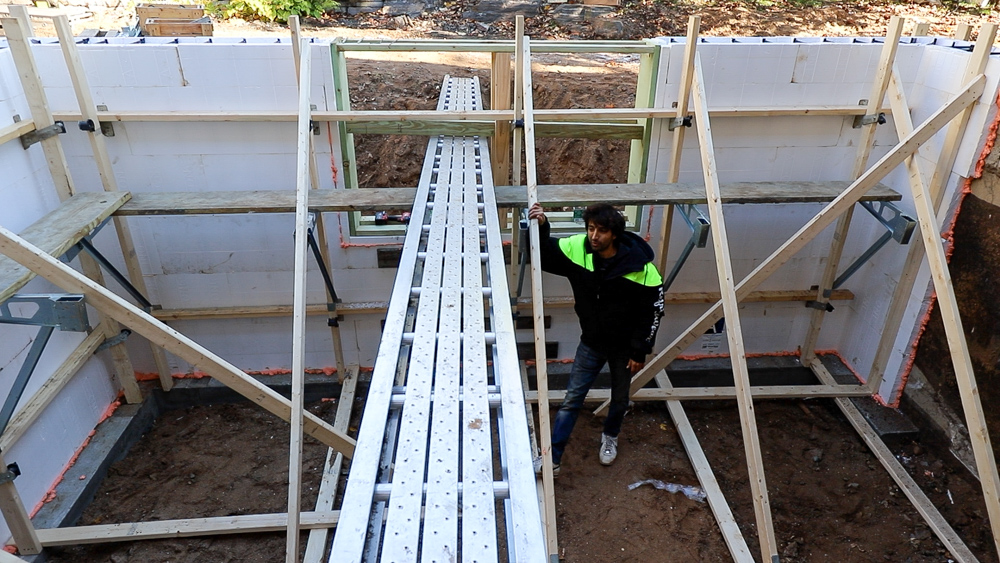
As part of the ICF package, we rented the scaffolding brackets and these little zonts and zats.
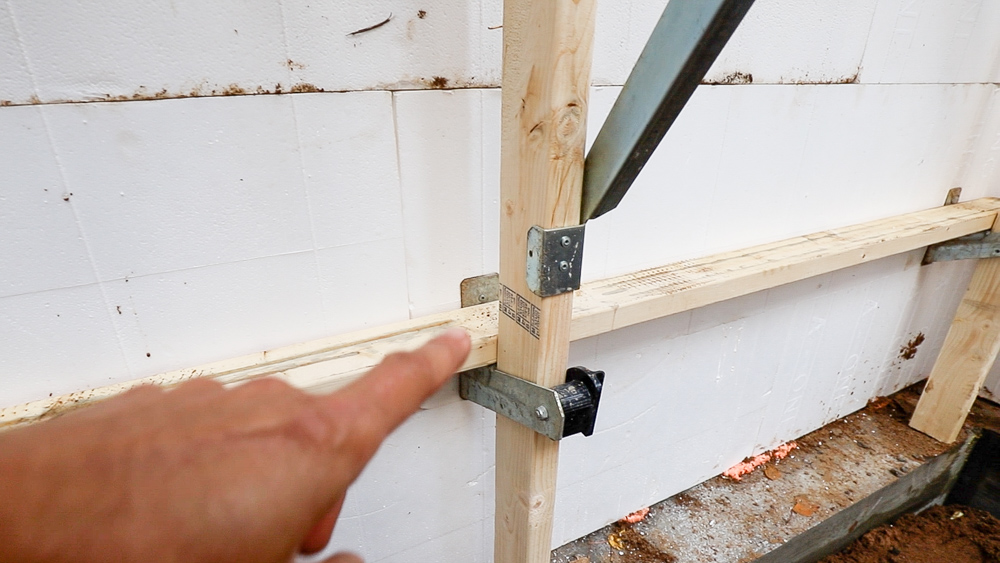
As you can see, we can screw directly to the ICF. So, we have these zonts and zats, which hold the vertical piece and this piece of bracing, which allows us to tie in a bracket. So now we have a scaffold to walk on.
The reason I was gone for a couple hours was to get the bracing, which prevents the wall from bowing in or out. The ICFs are pretty stable before you brace it, but there is going to be a lot of concrete in there.

Donavan also found the drain tile, which had some concrete get in so we’ll have to bust it up to get it out of there.
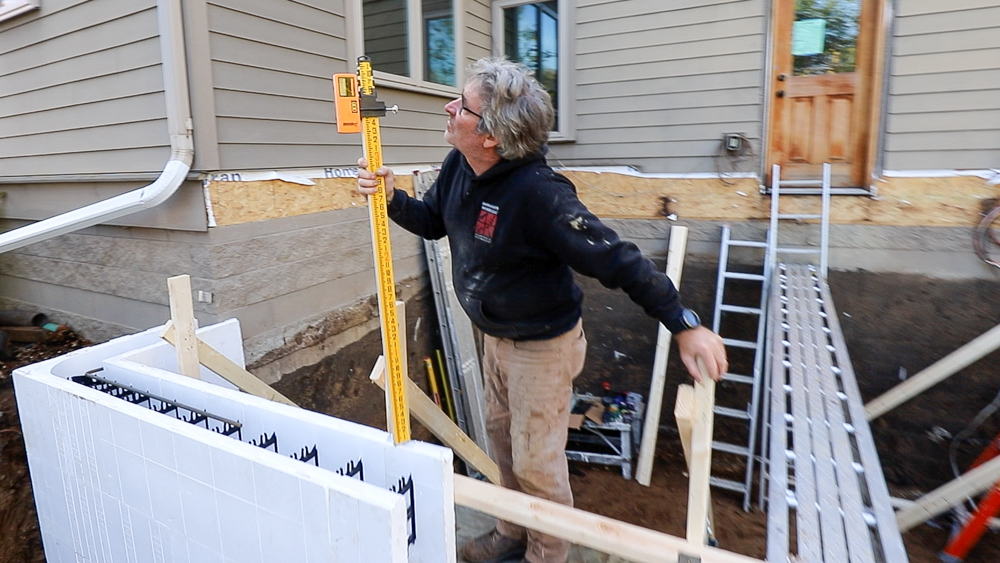
We have all our bracing set, so we’re doing another check.
For the last course of ICFs, we’re going to cut the forms a bit so that they will fit. The forms wouldn’t need to be cut down if we were doing an eight foot wall, but we are doing a 7′ 8″ wall.
It is now Friday. Here’s how far we got yesterday. Today we are finishing things up for the pour, which we had scheduled for Monday. There won’t be many big changes today, but there’s a lot of little things we are going to finish up. We’re going to finish up the top row, add all the rebar in there, and put the taper top on. To put on the taper top, we will scoop out some of the styrofoam at the top of the wall so that the concrete will get wider at that point.
Donavan is cutting access holes into the cover pieces, which gives us a place to run the vibrator and make sure we’re getting concrete underneath the window opening.
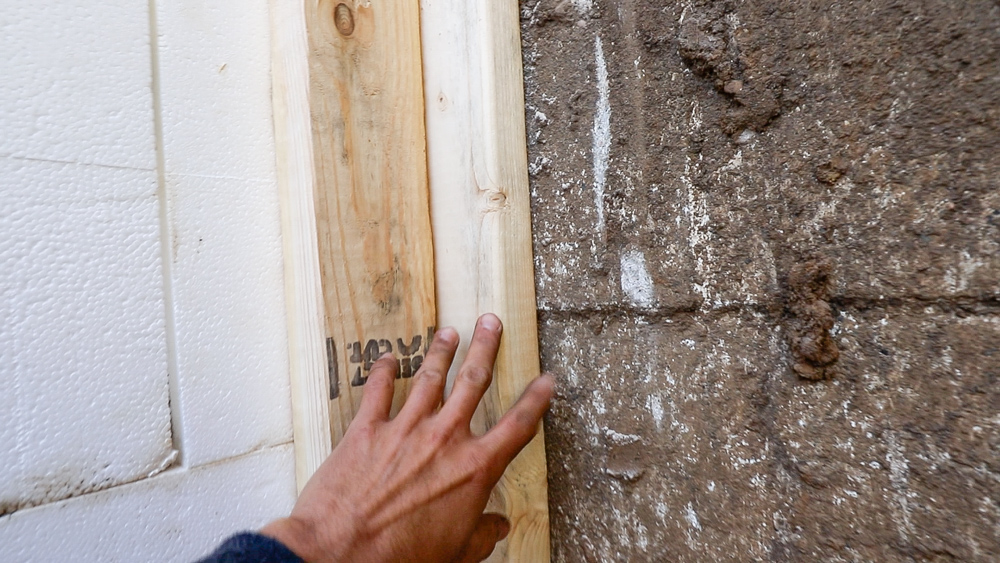
Here in this corner we foamed the seam between the wall and the ICF, and then put this two by four in here to support the wall. Right now, Donavan is putting these boards on and running some string line that allows us to adjust the wall. While he’s doing that, I am sealing the bottom of the wall.
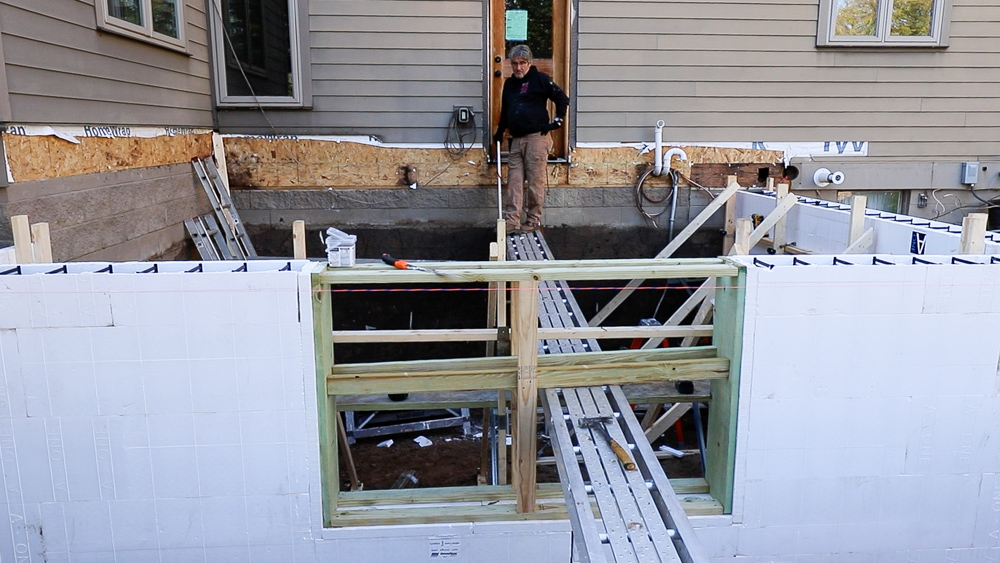
Donavan also installed a window brace, which will hold the concrete back.
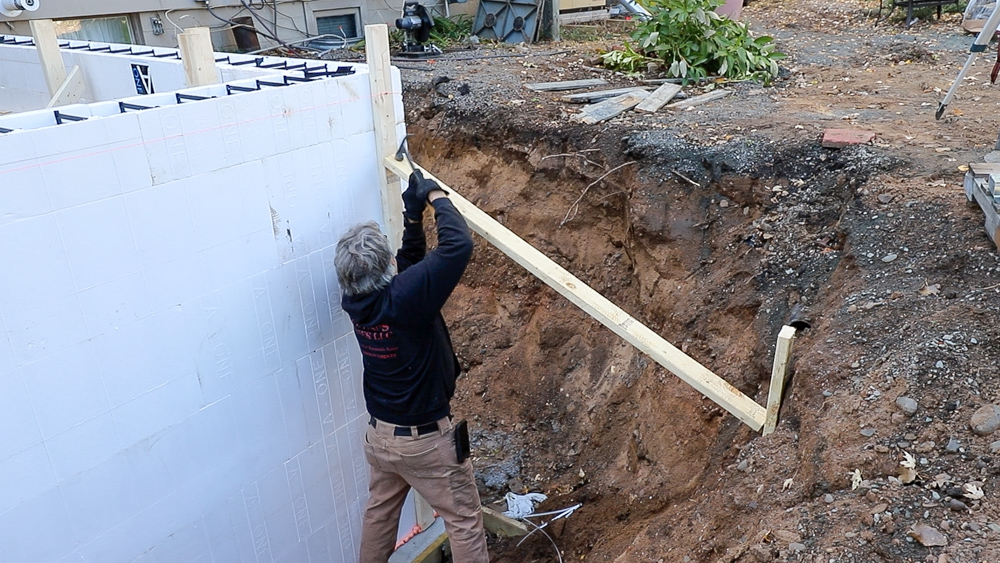
Now we’re doing the last bit of bracing on the outside.
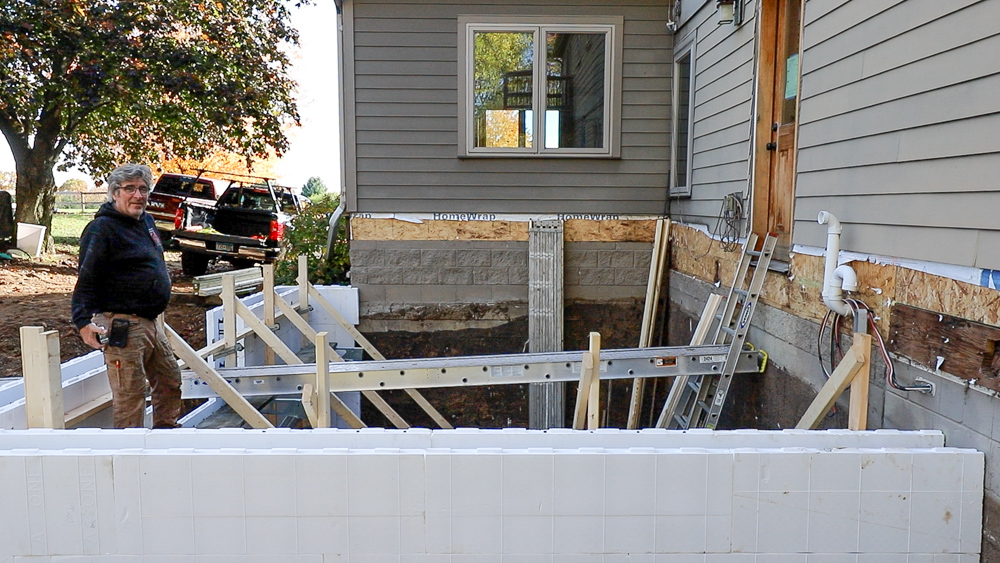
Happy Saturday everybody! It’s just me today, and I am getting things ready for the pour on Monday.
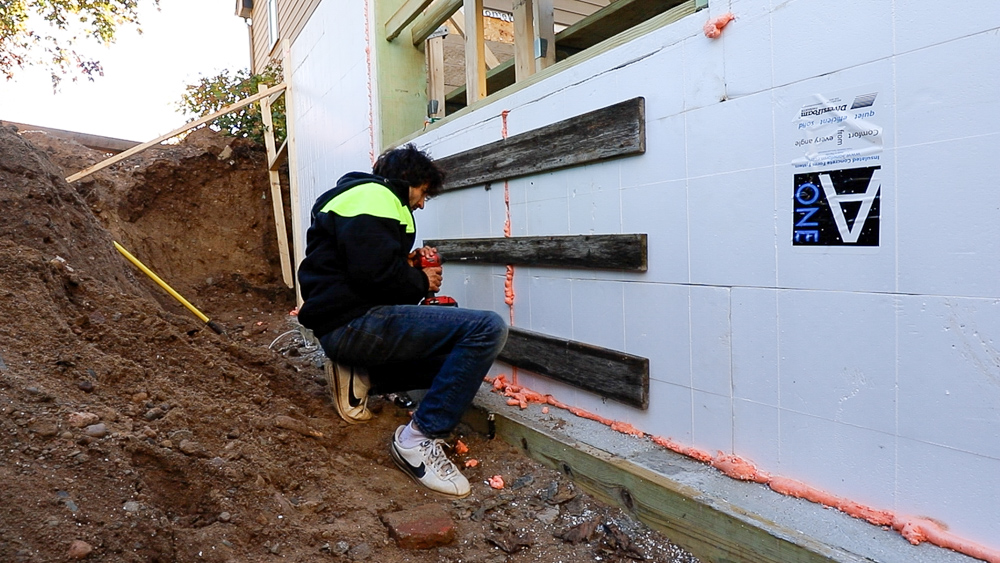
I am adding one last notable thing right here. That vertical seam is a common seam, which is where all the cut pieces butt up against each other. That means there are no interlocking things in there, so I am running some boards across there to reinforce that area. Once I get the last boards on there, we’ll take a walk around and I’ll show you everything in more detail!
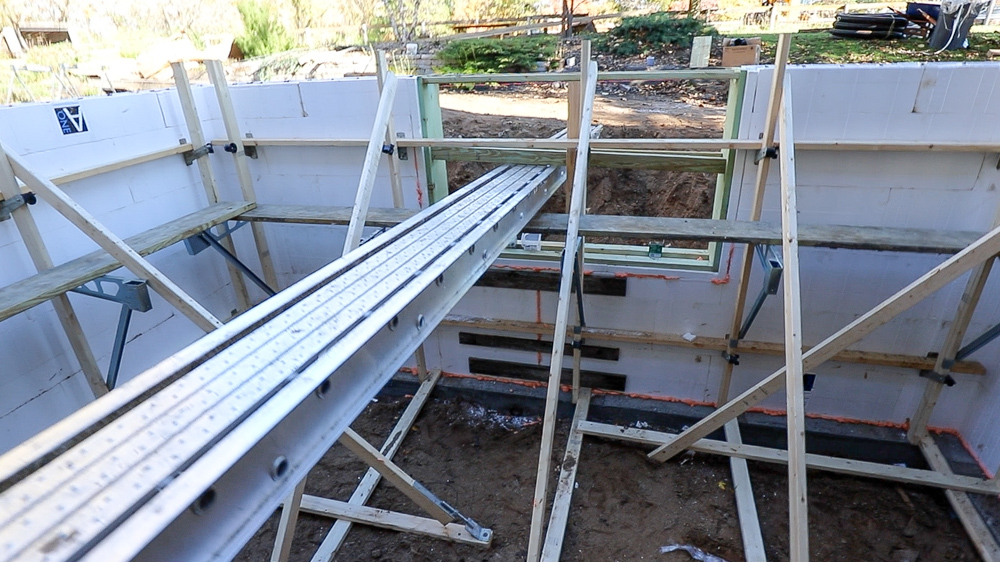
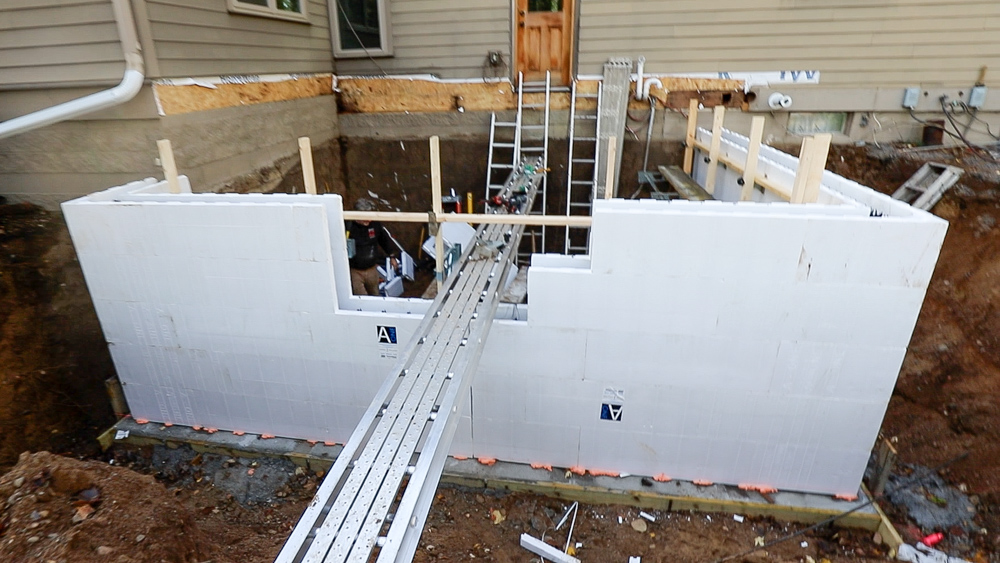
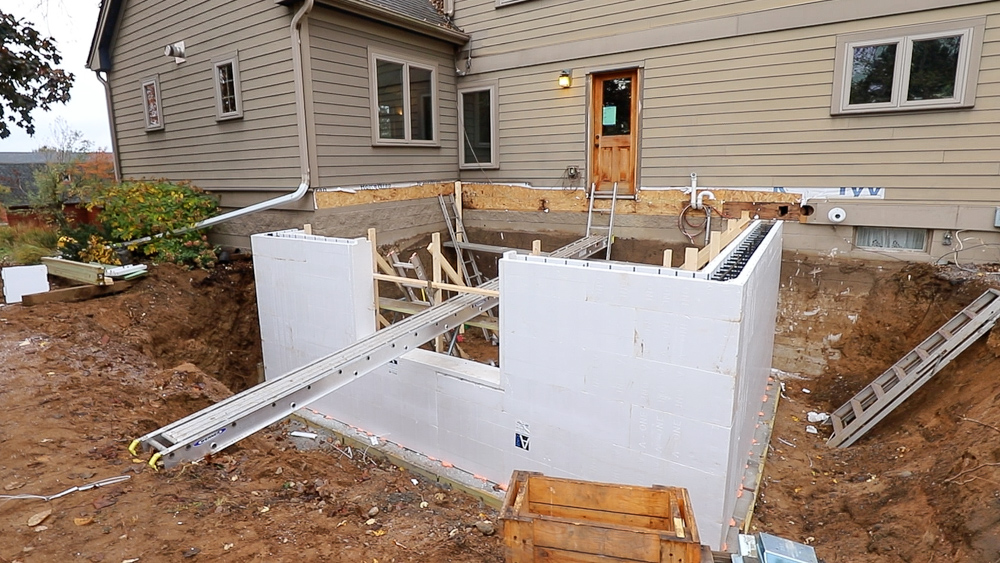
Here is the completed form work for these walls. Now, I know it wasn’t super clear as we were putting it together, so I thought I would take a moment to share some of the internals in the ICFs.
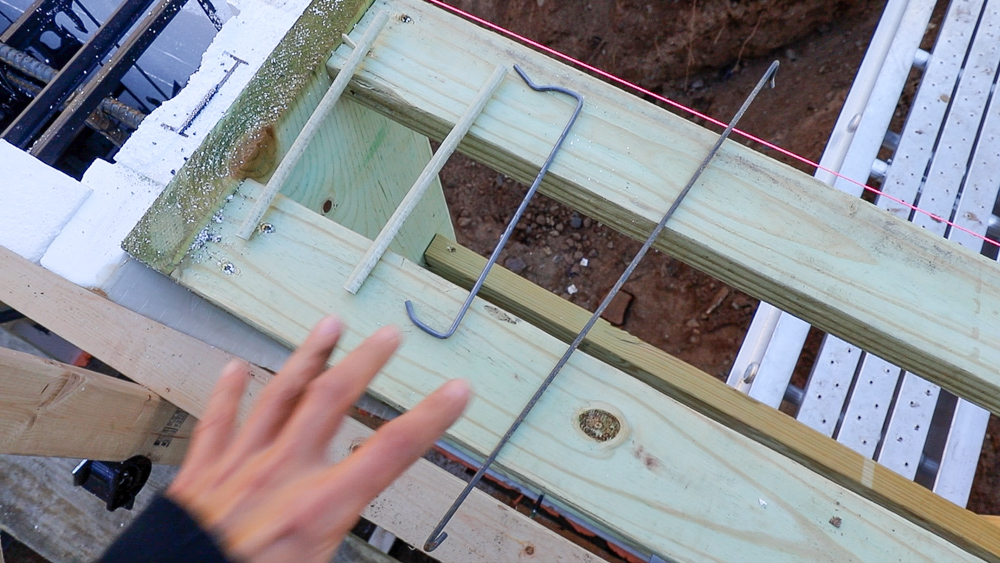
Holding these ICFs together, besides just the tabs on all the blocks, we have these mechanical reinforcements to hold the blocks together. On the right is a vertical tie, which ties one course of blocks down to another. A horizontal tie is next to that one, which ties two seams together. Lastly, there are some fiberglass rods which are used in the corners and get tied with a rebar tie wire.

We also have all of our rebar installed on every course. The verticals come in every 18 inches, so there’s a quite a bit of rebar in here, also tied, also holding things together.
That’s going to do it for this one! In a couple of days, we’ll be back to work filling these walls with concrete, which is pretty exciting. Only two weeks ago, we had a deck here, so things are moving really quickly! If you have any questions or comments on the home remodel, please feel free to leave me a comment. As always, we’ll be happy to answer any questions you might have. Until next time, happy woodworking!
Welcome to my shop! This is a quick update to let you know what I’ve been up to. This big chunky thing is the leg

Welcome back to the home renovation. This time I’m going to be working on the kitchen island. Here is a small model of the island.

Welcome back to our home renovation. Today I am going to be working on this wall. It needs some upper cabinets and the surround for
2 Responses
I noticed that the spray foam that you guys used was in a red can and came out a little bit of a reddish orange color. Every video I have seen, no one ever tells us which foam is best for sealing, sticking or if it should be low expansion or it doesnt matter?
Could you please tell me which foam to use for the icf forms
Thank you,
Paul Gorino
We used fireblock foam because Donavan had a few cans left over from a previous job. I doubt it makes a difference what type of foam is used. https://www.greatstuff.dupont.com/gaps-cracks-foam.html