
Kitchen Island, Barn Power – March 2024 Update
Welcome to my shop! This is a quick update to let you know what I’ve been up to. This big chunky thing is the leg
Welcome back to our home renovation and remodel project.
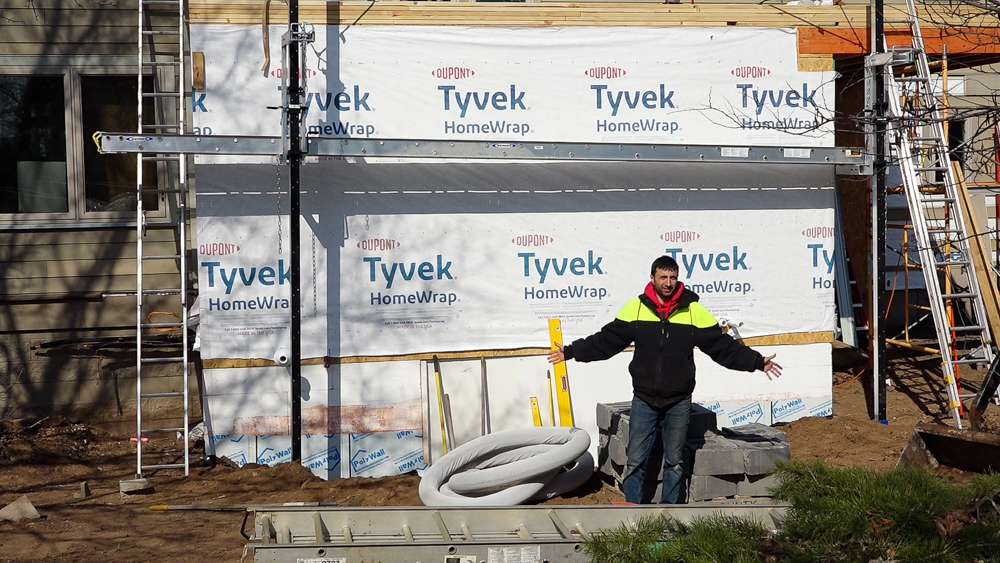
Finally, the weather has turned to something tolerable! It’s starting to warm up, so we’re back outside after almost an entire month of dealing with weather delays. This should be a pretty exciting and packed update. The main thing today is that the membrane roof is going to be installed. We’ll be talking to Scott, who’s doing that install. Meanwhile, Donavan and I will be installing the window well for the egress window for the basement. And then Mike is inside switching our hot water over from our old tank heater to the new indirect water heater. Lots going on today!
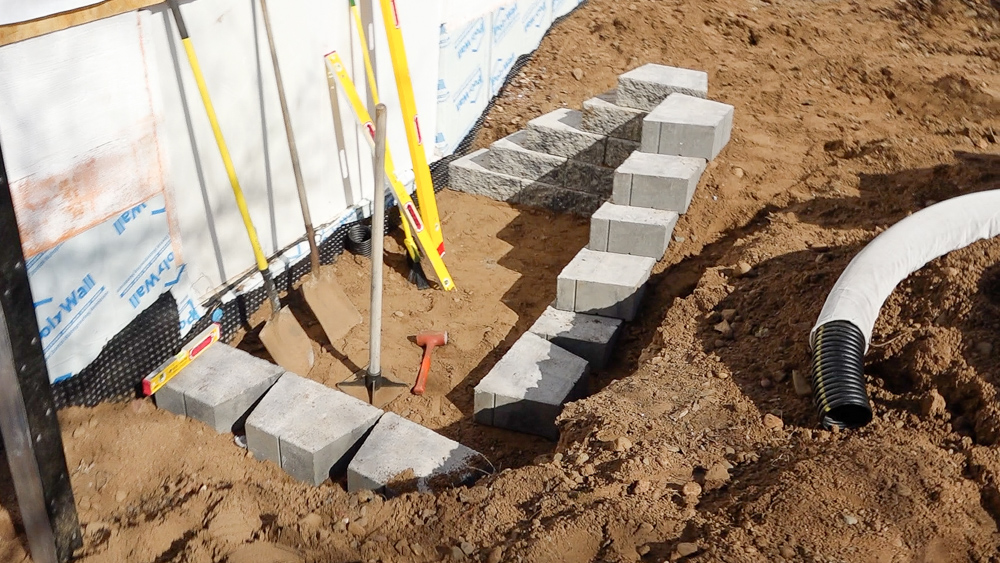
Yesterday was a prep and get started day. So Donavan and I went out and picked up the landscape block, got most of the first course laid in, and started stacking up this corner. I’m pretty excited to have this in place because once the egress window well is in place, we can do our final back fill and get rid of the big pile of dirt.
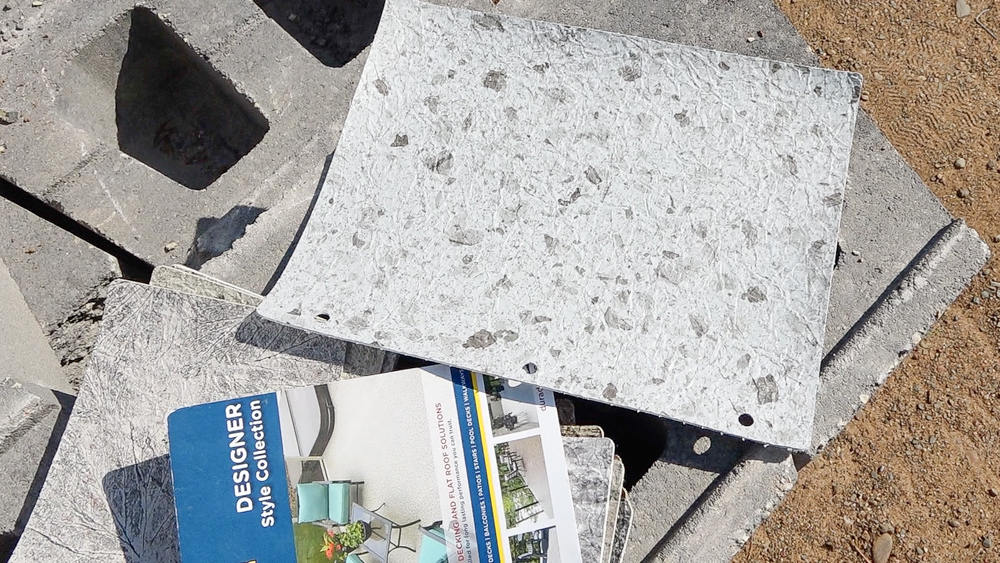
Up top on the roof deck, Scott did all the prep work yesterday, so that today they can start the install. Up there, we’re using a product called Duradeck, which is a vinyl membrane. This is a sample of what it looks like. It’s a heavy, thick vinyl that’s texturized so you won’t slip and fall. The advantage of doing something like this versus a traditional membrane is that this is a walkable membrane. So you can actually walk on it, and it doesn’t need to be protected. If we had one with a traditional membrane, we’d have to build a floating deck on top of that. With the Duradeck option, we took care of it all in one go and still have a nice finished look without having another deck.
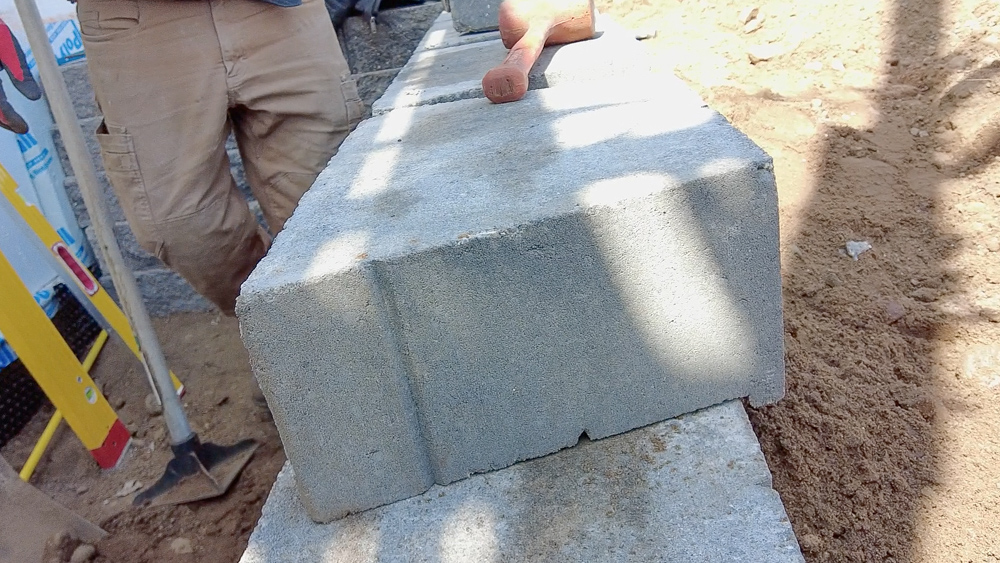
We’re making pretty good progress on our baby retaining wall. If you haven’t seen how this goes together, they’re just blocks with a little finger thing on the back there that interlocks and catches on the back of the previous course, which is great. But when you’re making a cavity that’s supposed to be a certain size, with every single course the opening gets an inch bigger. Plus we have two side walls, so the width of the cavity is getting two inches bigger every course. So we’re getting creative with the cutting and layout as we go.
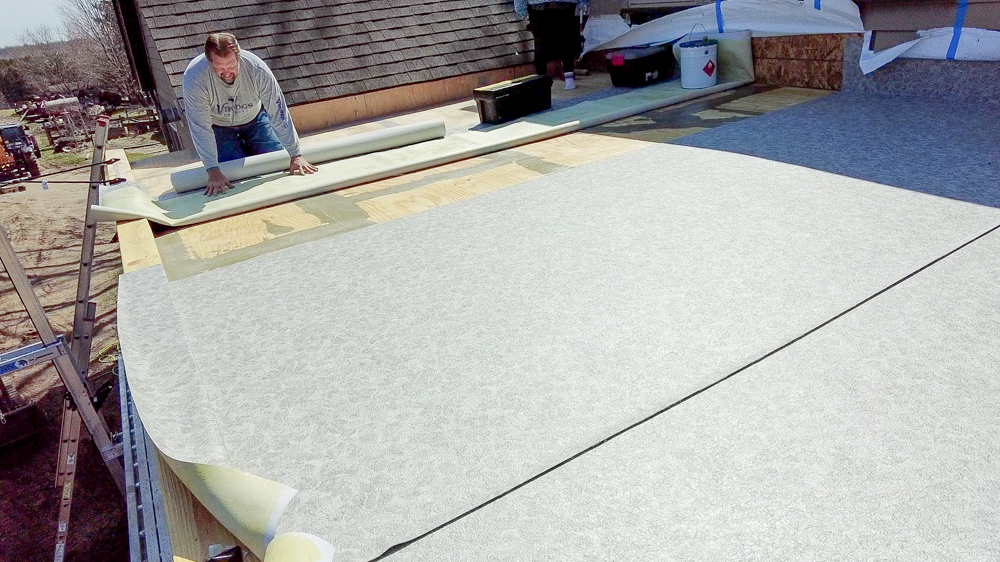
Let’s see how Scott’s doing up here. We got an actual roof going on here! This is exciting, I’ve been waiting so long to have something up here that will keep water out of my house.
Yesterday Scott belt sanded the entire subfloor and made sure to catch any screw heads, take out any high spots. So once he got the skim coat taken care of, he was pretty much ready to lay the Duradeck. For that install, he uses a contact adhesive, glues the plywood, and then glues the back of the vinyl. Once it’s dry to the touch, he gently rolls it onto itself and tries to eliminate any buckles or air bubbles.
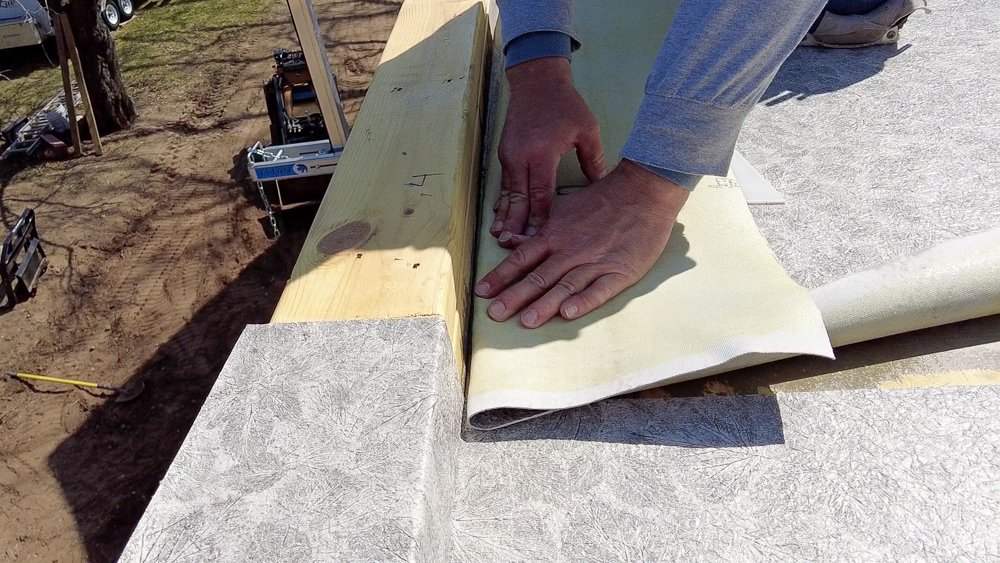
With the corners, he tucks it into the corner so that it’s nice and tight to make sure that there’s no air pockets that could cause a puncture. Once it’s tight in the corners, he takes a roller and spreader to smooth out any possible air bubbles. The parapet will be completely wrapped, which will keep it the most water tight. Once everything is laid down, he will come along with a heat gun and weld the seams to make it completely water tight.
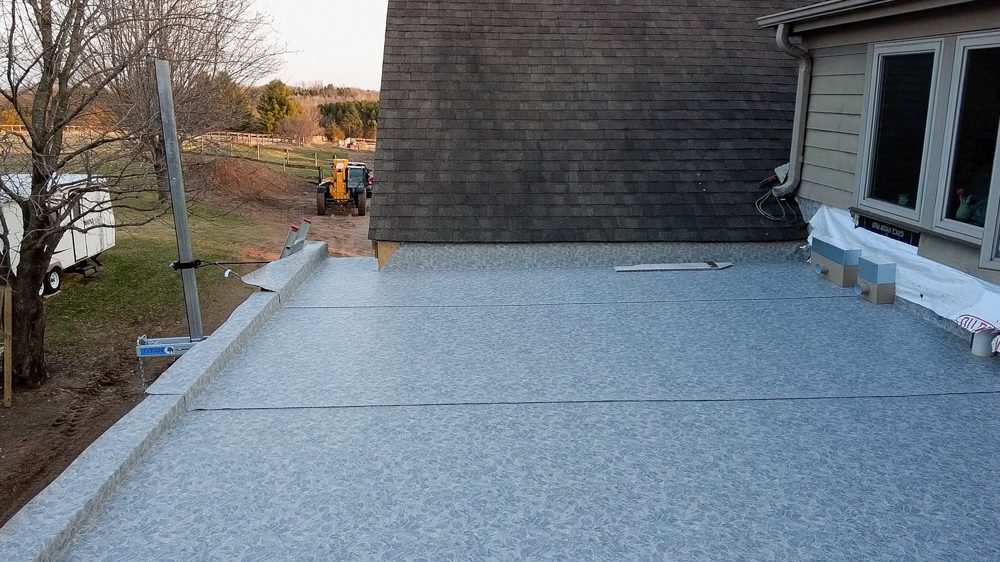
Scott got pretty far on the install today. Tomorrow they’ll be back to finish up a few of the last little details, weld all the seams, and finish up all of the corners. I’m so excited to finally have some kind of surface out here.
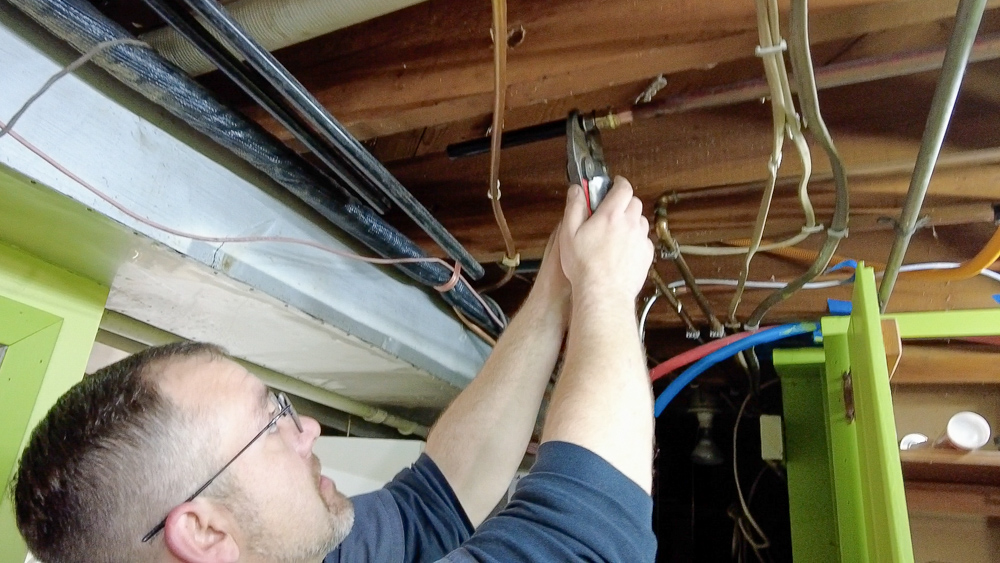
Everybody’s favorite plumber, Mike, is back. We’re going to switch over the water heater, which is super exciting. So Mike already cut the lines off the heater, and now we’re just going to plumb it into the indirect water heater.
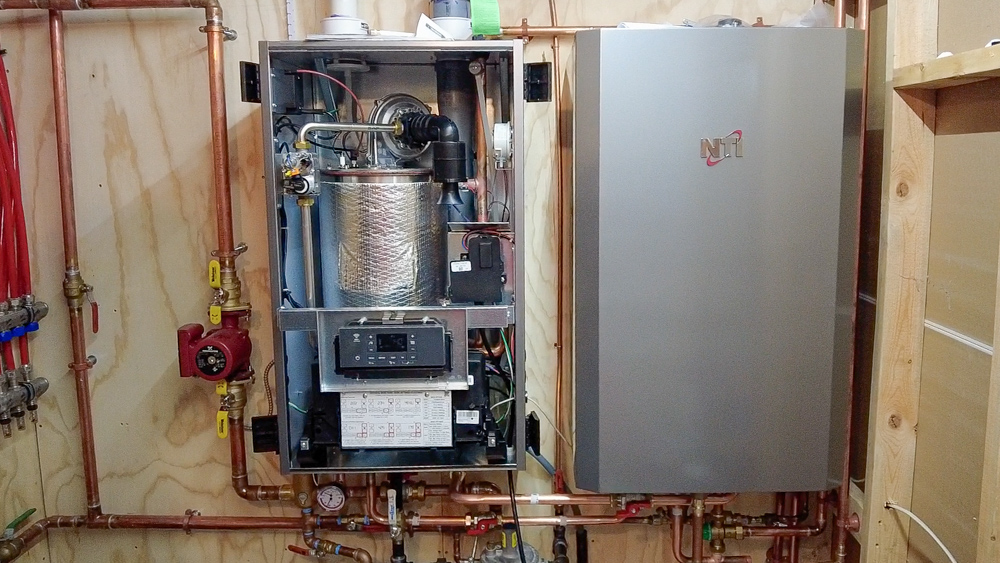
The hot water is now coming out of this thing, which is pretty exciting. So Mike was just telling me that the water temp in here is set to 140 in the tank, and then as it comes out, it has a mixing valve on the bottom, so it’s going to dump some cold into it and set it to 120, or whatever we have it set to. Pretty exciting to get this all consolidated and up and running!
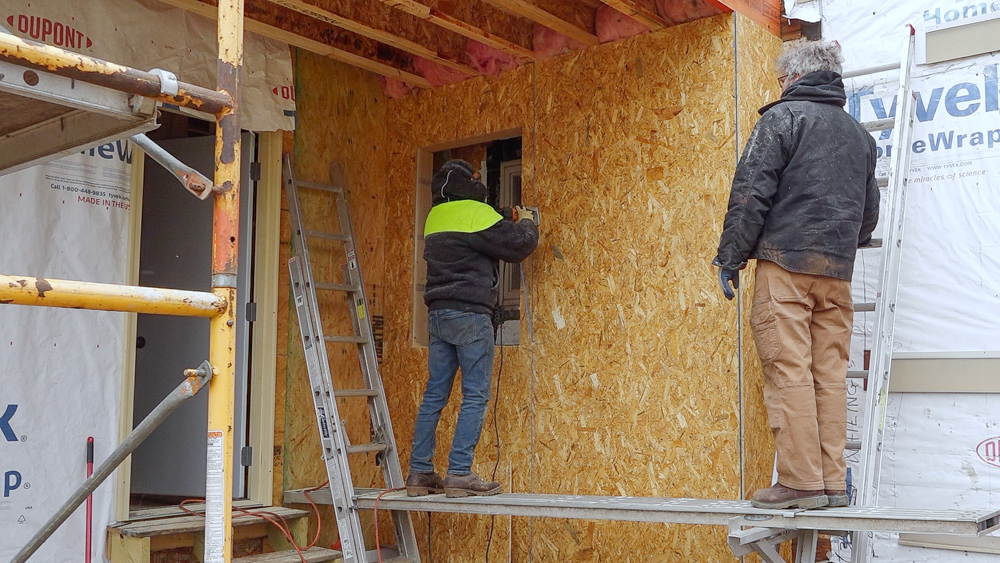
It’s the next day, and we are going to put some windows in here so that our current kitchen, which is behind here, is less of a dungeon.
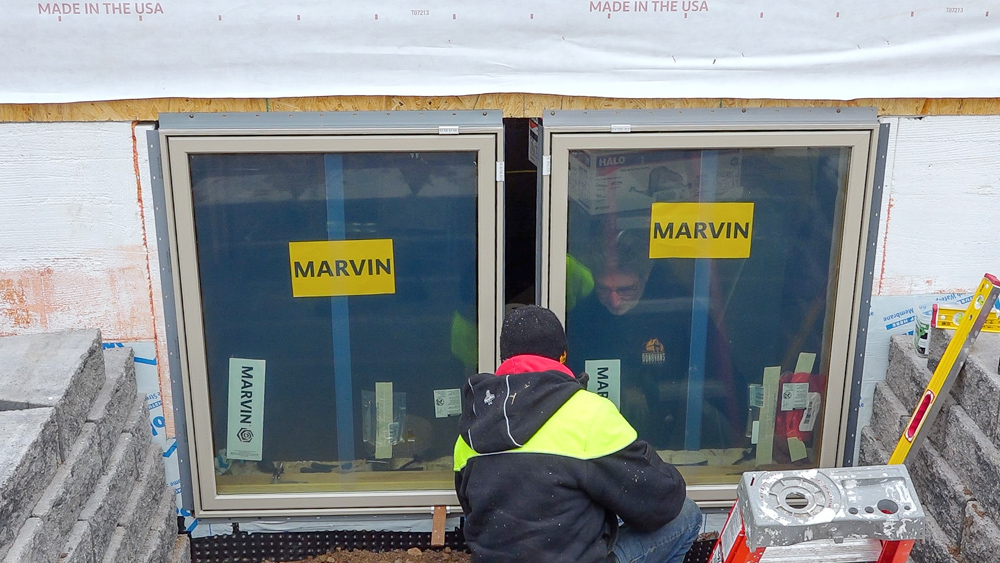
Now we’re hopping over to these windows, which we realized were slightly out of square. So we’re shimming each window as they’re going into place into square so that we’re not fighting geometry trying to get them in.
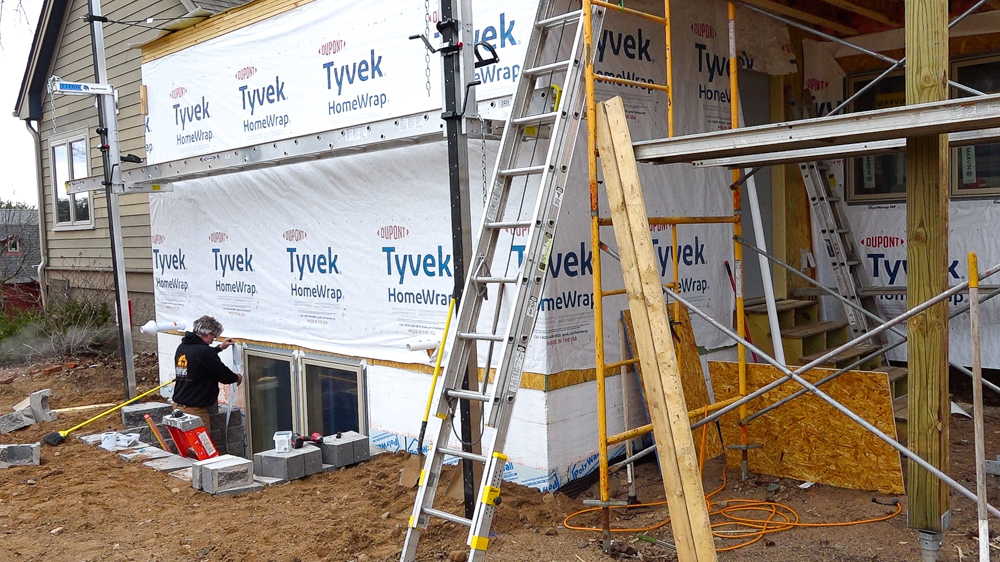
So today we got the two windows for the bump out and then the two windows for the office down there installed. Not too bad, not too bad at all.
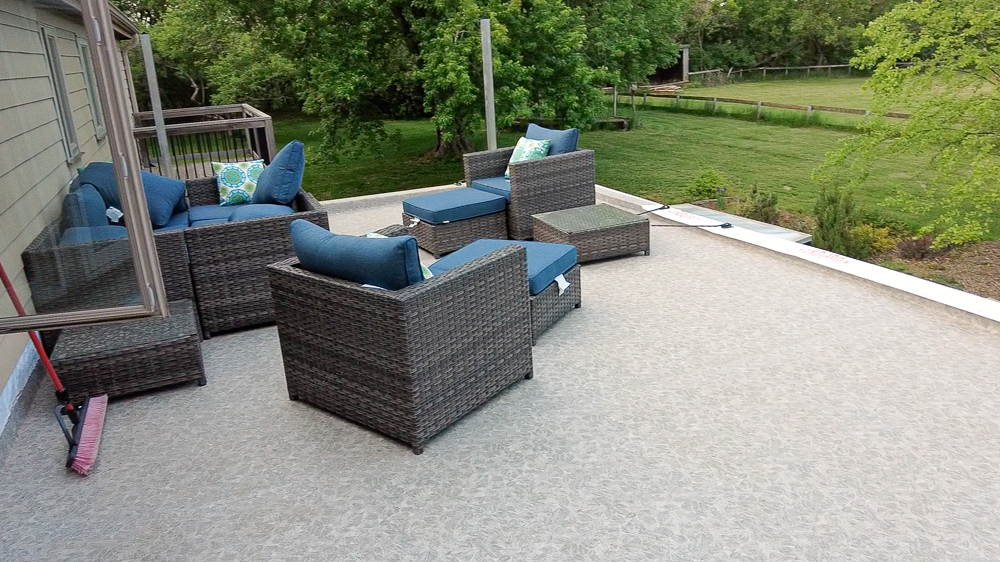
And then this is what the finished roof deck looks like. This is an absolutely incredible space. As you can see, we’ve kind of moved in up here and started to enjoy the space. The original plan for this roof was to just install it, but not use it until we renovated the second story of the house and installed the door and railings. But we’ve fallen in love with it so much already that we don’t really want to wait, so we’re going to do the railing install as part of this phase. So once we get the exterior trimmed out, we can then do the railing.
So now that the roof is on here, that means we can start converting the space beneath me into something. Next time we’re going to do the door install, and we have those other eight windows to install. So we’re going to be working down in the sunroom for the next few episodes.
But that’s going to do it for this one. Thank you as always for joining me, I greatly appreciate it. If you have any questions or comments on the home addition and remodel, please feel free to leave it in the comments. As always, we’d be happy to answer any questions you might have. Until next time, happy woodworking.


Welcome to my shop! This is a quick update to let you know what I’ve been up to. This big chunky thing is the leg

Welcome back to the home renovation. This time I’m going to be working on the kitchen island. Here is a small model of the island.

Welcome back to our home renovation. Today I am going to be working on this wall. It needs some upper cabinets and the surround for