
Matt's Weekly Shop Update
Kitchen Island, Barn Power – March 2024 Update
Welcome to my shop! This is a quick update to let you know what I’ve been up to. This big chunky thing is the leg
Welcome back to our home addition and renovation project.
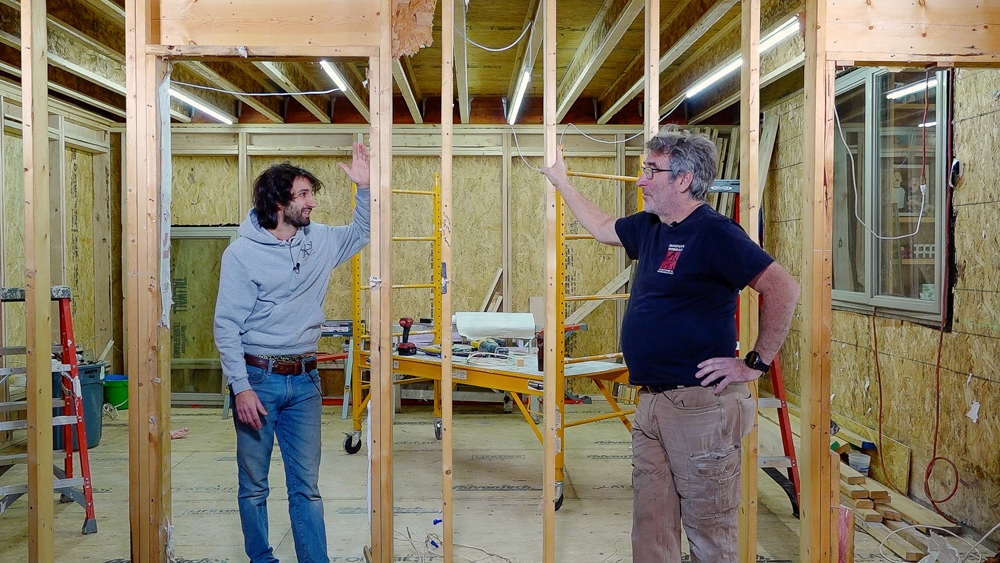
Today is a very exciting day, because we are finally starting to link our addition to the existing house and get rid of this wall. If you remember back to when we were doing the sun room out here, this is a load bearing wall. Above here, we have the bedroom wall and then above that, we have the roof. So this wall is supporting a second story wall and the roof structure. At least it’s not supporting the floor. The thing with load bearing walls is that you can’t just chop them out.
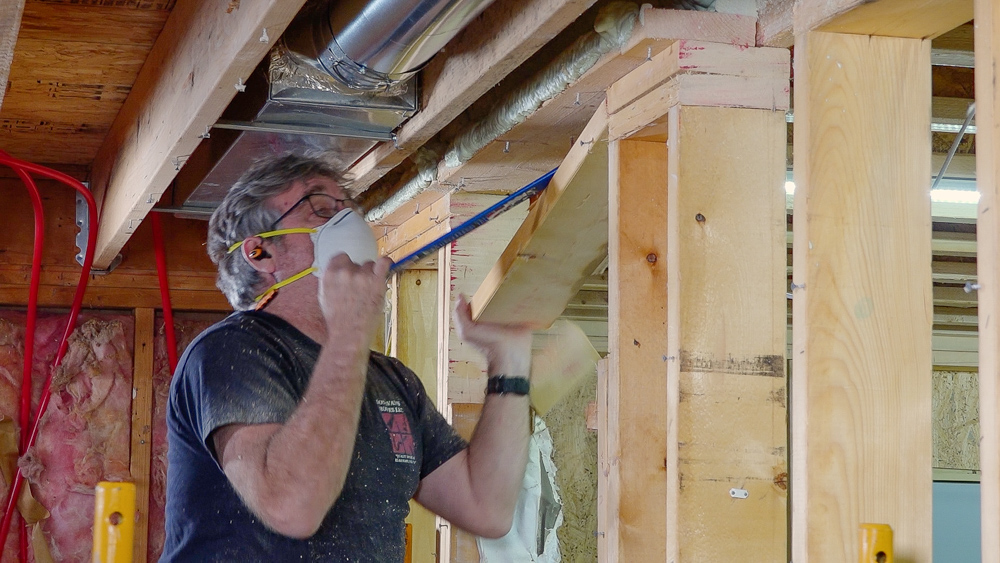
Donavan has a general plan of how we’re going to approach this, because there’s a few challenges here that we have to work through. One is that when they built the original addition, they spray foamed the rim joist, and that doesn’t come off easily. We have to get all of that clean off the rim joist so we can attach our new LVLs, which will carry the loads. We also have a bunch of electrical wiring on one side that we have to figure out where it’s going to go.

So when we put the roof on the sunroom, we put an LVL that runs from the outside wall of the sunroom to the connecting wall. We got questions at the time wondering why we needed an LVL there when you can just joist hang directly to this rim, but we did that for this particular reason. Now we can use that and have more meat, so to speak, carrying farther, and I can take more of this load bearing wall out at a section. So we’re going to cut out between the studs, take out the top and bottom plate, and we’re going to build another wall, probably every 24 to 32 inches, that will be underneath the LVL that we put in and the rim joist. So we’re going to support our LVL. Then we can get straight shot up and get all that foam cut out of there. Then we’ll cut a hole in the great room wall, and we can slide the LVLs in from the end.
The other challenge with the LVLs is that they are nine and half inches, so we’re going to modify some to 9 1/4. There’s a couple of different ways we can modify them. I think 18 foot ones are going to be a little difficult to run through the table saw. So we’ll take care of those with either a track saw or a power planer. We have six of those to do.
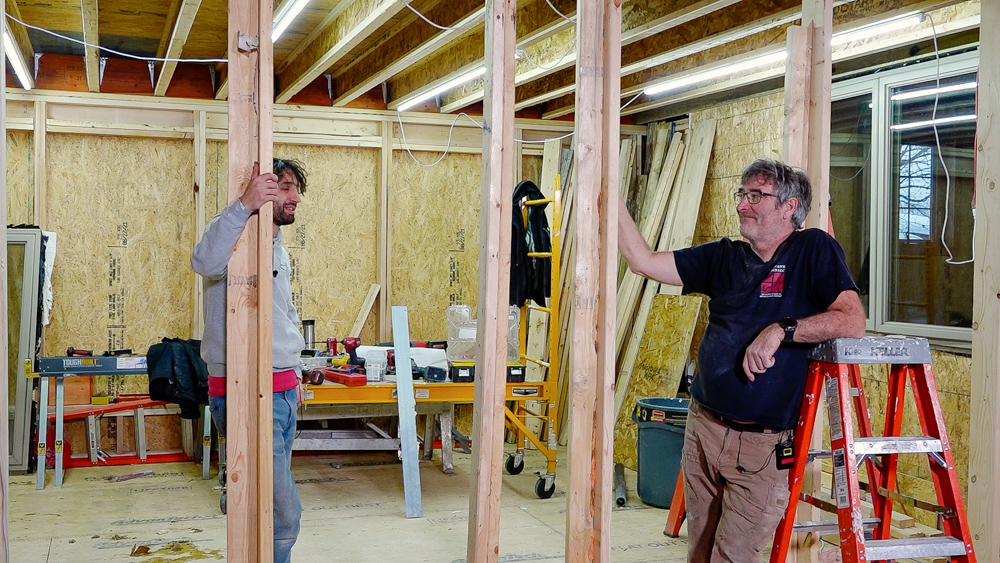
So first we’re going to cut in between a couple of our studs and start building our new wall. We’ll keep moving our way across until we don’t have a wall anymore.
That is looking more open, and it’s going to get a lot more open.
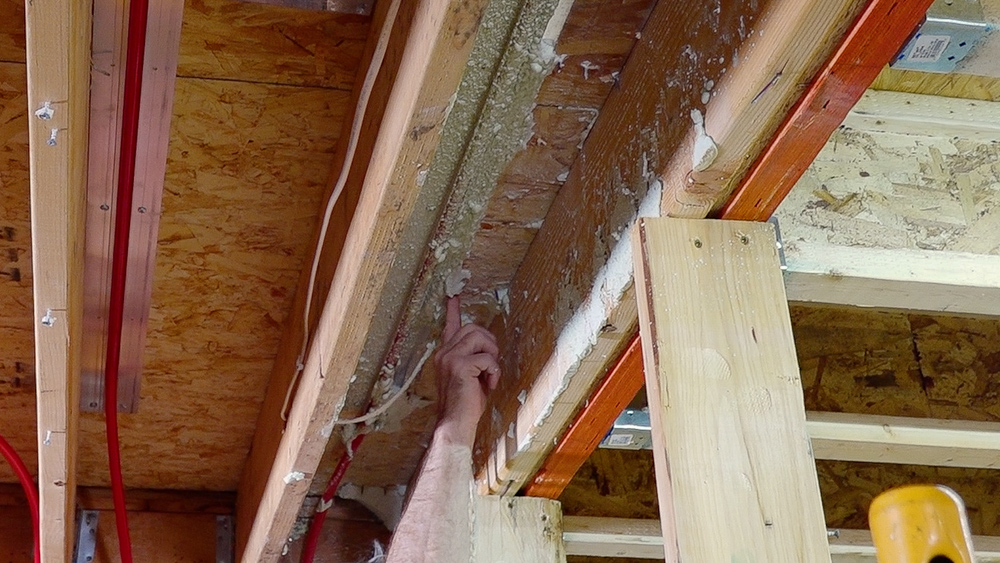
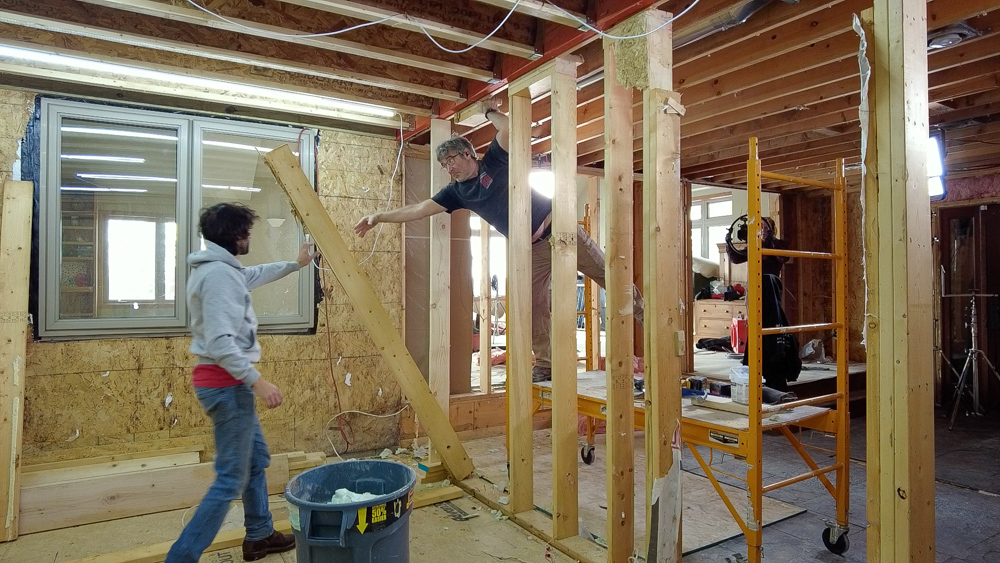
We’re getting ready to put in our LVLs. We have to put two of them on here, and they’re an inch and three quarters. The wire comes down at about 2 1/4 inches up here, so Donavan has to pull this PEX down for the heat, pull this channel, and slide it over.
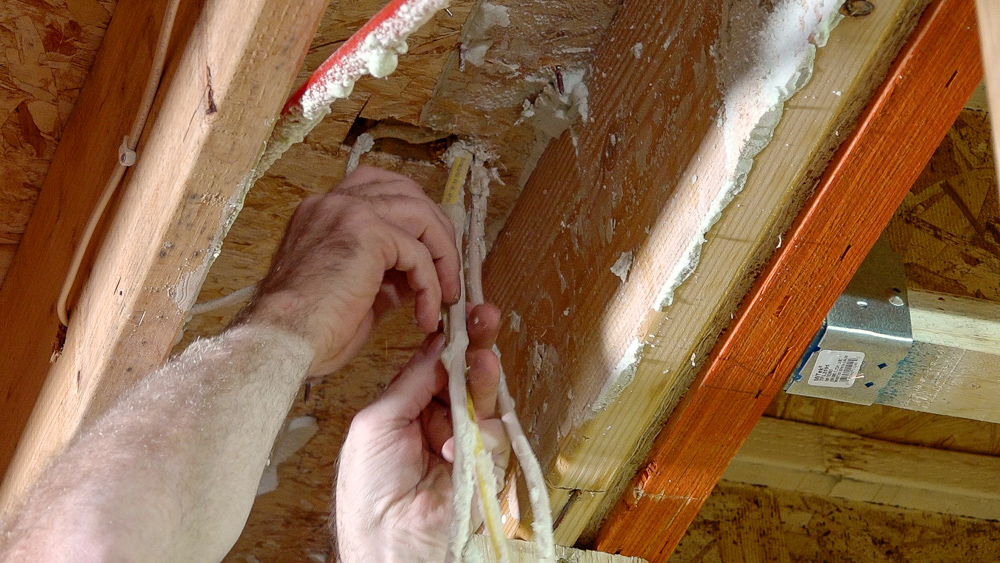
Then Donavan is going to take a tool and take some of the floor out here. It’s not ideal but we know these runs are probably running to the attic through the second floor all the way up. We’ll just notch them out so we’re not pinching them, and that should work. If not, the electrician’s going to fix it.

Now we have a hole through the wall in the great room where we can slide our LVLs in.
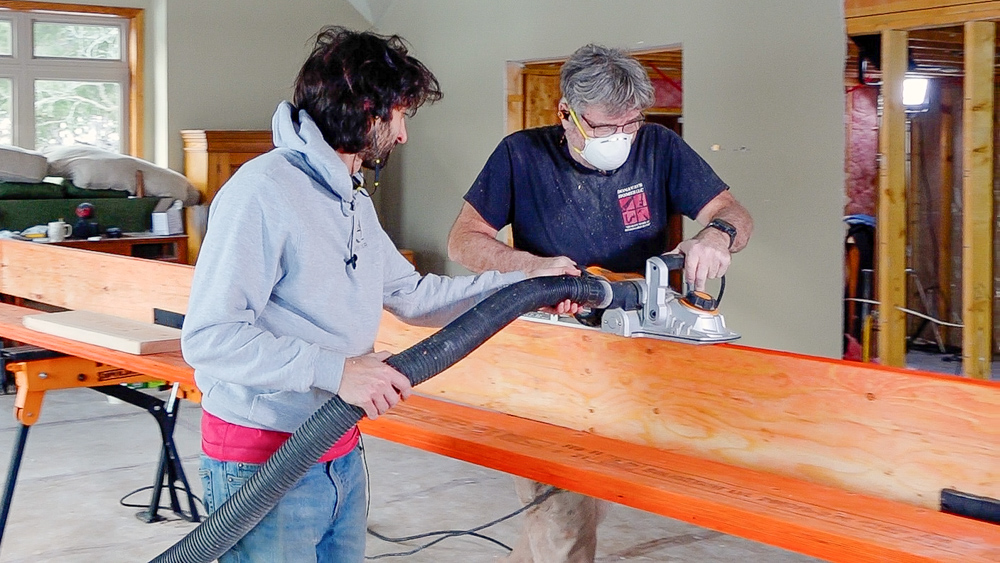
Planing it down to nine and 1/4.

And sliding it in. Now we’ll load it in and screw it in tomorrow.
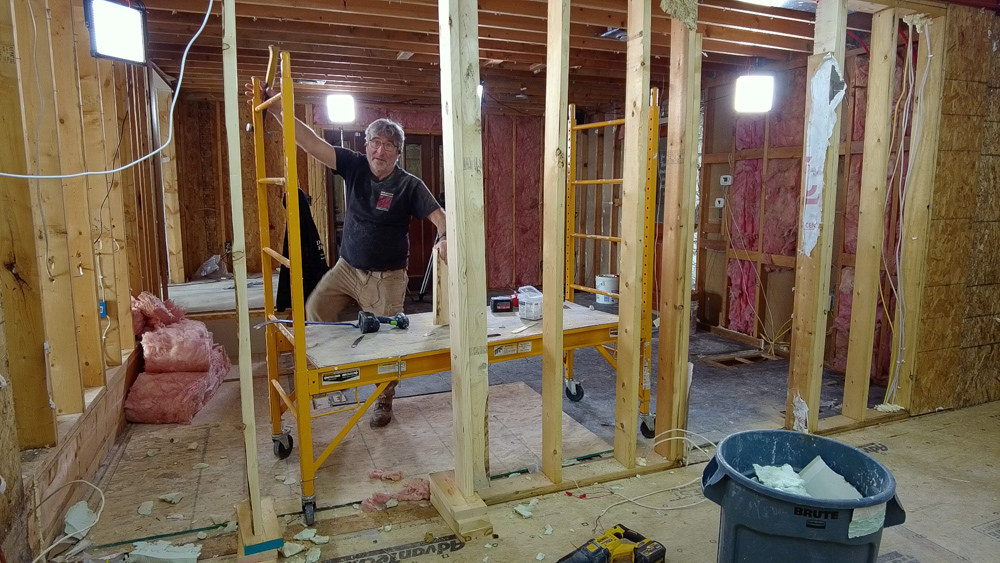
It’s been a good, productive day. And it was a Wednesday! This is further than I thought we would be, based on what Donavan was saying about the challenges we had. The foam came out a lot better than we were expecting. We didn’t run into a lot of issues. We had a little bit of wiring to move, but that was pretty easy to move. Both LVLs are in here now, and some of the load has already been transferred. We don’t have it lagged together, we’ll do that in the morning.
We’ll set a post on here and make sure it carries through well into the foundation. We will have another post where the pantry wall is, which will be hidden in the wall of the pantry.
So tomorrow we’ll finish getting this beam in here and then hopefully taking out the studs. This will be wide open tomorrow, which is going to be weird.
Thank you as always for watching, we greatly appreciate it. If you have any questions or comments on the home addition and remodel, please feel free to leave us a comment. As always, we’ll be happy to answer any questions you might have. And until next time, happy woodworking!
Welcome to my shop! This is a quick update to let you know what I’ve been up to. This big chunky thing is the leg

Welcome back to the home renovation. This time I’m going to be working on the kitchen island. Here is a small model of the island.

Welcome back to our home renovation. Today I am going to be working on this wall. It needs some upper cabinets and the surround for