
Matt's Weekly Shop Update
Kitchen Island, Barn Power – March 2024 Update
Welcome to my shop! This is a quick update to let you know what I’ve been up to. This big chunky thing is the leg
Welcome back to our home addition/remodel project! Today is Monday, October 25th, and it is the start of week three of this project.
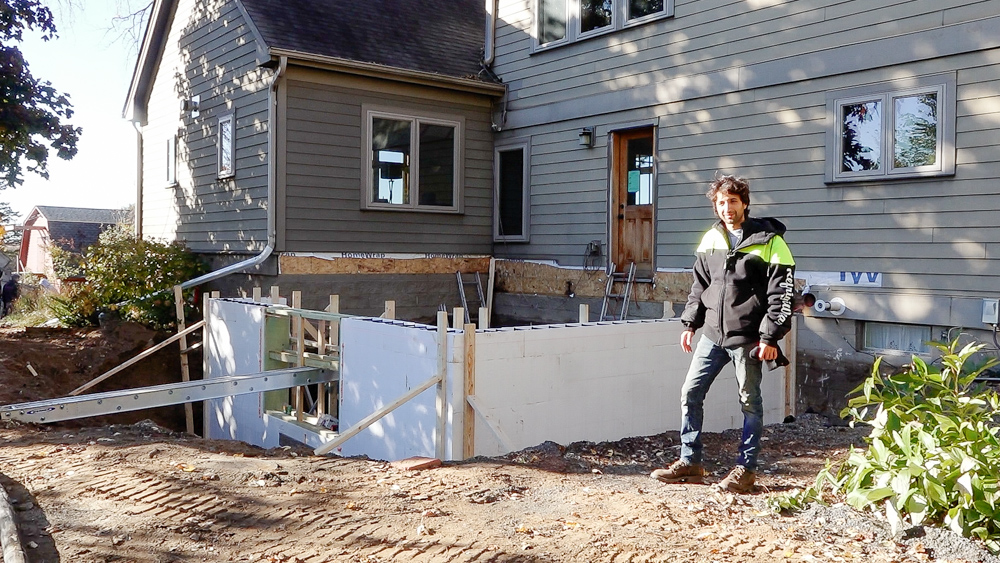
Last time, we finished up the installation of the ICF, the insulated concrete forms. Today we are going to be filling these forms with concrete. Should be a fun, quick day if everything goes super smoothly.
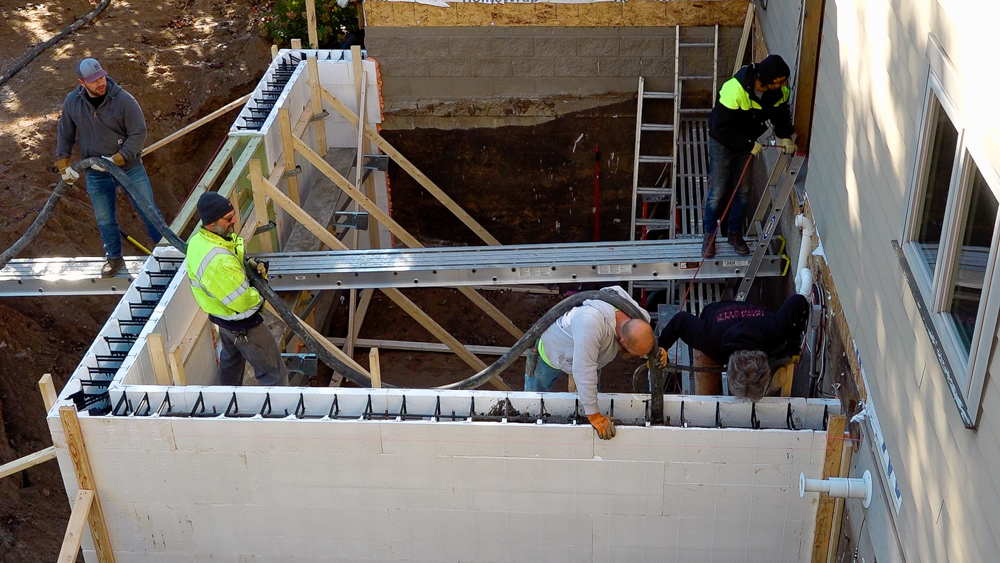
We have a few helpers here today: my neighbor Karter as well as Donavan’s friend Jack, plus Brad behind the camera. The pump truck is here already, and the concrete truck is on the way. As soon as it gets here, things will get interesting.
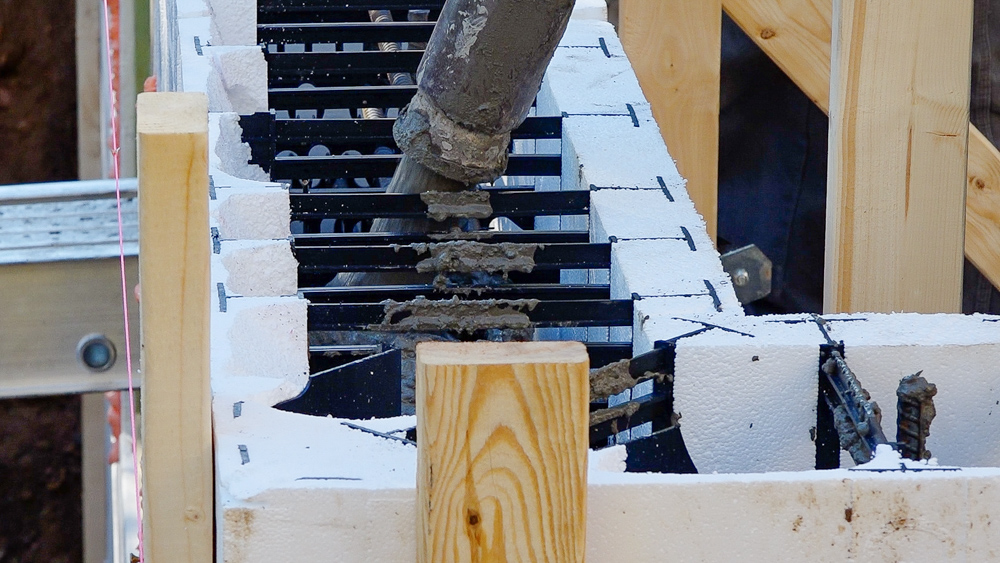

Once the walls are poured, the top can be troweled to clean it up and then Donavan can drop the anchor bolts in.
We set the forms with the walls bowed in a bit so as they are filled the concrete will push out a bit. We’ll check where they ended up and adjust them.
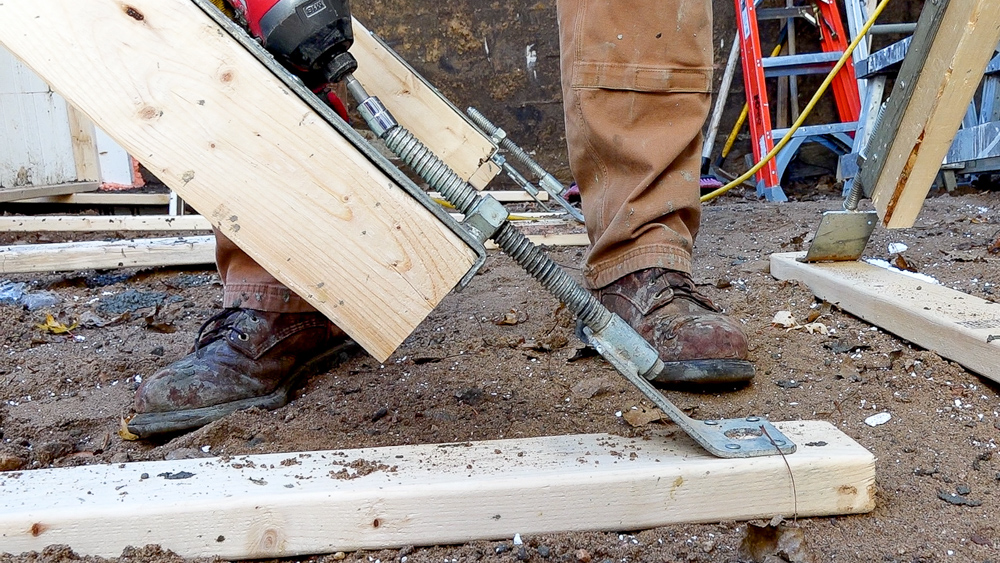
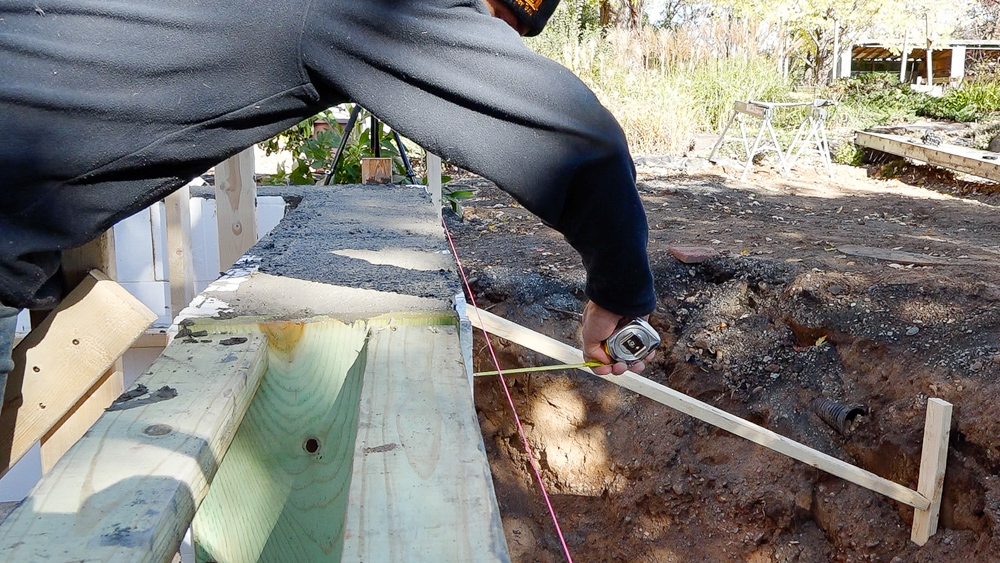
Right now the wall is bowed a bit in still, so we will push the forms out with the braces and zuckles until we get an even straight wall on our line, all the way across.
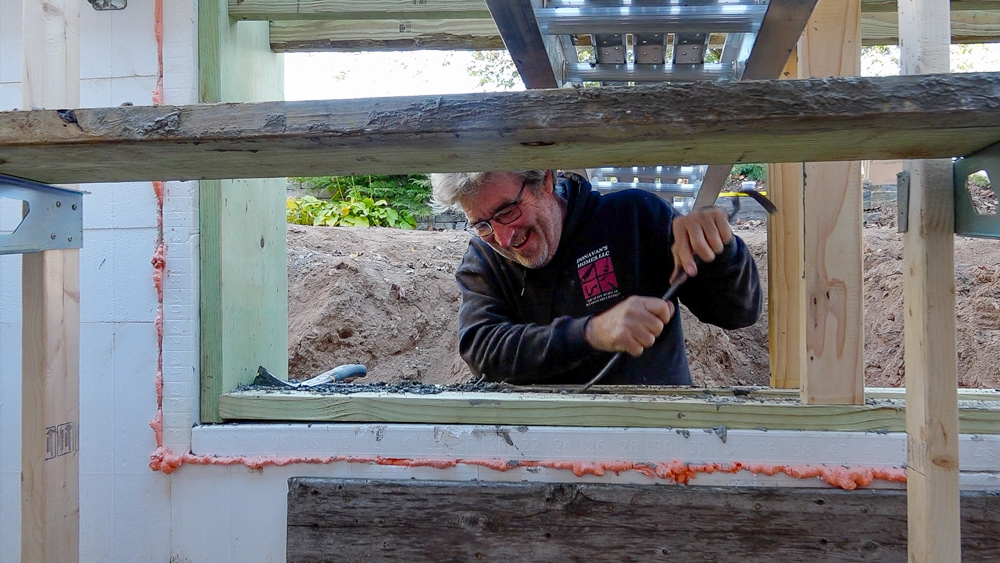
It’s been a couple hours now, and Donavan is tearing into the forms. We ended up with a pretty good pour today. Things didn’t go totally awry, but we had one little issue with the area below the window. That area lifted a little bit, so we have about a half inch lift on the sill left to deal with later on. Overall, a very minor issue. The walls are still plumb after we straightened them up with the zuckles. For a first-time pour for a bunch of people that haven’t worked with concrete before, I’m pretty happy with this. It took us less than an hour to get it all poured.
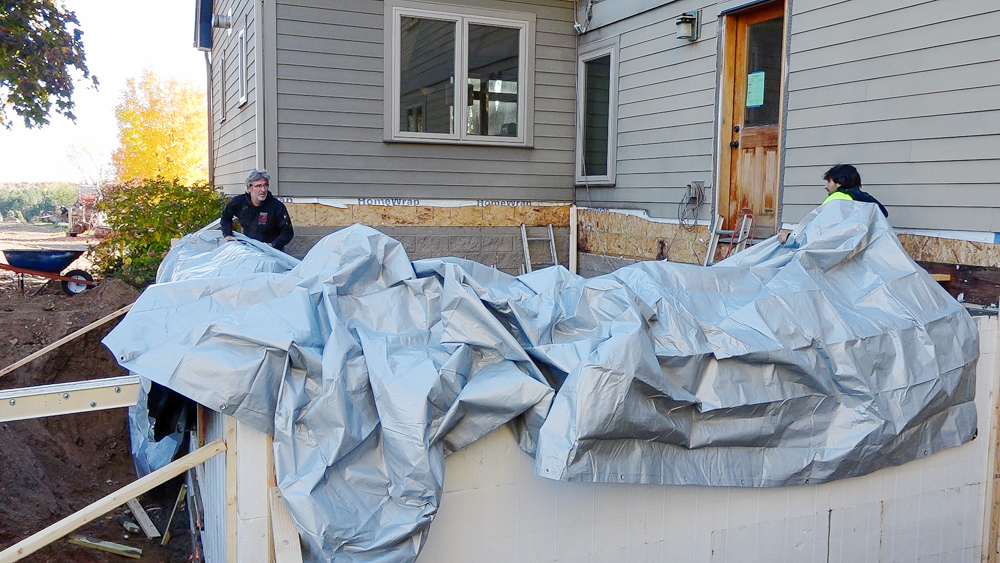
Lastly, we are going to tarp the whole thing because it’s going to get below freezing tonight.
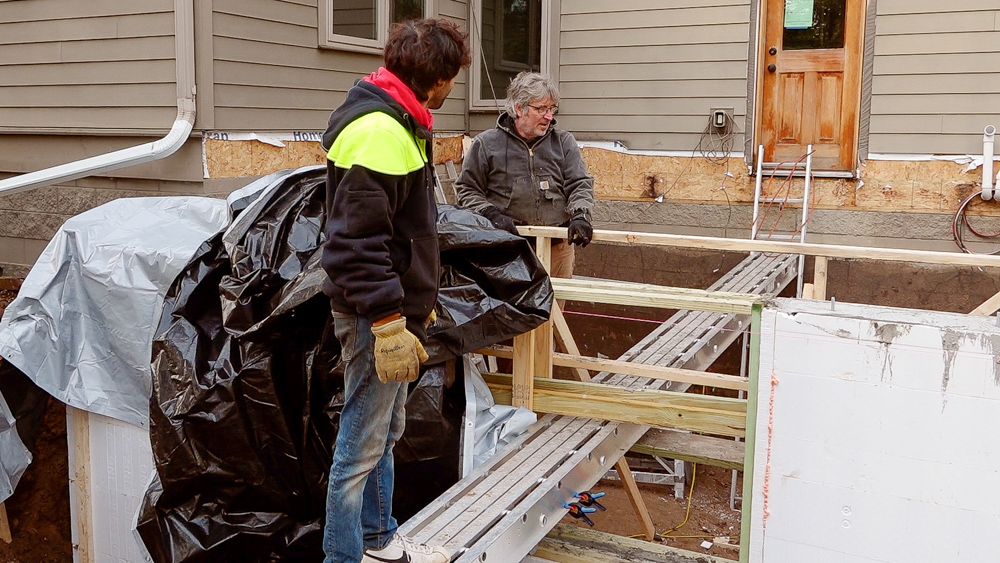
It’s the next day now, October 26th, and it looks like our walls survived the night. Today we are untarping, then getting the drain tile on the outside done and then start doing some waterproofing.
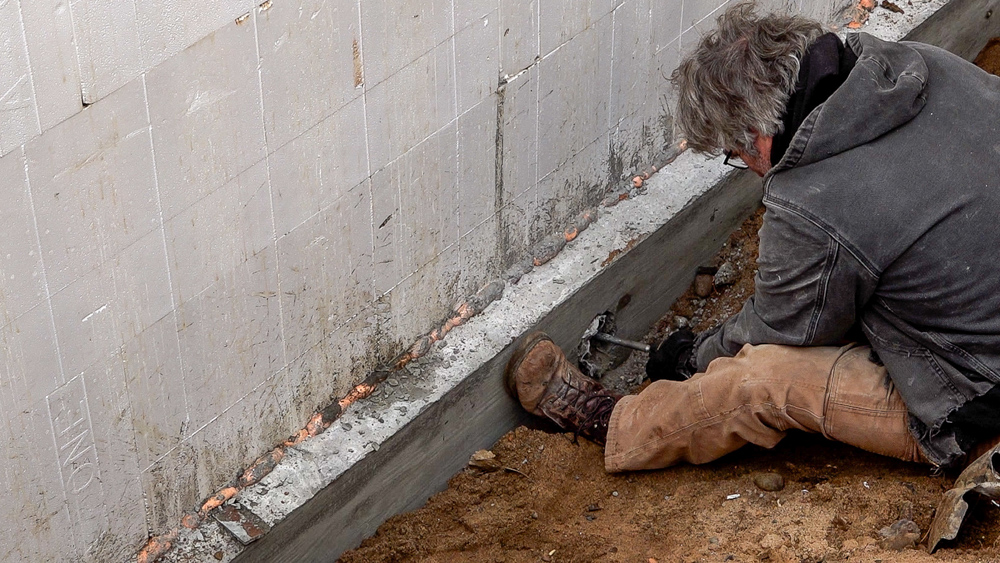
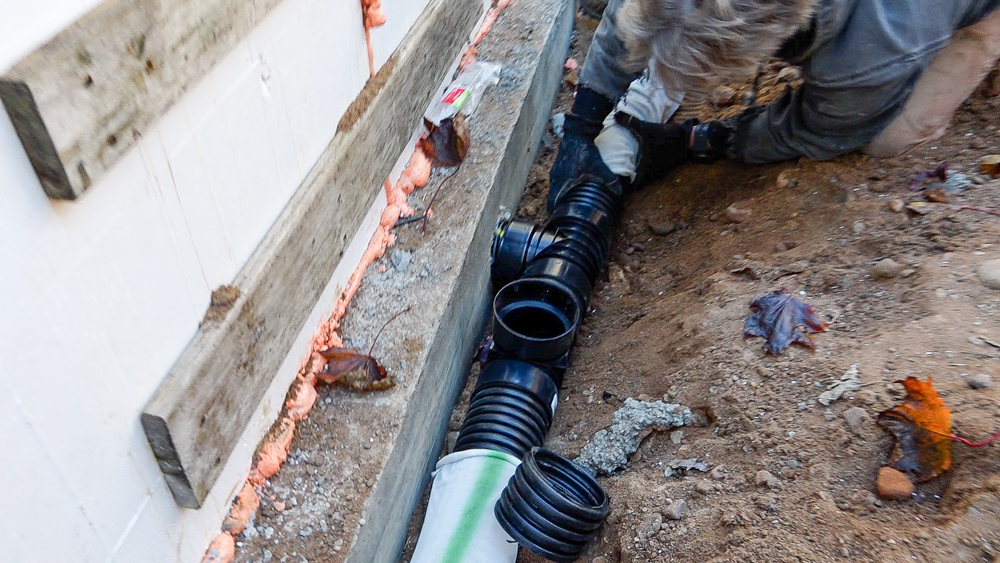
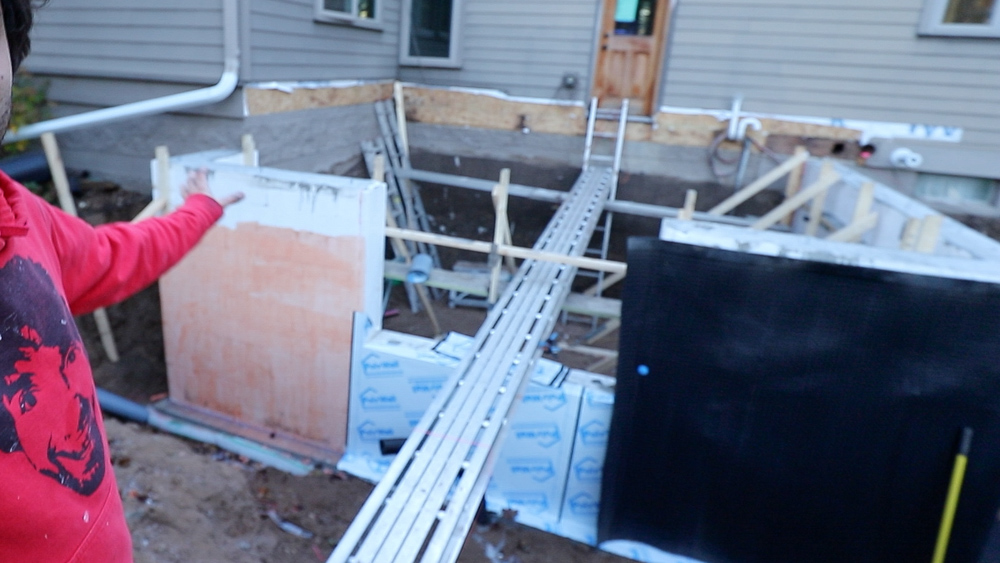
There’s a four inch drain tile that connects from the outside all the way around the perimeter. We have two of these which connect with a four inch drain tile on the inside which goes back over to the sump pump. Because we used a pump mix, some of the concrete got into the hole, so Donavan is cleaning out that four inch hole so we can get access and then we’ll put on the drain tile.
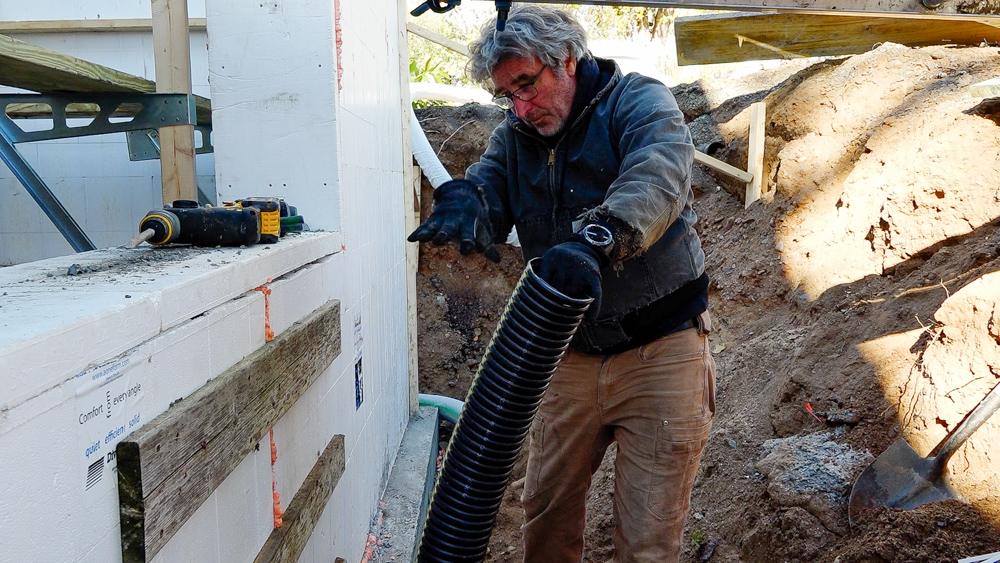
We’ll have a drain in the window well and aggregate on top for decoration. Anything that comes in the window well will go into the drain tile system and then out. Normally you’d put stone over the top of this, but we’ve got so much sand in here that nothing will stick in here. We’re going to backfill with the sand that we have. We don’t think that there’s going to be hardly any water getting into this anyway because the whole ground is sand so everything goes straight through.
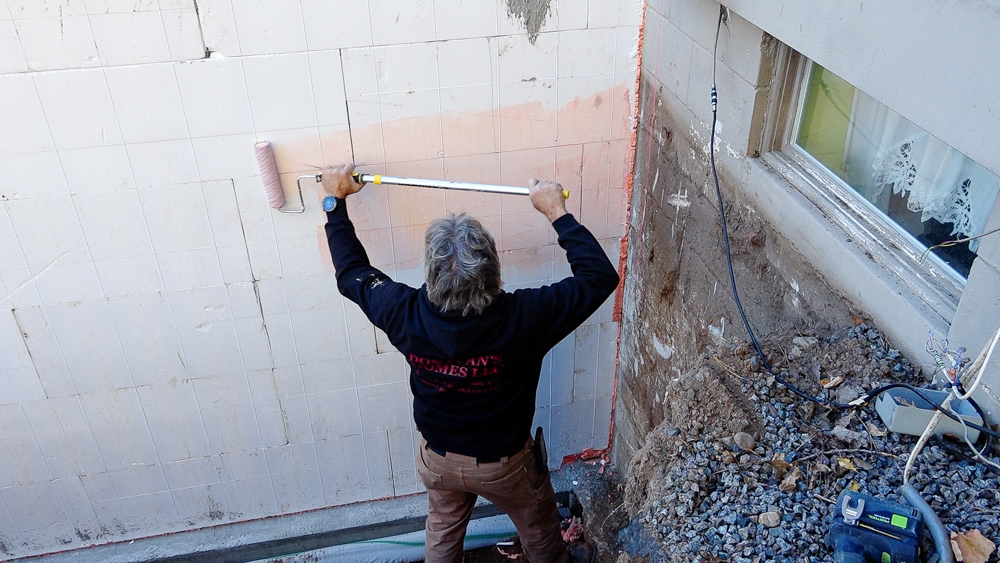
Next Donavan is starting on the waterproofing of the walls. The foam on the ICF needs to be sealed to protect it. On the exterior below grade, we’re going to do a waterproofing system. Above grade later on, we’ll do a parge coat so it will end up with a stucco-type finish. For now, the below grade waterproofing we’re starting with is some kind of weird pink stuff. It’s a primer sealer type of thing, which will make the waterproofing membrane really stick to it and adhere really well.
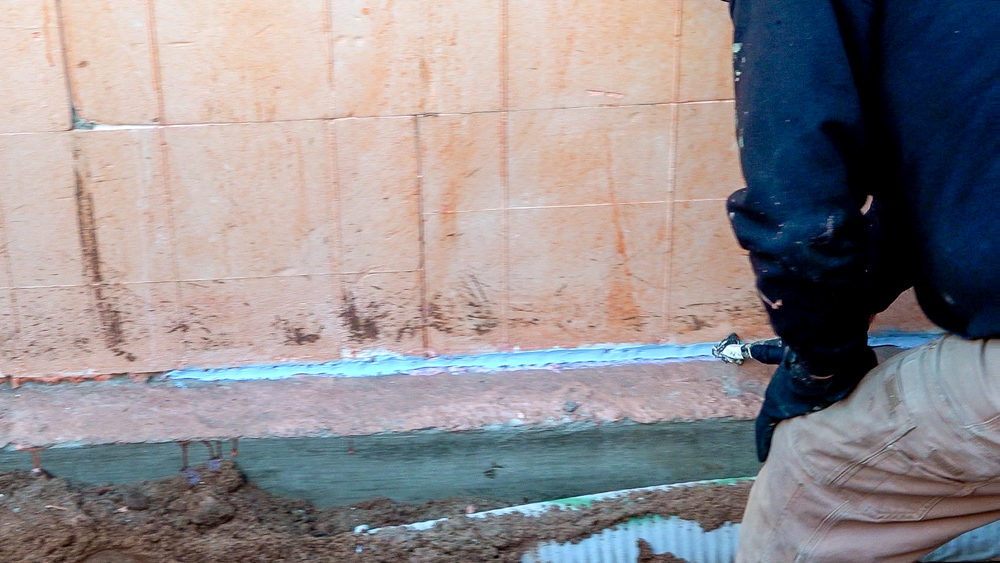
Down along where the footing meets the wall, there is a sealant that gets applied in that seam.
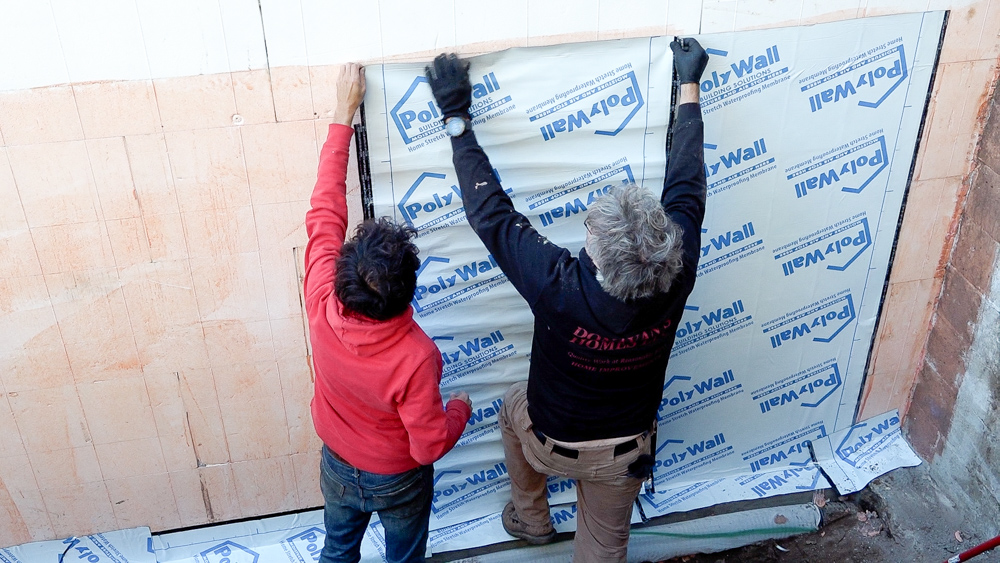
We’ll wrap a piece of membrane over the footing and then install full sheets from the finished grade line down to the footing.
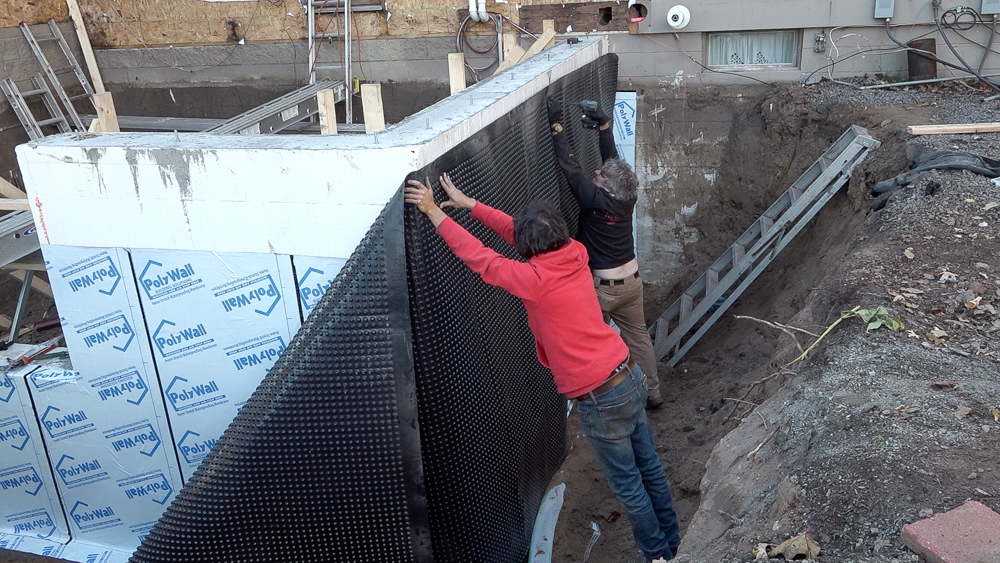
On top of that waterproofing membrane, we have a dimple membrane. That’s going to provide a drainage pathway so that when this is fully back-filled, there’ll be a little bit of an air gap there for water to flow down against the waterproofing barrier and down to the drain tile. It’s also going to provide a layer of protection as we’re back-filling, so we don’t damage that waterproofing membrane.
We have a little bit of the membrane still to install, but tomorrow we’re going to start working on the floor system. So that’s where we’re going to leave this one! Tomorrow, we will start getting some sill plates installed onto our foundation and start framing up our floor joists.
Thank you as always for joining me, I greatly appreciate it. If you have any questions or comments on the home remodel, please feel free to leave me a comment. As always, I’ll be happy to answer any questions you might have. Until next time, happy woodworking!
Welcome to my shop! This is a quick update to let you know what I’ve been up to. This big chunky thing is the leg

Welcome back to the home renovation. This time I’m going to be working on the kitchen island. Here is a small model of the island.

Welcome back to our home renovation. Today I am going to be working on this wall. It needs some upper cabinets and the surround for