
Matt's Weekly Shop Update
Kitchen Island, Barn Power – March 2024 Update
Welcome to my shop! This is a quick update to let you know what I’ve been up to. This big chunky thing is the leg
Welcome back to our home renovation/addition project.
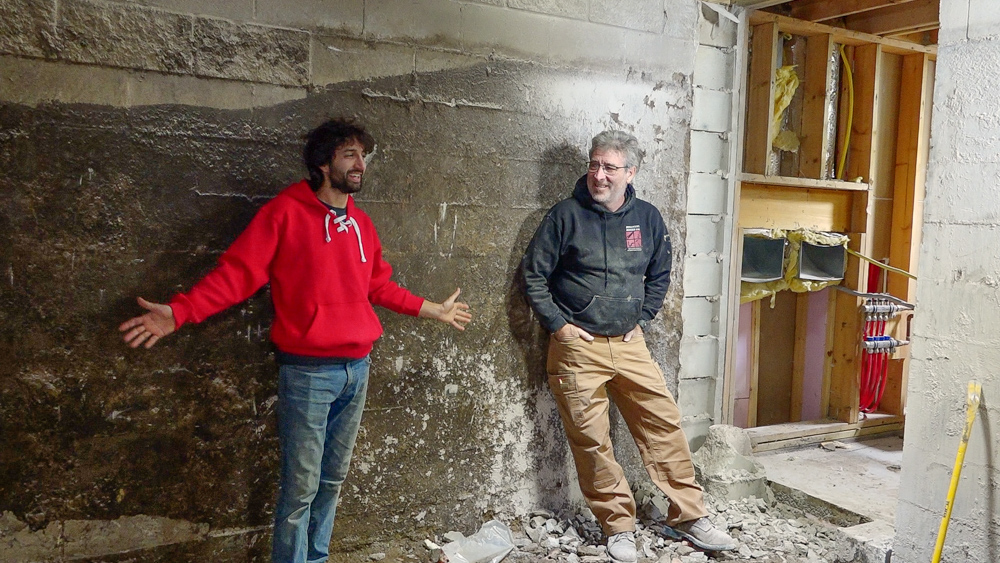
Today we’re recovering from yesterday’s insanity of cutting through the concrete wall to join the two basements. We are both still feeling the pain from that, but we’re going to keep moving forward. Today we’re going to finish up the opening a little bit and get this rubble out of here.

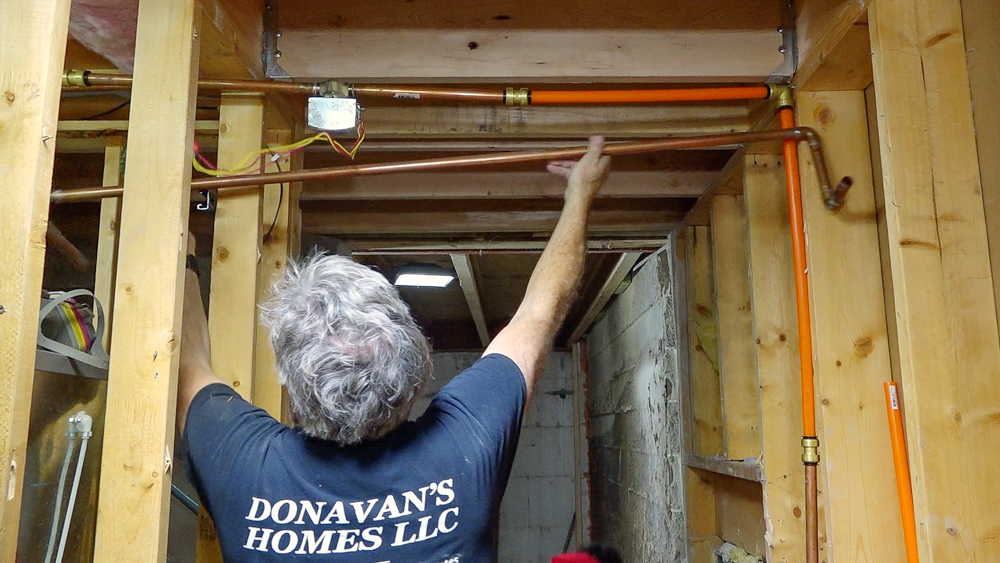
There are some lines that we have to get out of the way, because they’re going right through our hallway right now. We have the gas line for the fireplace, electrical feed for the sub panel in the shop, and the supply return for the in-floor heat in the great room. We need to relocate all of this so that we can get into the addition.
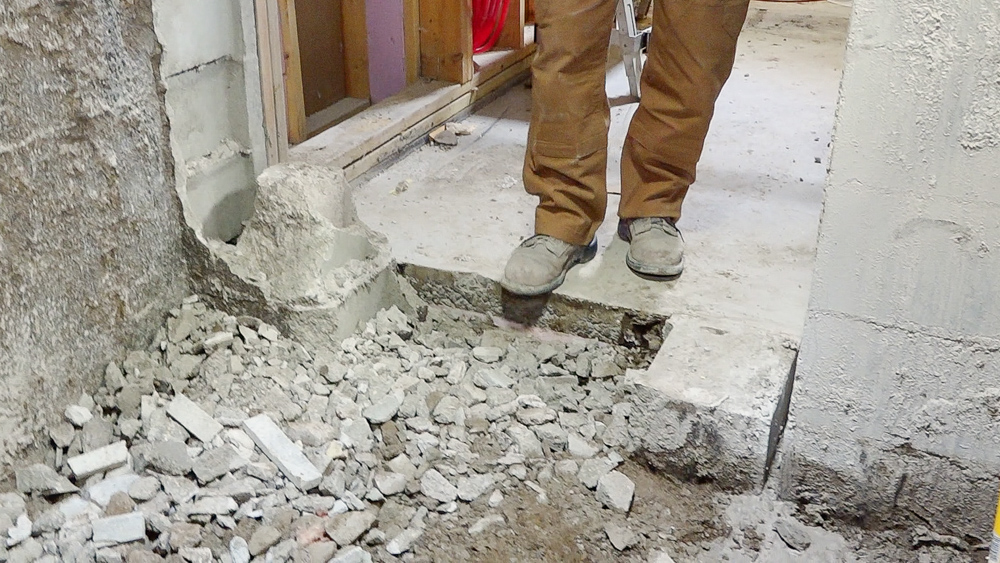
Then we need to knock these down to about four inches below the floor. Then we’ll level out all this sand, put down a six mil vapor barrier, and then we’ll put down the polystyrene foam. Then that will be ready for the plumbers to come in and put the PEX lines in, and for the heat for the floor. Then it will all be ready for the concrete guys to pour. After all of that, we have a room.
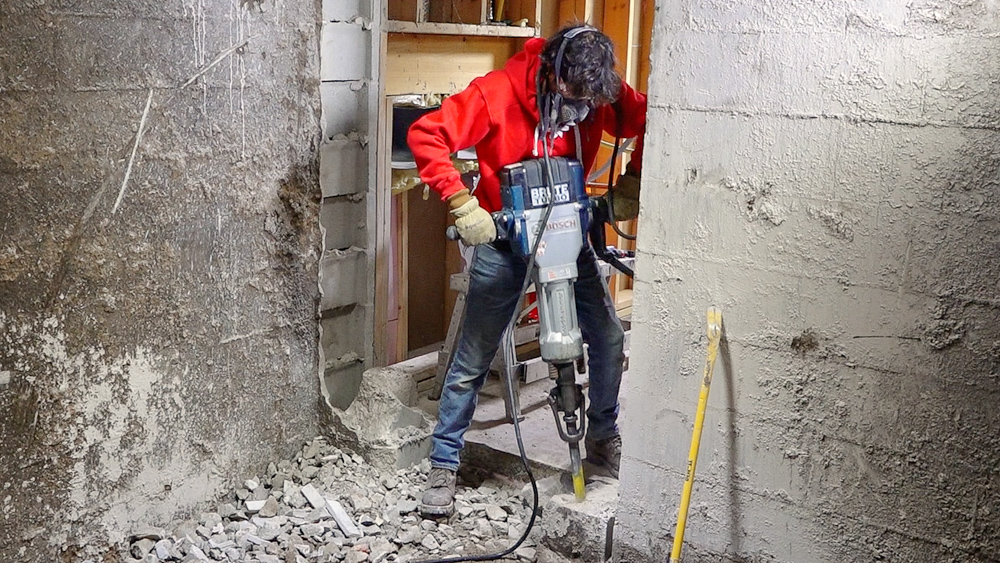
First, I’m going to bust up concrete, because Donavan is done with that. Meanwhile, Donavan is going to do the temporary relocations of all the lines so we can establish a walkway.
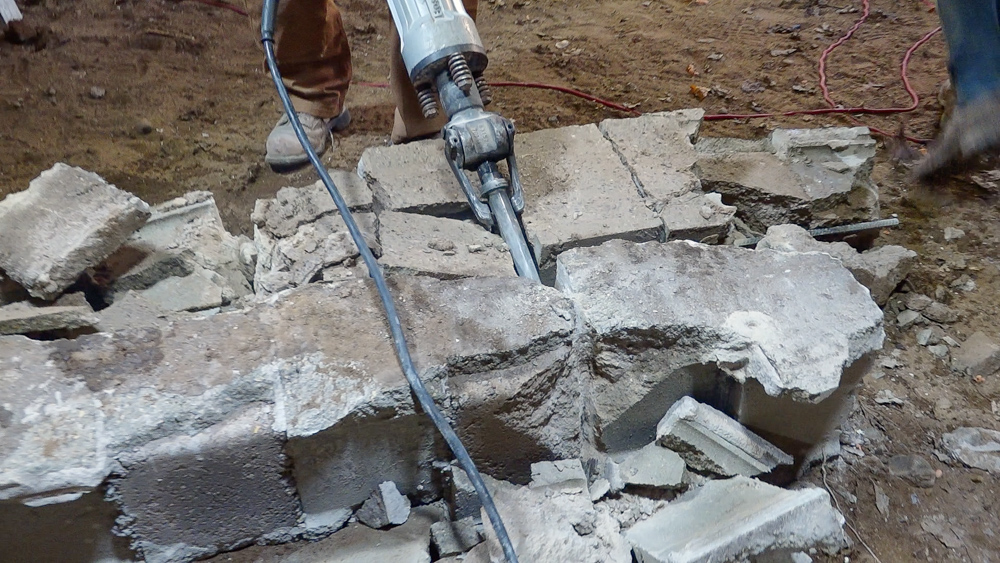
The last thing to do is to bust up these columns.
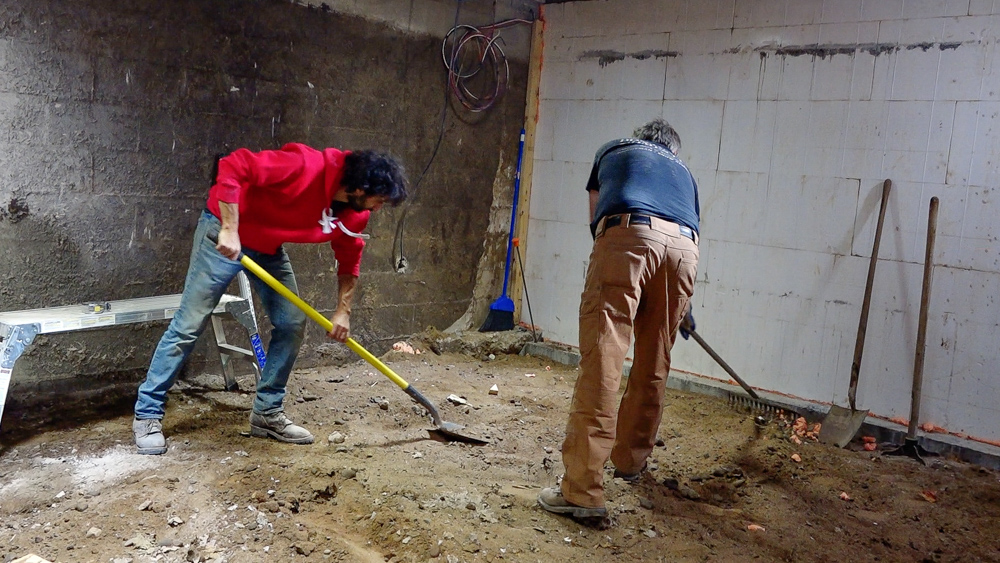
We’re starting out our leveling now.
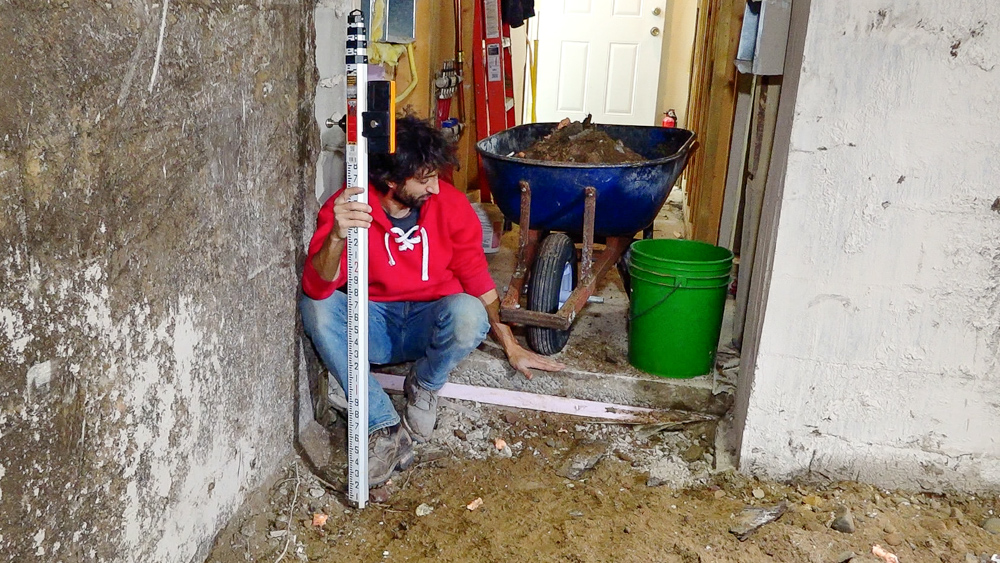
Last time you had the Grade Stick there were a lot of questions about how this thing works and how it’s set up. We’ll take a quick minute to talk about how we’re set up here. We are trying to match this existing floor, just like we were upstairs, and we try to get a seamless transition into the existing house. So our target for our finished high for the floor is right here, matching the existing floor. We’re pretty much mimicking the exact setup of the old floor.

This is an in-floor heated slab, so we have a vapor barrier down here on the ground, which we’d have even without in-floor heating. But we also have a two inch piece of foam, which is our installation, and then four inches of concrete that has the PEX tubes in it, which turns the floor into the radiator. Hot water is pumped through those tubes, the floor gets hot, and then everything else gets hot. So we’re doing exactly the same thing in the addition. We need our grade height in the addition to match the bottom of this foam in the existing floor, because that’s what we’re going to be laying down.
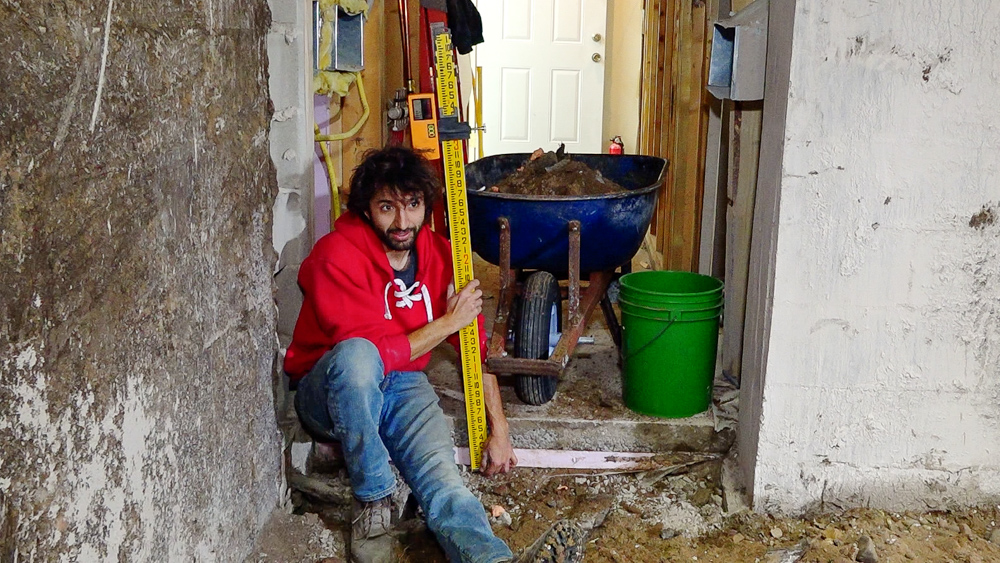
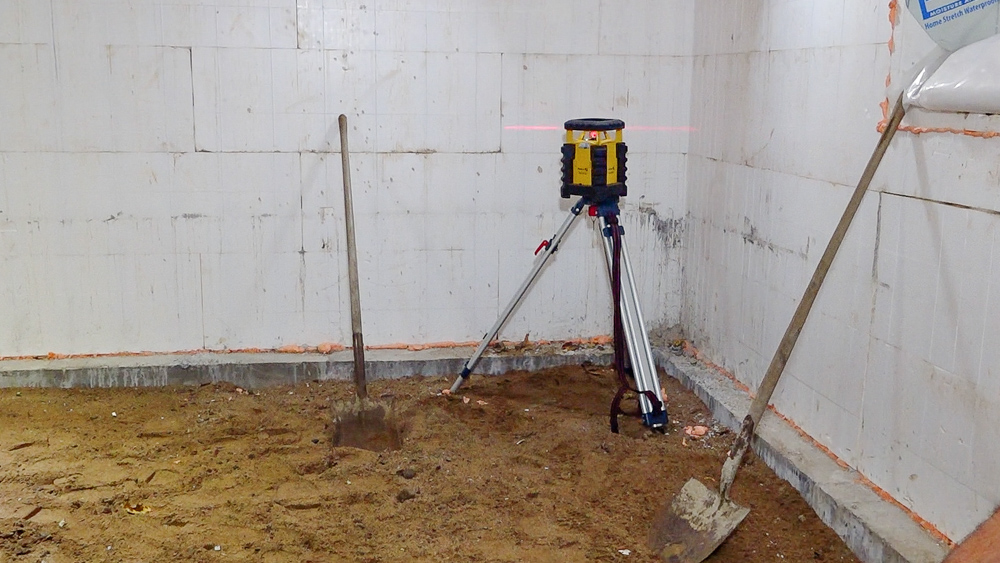
We can use this fancy stick with the laser detector on it to figure that out. So there is a laser over in the corner, which the stick detects. So when the bottom of the stick is flush with the bottom of the foam, it detects the laser and it will beep. If you go too high or too low, the beeping sounds different. So with this set to the bottom of that expanded polystyrene, you can walk through the whole area and find where the grade height needs to be. So we are getting close now, we have a little more leveling, then we can put our vapor barrier and foam down.
So now the floor in here is all prepped and ready to go for the underlayments: our plastic and our foam and our PEX and our concrete.
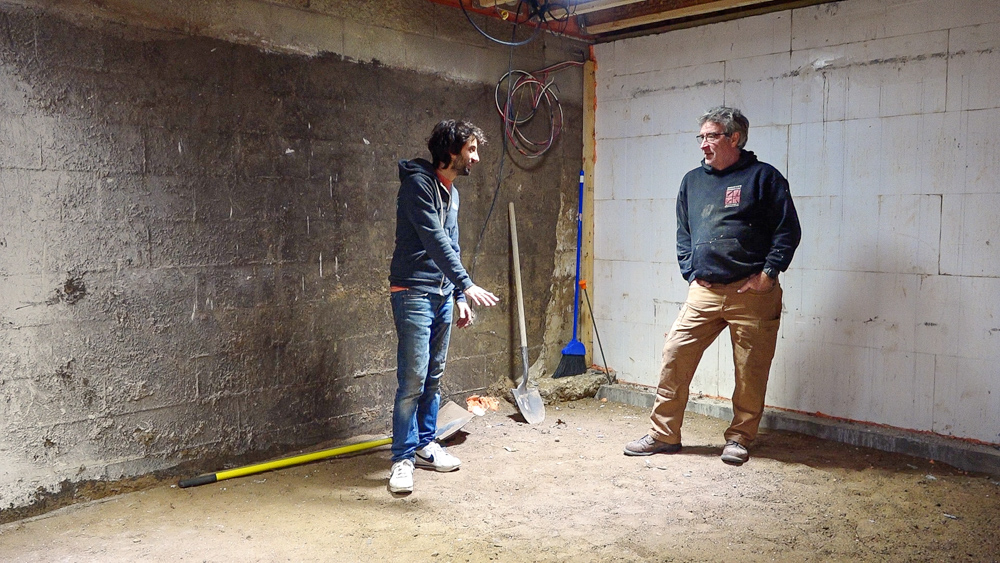
On top of that, it’s Thursday, the 18th of November, and Donavan is leaving us. He’s going off to do other things. Sometime between now and Christmas, we’ll get the foam down, have the plumbers come in, and get the concrete poured. But other than that, we have an eight week break where Donavan’s working on some other jobs, which also keeps the entirety of the house intact through the holidays for us. Because the next big thing for us is a lot of demo inside of the house to join the additions to the existing space. So we’re going to put that off until after the holidays.
So we will have the HVAC guys coming to reroute the duct, the plumbers coming for the in-floor heating here and the front addition, and the electricians coming through to do some work as well. Then in January, we’ll completely seal the section of the house that we will be working on. We’ll get all the gutting done, and then we’ll do all of our big framing, then tear out all the load bearing walls.
So that’s going to do it for this one, and that’s going to do it for us for a little bit. Thank you so much for joining me. As always, I appreciate it. If you have any questions on the home addition and remodel, please feel free to leave us a comment. As always, we’ll be happy to answer any questions you might have. Until next time, happy woodworking or whatever else you’re doing!
Welcome to my shop! This is a quick update to let you know what I’ve been up to. This big chunky thing is the leg

Welcome back to the home renovation. This time I’m going to be working on the kitchen island. Here is a small model of the island.

Welcome back to our home renovation. Today I am going to be working on this wall. It needs some upper cabinets and the surround for