
Matt's Weekly Shop Update
Kitchen Island, Barn Power – March 2024 Update
Welcome to my shop! This is a quick update to let you know what I’ve been up to. This big chunky thing is the leg
Welcome back to our home remodel project! So far we have been focusing on the addition on the back. But today we’re going to be taking a break from that and start on the addition on the front. In addition to the addition on the back, there’s going to be a small bump-out addition on the front of the house where the front door is right now. That is going to be where the new kitchen sink area will be.
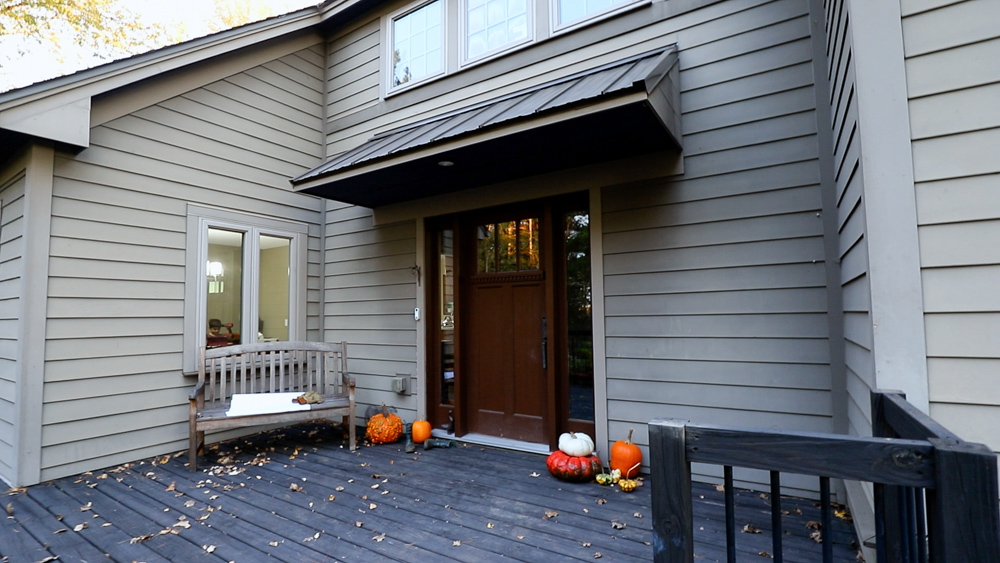
This is where the work area will be. We have a basement level, main level, and second level. Only the main level will have an addition, which will bump the front wall so that it will be flush with the exterior wall. That will give us a few feet of interior space. The front door will also move to the current dining room area as a result of the bump-out.
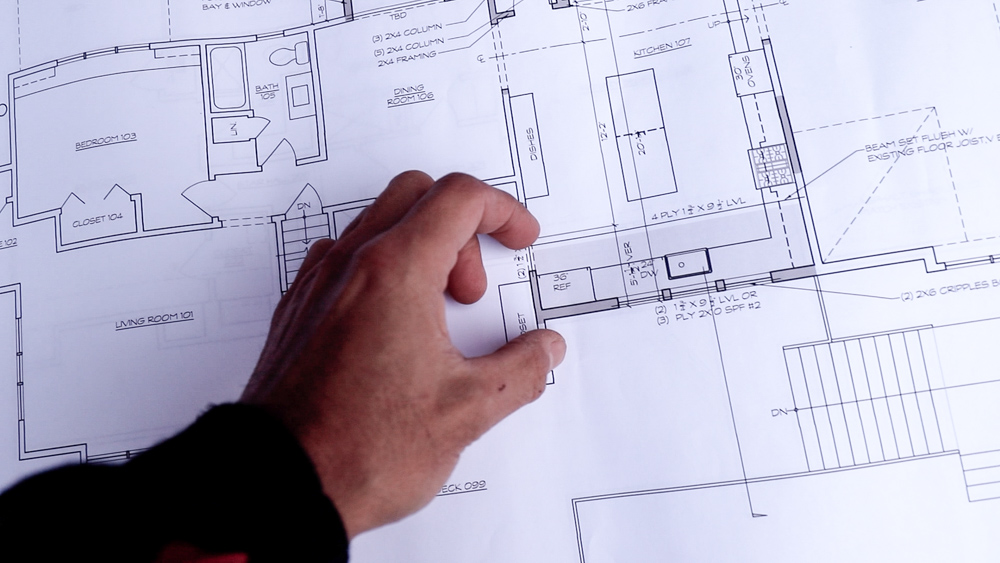
Let me show you the plans for a little bit of context. This is the little bump out here on the front. It will give us a little more room in the kitchen, and it is where the kitchen sink will go.

Looking at the basement view, we aren’t doing anything crazy for the foundation for this front addition. We’re just installing two support posts and a beam which carries the weight of that addition. Today we’re going to be dealing with these two support posts.

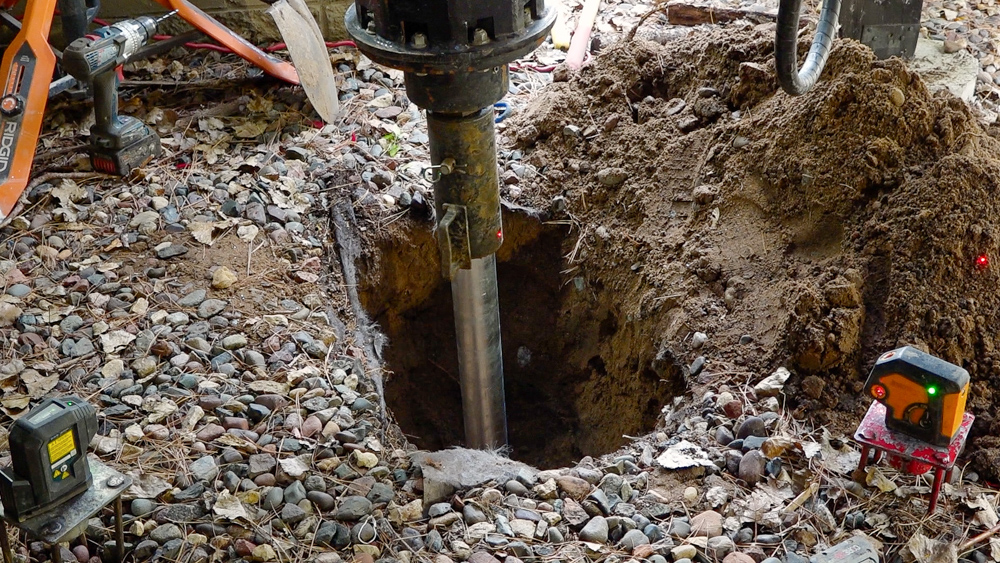
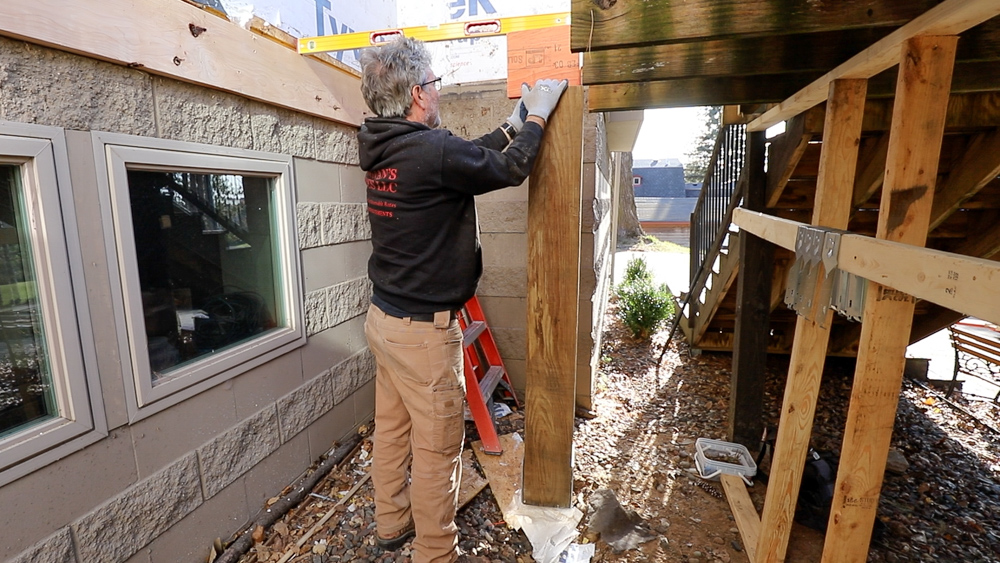
Today we’re doing helical piles. These helical piles are actually pretty cool. They’re essentially screwed into the ground, and that becomes your footing.
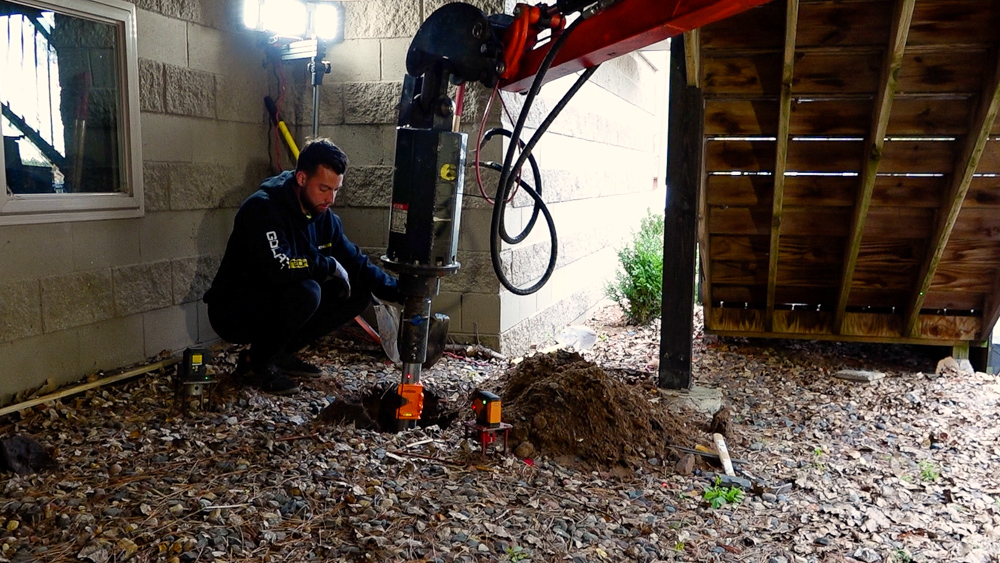
It’s basically like an auger attachment for a machine, but instead of the auger drilling in the ground and pulling all the dirt up, the auger drills in the ground and stays in the ground.
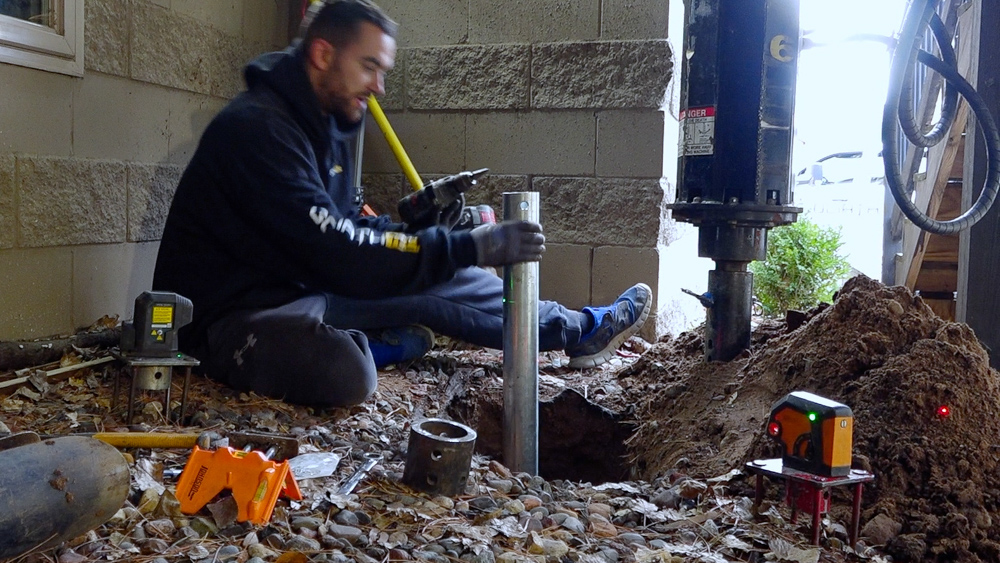
All of these piles are 60 KSI steel, and the threaded rod that we have on the actual U bracket is 90 KSI. These are rated for 60,000, metal rods rated for 90. Everything we have is galvanized as well. It has been tested in 30 years of salt water. Given that we live in Minnesota and it doesn’t have salt water, these will have about a life expectancy. The inside of all the piles are insulated with polyurethane and spray foam because they are often installed in places with high water tables. There is a good three foot section of insulation so the water never gets down into the helix, freezes, and heaves the pile.
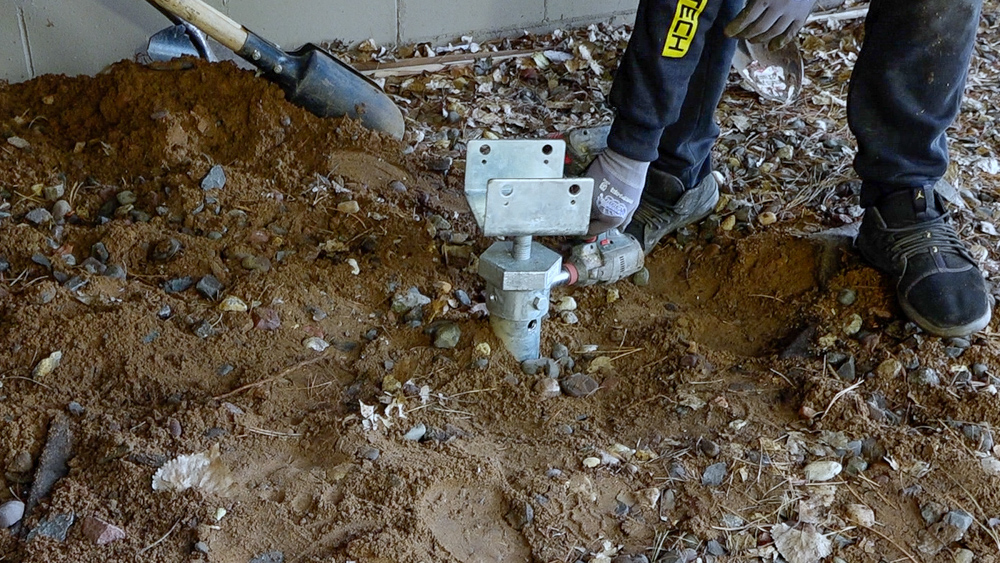
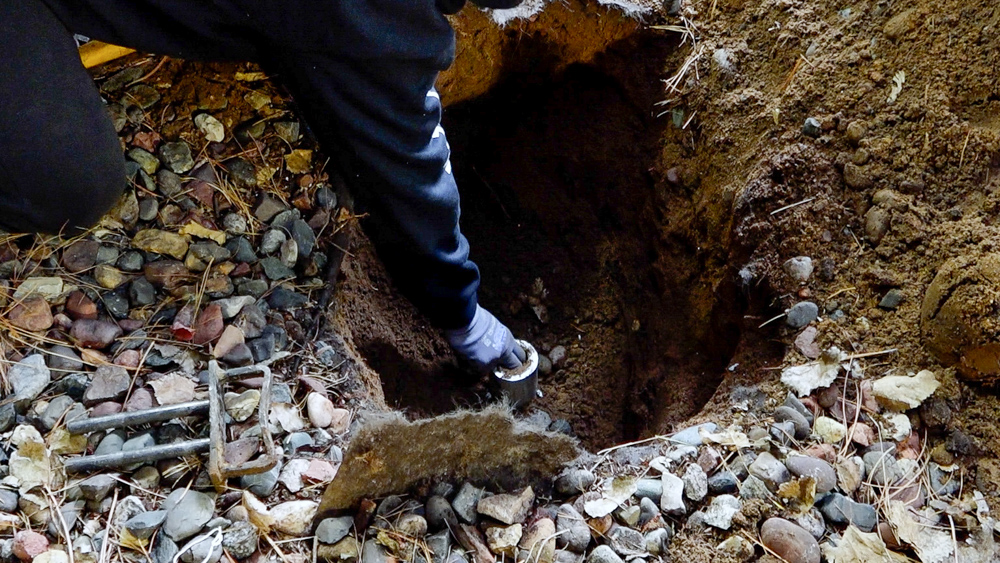
We’ll set that knuckle in there with a bolt that tightens the knuckle. The threaded rod is basically free spinning until you get that weight of the post on there.
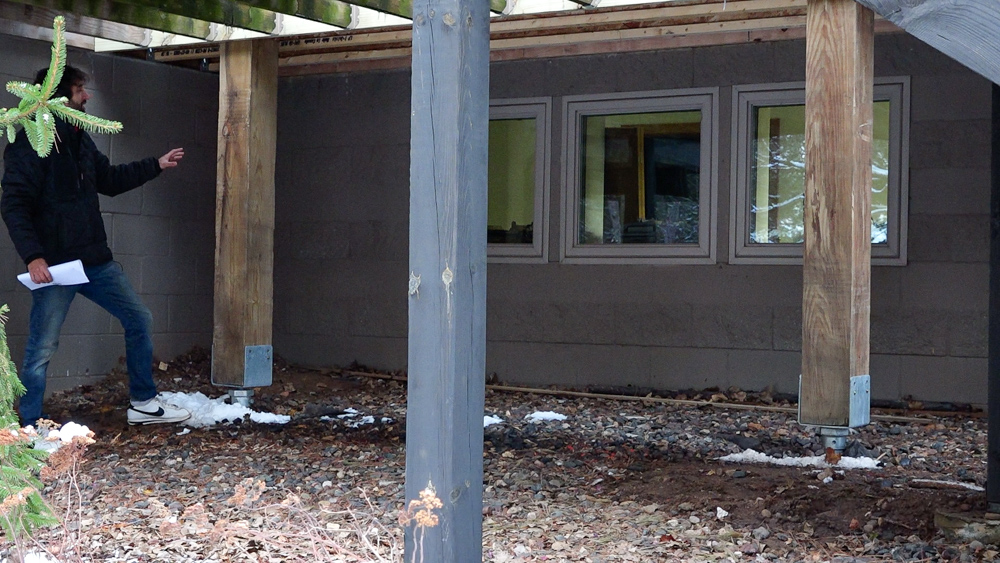
Here is the final installation (or at least pretty close to it). We are waiting for some plates to come in that will secure the post to our beam.
Having the adjustability in the screw mechanism made setting these posts super easy, because we had some up and down adjustability. That meant we didn’t have to worry about cutting the posts super precisely, which is a nice plus.
I thought I’d run through the pros and cons and the costs of the install, so you can have some idea if this is a good thing for your project. Our total costs getting these two installed was $1600. Now, our installation was a little more challenging because we don’t have a whole lot of head room in here to work. Because of that, they had to cut down the initial screw to a shorter length and then adding extensions, and the extensions cost us an additional $300. These screws are also larger than ones you would use for a deck or a project of that sort, so keep that in mind as well.
Here are the pros. The biggest pro by far is the speed. It goes in the ground really quickly. They’re in and out with the install, and you can start building that same day. Compared to a concrete footing, you would need time for digging and curing time on the concrete before you could start building. Next thing here on my list is that they are reusable and moveable. If you’re doing something temporary which needs a good foundation, these would be pretty good for that. Because they unscrew out of the ground, you can move them wherever you want to put your structure next. The last thing is the adjustability with a screw mechanism on top, which gives you the flexibility to move your post up and down, meaning you don’t need to be super precise with the cuts on your posts.
Now on to the cons. The biggest one is the soil conditions. If you have big rocks or things like that, you may not be able to use these. The soil is all sand here, so that’s not an issue for us and these can go anywhere. The last con is the cost. These are a lot more money than digging a hole and pouring concrete into it. If you’re doing a fully DIY concrete footing, and you’re just looking at material costs, this is going to be astronomically more money because you’re not valuing your time. If you’re outsourcing the footing work, and you need to get equipment, the costs are a little closer. This will still cost more, but it is easier.
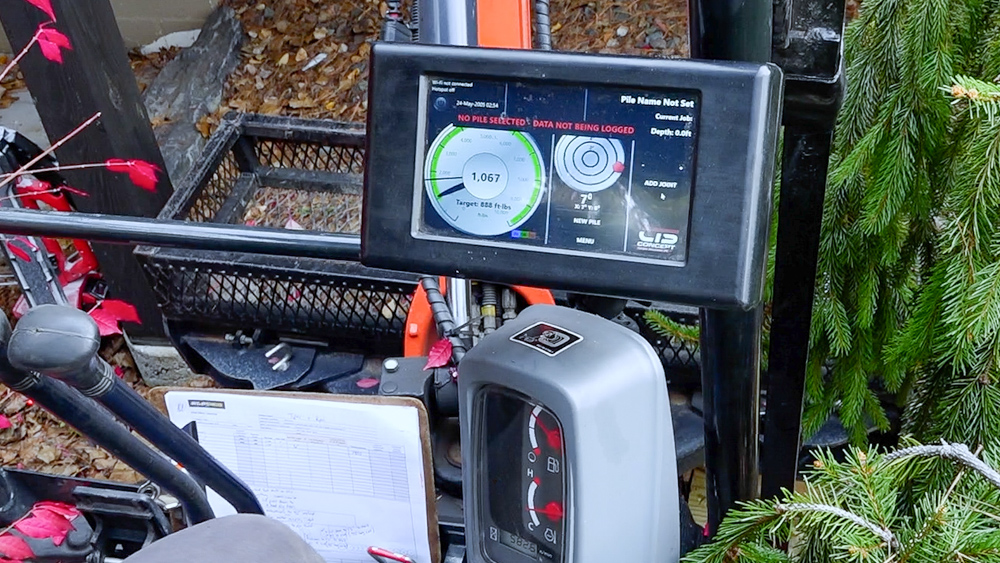
When they do the install, you get a printout of the specs on the footings for your records. As they’re installing it on the machine they have a readout that tells them a torque that they’re applying to the screw, which will translate into the bearing strength of your footings. For our engineering specs we need a bearing strength of 2000 pounds per post. The post on the left has a bearing strength of 4,770 pounds. That is a torque of 1,060 foot-pounds that was being applied to that screw. The post on the right is even higher. It’s 6,500 pounds, and the torque achieved was 1450 foot-pounds.
It’s an interesting system! I really wanted to try this because I saw it online and thought it seemed like a pretty cool thing to see and share. I’m happy with it, and happy that we didn’t put our own concrete footings in here. Digging a hole for concrete footings under this deck with minimal headspace, plus the sand causing bad stability in the hole would have been difficult. This was a perfect solution for our weird installation.
We’ll get back into the addition on the back next time, but for now this is a little preview of what’s going to be happening here on the front of the house. Thank you as always for joining me, I greatly appreciate it! If you have any questions or comments on the screw piles, the additions, or anything back in the shop, please feel free to leave me a comment. As always, I’d be happy to answer any questions you might have. And until next time, happy woodworking!
Welcome to my shop! This is a quick update to let you know what I’ve been up to. This big chunky thing is the leg

Welcome back to the home renovation. This time I’m going to be working on the kitchen island. Here is a small model of the island.

Welcome back to our home renovation. Today I am going to be working on this wall. It needs some upper cabinets and the surround for