
Matt's Weekly Shop Update
Kitchen Island, Barn Power – March 2024 Update
Welcome to my shop! This is a quick update to let you know what I’ve been up to. This big chunky thing is the leg
Welcome back to our home destruction/renovation/remodel project. So far it’s been a lot of destruction.
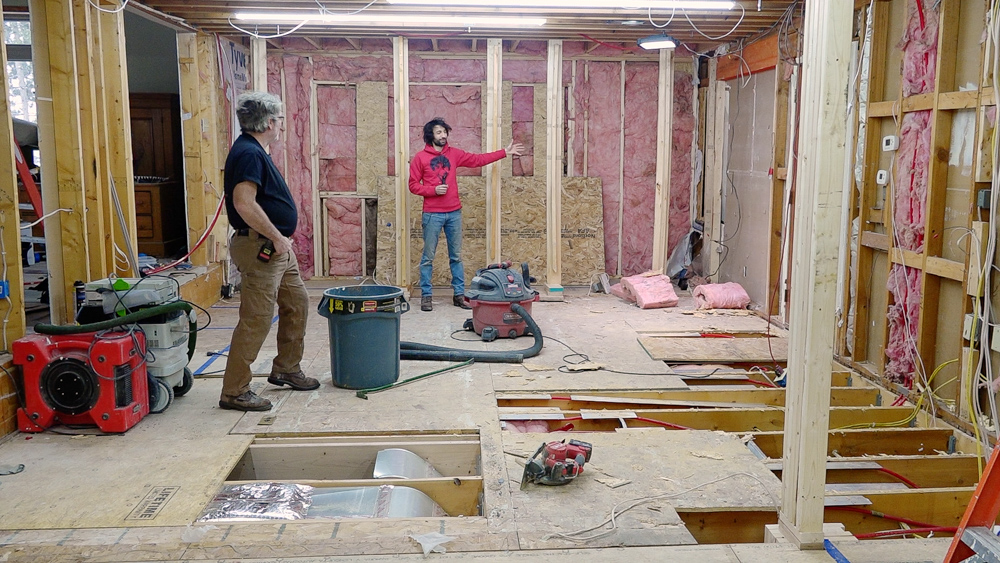
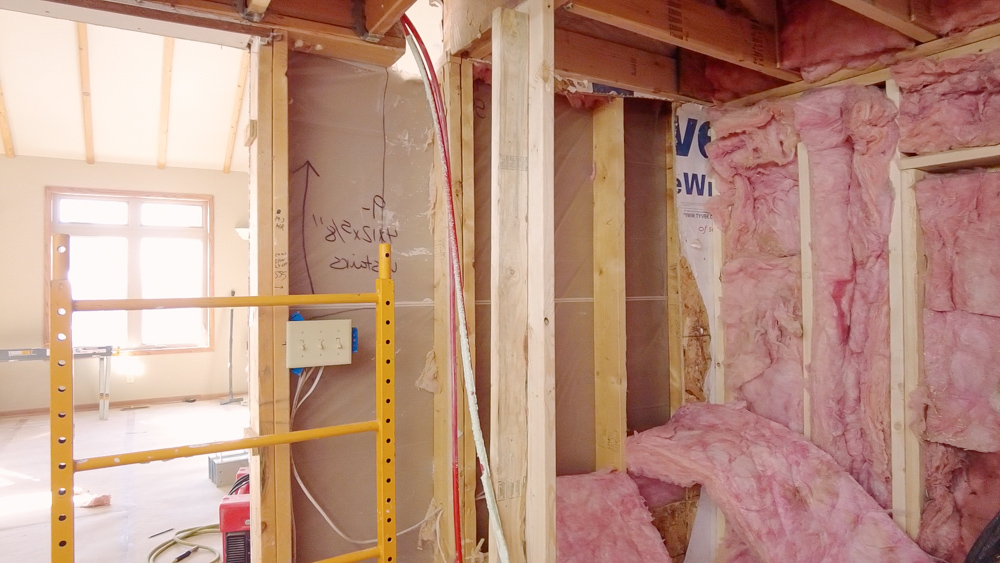
Last time we got the old exterior front wall removed and replaced by these temporary posts. We were planning on setting the beam for this this week, but we’re doing this thing that Donavan called “shifting.” The electricians are coming later in the week, and their job will be harder for them if we put the beam in. So we’re on hold with this.
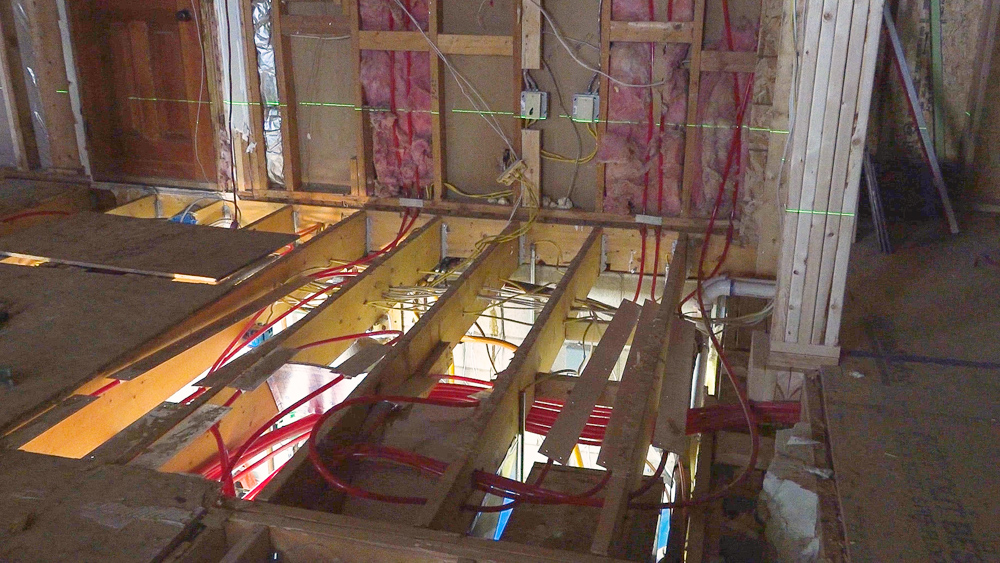
So we are moving back to the floor for now. When we removed the slate floor, there were a few spots where we were overzealous, and we went right through the subfloor. We were planning on patching that anyway, so it wasn’t a big deal, but as we removed the slate floor we noticed that there is about a 3/8 swale in the floor. So we’re going to lift that up.
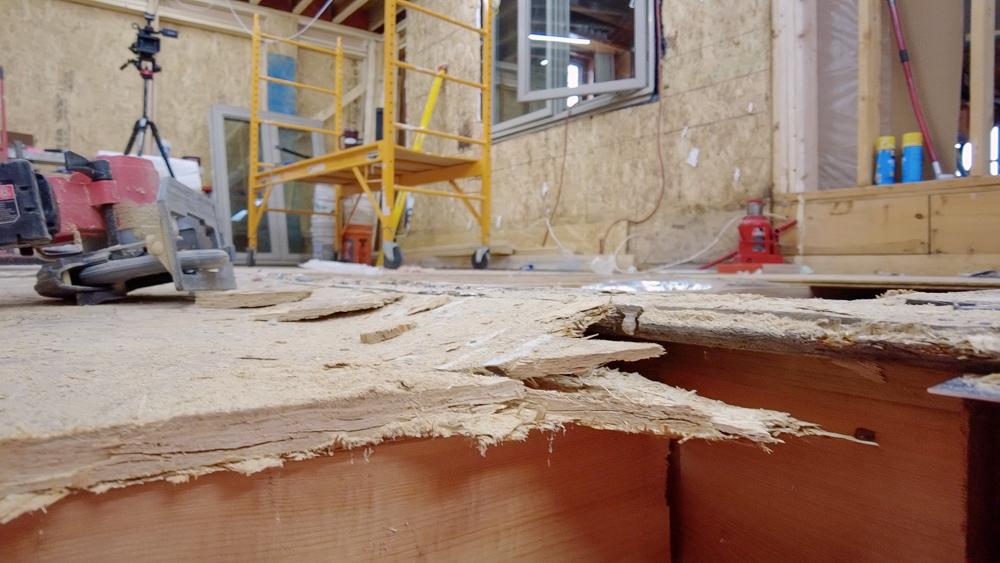
And we also found that there are some joists that are not attached to anything. So we’re replacing more of the subfloor than we were planning to replace, and also doing some structural work that we weren’t planning to do.
![]()
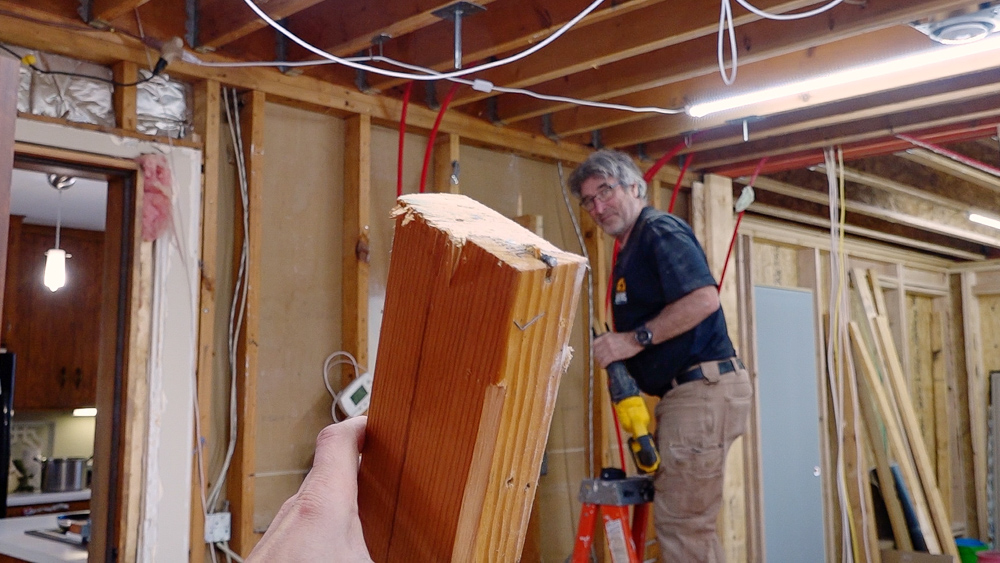
Donavan is getting a boot on this disconnected joist so it has some flex in it. Right now, when we walk in the area, the furnace moves, because that’s what’s holding those joists up.
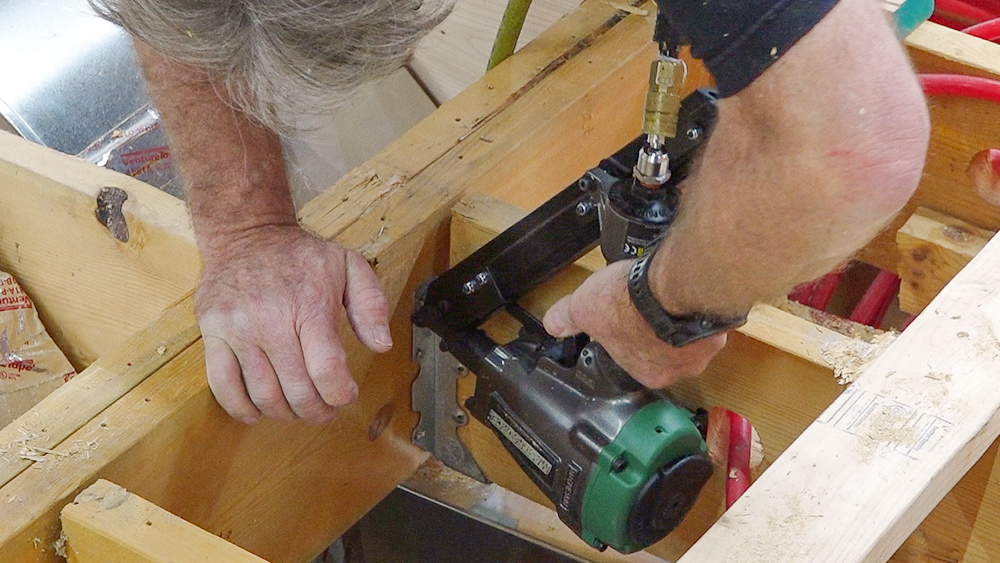
Getting some joist hangers installed to get this thing connected.
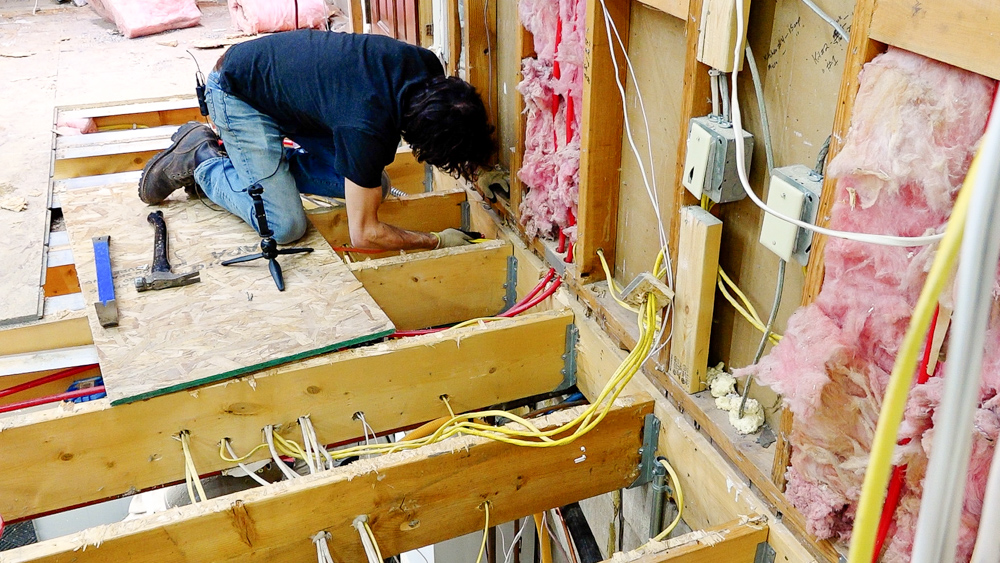
So with the joists hanging now, now we’re going to start trying to get them loosened up and removed from this side by pulling all the hanger nails that go into the joists.
All right, so time to play with some lasers, we’re going to see how far out this floor is and start adjusting it. Comes out to half an inch difference across the full span of the wavy area, and between two joists, there’s a quarter inch drop. So we have a sudden drop and then a gradual rise.
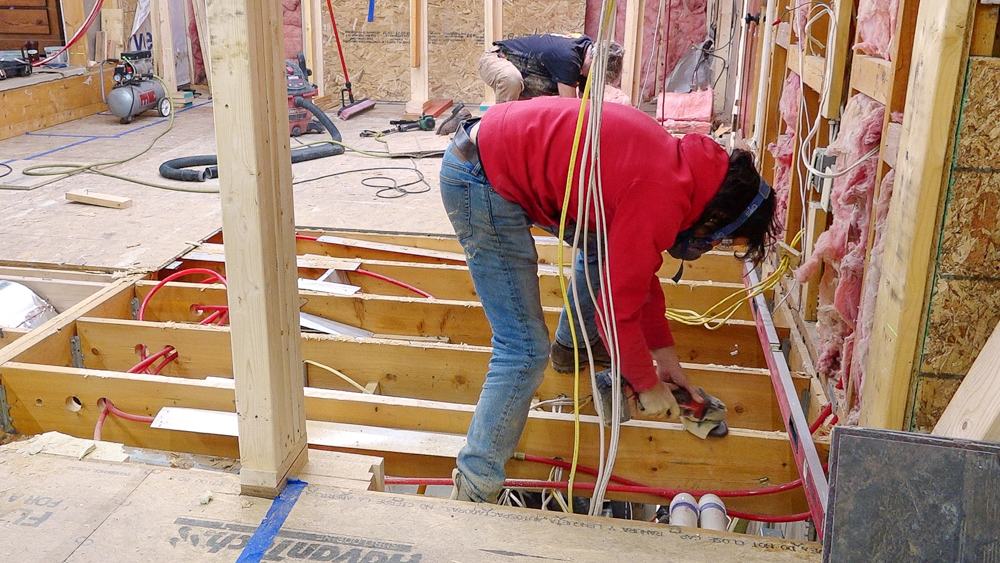
After straightening the joists, we gave them a quick clean.
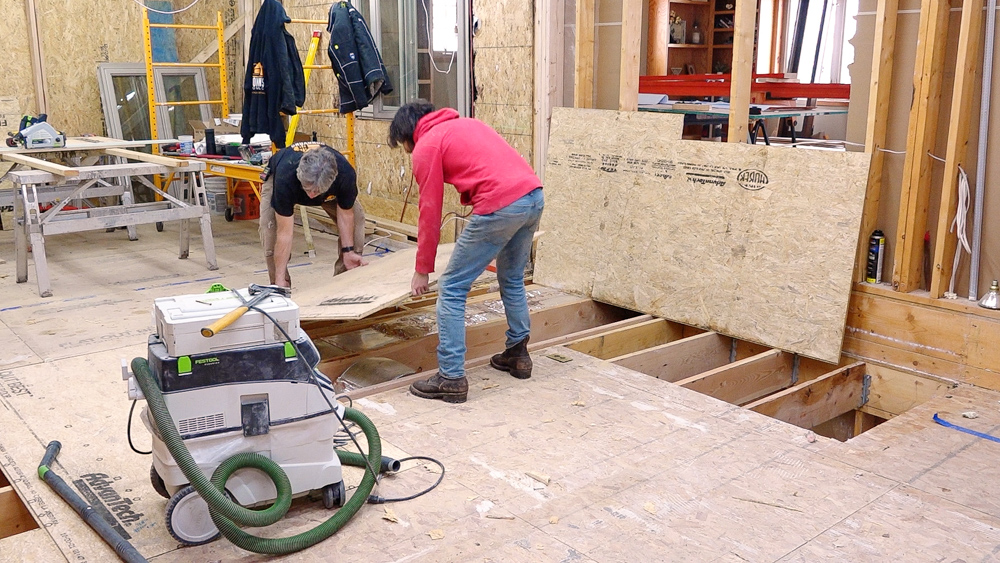
And laid down the new subfloor
Now it is the next day, Wednesday. We ended yesterday cleaning and organizing this area. Got our lumber out of here and into the great room, got the tools all in one pile, and the space is looking a lot more inviting and open just by having less clutter everywhere. So today we are… kind of trying to figure out some things to do. The electricians will be here tomorrow to come and take care of the wires and things. So I think today is going to mostly be taking care of small things.
Donavan has been getting this area all prepped, and he just cut this pocket for the beams which are going here.
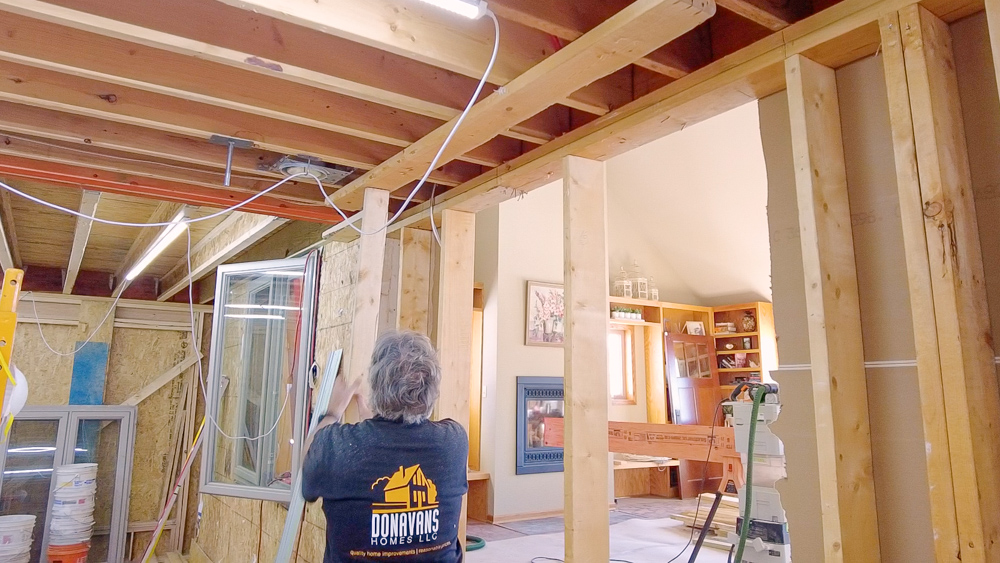
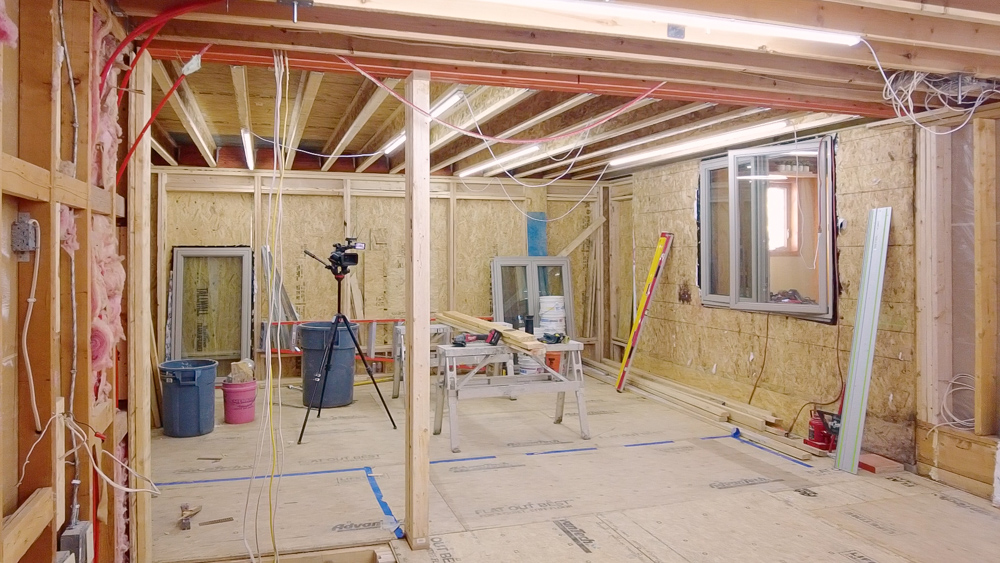
Next we are working on framing this opening here. We need to get an LVL up into this cavity here, so we are going to build a temporary wall to support all these joists. Then we will cut the double top plate out, trim back all of the joists, slide an LVL up into place, hang everything, and then drop our temporary wall out again.
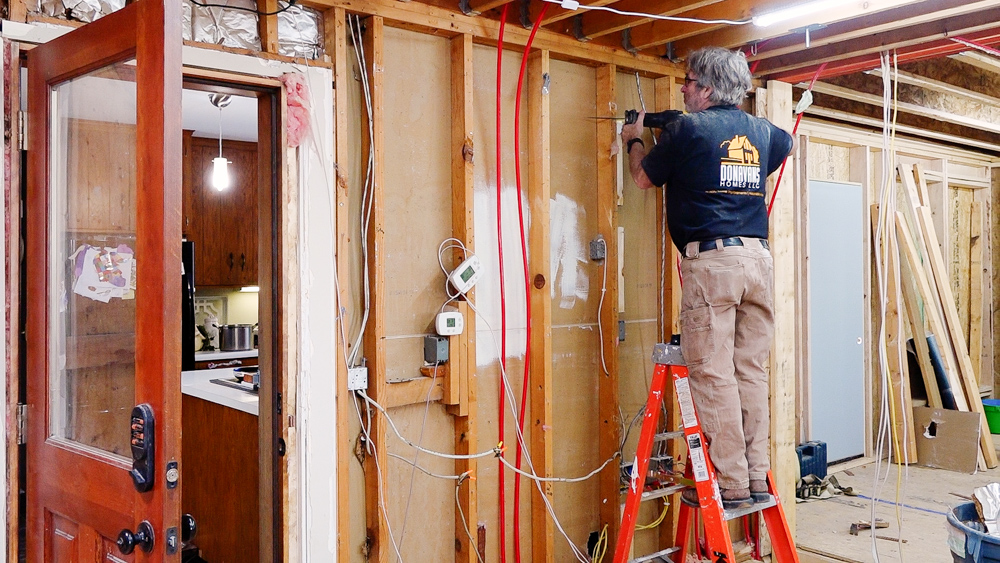
So we’re taking a little break from the opening into the great room, and starting to take a look at this side. This will have the same size opening. The other side of this wall is the current kitchen with all the cabinets, and we’re trying to figure out how the cabinets are attached to this wall.
Turns out, the cabinets are attached very close to the top plate. So close, in fact, that you can see some hardware that was holding the cabinet up to the wall. That means we’re at a stand still with this opening too.
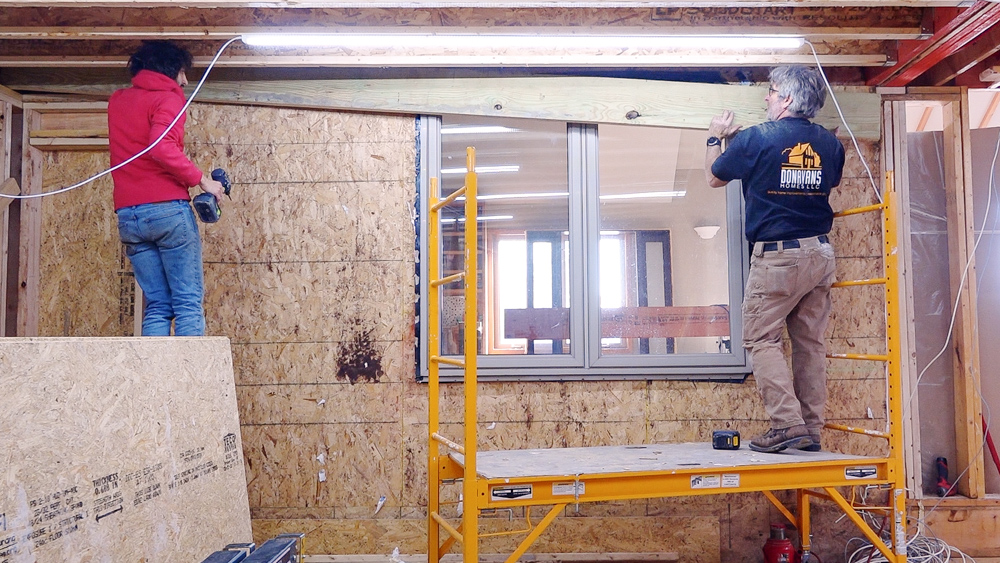
So, shifting gears again, this window needs to get out of here. Up top, we have a nailer which we didn’t permanently affix because we knew the window had to come out. So now we’re going to take it back down so we can get at the top window flange nails, and then we can put our top plate in.
And that’s going to do it for this one! Hope you enjoyed this disjointed day. That’s how it goes sometimes, but the nature of this series is to keep it real. Some days you’re all over the place waiting on other things to happen, and you just find what you can do to fill the day. So tomorrow the electricians will be here, cleaning up some of the wiring so we can move through and finish all of our structural framing. Then maybe get into some of the non-structural stuff.
So thank you, as always, for joining us. I greatly appreciate it. If you have any questions or comments about the home addition/remodel/destruction project, please feel free to leave us a comment. As always, we’d be happy to answer any questions you might have. And until next time, happy woodworking!
Welcome to my shop! This is a quick update to let you know what I’ve been up to. This big chunky thing is the leg

Welcome back to the home renovation. This time I’m going to be working on the kitchen island. Here is a small model of the island.

Welcome back to our home renovation. Today I am going to be working on this wall. It needs some upper cabinets and the surround for