
Kitchen Island, Barn Power – March 2024 Update
Welcome to my shop! This is a quick update to let you know what I’ve been up to. This big chunky thing is the leg
Welcome back to the barn, and this time we are setting up dust collection!
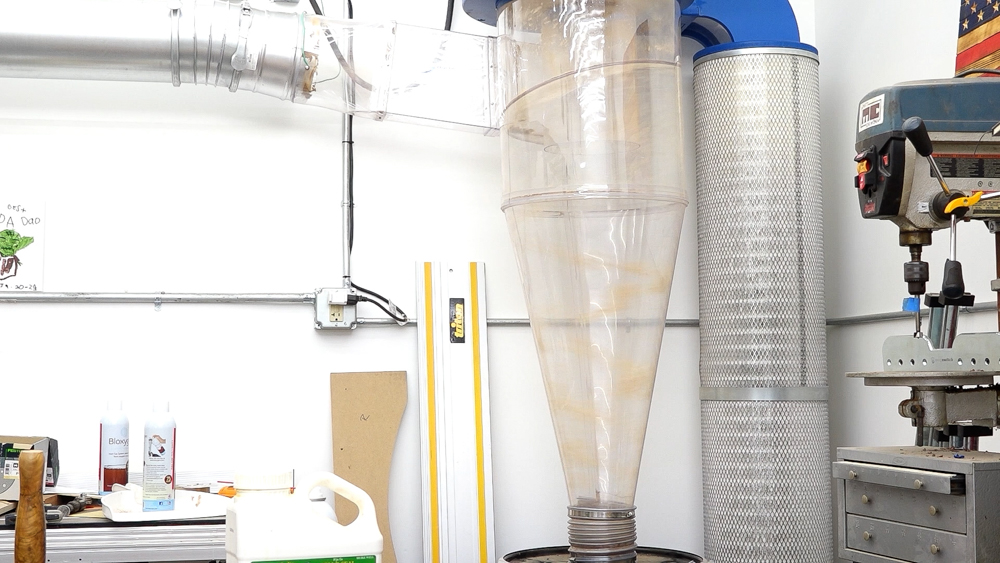
In the shop, I have the Clear Vue CV1950, which I absolutely love. It brings me such joy to watch sawdust swirl around in there, and most of you share in my appreciation of how awesome that is. But some of you don’t like the idea that that cyclone is made of plastic, so out here in the barn, I’m using the Clear Vue EF5, which is made out of steel.
Now I am an affiliate for Clear Vue Cyclones, so if you use the coupon code, “Cremona5” at checkout, you can save 5% on a cyclone system. Clear Vue provided the entire system for the shop, and for the system in the barn, they provided the cyclone. I’m providing all the ductwork, and I bought the accessories that they just started offering, including their filter shaker and their silencer muffler.
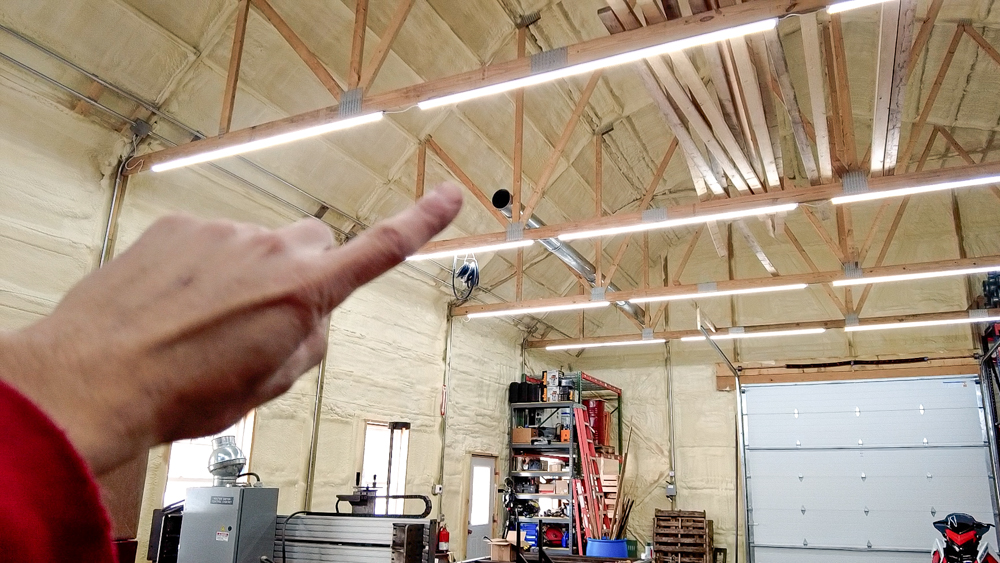
I previously installed the main trunk up here, which will run back to the cyclone mounted up on the wall. Today I want to get the cyclone assembled so I can get it up in the air. I’m going to put it up there on the forklifts in order to get it in the right spot and aligned with the existing trunk before I attach it to the wall.
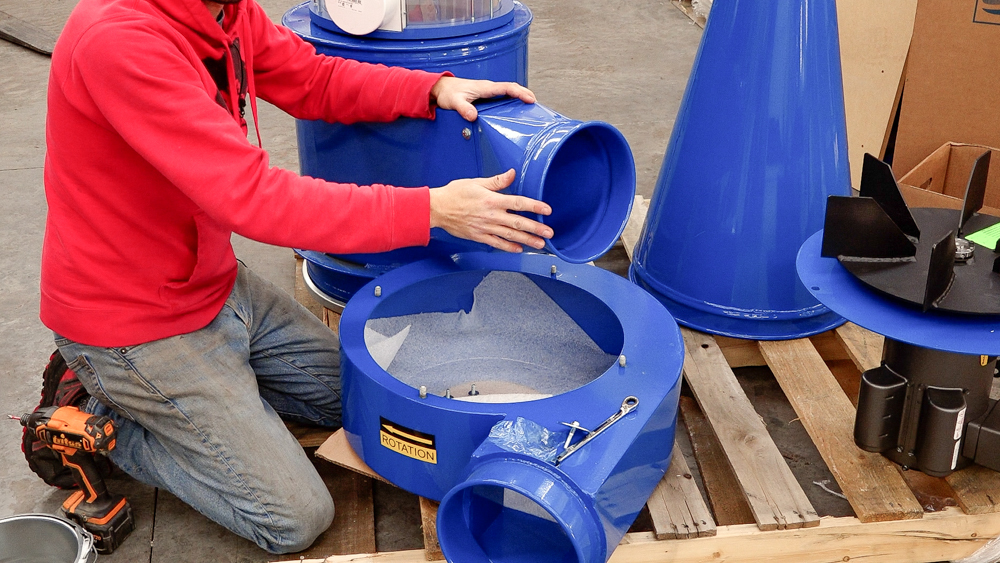
Because this cyclone is metal, it’s already set up to be compatible with Nordfab fittings. That makes it very convenient and modular.
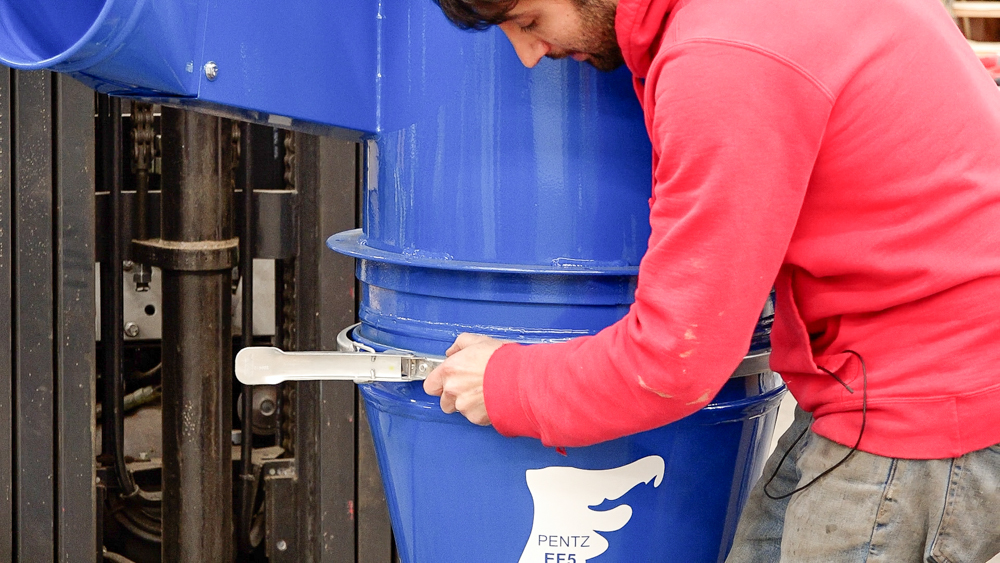
This part also uses Nordfab fittings, so this is an 18-inch Nordfab clamp. On the plastic cyclone, this area uses a silicone seal, but these clamps are self-sealing.
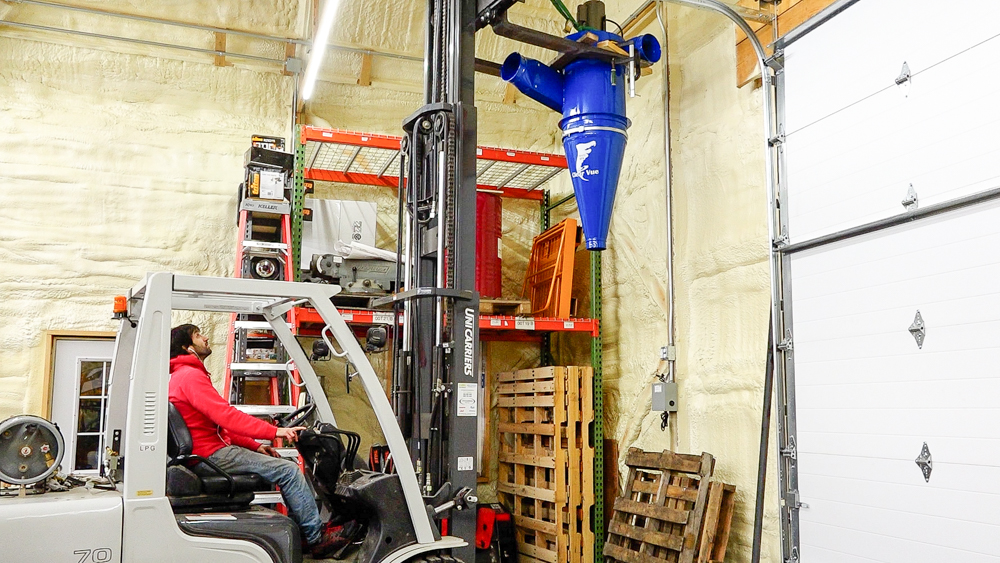
Now I want to get an idea of where this will get mounted so I can install the mounting bracket and then hang up the cyclone.
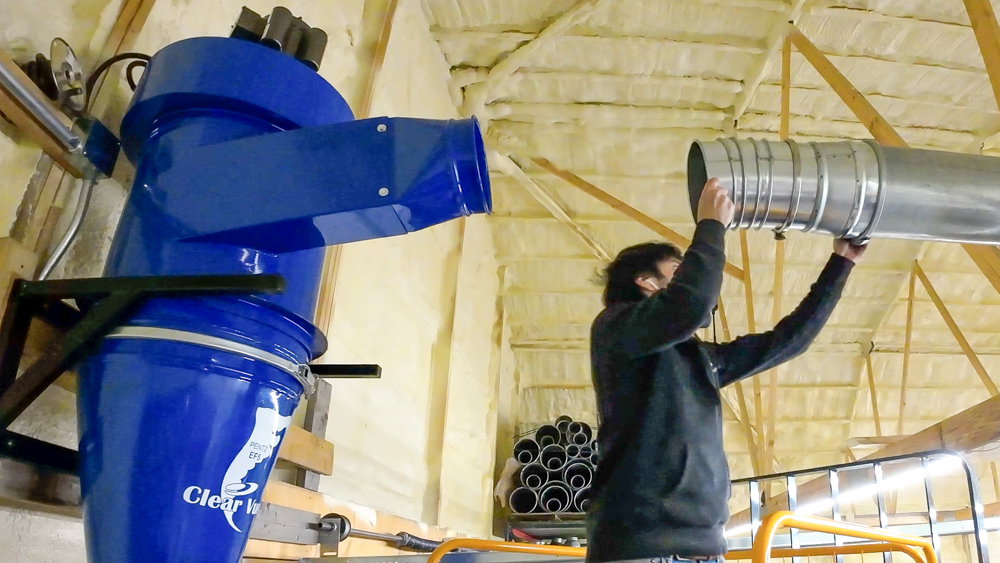
With the cyclone hanging up, now I am going to connect the trunk to the cyclone. Considering that I eyeballed the height of the cyclone, these line up pretty close. I’m pretty impressed with myself.
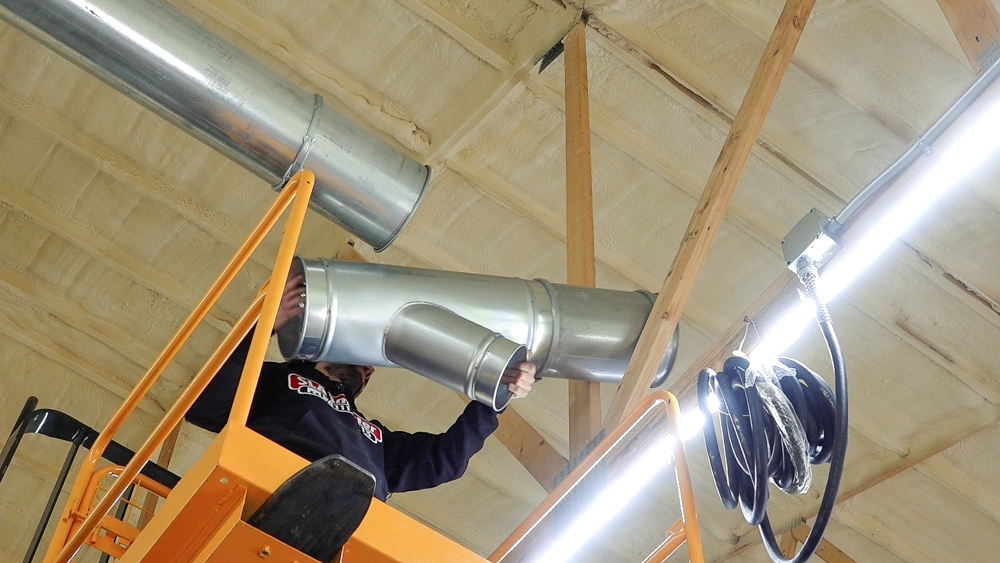
Now it’s time to build the drop, which attaches to a hose.
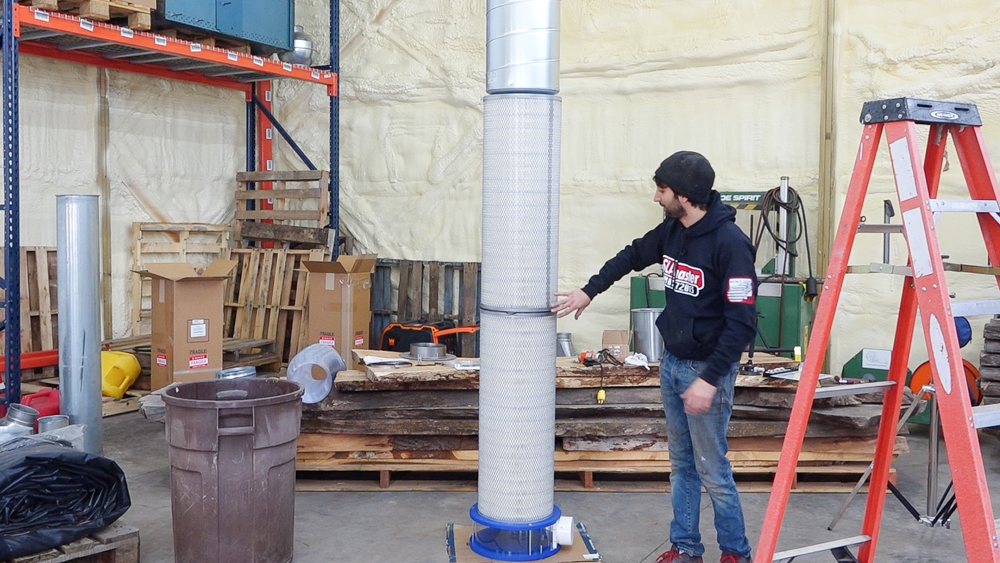
Next I’m going to move on to the filter stack, which I have kinda mocked up here. First is the clean out box, the filter vibrator mounting area between the two filters, and then the silencer on top of that. That stack is going to go somewhere on the wall up to the cyclone.
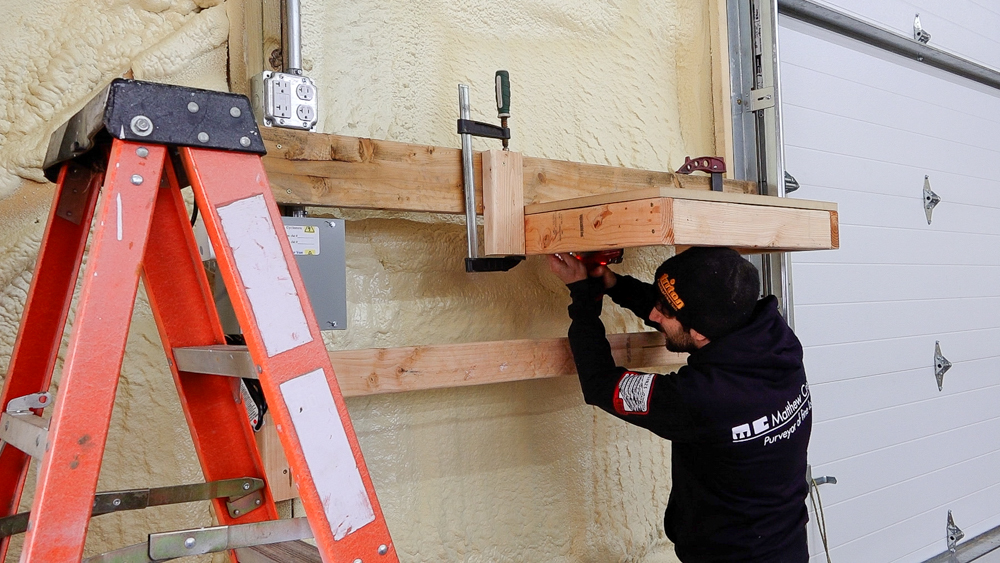
I’ve got some 2x4s that I’ll use to make a wall bracket to mount those filters.
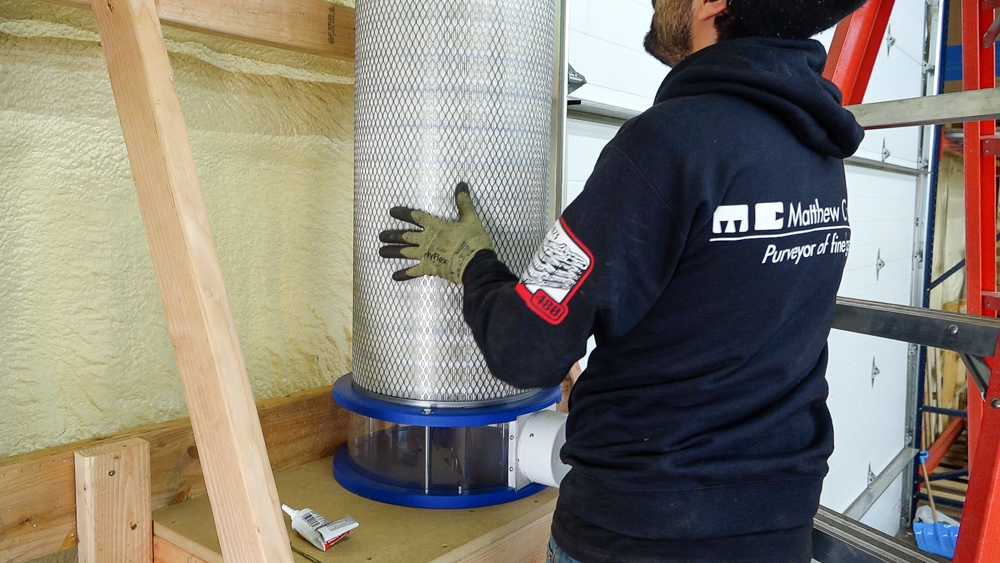
With that built, I can install the filter stack with the muffler on top.
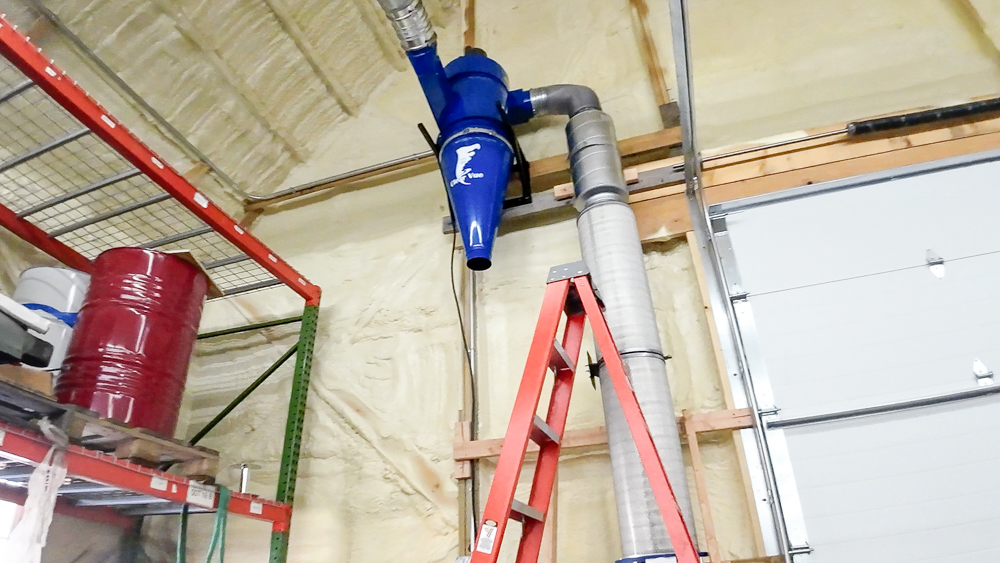
So here’s how it looks down here on the ground. I still have the collection drum to finish up and the vibrator to install onto the filter stack. Pretty close to being wrapped up here.
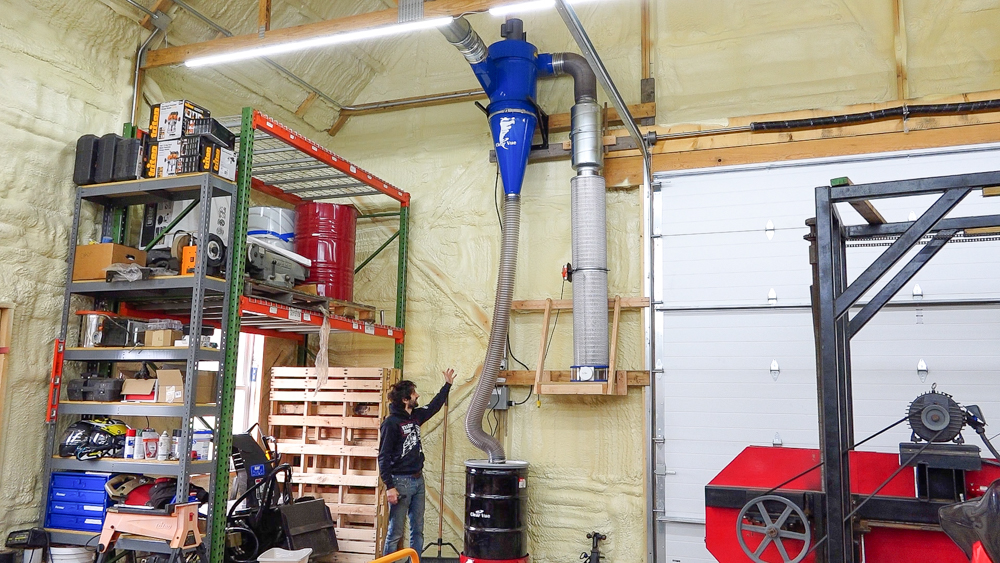
Here it is up on the wall, fully assembled, and functional. I do want to test the muffler a little bit, because this one does sound quieter than the one in the shop. So I’m going to compare them as best I can, considering some variables I can’t control (room acoustics, different materials, etc). But both cyclones have the same impeller pushing air through the same filter stacks, so it should be a ballpark comparison.
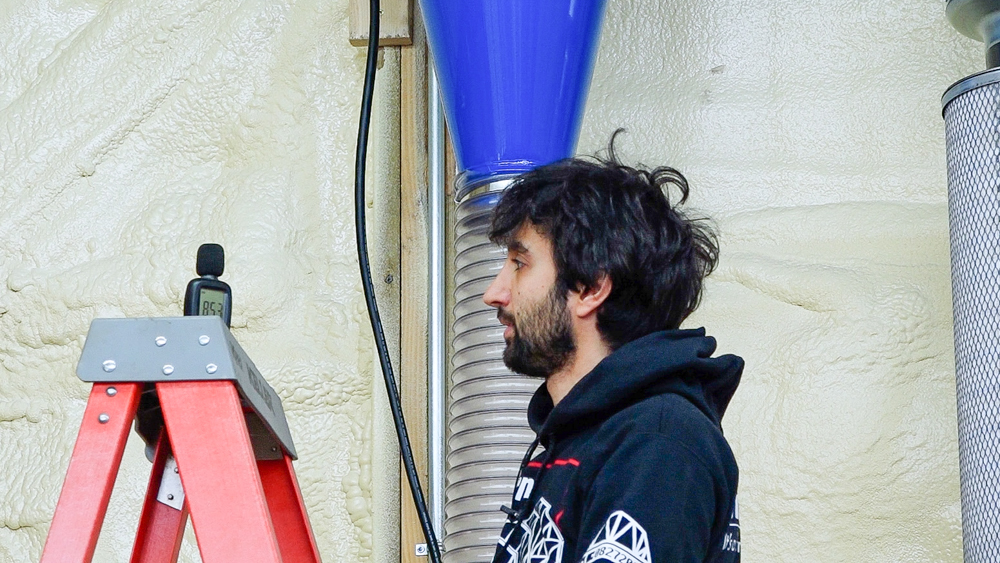
After running my tests, it dropped about three decibels in the barn, which is not insignificant. Subjectively, there is also a big difference in the quality of the sound, and it is an upgrade to me.
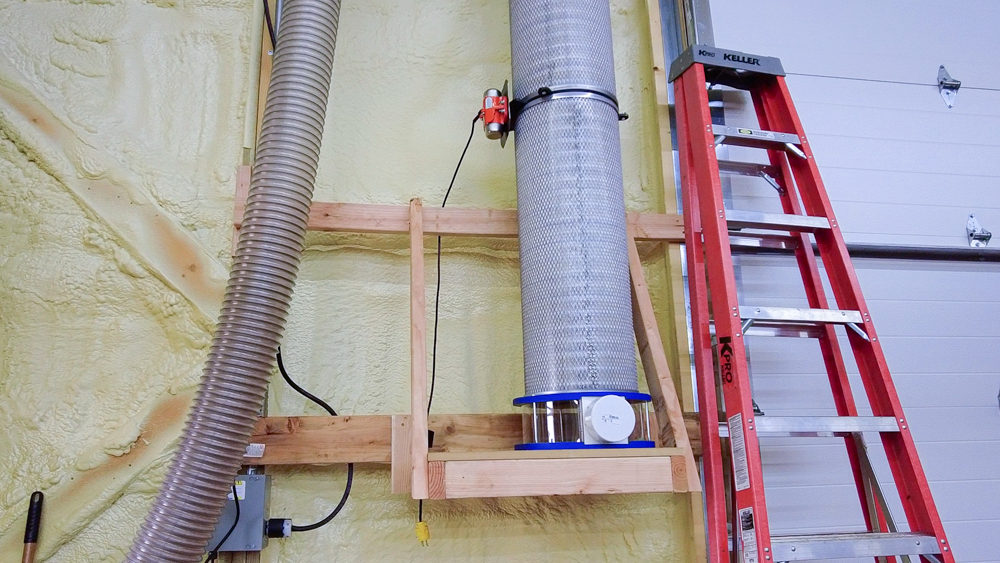
As far as the shaker goes, it has a plug on it, so I can just plug it in whenever I want to shake the filters. I figured that because this filter stack is pretty far up the wall, having that shaker will be more convenient that blowing the filters with compressed air, like I do in the shop.
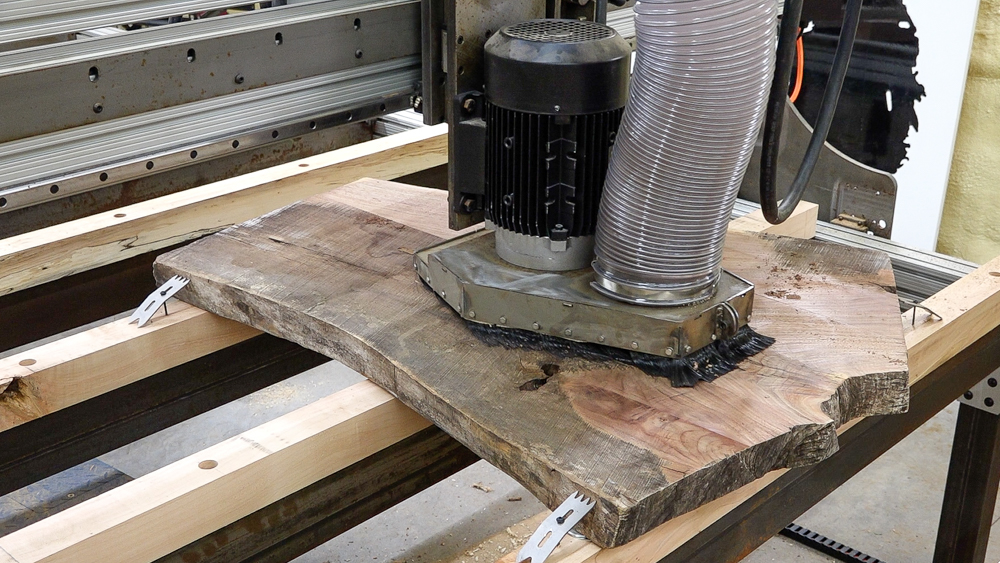
So far the dust collection system has been doing a really great job keeping up with the surfacer. I’ve been flattening a few slabs out here this week, and it has no problem pulling literally all of the saw dust out of there. Of course, I have the trunk set up for future machines I might use out here. For now I have a single 55-gallon drum, which is almost twice as large as the collection drum in the shop.
Overall, I think this setup is going to work really nicely for me. I’m really happy that I can get the dust collection up and out of the way. It’s really nice to preserve the floor space and further utilize the vertical space that I have.
Thank you as always for joining. I greatly appreciate it. If you have any questions or comments on the dust collection out here, in the shop, or wherever, please feel free to leave me a comment. As always, I’d be happy to answer any questions you might have, and until next time, happy woodworking.


Welcome to my shop! This is a quick update to let you know what I’ve been up to. This big chunky thing is the leg

Welcome back to the home renovation. This time I’m going to be working on the kitchen island. Here is a small model of the island.

Welcome back to our home renovation. Today I am going to be working on this wall. It needs some upper cabinets and the surround for