
Matt's Weekly Shop Update
Kitchen Island, Barn Power – March 2024 Update
Welcome to my shop! This is a quick update to let you know what I’ve been up to. This big chunky thing is the leg
![]()
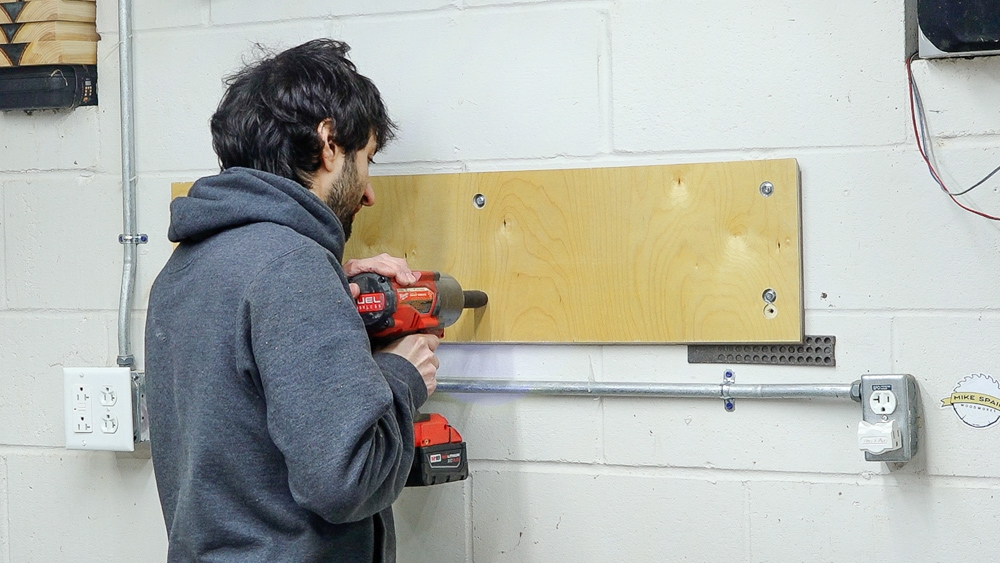
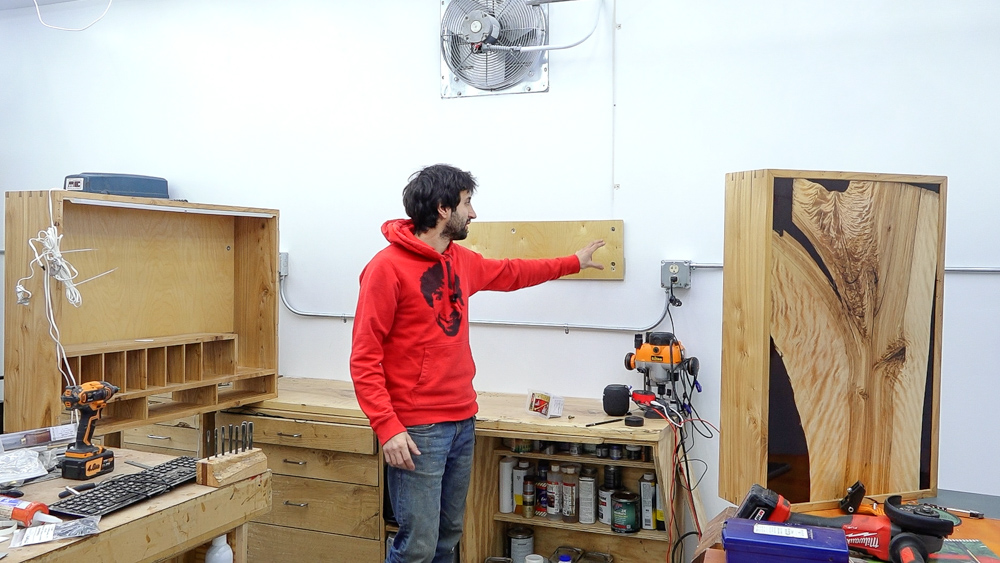
Welcome back to my moving series, in which I move my old shop to my new shop. Today it’s time to fill up this wall with my hand tool cabinet. We’re going to head to the old shop, get the cabinet off the wall, and bring the cabinet, along with all the tools, back here. I also have some new tools I want to put in the cabinet, so I will need to make some holders for those. I will be doing some of the first actual woodworking in the new shop in order to make those. It’s going to be very simple, but we’ll be cutting wood, so at least we’re heading in the right direction.
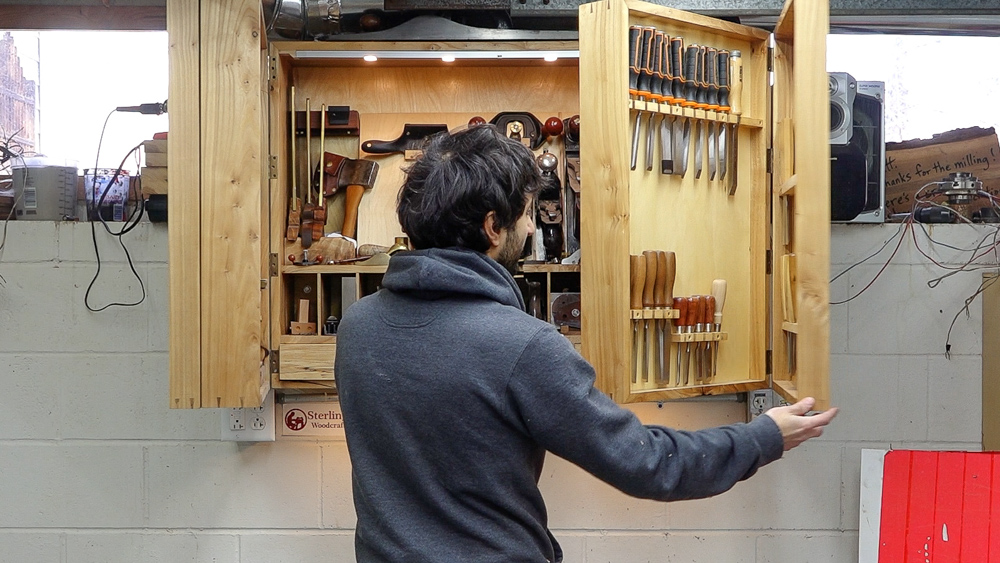
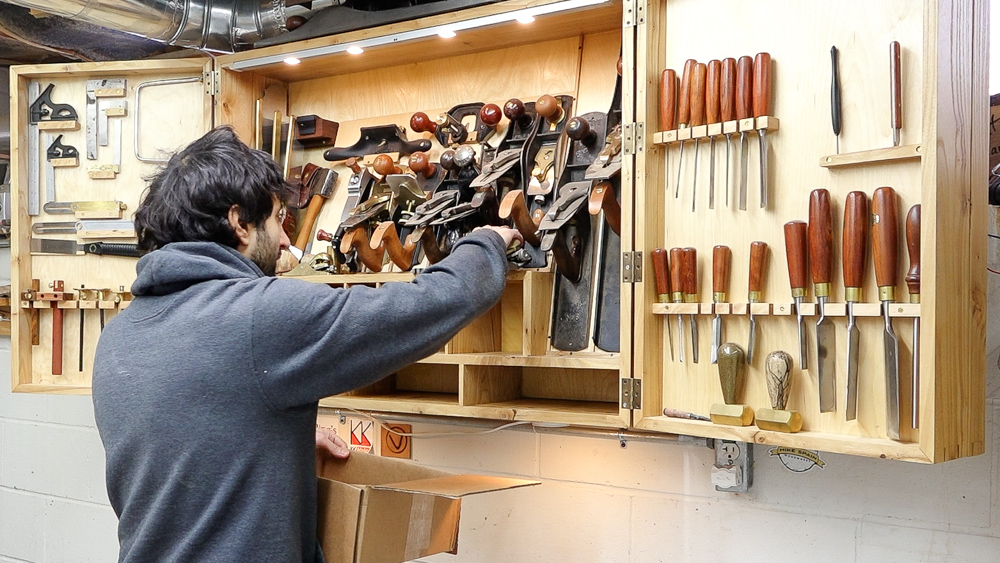
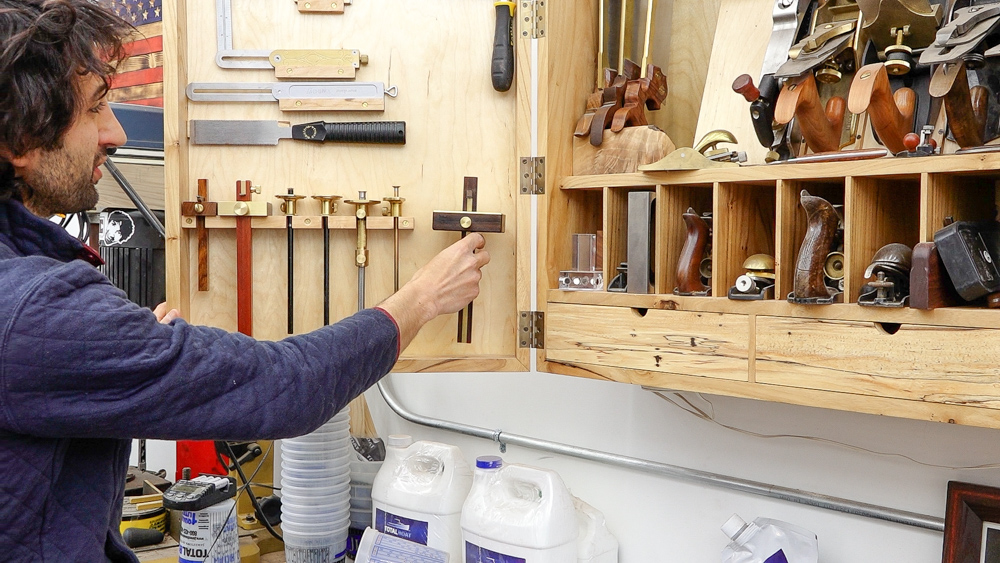
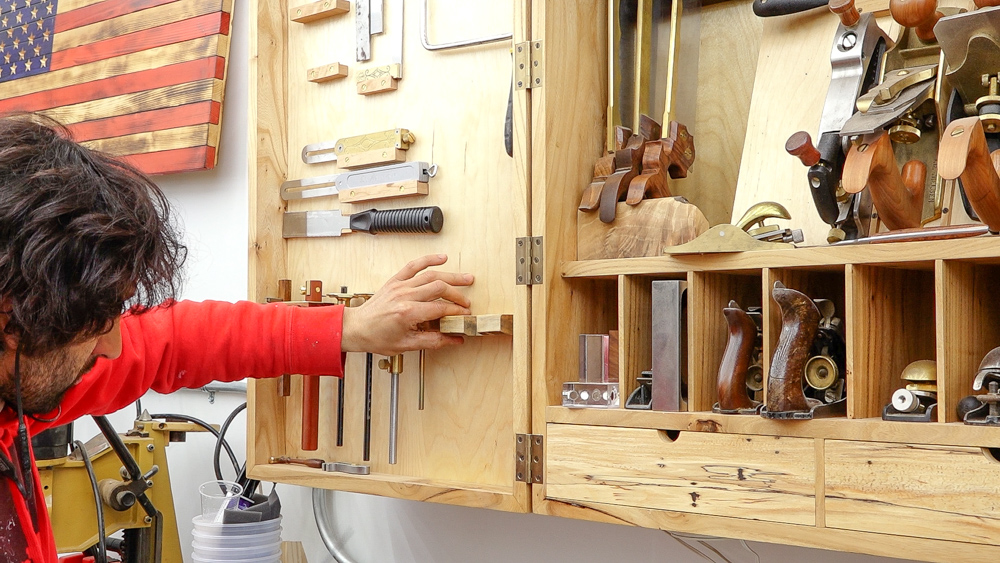
Back at the old shop now, this is my wall hanging tool cabinet with double hinge doors. It has an interior storage area as well as a second interior storage area because of the double hinge doors. You get double the vertical surfaces, and it gives you some more places to hang tools.
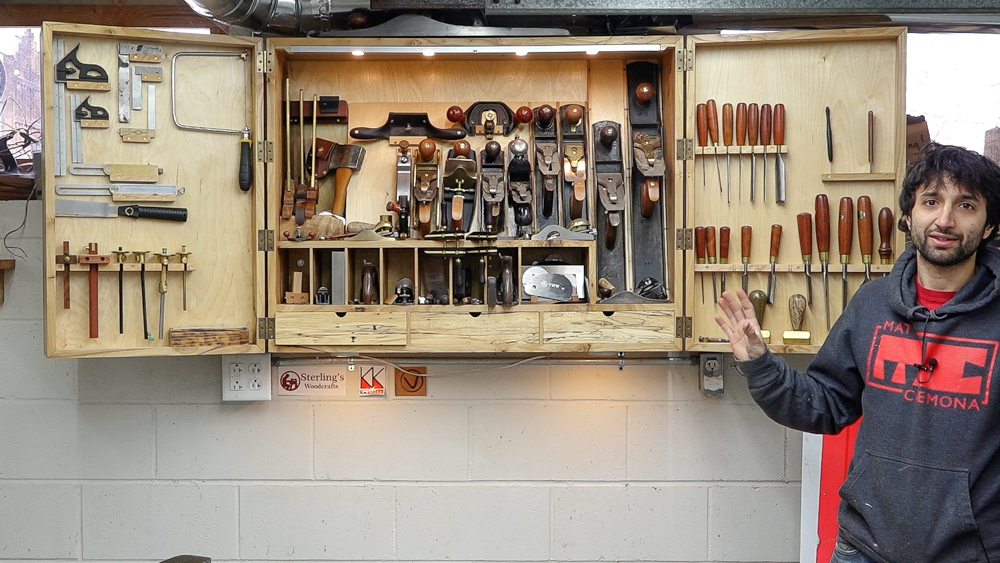
I have my most commonly used tools on the inside of the cabinet, and then the less commonly used tools on the inside of the doors. This cabinet is what we’re going to be moving today.
This cabinet is one of my classes over in the Guild. That class includes 18 instructional videos on building this project. This is primarily a mitered through dovetail construction. The case and the doors are all mitered through dovetails. There are some crenelated tenons in the divider. The drawers at the bottom of the cabinet are hand-cut dovetail drawers with half blind and through dovetails. If you want a more in-depth dive into woodworking, definitely check out my classes. There’s a lot of information there, so even if you’re not going to build the actual project, you’re going to learn quite a bit about woodworking.
![]()
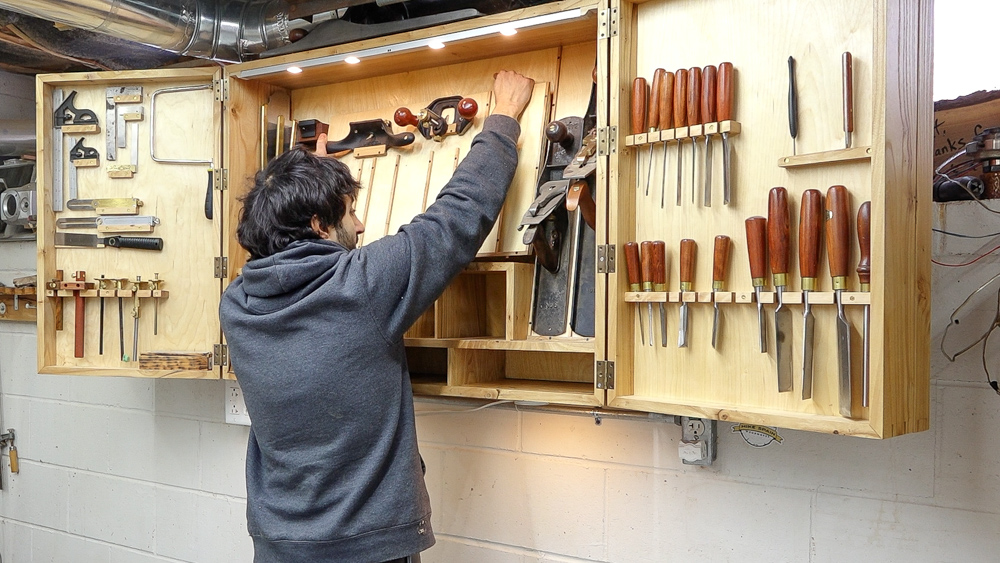
So there’s a lot of stuff in here. We’re going to start pulling everything out of here and getting it in the truck. I’m thinking the drawers are going to be a good place to start. I can pull those out and just take them right to the truck, but I can also toss whatever is in the cubbies above them into the drawers.
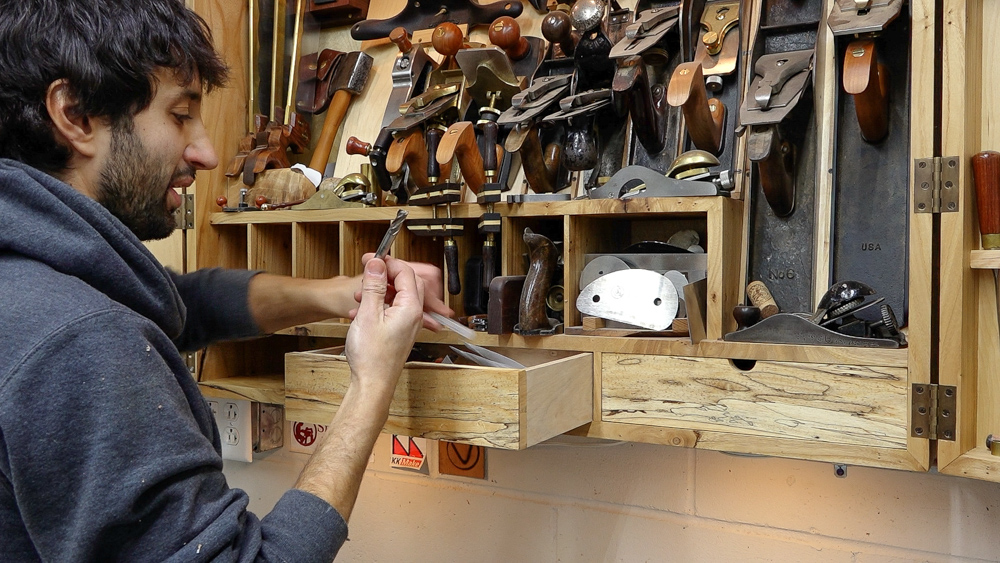
In my hand, I have a burnisher. I have found that old end mills make a really nice burnishing tool for the Bridgeport, because the high-speed steel does a nice job of burnishing the car scrapers.
This is my skew block rabbet plane that Ben Crowe at Crimson guitars gave me when I was over there almost two years ago.
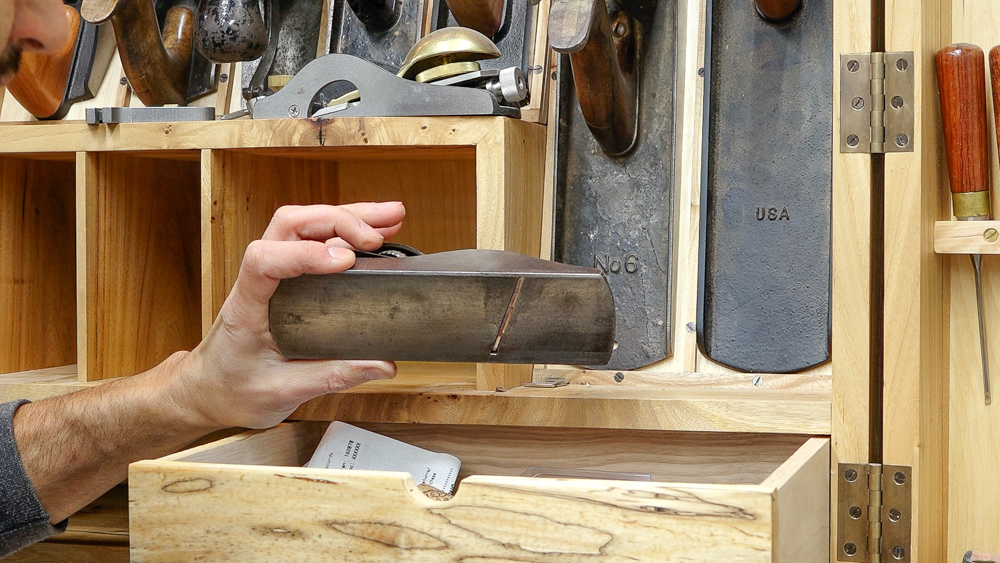
Small stuff can go in this box. To make moving the hand planes easier, I can pull them out of the cabinet, take the tills out, and use the tills as trays to put them in the truck. It will probably be a little heavy, but at least it’ll be more convenient than moving a bunch of planes individually.
This tray is doweled into the shelf here to keep it from sliding, so this whole tray can come out.
There, now I can just take this out to the truck. I can do exactly the same thing with the long till.
I can wrap up the saws and marking gauges. This is going pretty quickly. I was not expecting it to go this fast.
![]()
That clears out most of everything in this front area.
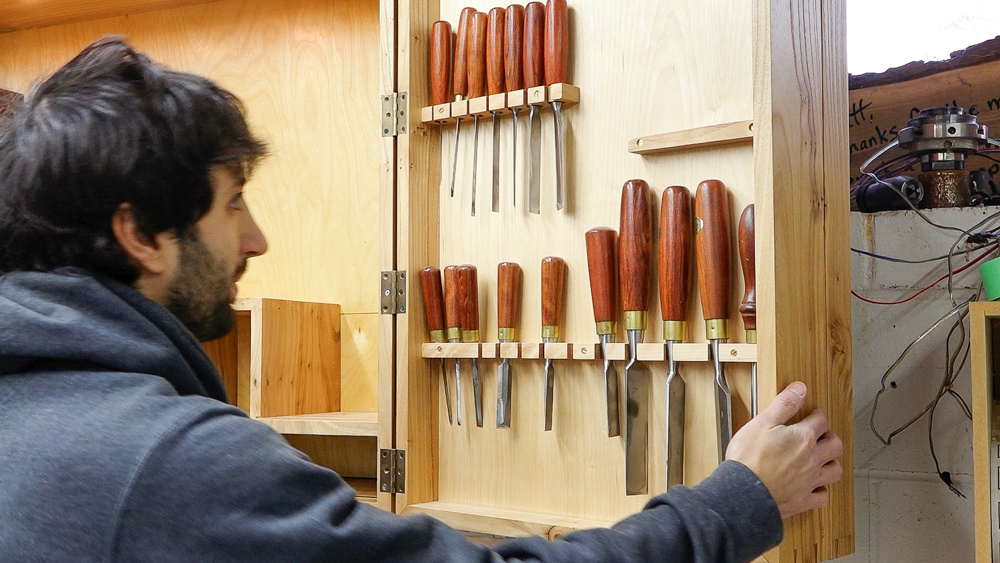
The holders for the chisels pretty much immobilize them, and the only way for them to come out is to be lifted up. I am going to try to take both these doors off in one piece and leave the chisels in here for transport.
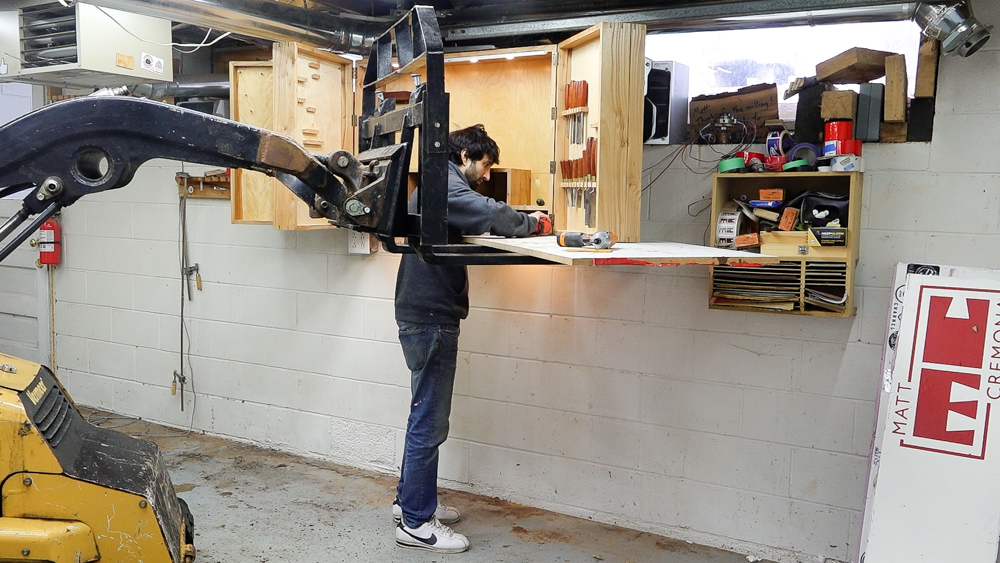
Since I have a skid-steer here, I can bring it in to support the doors as I drop the hinges out. I’ve already gone through and replaced the slide screws with Phillips head screws so that I can drop them off with the drill easier and quicker than I can with a sled screw. I know someone’s going to comment about how I could have used lift off hinges for this. I just don’t really like the look of lift off hinges. Because that was so effective, I’m going to do the same thing on the other side.
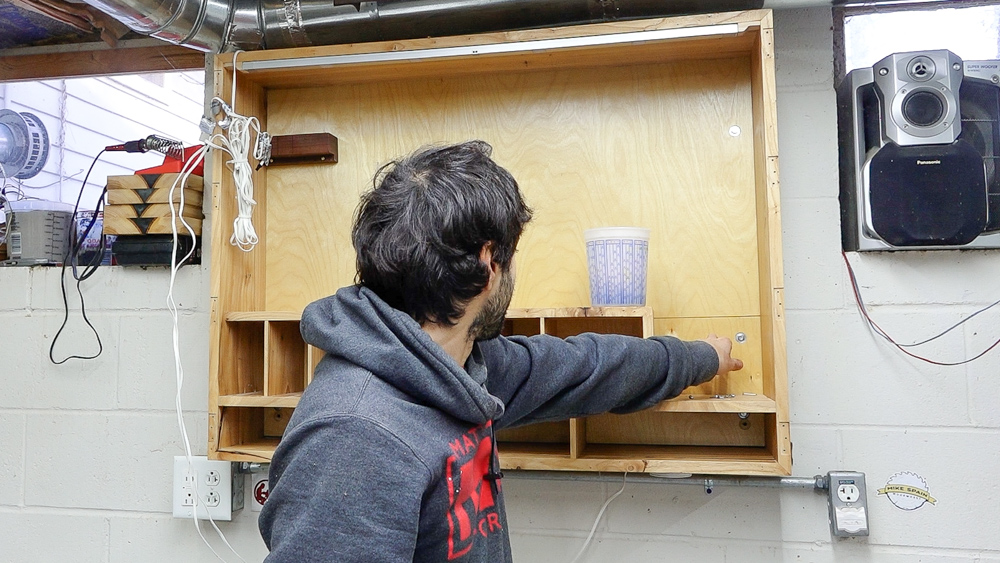
After we get the lighting unhooked, we’ll be good to start dropping this main case off the wall. The case is up here in two sections, the body of the cabinet and the cleat which mounts to the wall. You can see the divider in the picture above. The lower section is the cleat, and then there are two bolts on the upper section which allow me to adjust the plumb of the case so that the doors will stay closed by themselves. One of the bolts for plumbing is behind the tall plane till and the other plumbing bolt is behind the mount for the saw till.
After those two bolts come out, this whole case will lift off the wall off of that lower cleat.
The last thing is the mounting cleat, which actually supports the weight of the cabinet. After that’s off, it’s just a matter of heading home and doing the opposite of what I just did. Hopefully that goes as smoothly as taking it down.
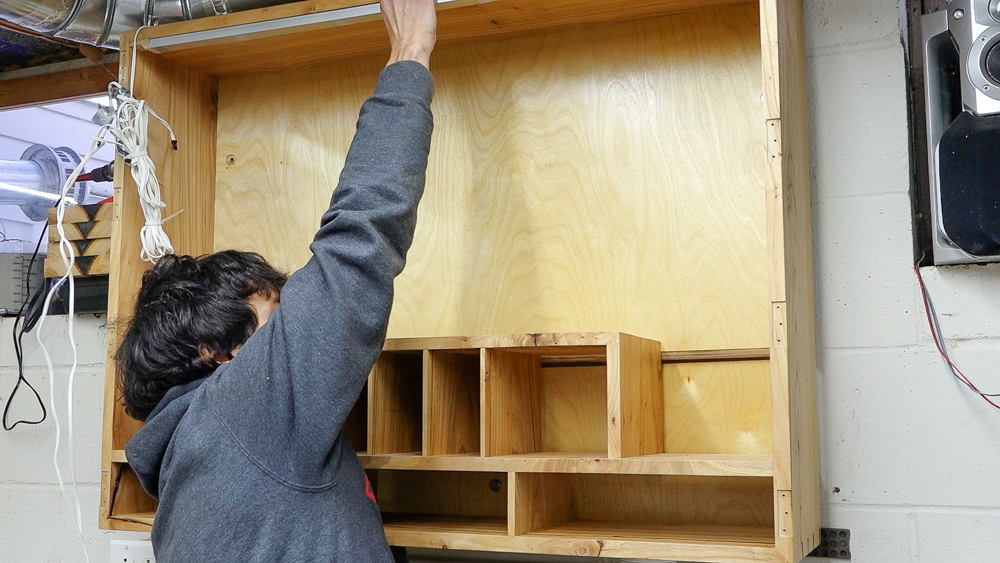
Now it is the next morning, and it’s time to get the cabinet put back up in the new shop. I already got the cleat hung up on the wall. I decided to reuse the screw holes on the right side. In the new shop, I have studs and not a block wall, so I have to line the screws up with the studs. I’m using these holes that are here already, and I’m putting some new holes as I move to the left to line up with the next stud. The second set of screw holes will be covered by the plane till now instead of the saw tills, so I’m still not going to have the exposed hardware inside the cabinet.
Now we can throw the cabinet up onto the wall. Took two tries to hit the stud but no one is going to see that once the tools are all in here.
![]()

Next, I’ll get the doors mounted and make sure the cabinet is sitting a little bit tilted back so that the doors stay closed on themselves and stay open by themselves as well.
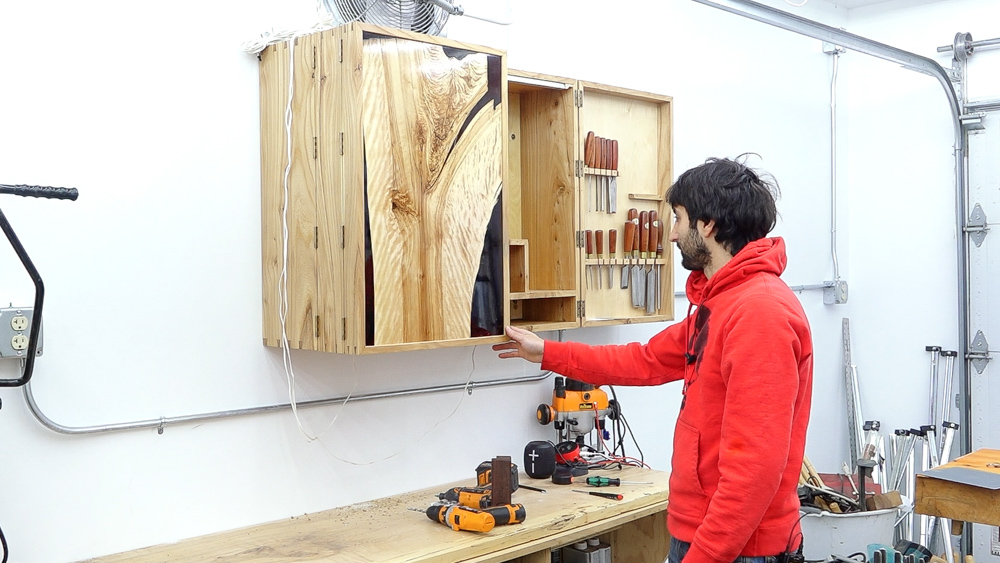
Next let’s check the swing of the doors in order to check the plumb-ness of the cabinet. To do this, I will bring the doors to the front and see if they want to close by themselves. They both swing forward just a little bit, so I need to move the top of the cabinet back towards the wall. To do that, I just tighten up the screw on the left side.
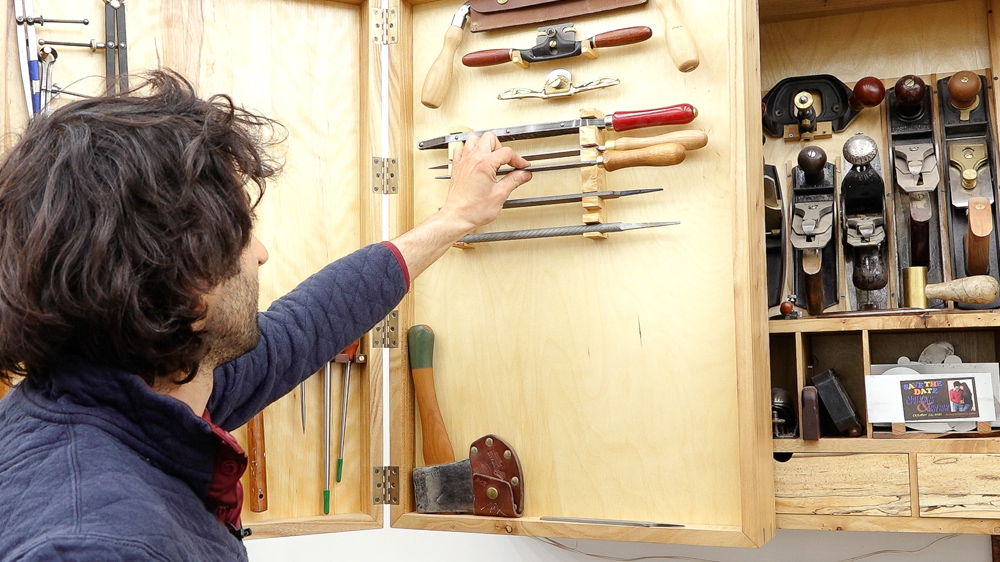
So let’s fill this thing back up with tools.
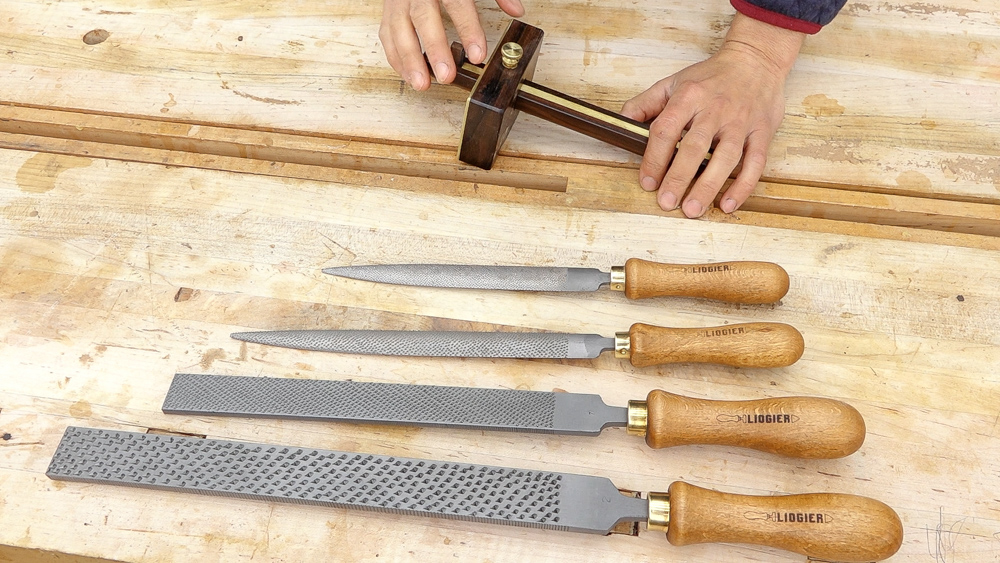
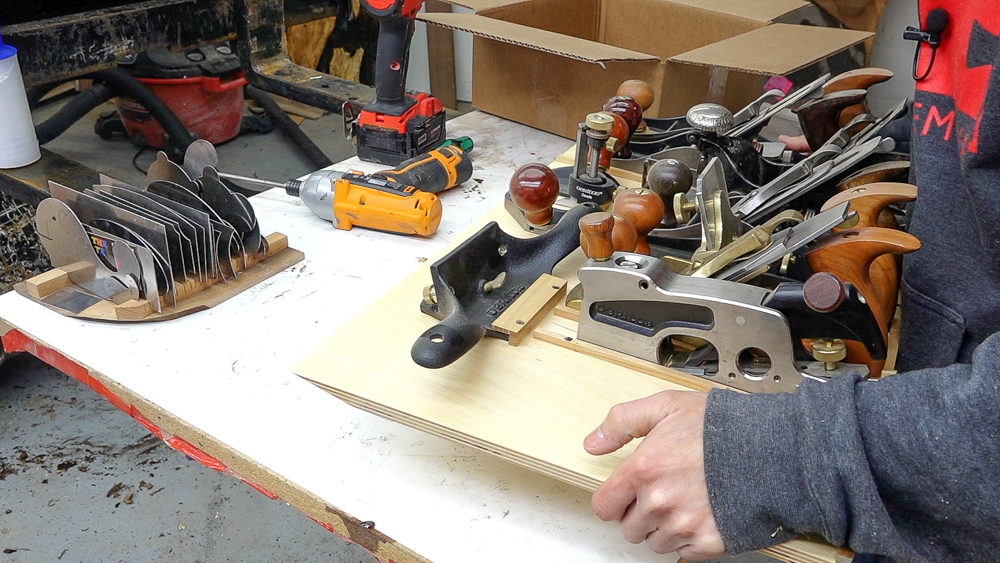
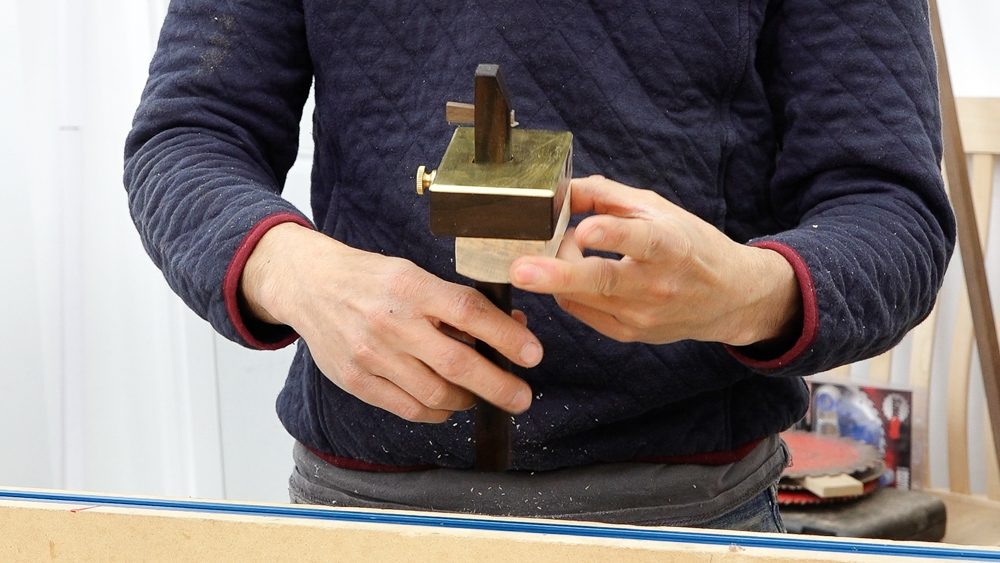
Here are the tools that I need to make holders for and get into the case. On the top in the picture above is a marking gauge that I bought last fall. It was a bit of a splurge. It is a brass and zircote marking gauge that I got from Mass WoodWorks. Technically, it is a cutting gauge because it has a knife in it. The other tools that I have are a set of rasps that were sent to me from Liogier. Most of the woodworking I do doesn’t require big rasps, so I have used the smaller rasps pictured above but not the bigger ones.
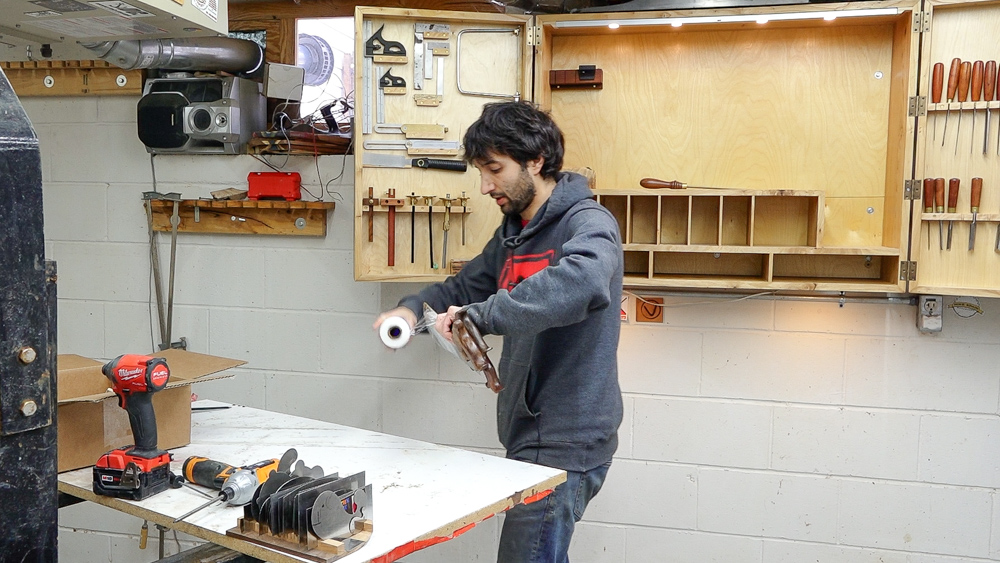
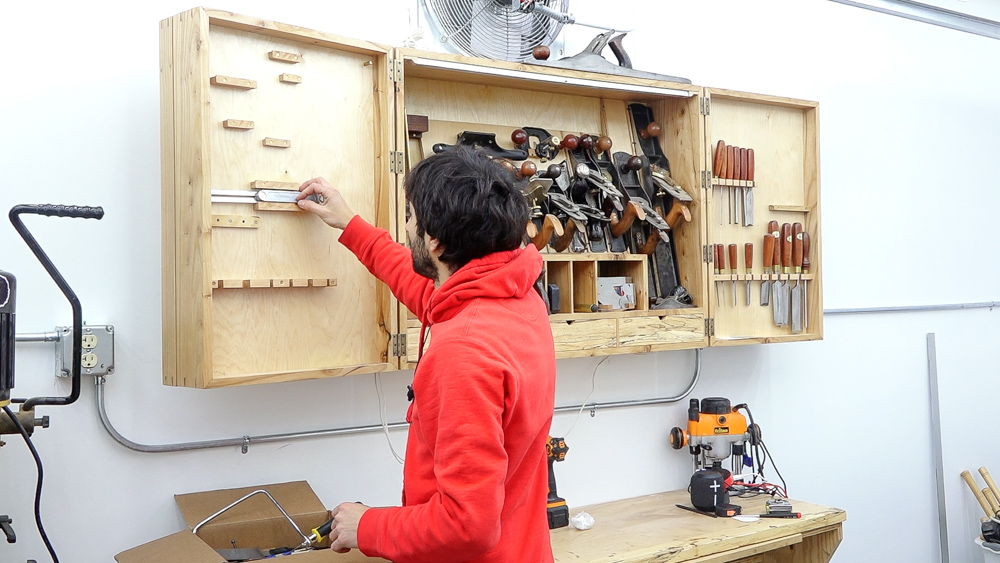
There is still room in my marking gauge area for another one, so the new gauge is probably going to go in here with a very simple holder.
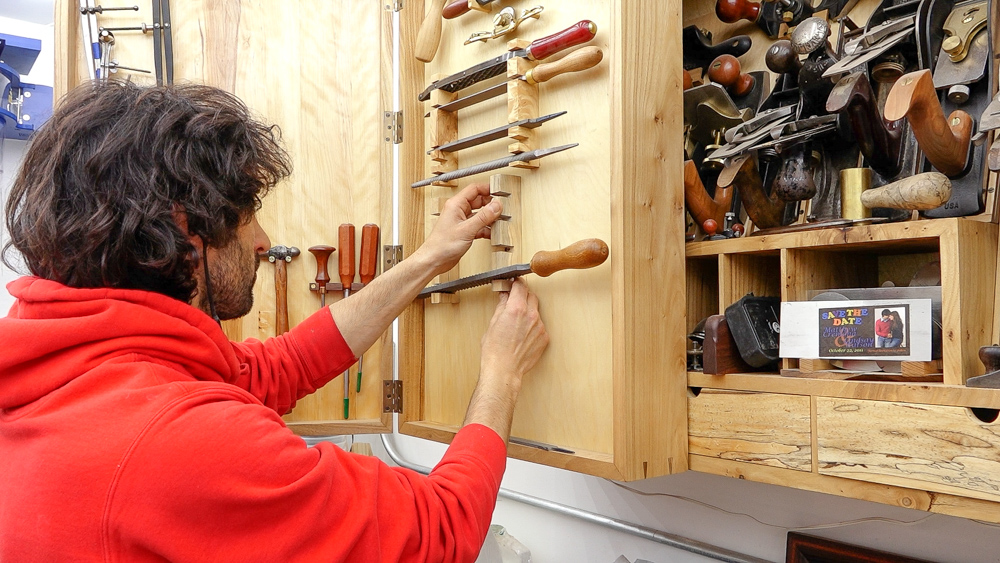
When I made this rasp and file holder I did plan for the future. I figured I’d probably have one more to put in there so I can cut some slots if I need to. I just need to make another holder for the four new ones.
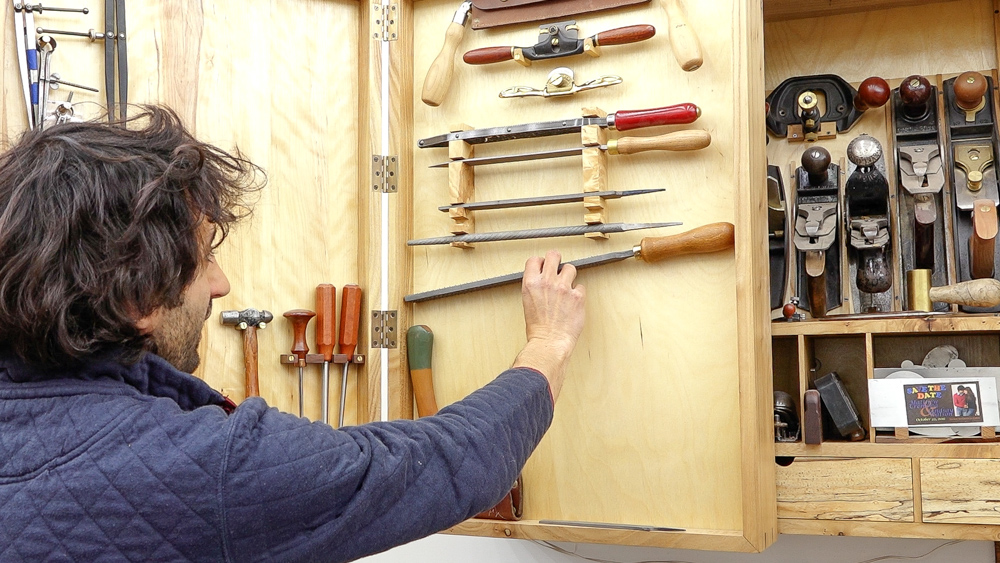
One small issue is that this giant rasp is a little too wide to go in here. It might look goofy, but I’m going to mount them at a little bit of an angle.
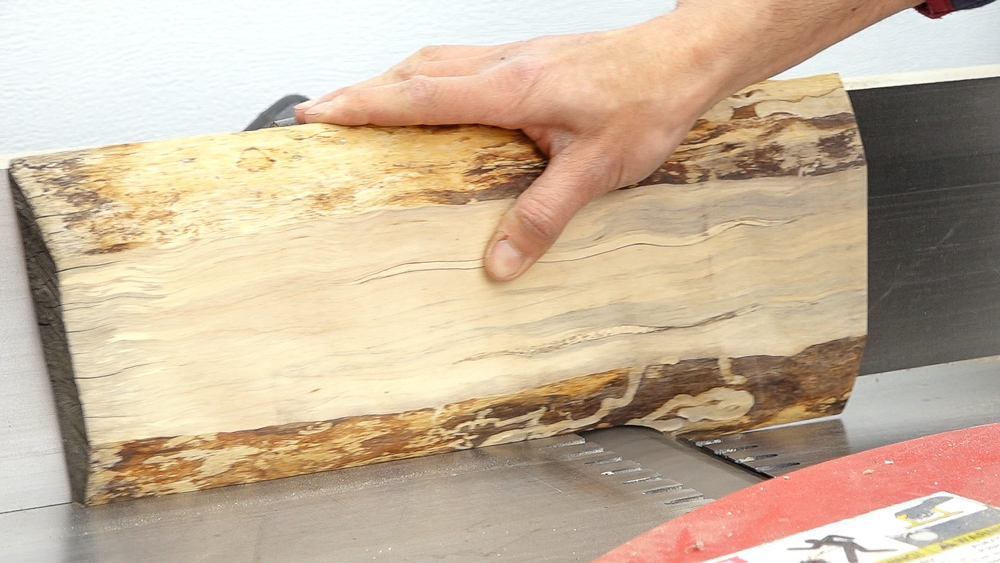
I have a piece of birch, which is what all the other holders are made out of. I’m going to chop off a piece and mill it into some stock.
This is just a table saw project.
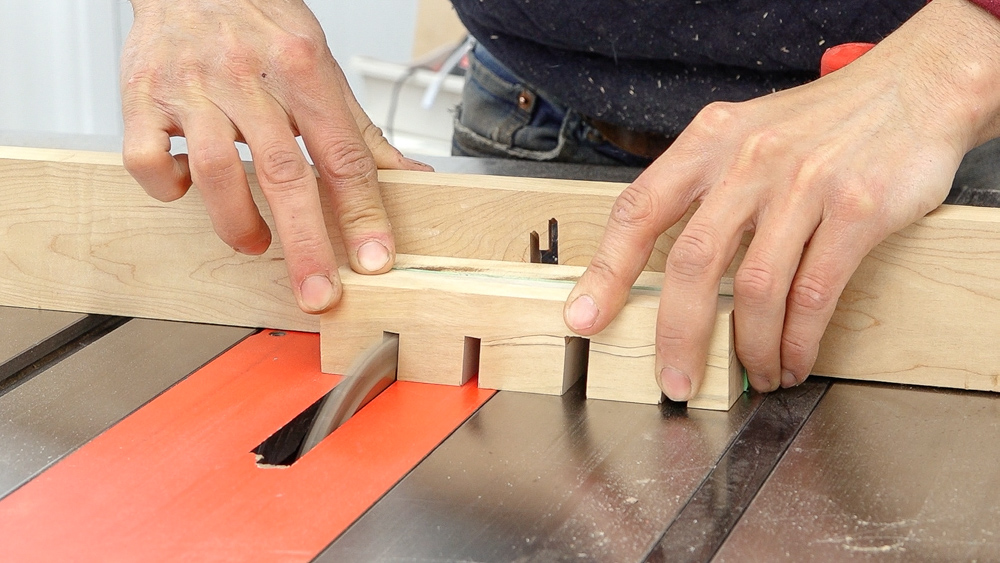
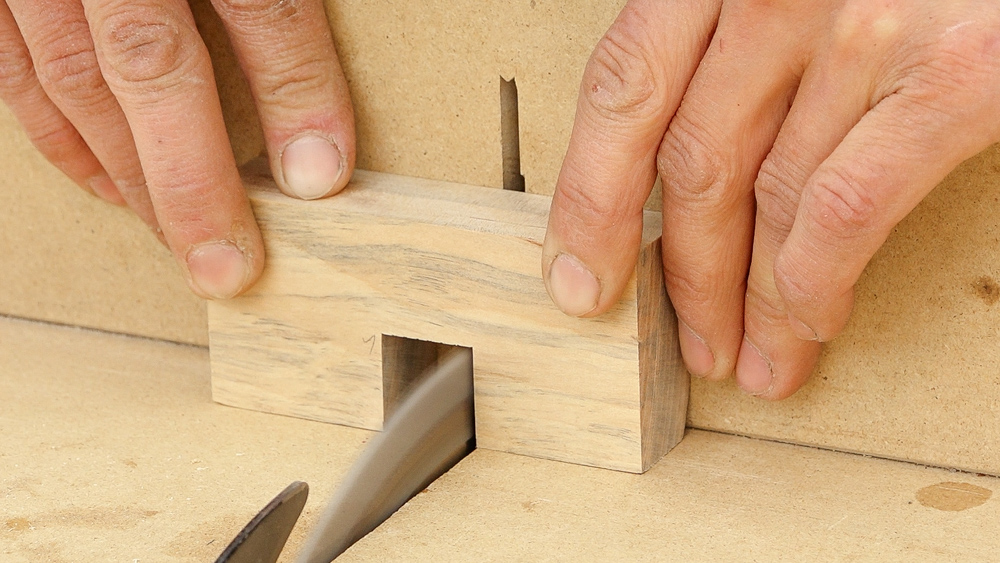
The only thing of interest on this is that the slots for the rasp holders are at a little bit of an angle. Very simple woodworking here.
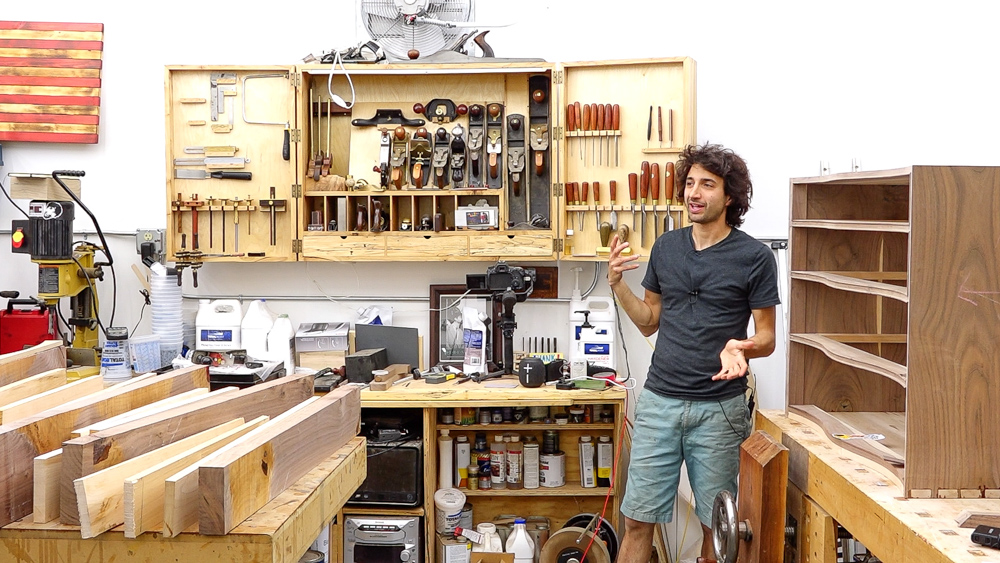
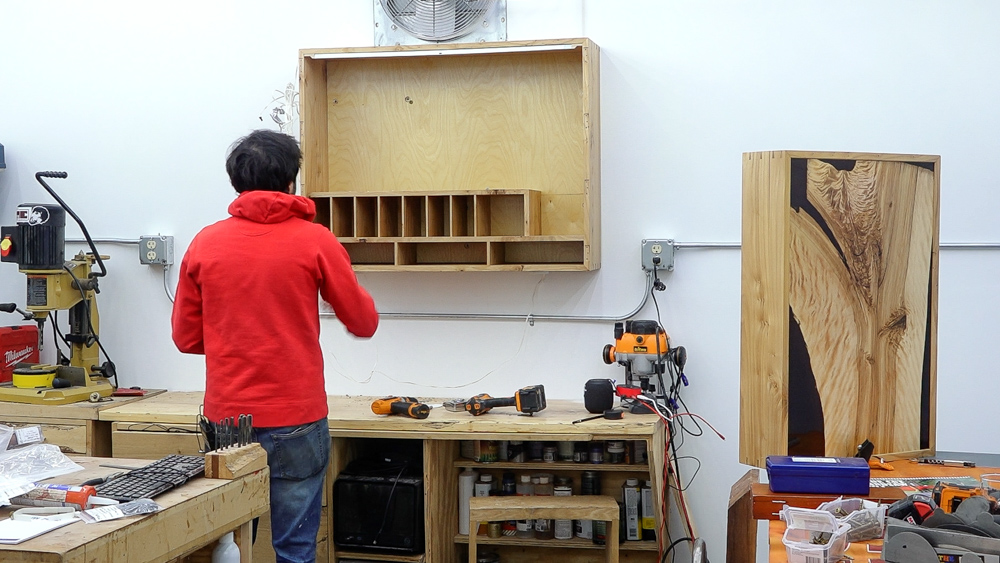
Moving this cabinet and everything inside of it was one of the things that I was dreading the most about the shop move, but it ended up being a very quick and almost completely painless experience. With this in here, it makes the new shop feel like the old shop, which is a nice homey feel.
Next up on the shop move is the dust collection, which should be fun. One more thing to check off the list before getting back to a completely set up shop. So be on the lookout for that in the future.
Welcome to my shop! This is a quick update to let you know what I’ve been up to. This big chunky thing is the leg

Welcome back to the home renovation. This time I’m going to be working on the kitchen island. Here is a small model of the island.

Welcome back to our home renovation. Today I am going to be working on this wall. It needs some upper cabinets and the surround for